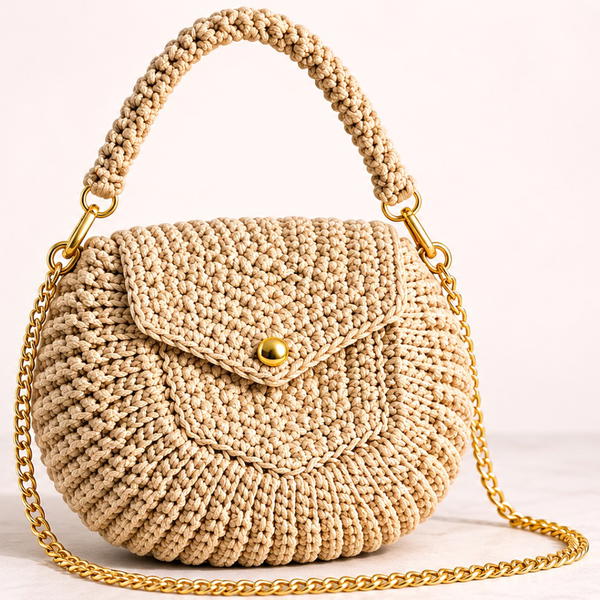
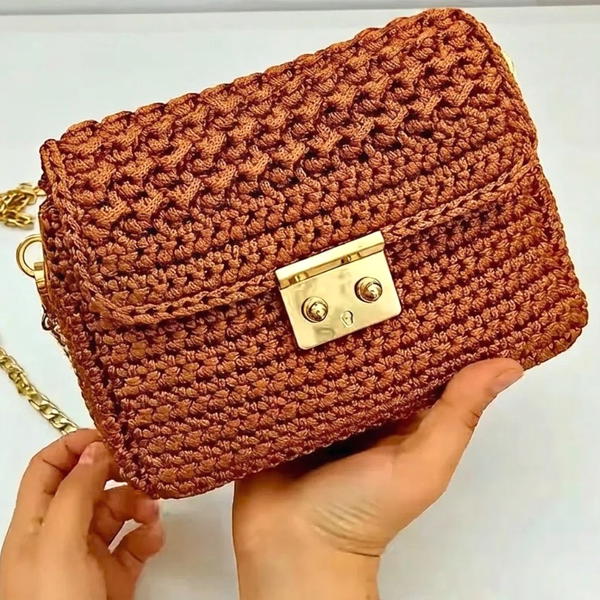
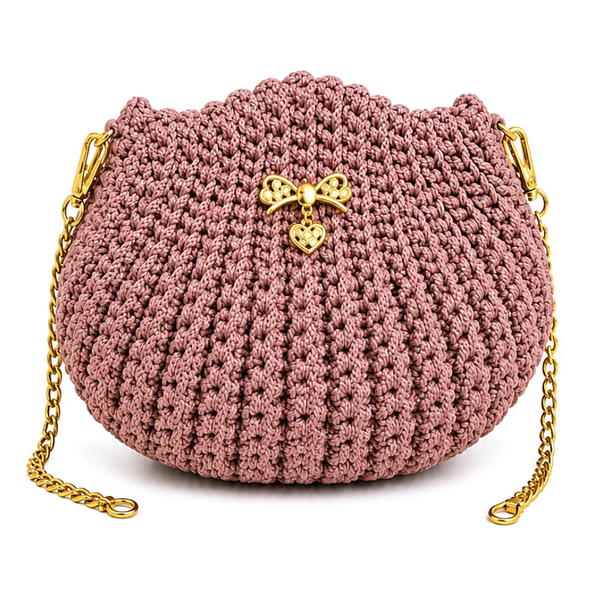
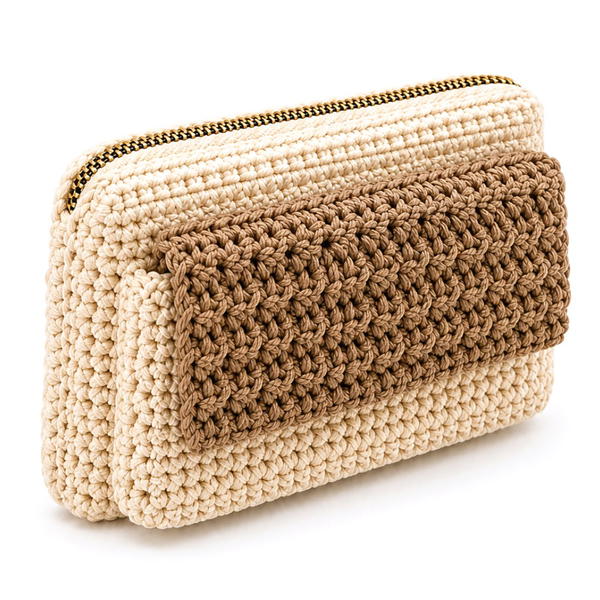
Add a stylish touch to your outings with this medium handbag crochet pattern that offers a practical size and a lovely textured look for everyday use.
Medium-sized bags often hit the sweet spot between a tiny purse and an oversized tote. The Medium Handbag Free Crochet Pattern speaks to people who want enough room for daily basics without carrying a bag that takes over the whole outfit. Size is the main reason to choose this style. A medium handbag can be suitable for a phone, wallet, keys, and a few small extras, although the exact capacity depends on the finished measurements.
Roomy Medium Handbag Free Crochet Pattern for Everyday Essentials
It is easier to keep things organized when the bag is not filled far beyond its comfortable shape. Crochet gives the outside a warm, textured finish that feels different from smooth leather or canvas. For the body, neat rows and steady stitch tension help the sides look balanced. The base deserves attention too, because it supports whatever goes inside. For heavier belongings, consider how the handles attach and whether the completed bag offers enough support. These are practical details, not just decorative ones.
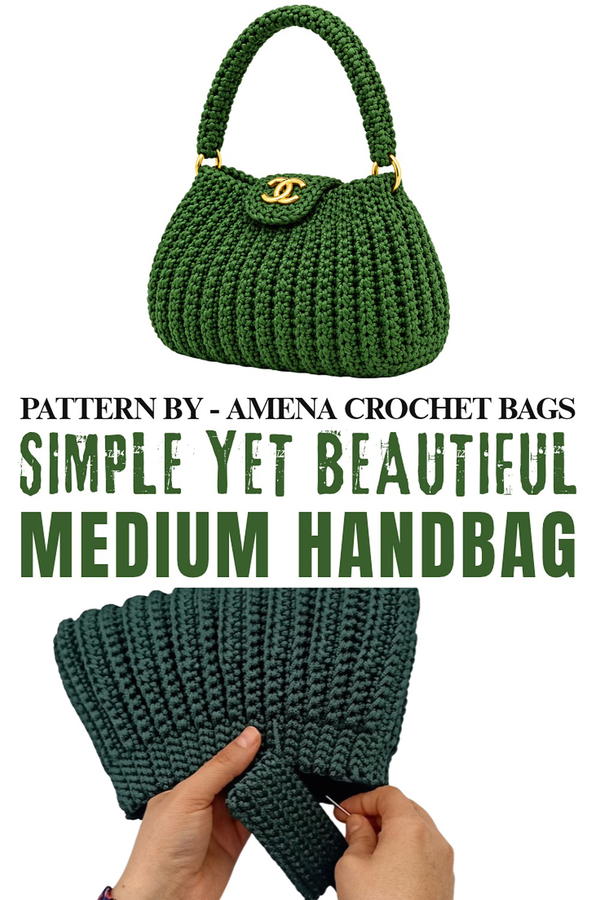
This bag could go with loose jeans for a quick shopping trip or sit alongside a simple midi dress for a relaxed day out. Choose a shade that appears in several clothes you already own, and it becomes an easy accessory to reach for. Its strongest quality is that useful middle ground: enough space for familiar things, with a shape that still feels manageable.
At the Worktable
Instead of concentrating on one kind of item, magic knots covers several crochet and knitting interests. Bags, wearable layers, and other useful pieces offer plenty of variety. This mix can suit someone who likes alternating between larger wardrobe projects and accessories that fit into day-to-day routines with greater ease.
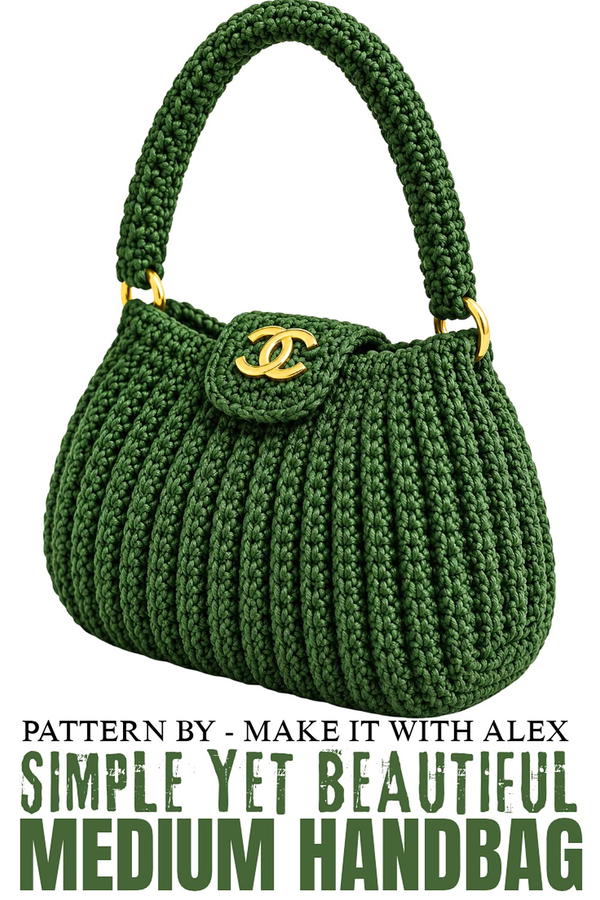
Easy Medium-Sized Crochet Bag Pattern
This medium-sized crochet bag combines elegance with practicality, making it perfect for everyday use. Crafted with durable polyester macramé yarn using simple stitches, it’s an ideal project for beginners seeking to hone their skills or intermediate crocheters looking for a quick, satisfying design. The bag features a structured body, decorative stitching, a small flap closure, and a practical handle for easy carrying.
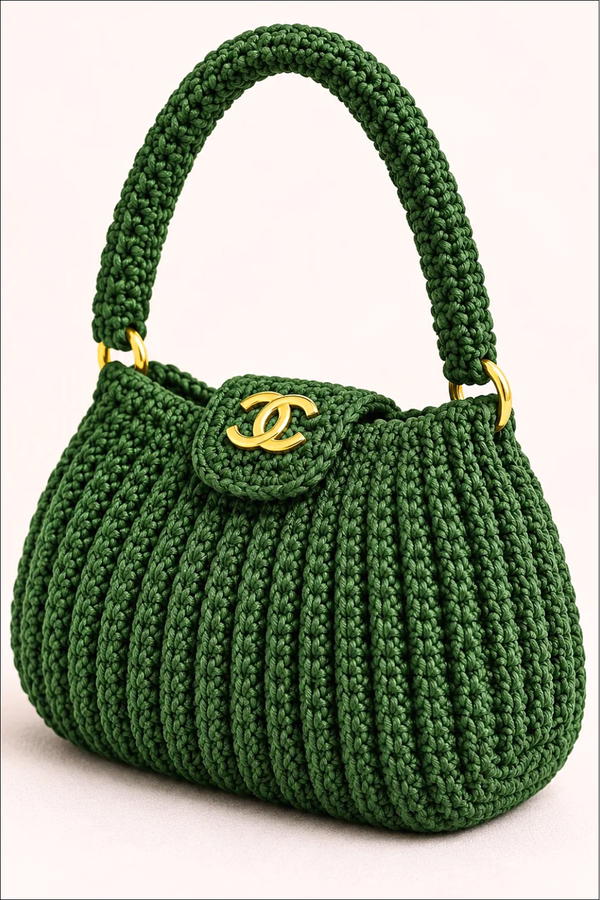
Skill Level
Beginner to Intermediate – The pattern uses basic stitches such as single crochet (sc) and slip stitch (sl st), with slight variations in stitch placement, repetition, and back loop work. It is simple enough for beginners but includes minor shaping details to engage intermediate crocheters.
Materials Needed
- Yarn: Polyester macramé yarn, 3mm thickness, approximately 400 grams (220 meters).
- Hook: 5mm crochet hook.
- Scissors: For trimming yarn ends.
- Stitch Markers: Optional, for better organization.
- Sewing Needle: For finishing the seams.
- Optional Closure: Zipper or magnetic clasp.
Stitch Abbreviations
- ch = chain
- sc = single crochet
- sl st = slip stitch
- hdc = half double crochet
Useful Tips
- Back Loop Only: Always work into the back loop to achieve the textured ribbing effect.
- Count Stitches: Be meticulous about stitch counts, especially for rows with decreases.
- Seam Alignment: Ensure rows align properly when sewing the bag to produce clean edges.
- Customization: Adjust the dimensions by adding or subtracting foundation chains or rows.
- Flap and Handle Options: You can close the bag using a zipper, magnetic clasp, or a simple flap—based on your preference.
Step-by-Step Pattern Instructions
Bag Body
The bag body consists of alternating sections that use different stitch patterns to create texture and design.
Foundation Chain:
- Step 1: Start with a slip knot, and chain 51 ch (adjust if a larger or smaller width is desired).
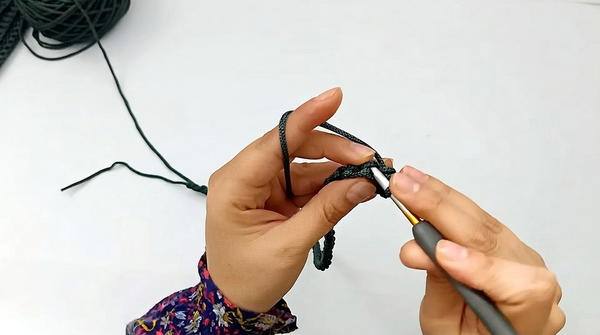
Row 1:
- Step 1: Starting from the second chain from the hook, work 5 sl st in the back loops.
- Step 2: Continue working 40 sc.
- Step 3: Finish the row with 5 sl st in the back loops.
Row 2:
- Step 1: Chain 1, turn your work. Work the row as follows:
- 5 sl st in the back loop only.
- 40 sc in both loops.
- 5 sl st in the back loop only.
Row 3:
- Step 1: Chain 1, turn your work. Begin the row with:
- 5 sl st in the back loop only.
- 5 sc in both loops.
- 30 hdc in both loops.
- 5 sc in both loops.
- 5 sl st in the back loop only.
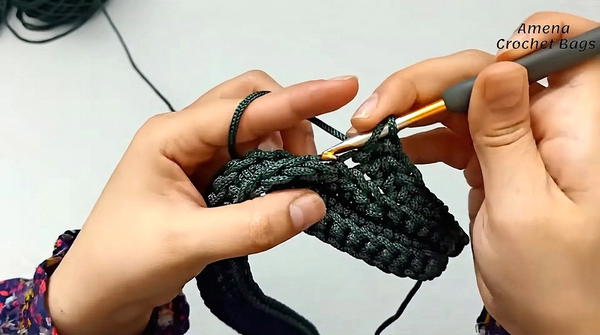
Row 4:
- Step 1: Chain 1, turn, and repeat Row 3:
- 5 sl st → 5 sc → 30 hdc → 5 sc → 5 sl st.
Rows 5–30:
- Repeat Rows 1, 2, 3, and 4 in sequence 7 times.
- Finally, repeat Rows 1 and 2 to complete Rows 29 and 30.
Measurements for Reference:
- Finished piece dimensions: 39 cm in length, 26 cm in width.
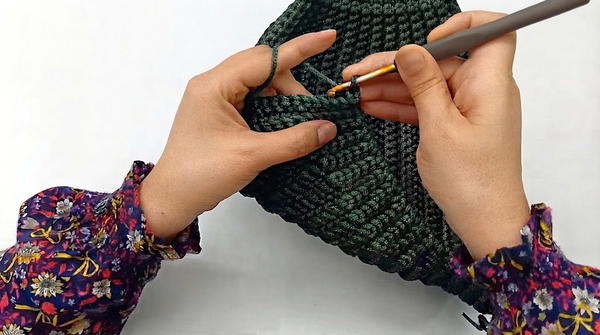
Shaping the Bag (Rows 31–34)
Row 31:
- Step 1: Start with 5 sl st in the back loop.
- Step 2: Work 14 sc, then one stitch over 3 stitches by pulling up a loop in each.
- Step 3: Follow with 6 sc, then another one stitch over 3 stitches, and finish with 14 sc. End the row with 5 sl st.
Row 32:
- Step 1: Chain 1, turn, and work:
- 5 sl st, 13 sc, one stitch over 3 stitches, 4 sc, one stitch over 3 stitches, 13 sc, 5 sl st.
Row 33:
- Step 1: Chain 1, turn, and work:
- 5 sl st, 12 sc, one stitch over 3 stitches, 2 sc, one stitch over 3 stitches, 12 sc, 5 sl st.
Row 34 (Final Row):
- Step 1: Chain 1, turn, and work:
- 5 sl st, 11 sc, one stitch over 3 stitches, one stitch over 3 stitches, 11 sc, 5 sl st.
- Step 2: Cut the yarn, leaving a small length for sewing.
Seam Work (Joining)
Joining the Panels:
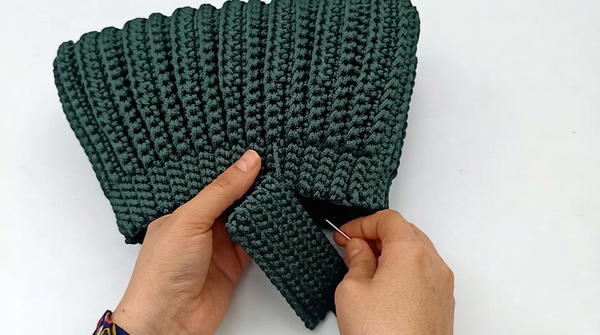
- Step 1: Sew 16 stitches with 16 stitches together on one side of the bag using slip stitches. Work on the wrong side and sew through one loop only to prevent bulkiness.
- Step 2: Attach the yarn to the starting knot side and repeat Rows 31–34 outlined above.
Flap
To add a flap closure, create a smaller rectangular panel.
Foundation Chain:
- Step 1: Make a slip knot and chain 16 ch.
Rows 1–9:
- Step 1: Work 15 sl st in the back loops starting from the second chain from the hook.
- Step 2: Turn your work with 1 sl st in the back loop after each row.
- Continue for 9 rows.
Handle
Magic Ring Base:
- Step 1: Create a magic ring, and work 4 sc into the ring.
Building the Handle:
- Step 1: Pull the yarn tail to close the ring tightly.
- Step 2: Work sc in the back loop only in the remaining rounds, continuing until the desired length is achieved.
- Step 3: For reference, a 30 cm-long handle requires additional rounds.
Optional Closure Options
To close the bag, you can opt for:
- Zipper – Sew the zipper carefully along the edges with a tapestry needle.
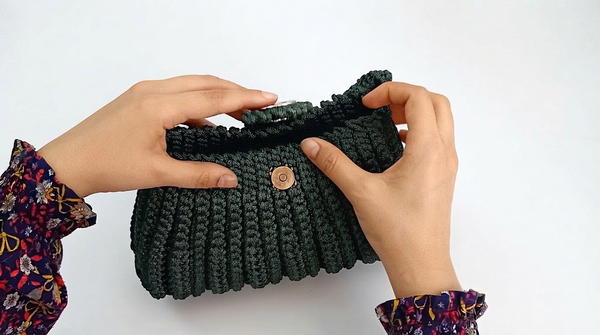
- Magnetic Clasp – Attach the clasp securely to the flap for easy opening and closing.
Conclusion
This medium-sized crochet bag seamlessly combines functionality and style. Designed with macramé yarn and easy-to-follow techniques, it is perfect for a variety of uses and adaptable to suit individual preferences. Whether you decide to add a zipper, a clasp, or incorporate the flap and handle, this timeless project allows you to express your creativity while crafting a durable handmade accessory.