Tidy your shelf with this Free Crochet Pattern for a square basket with a wooden base that keeps keys and other small items together in one easy spot.
Small things tend to spread out when they all land on the same shelf. This Free Crochet Pattern for a Square Basket with Wooden Base gives keys, hair ties or sewing clips a place where you can see them at a glance. Four straight sides give the basket a neat outline that sits comfortably beside books, boxes or other square containers.
Free Crochet Pattern for a Square Basket with Wooden Base
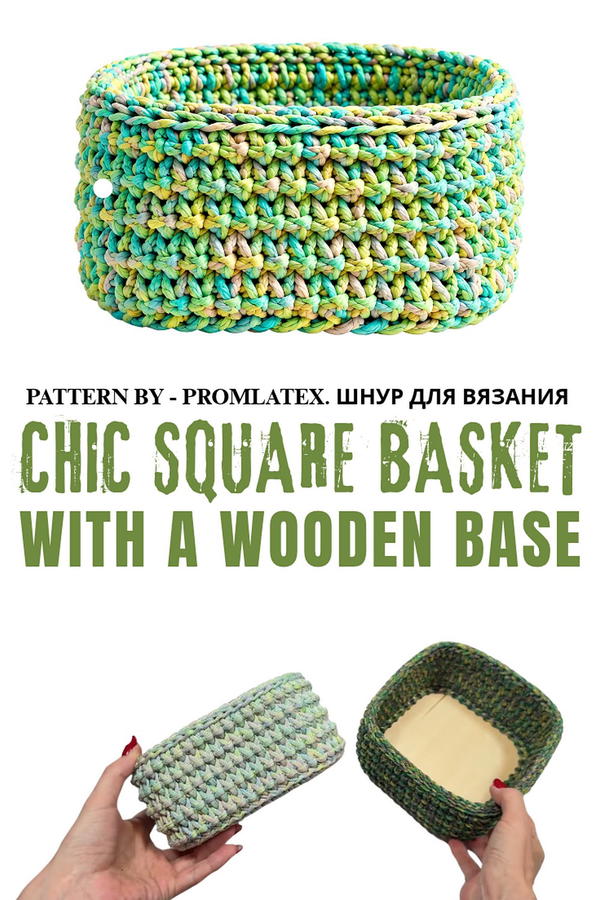
Wood gives the bottom a flat surface, while crocheted walls provide the softer texture you see from the front. The example uses a mixed-color cord, so the sides have little changes in shade from stitch to stitch. Those changes are easy to notice against the clean line of the base. When working from a square base, pay attention to the corners as the walls rise. Beside a shelf edge, even corners help the basket sit straight and look tidy.
More Storage Ideas From the Channel
From a simple round container to a basket shaped like a cup and saucer, Promlatex. Шнур для вязания. covers a range of storage projects. Compare the square basket with one of the curved versions to see how the sides follow the shape of the base and meet at the rim.
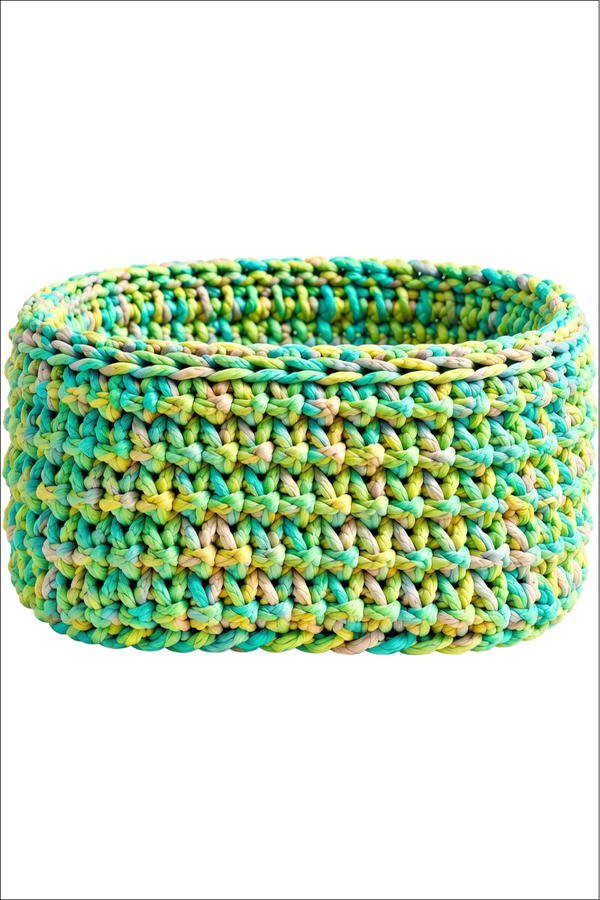
Pick one group of items for the basket and place it close to where you use them. Keep spare buttons and clips near a sewing machine, or put hair bands and pins by a mirror so they’re easy to reach in the morning. For a desk, it can hold charging cables that otherwise slide behind your books. You could also use it to hold a few small birthday gifts. The container itself gives the person something to use after they’ve unpacked it. 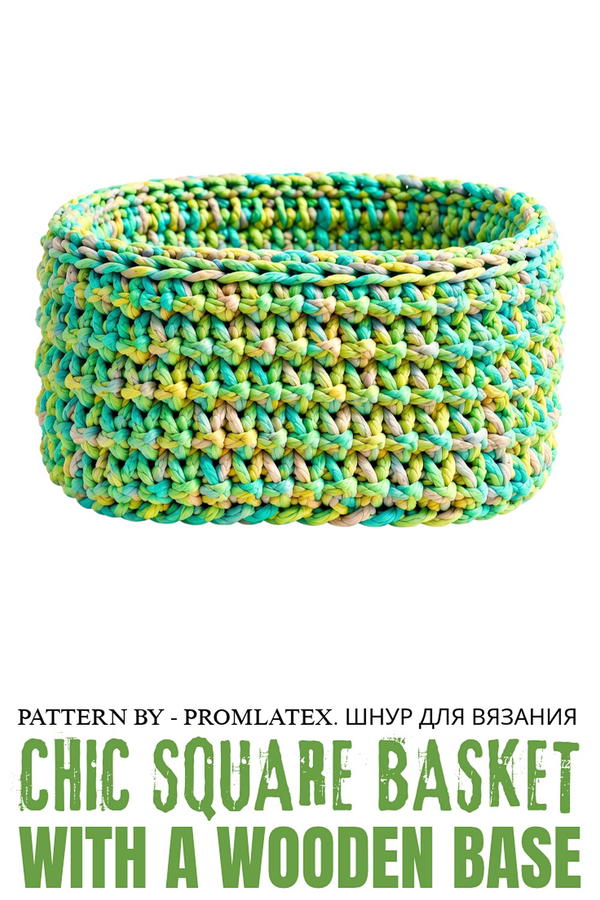
Relief-Stitched Basket with a Wooden Base – Crochet Pattern
This crochet basket with a wooden base offers a simple yet elegant design featuring thick, textured walls made with relief stitches. The basket’s sturdy construction makes it an ideal storage solution for small household items while adding a decorative touch. This versatile pattern can be customized to create baskets of different sizes using cords of varying thicknesses and bases of alternate shapes.
Skill Level
Intermediate – This pattern is suitable for crocheters who are confident with basic stitches such as single crochet (SC), slip stitch (sl st), and working in relief techniques (textured columns). It also includes tips on finishing the project neatly.
Materials
- Polyester cord:
- Size: Use 4 mm melange polyester cord for small or medium baskets.
- Color: Recommended: vibrant melange cords (e.g., mix fantasy colors like pink, blue, and yellow) or other blended shades to suit your style.
- Length: Approximately 150–200 m of cord for a medium-sized basket with 16 cm diameter and 9 cm height.
- Wooden base:
- Size: 15 cm square wooden bottom with rounded corners and pre-punched holes.
- Crochet hooks:
- 4 mm crochet hook for the main pattern.
- 3 mm crochet hook for working tight stitches at the base.
- Optional Tools:
- Scissors for cutting cord ends.
- Lighter to seal the cord tips.
- Needle for hiding ends neatly.
- Stitch markers to use when determining increases in the wooden base.
Stitch Abbreviations
- ch = chain
- sc = single crochet
- sl st = slip stitch
Useful Tips
- Cord Selection: Polyester cords without a core work best for this project as they provide the structural integrity needed for baskets.
- Markers for Precision: When working on corners, it’s helpful to use stitch markers to place increases evenly and avoid distortions.
- Adjust Tension: Ensure stitches are neither too tight nor too loose. Too tight will pull the basket inward, while too loose will result in unstable or floppy walls.
- Hook Position: Keep your hook parallel to the basket throughout the stitching process to maintain consistent loop size and eliminate holes.
Step-by-Step Pattern Instructions
1. Preparing the Base
Round 1: Chain and Binding
- Take your chosen cord and leave a 40 cm tail to secure the bottom later.
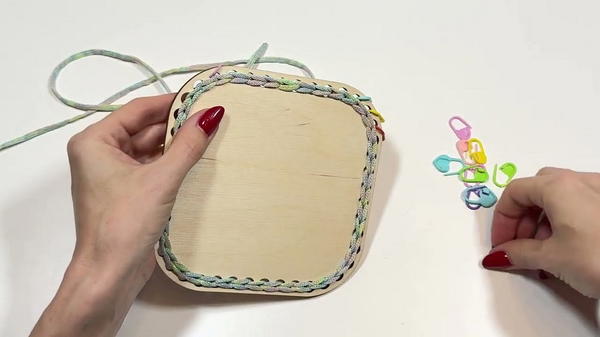
- Insert the 4 mm hook into any hole in the wooden base and pull out a loop. Hold the tail tightly to avoid slipping.
- Insert your hook into the next hole, pull out another loop, and slip stitch it into the loop on the hook.
- Continue this process around the perimeter of the base, ensuring all loops are even in size and smooth. Cover the holes entirely to avoid gaps.
Closing the Base Row:
- After finishing the last stitch, insert the hook under the first loop (at the start of the row). Use the tail to pull it through and close the row neatly.
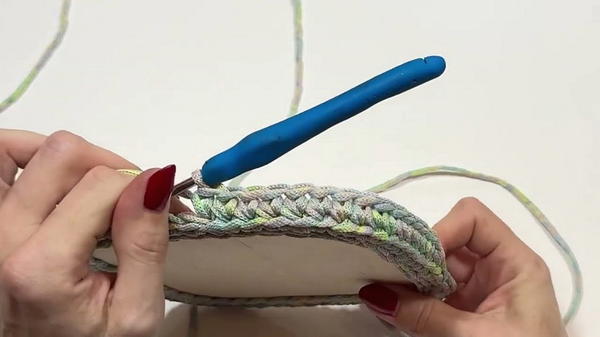
- Ensure the loops are identical in size and that the cord lays flat to avoid distortions like bending or stretching, which could affect how the walls stand.
2. Binding and Preparing for Walls
Round 2: Binding Row
- Using a 3 mm crochet hook, begin working single crochet stitches into each hole around the wooden base.
- Place stitch markers strategically to denote points that require increases:
- Corners: 3 holes in each corner require increases (2 SC per hole).
- Between corners: 2 single SC stitches followed by 1 increase.
- Repeat this placement of increases uniformly across the base to ensure symmetry.
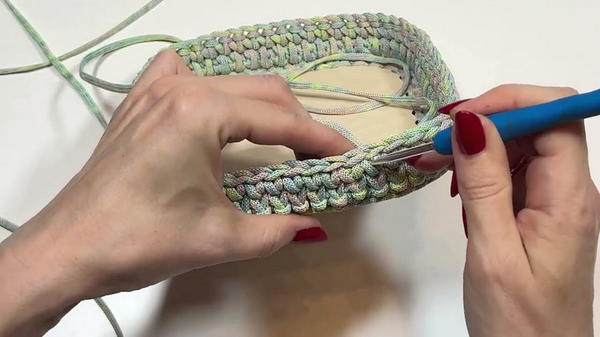
Tips for Binds and Closing Rows:
- At the last hole, pull the working thread through and finish the row using the tail. Insert the tail under the first braid and hide it neatly under bridges at the back.
3. Building the Walls
Round 1: First Wall Row
- Switch to a 4 mm crochet hook. Insert the hook into the top braid and the bridge, pull out the cord, and crochet SC stitches.
- Insert the hook parallel to the base to keep the tension consistent. Pull loops slightly longer than usual to ensure the resulting stitches conceal any gaps.
4. Relief-Stitch Pattern
Round 2: Relief-Stitch Columns
- Relief stitches create texture and thickness:
- Insert the hook into the split (middle of the loop between the braids on the previous row), pulling up a working loop.
- Insert the hook at the base of the same split loop (check mark) and pull out a longer loop to form the relief.
- Crochet the loop directly on the hook and complete the stitch.
- Repeat this in each stitch around the row.
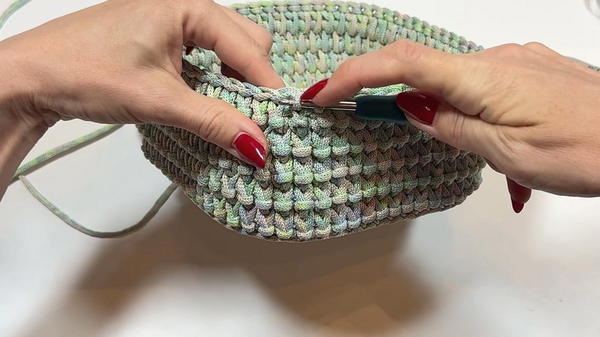
Row Alternation:
- Alternate rows between single crochet stitches and relief stitches:
- Work one row of relief stitches, followed by a row of SC. This alternation creates a visually elevated texture.
Height of Walls:
- Continue alternating rows until the basket reaches your desired height. For an average basket, aim for 9 cm in height.
5. Finishing the Basket
Binding Row for Top Edge:
- Insert the hook into the split of each stitch, pulling through a loop withou completing the stitch.
- Move to the next split, pull through another loop, and pass it through the first loop on the hook.
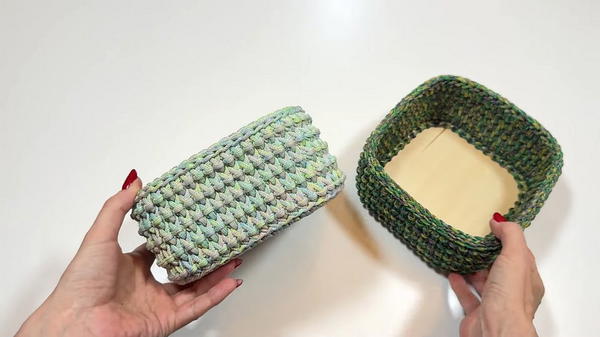
- Repeat this process around the top edge to create a neat braid border, offering the basket a completed look.
Securing and Hiding Ends:
- Cut the cord and pull the loop through completely to close the last stitch.
- Using a crochet hook or needle, hide the tails under several loops at the base and walls. Pull tight, cut off excess cord, and seal the scorched ends using a lighter to prevent fraying. Stretch the cord slightly to tuck the sealed end under nearby stitches.
Conclusion
This durable basket features a textured relief pattern and thick walls that stand upright, offering both aesthetic charm and practical utility for storage or display. The melange polyester cord’s vibrant color blends beautifully with the pattern, giving the basket an elegant finish. Customization is easy—alter the size of the wooden base or cord thickness for larger or smaller baskets suited to your needs. This is a fantastic project for home decor or gift-giving during holidays, perfect for small or medium items.