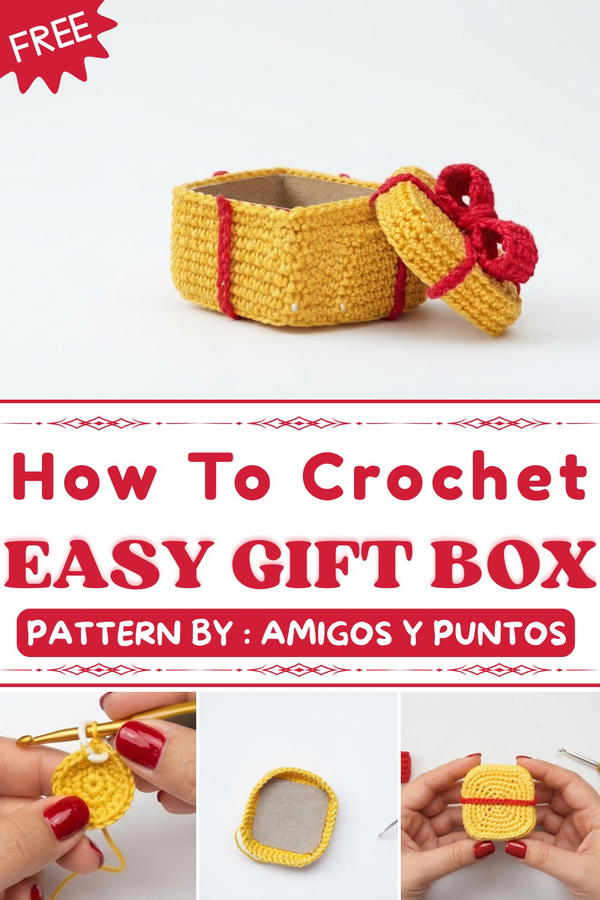
People will love using this gift box because it adds a thoughtful touch to any present. It’s not just a box but a keepsake that friends and family can keep and treasure. You can also use it as a pretty decoration on your dresser or desk. When made in different colors, these crochet boxes look lovely together as a set, brightening up any room.
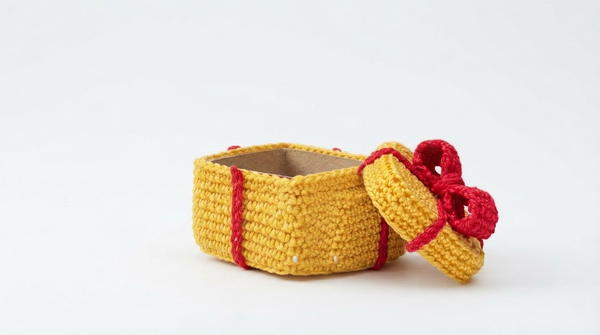
Whether you want to give a special gift or add a sweet decoration to your home, the Free Crochet Gift Box Pattern is a wonderful choice. It’s easy to make and a fun way to show you care. Try this pattern and see how a little crochet box can make your gifts even more meaningful and your space more joyful!
Crochet Amigurumi Gift Box Pattern
This tutorial guides you step-by-step through creating an adorable amigurumi gift box with a removable lid and charming decorative ribbon and bow. Worked in tight, dense stitches with a fine 1.5mm hook and yellow and red yarn, the box is structured with cardboard inserts to maintain its shape, making it both cute and sturdy.
Pattern Highlights
- Worked in the round using single crochet and triple increases for shaping.
- The box consists of two main parts: the lid and the base, created separately to fit perfectly.
- Back loop only (BLO) rounds add creative texture and definition.
- The decorative bow and ribbons are crocheted in red yarn using simple chains and rows of single crochet.
- Cardboard inserts provide firm structure to maintain a crisp box shape.
Notes
- This project uses a very fine hook (1.5 mm) and yarn to achieve a tight gauge and well-defined shape.
- Stitch tension should be firm but not overly tight to allow smooth shaping and assembly.
- Accurate stitch counts and increases ensure the lid fits snugly over the base.
- Cardboard inserts are critical for structure; use firm, thin squares cut to size.
- Fasten off securely after finishing parts to avoid unraveling.
- Assembly involves sewing and gluing the cardboard inside for a firm finish.
- The decorative bow is simple but effective, made from a small crocheted rectangle folded and sewn.
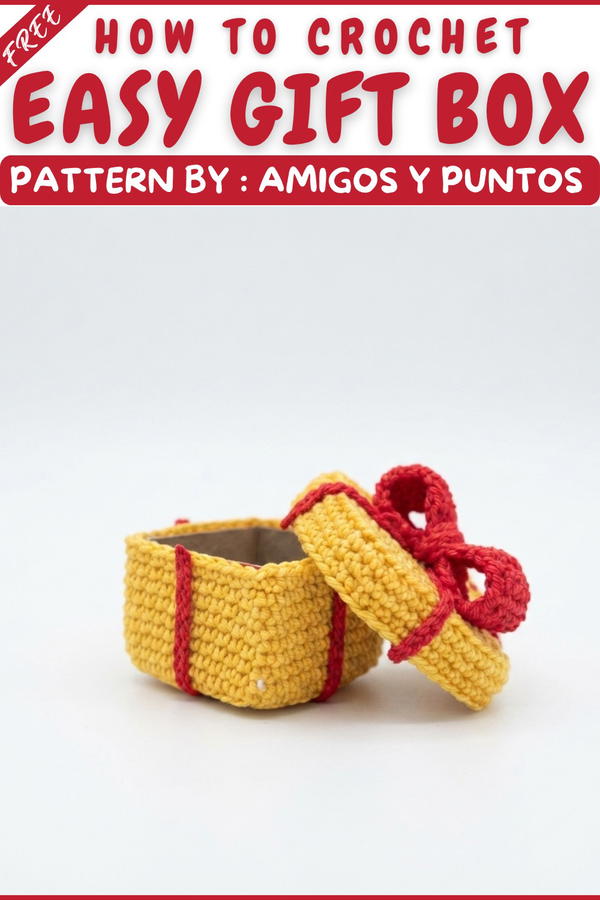
Skill Level
Intermediate: Familiarity with:
- Magic ring (MR)
- Working in rounds
- Increasing (especially triple increases)
- Back loop only (BLO) stitches
- Single crochet (sc) in rounds and rows
- Basic sewing of components
- Attaching decorations
Materials
- Yellow yarn in a fine weight (suitable for 1.5mm hook).
- Red yarn for decorative bow and ribbons.
- 1.5 mm crochet hook.
- Cardboard sheets for internal structure.
- Needle and thread/yarn needle for sewing.
- Scissors.
- Fabric glue or strong adhesive for securing cardboard (optional).
Measurements and Sizing
- Final gift box diameter and height will be proportional to yarn and tension, approximately 5-7 cm diameter and height, suitable for small gifts or display.
- Bow is approximately 8.5 cm long.
- Ribbons vary from 25 to 35 chains in length for top and sides.
Gauge
- Gauge is measured mostly in single crochet rounds at 1.5 mm hook.
- Typical gauge: approx. 44 stitches per round for lid/base diameter.
- Gauge impacts fit between lid and base. Adjust hook size if necessary to maintain proportional sizing.
Stitch Abbreviations
| Abbreviation | Meaning |
|---|---|
| ch | Chain |
| sc | Single crochet |
| sl st | Slip stitch |
| MR | Magic ring |
| BLO | Back loop only (stitch worked in back loop only) |
Special Stitches
Triple Increase (tr inc)
- Work 3 single crochet (sc) stitches into the same stitch to increase stitch count rapidly.
The Crochet Pattern
Part 1: The Lid (Yellow Yarn, 1.5 mm Hook)
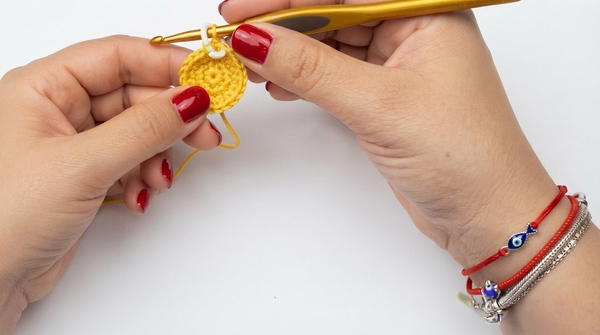
Round 1:
- Begin with a magic ring (MR).
- Work 6 single crochets (sc) into the MR. (6 stitches)
Round 2:
- Increase in every stitch (2 sc in each sc) to double stitch count.
- Total 12 stitches.
Round 3:
- Work pattern: 2 single crochets, 1 triple increase (3 sc in one stitch), repeat 4 times.
- Total 20 stitches.
Round 4:
- Pattern: 4 single crochets, 1 triple increase, repeat 4 times.
- Total 28 stitches.
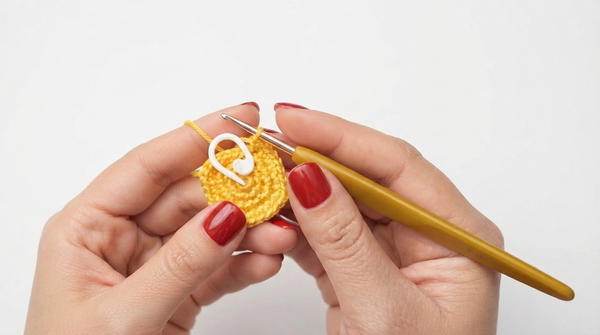
Round 5:
- Pattern: 6 single crochets, 1 triple increase, repeat 4 times.
- Total 36 stitches.
Round 6:
- Pattern: 8 single crochets, 1 triple increase, repeat 4 times.
- Total 44 stitches.
Round 7:
- Pattern: 10 single crochets, 1 triple increase, repeat 4 times.
- Total 52 stitches.
Round 8:
- Work 52 single crochets in back loops only (BLO) for textured round.
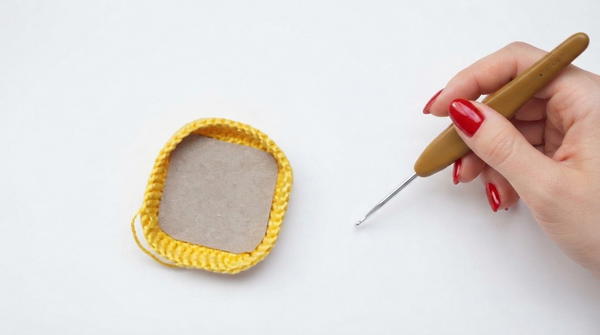
Rounds 9 - 10:
- Work 52 single crochets in both loops (regular sc).
- Fasten off and weave ends.
Part 2: The Base (Yellow Yarn, 1.5 mm Hook)
Rounds 1-6:
- Repeat the same steps as Lid, rounds 1 to 6 (MR 6 sc, increases to 44 stitches total).
Round 7:
- Work 44 sc in back loops only (BLO).
Rounds 8-15:
- Work 44 single crochets in both loops.
- Fasten off and weave ends.
Part 3: Finishing & Decorations
Structure:
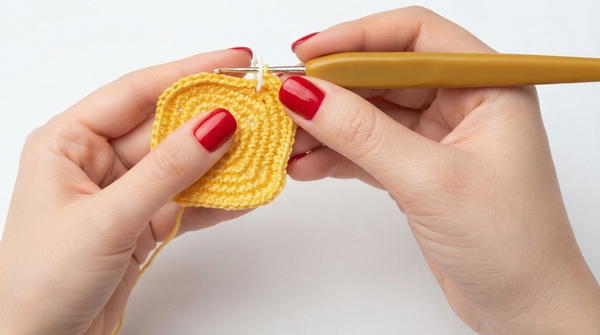
- Cut square pieces of firm cardboard sized to fit:
- The base flat bottom.
- The inside walls of both the base and lid.
- Insert and glue these into the crochet pieces to strengthen and define shape.
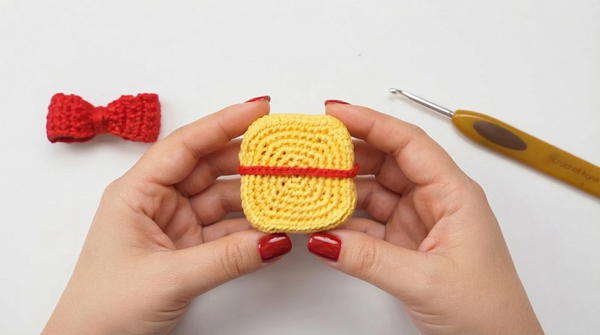
The Bow (Red Yarn)
- Chain 5 to start.
- Work back and forth in rows:
- Row 1: 4 single crochets (skip the turning chain).
- Continue rows of 4 sc until piece measures approximately 8.5 cm long.
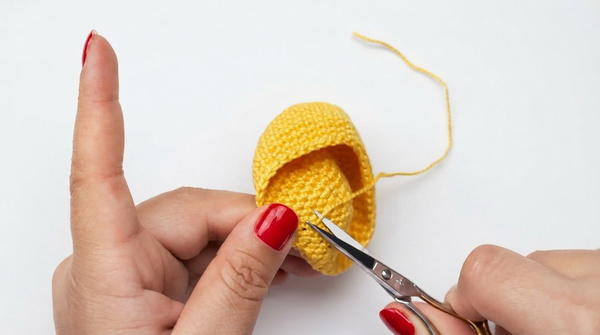
- Fold the rectangle in the middle and sew the center tightly to form a bow shape.
The Ribbon (Red Yarn)
- Crochet four chain strips:
- Two strips of 25 chains for the sides.
- Two strips of 35 chains for top and bottom.
- Attach ribbons on the lid's top and sides to resemble a gift box ribbon.
- Sew the completed bow onto the center of the ribbons on the lid.
Assembly & Finished Size
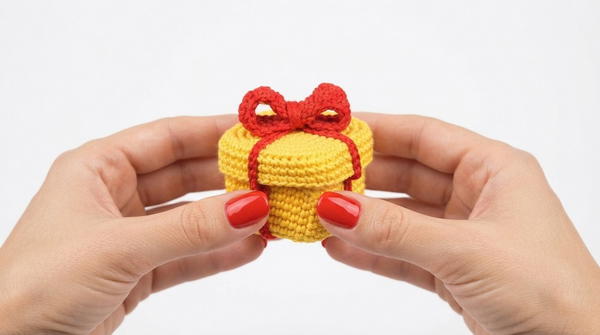
- After crocheting all pieces, including lid, base, ribbons, and bow, assemble by inserting cardboard for firmness.
- Sew ribbons securely around the lid, ensuring alignment and neatness.
- Attach the bow centered on top using needle and thread.
- The gift box should stand firm and hold its shape due to cardboard supports.
- Finished size depends on yarn and tension:
- Diameter approximately 5-7 cm.
- Height similar to diameter for a balanced box shape.
Conclusion
This amigurumi gift box pattern offers a delightful combination of precise crochet work and simple structure enhancements to produce a charming, sturdy decor or gift item. The use of a fine 1.5 mm hook with single crochet stitches and triple increases creates a perfectly shaped lid and base, while the use of back loop only stitches adds lovely texture. The added cardboard inserts strengthen the piece, making it both functional and aesthetically pleasing.
The finishing touches - a cute crocheted bow and decorative ribbons - complete the look, making this pattern suitable for gift-giving or festive decoration. Crochet enthusiasts will enjoy the well-defined shaping and creative assembly of this project.