Bring charm to your space with this free crochet tulip flower pattern that lets you create beautiful, lasting blooms to brighten any corner of your home.
Creating a bright and cheerful flower with yarn is a fun and relaxing project for all ages. This lovely design features smooth petals that gently open, capturing the beauty of springtime blooms. You can pick any color you like, red, yellow, pink, purple, and mix them to make your flowers truly unique and eye-catching. One of the great things about this flower is that you can adjust its size by using different yarn weights and hook sizes, making it perfect for small decorations or larger, showy pieces.
Free Crochet Tulip Flower Pattern for Spring Decor
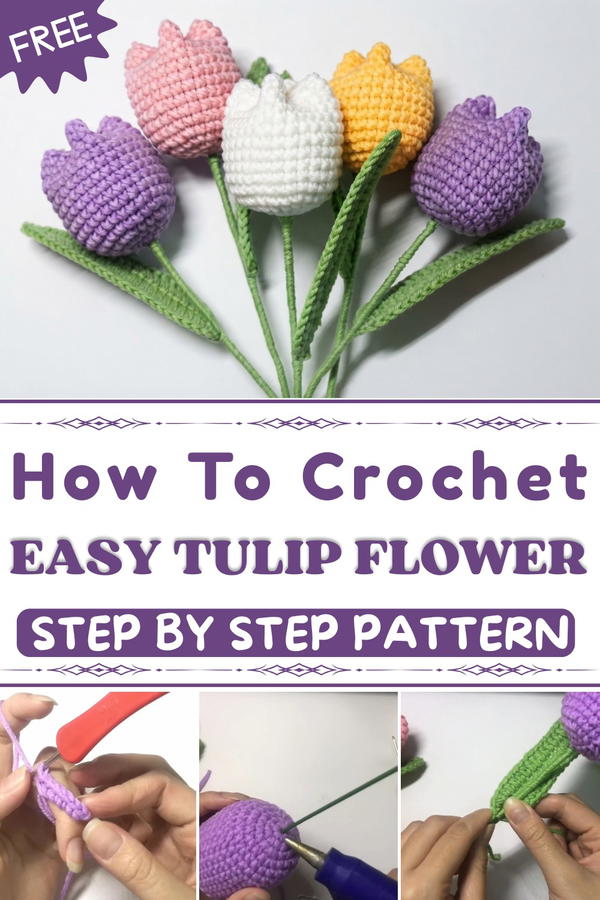
These handmade flowers can be used in lots of ways: add them to headbands, pin them as brooches, decorate bags, or create a long-lasting bouquet to brighten any room. The pattern uses simple stitches like single crochet and slip stitch, making it easy to learn and perfect for beginners and kids. These stitches help the flower keep a neat, sturdy shape that lasts.
With this pattern, you get a chance to practice important crochet skills without trouble, and the result is a beautiful, lasting flower that adds a personal touch to your crochets. Whether you're making gifts or sprucing up your space, these crochet flowers bring a bit of handmade happiness wherever they go.
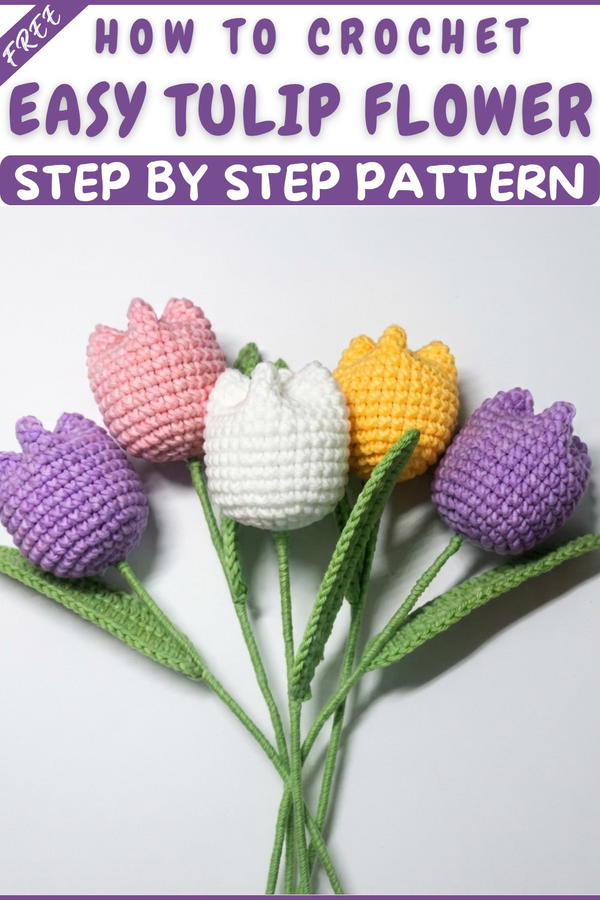
Crochet Tulip: Detailed Step-by-Step Pattern
Nothing captures the beauty of spring quite like a handmade crocheted tulip. This beginner-friendly tulip crochet pattern provides a clear, step-by-step guide for creating a realistic blossom and leaf, all assembled on a sturdy stem. Using simple stitches and basic materials, you’ll construct a plump tulip head, a graceful wire-backed leaf, and combine them easily for a lifelike tulip that is perfect for gifting, home décor, or as the start of a handmade bouquet. Let’s begin your floral crochet journey!
Pattern Basic Points
Construction Overview
- Three main sections: flower head, leaf, and final assembly.
- Amigurumi in the round: The flower head is built up with easy increases and finished into a rounded form.
- Wired leaf and stem: The leaf and stem are shaped with inserted wire for a lifelike appearance and stability.
- Stuffed flower head: Ensures fullness and a professional look.
- Minimal sewing and straightforward finishing for maximum beginner-friendliness.
Special Notes
- Use tight, even stitches for best results and to keep the stuffing secure.
- Mark each round’s start with a marker if new to working in spirals.
- Wire ends should be bent or curled to prevent poking through the flower or snagging.
- Allow hot glue to cool fully before handling the piece.
- Use any color for your tulip flower head to make your own custom bouquet.
Skill Level
Beginner
If you are familiar with single crochet, half double crochet, increases, and working in the round, this project is perfectly suited for you.
Materials
- Yarn:
- Milk cotton yarn, color of choice for tulip head, green for leaf/stem
- Hook:
- 3.5mm crochet hook
- Wire:
- Zinc wire (approx. 30cm for stem, thinner for leaf)
- Fiberfill
- Scissors
- Tapestry needle
- Hot glue gun
Measurements / Sizing
- Tulip flower head: Approx. 3-4 cm wide, 6-7 cm tall
- Leaf: Approx. 12–14 cm long
- Stem: Approx. 28–30 cm long after assembly
- Final tulip: 30–35 cm tall, depending on shaping
Gauge
- Gauge is not critical, but stitches should be firm.
- After Row 5, flower head should measure about 4 cm diameter (flattened, unstuffed).
Stitch Abbreviations
- MR – Magic Ring (Magic Circle)
- sc – single crochet
- inc – increase (2 sc in the same stitch)
- sl st – slip stitch
- hdc – half double crochet
- ch – chain
Special Stitches
- Magic Ring: Begin amigurumi projects with an adjustable ring for a tight, neat center.
- Increase (inc): 2 sc in one stitch.
The Pattern
Part 1: Tulip Flower Head
- Foundation:
- Start with a magic ring (MR).
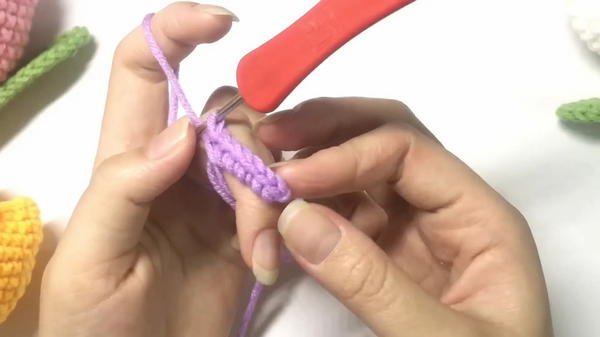
- Start with a magic ring (MR).
- Row 1:
- Work 6 sc into the magic ring. (6 sts)
- Row 2:
- inc in every stitch (2 sc in each st) — 12 sts.
- Row 3:
- (1 sc, inc) repeat around — 18 sts.
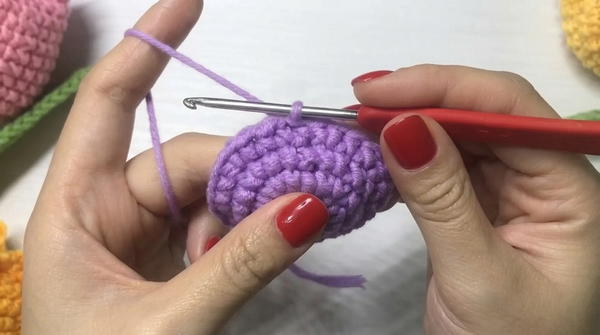
- (1 sc, inc) repeat around — 18 sts.
- Row 4:
- (2 sc, inc) repeat around — 24 sts.
- Row 5:
- (3 sc, inc) repeat around — 30 sts.
- Rows 6–15:
- 1 sc in each stitch around. Repeat for 10 rows (30 sts per round).
- Finishing:
- After Row 15, sl st to the next stitch, fasten off, and leave a long tail for sewing.
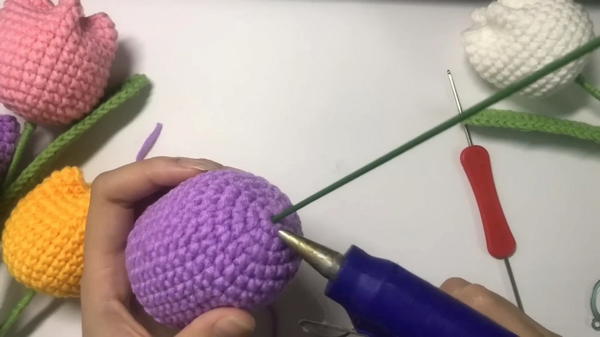
- After Row 15, sl st to the next stitch, fasten off, and leave a long tail for sewing.
Part 2: Tulip Leaf (Wired)
- Foundation:
- ch 25 with green yarn.
- Base Layer:
- 1 sc in the 24th chain from the hook.
- Wire Placement:
- Insert leaf wire into your work at this point.
- Main Body:
- 22 hdc along the remaining chains, incorporating the wire within.
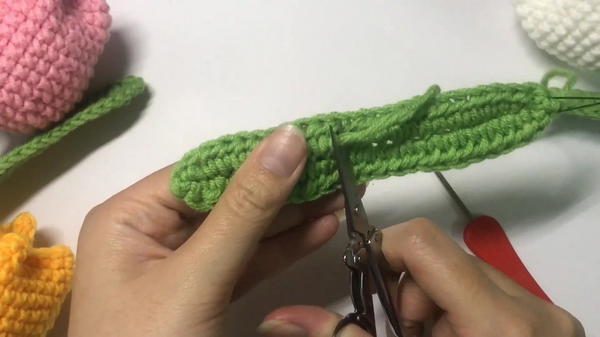
- 22 hdc along the remaining chains, incorporating the wire within.
- Turning Point:
- At the last chain, 3 sc in the same stitch.
- Return Side:
- 22 hdc down the opposite side of the chain, again over the wire.
- Finishing:
- 1 sc in final stitch, then sl st to join. ch 1 and fasten off.
Part 3: Closing the Flower Head
- Stuffing:
- Fill the flower head firmly with fiberfill for a rounded tulip shape.
- Sewing:
- Thread the remaining tail onto a tapestry needle.
- Cinch and sew the flower head’s base, pulling the shape tight.
- Secure with a knot, then weave the end into the petal body to hide.
Part 4: Final Tulip Assembly
- Stem Preparation:
- Shape the top of a 30cm zinc wire using pliers or by folding; make sure no sharp ends are exposed.
- Attaching the Flower:
- Insert the wire through the flower's base.
- Use the hot glue gun to anchor the wire inside the head.
- Wrapping the Stem:
- Take green yarn and wrap tightly around the wire stem from base of flower downwards.
- Attaching the Leaf:
- Position the leaf wire parallel with the stem, and wrap green yarn around both the stem and the exposed part of the leaf wire for several centimeters to fasten securely.
- Secure yarn end with hot glue.
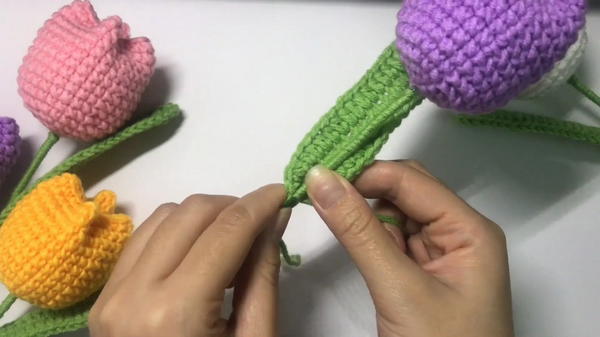
- Finishing:
- Make final adjustments, shaping the leaf and flower for a natural look.
Assembly & Finished Size
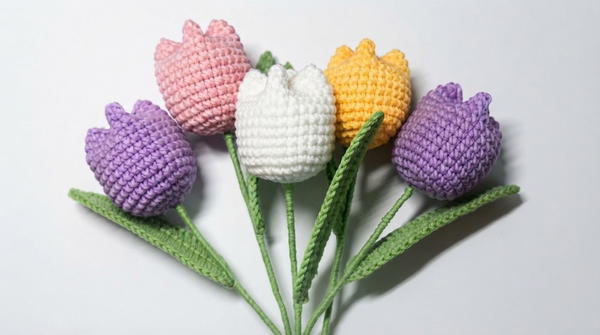
- Flower head: Firm, rounded, and sculpted into a tulip form.
- Leaf: Securely attached, adjustable for gentle curling or upright pose.
- Stem: Smoothly wrapped with green yarn and strong due to zinc wire core.
- Final tulip: Around 30–35 cm tall, with professional detailing and shaping.
Conclusion
This pattern demonstrated how simple stitches, single crochet, half double crochet, increases, and slip stitch, can be used to make a plush, three-dimensional flower. With wired shaping and secure assembly, your tulip will stand tall and proud for years to come. This project is perfect to gift, decorate, or make in a variety of colors for a fresh bouquet effect.