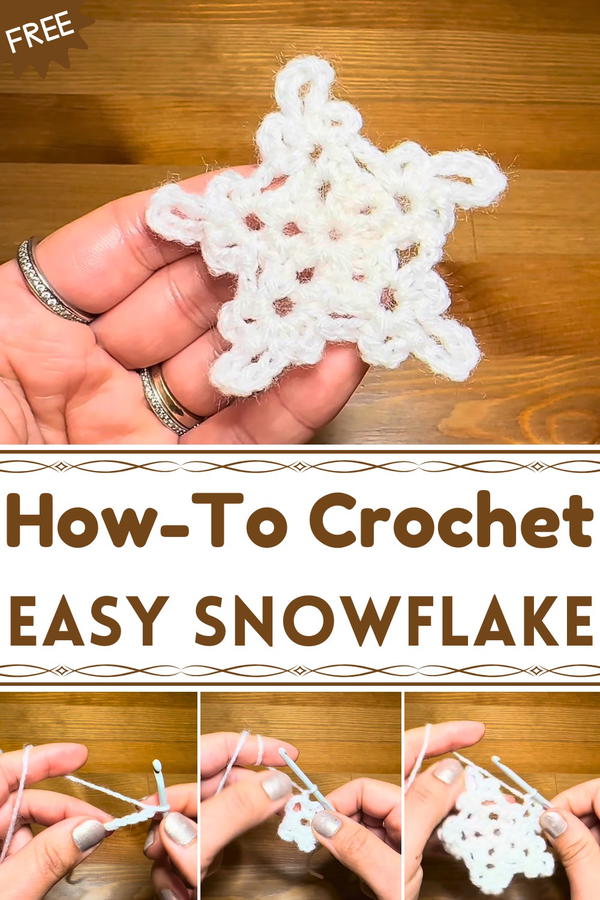
Glide into winter charm with this Free Crochet Snowflake Pattern bringing delicate frosty accents that are perfect for festive décor and seasonal projects.
Winter has always carried a special magic, with delicate snowflakes drifting through the air, each one unique and fleeting. These tiny wonders inspire feelings of calm, beauty, and timeless charm, making them a favorite motif for seasonal décor and handmade treasures. The Free Crochet Snowflake Pattern captures this wintry elegance in lasting form, turning the ephemeral beauty of snow into pieces that can be cherished year after year. With intricate details that mirror nature’s artistry, each snowflake brings a graceful touch to any holiday setting.
Elegant Crochet Snowflake Pattern for Festive Decor
The versatility of these snowflakes makes them especially appealing. They can be used as ornaments for Christmas trees, strung together for garlands, or added as accents to festive tablescapes. Their lightweight form makes them easy to incorporate into greeting cards or gift wrapping, adding a personal and memorable touch to presents.
Another benefit lies in their durability, while real snowflakes melt in seconds, these handmade ones can be kept as keepsakes and enjoyed season after season. The Free Crochet Snowflake Pattern also offers an opportunity to share thoughtful gifts, spreading joy through delicate pieces that hold meaning. Beautiful yet practical, these snowflakes bring the wonder of winter indoors, adding elegance and warmth wherever they are placed.
Special Features
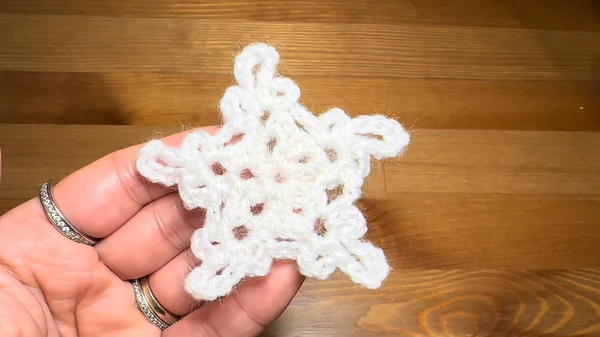
- Elegant Design: The snowflake features pointy edges and chain loops for a distinct, delicate appearance.
- Customizable Colors: While the tutorial uses white yarn, you can choose other colors to suit your aesthetic.
- Multi-Purpose: The finished snowflake can be used as ornaments, embellishments, or even decorative accents for gifts.
- Build-on Technique: The design can serve as a foundation for more complex snowflake patterns or larger projects.
Materials Needed
- Yarn: Double-knit yarn in white (or any color of your choice).
- Hook: 3.5mm crochet hook.
- Tools: Pair of scissors and a darning needle for finishing touches.
Level of Difficulty
Beginner-Friendly: This tutorial primarily uses basic crochet stitches (chain, slip stitch, single crochet), making it suitable for beginners. However, attention to detail and following the pattern closely is key to achieving the desired shape.
Step-by-Step Instructions
1. First Round
- Start with a Slip Knot: Begin by making a slip knot with your white yarn.
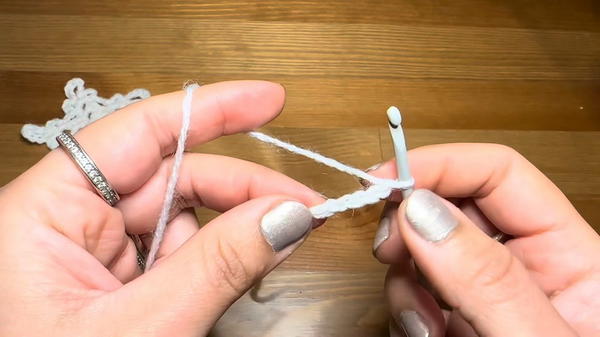
- Chain 5: Crochet 5 chains (count them as 1, 2, 3, 4, and 5).
- Make a Ring: Insert your hook into the first chain and work a slip stitch to form a ring. Pull apart the chains slightly to create space in the center.
- Work into the Ring:
- Slip your hook into the ring and work 2 single crochets (SC).
- Chain 3, then work 2 more single crochets into the ring.
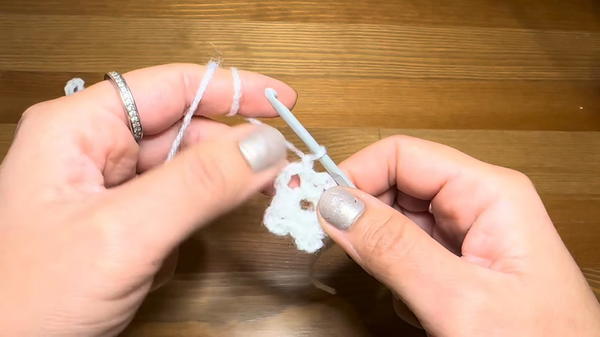
- Repeat: Repeat the process of 2 single crochets, chain 3 until you have 5 “points” (sets of SC and chains).
- Join: Finish the round with a slip stitch into the first single crochet of the round.
2. Second Round
- Move into the Chain-3 Space: Begin with a slip stitch into one of the chain-3 spaces created in the previous round.
- Work Stitches in Each Chain-3 Space:
- Crochet 2 single crochets, then chain 3, and finish with 2 more single crochets into the same space.
- Repeat the same pattern in every chain-3 space.
- Finish the Round: Complete the round with a slip stitch into the first single crochet of the round.
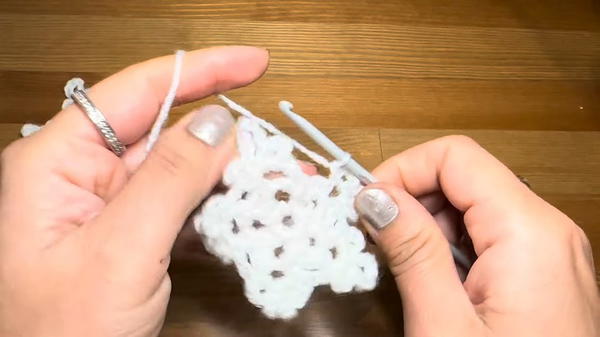
3. Third Round
- Move into a Chain-3 Space: Slip stitch into one of the chain-3 spaces again to start the final round.
- Combination in the Space:
- Work 1 single crochet (SC), chain 3, followed by 1 single crochet (SC).
- Chain 7, then work 1 single crochet, chain 3, and another single crochet into the same chain-3 space. This creates the delicate loops and shapes around the edges.
- Move to the Next Space:
- Chain 2 to transition between chain-3 spaces.
- Repeat the pattern from Step 2 (SC, chain 3, SC, chain 7, SC, chain 3, SC) in each space.
- Chain 2 to transition between chain-3 spaces.
- Finish the Round: Chain 2, slip stitch into the first single crochet of the round, and fasten off.
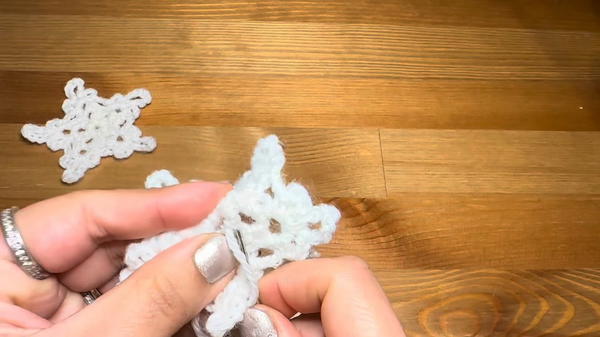
4. Finishing Touches
- Cut the Yarn: Use scissors to snip the yarn, leaving enough length for weaving in.
- Weave in Ends: Pull the loop through the stitch with your crochet hook, then use a darning needle to weave in loose ends around the stitches.
- Stretch the Points: Adjust the chain-7 loops gently to shape the snowflake and accentuate the edges.
Tutor's Suggestions
- Secure Yarn Ends: Use a darning needle to weave in tails securely to ensure neatness and durability.
- Use Stitch Markers: Marking the first stitch of each round helps track progress and avoid errors in counting.
- Experiment with Sizes: Try different yarn weights and hook sizes to create larger or smaller snowflakes.
Uses
- Holiday Décor: Use snowflakes as ornaments or garlands for Christmas trees and walls.
- Gifts: Add them to handmade cards, gift wrapping, or as standalone gifts.
- Accessories: Incorporate snowflakes into wearable items like hats and scarves for a winter-themed touch.
- Craft Embellishments: Attach to crochet blankets or pillows for added design elements.
A Tip for Success
When creating delicate crochet patterns like this, make sure your stitches are consistent. Tight stitches may cause the design to curl, while overly loose ones may make the snowflake floppy. Practice achieving even tension for a polished look.
Conclusion
Crocheting this delicate snowflake is a wonderful way to elevate your crafting skills while creating something beautiful and versatile. The simple yet intricate design is perfect for holiday decorations, gifting, or seasonal accessories. With a few basic materials and stitches, you can make multiple snowflakes in no time.


