Mint Design Blog


Turn heads with a charming ruffled mini dress made easy from this free crochet pattern perfect for playful fashion lovers and stylish statements.
Feeling stuck on your next project and unsure where to begin? Finding a design that balances beauty and simplicity can be a real challenge, especially if you're looking for something unique and versatile. The Free crochet Ruffled Mini Dress Pattern might be the solution you need! Shared by Gülşah Özcan Filiz on her YouTube channel, this detailed guide helps you craft a stunning mini dress that’s both fashionable and functional.
Free Pattern: Crochet Ruffled Mini Dress for a Chic Outfit
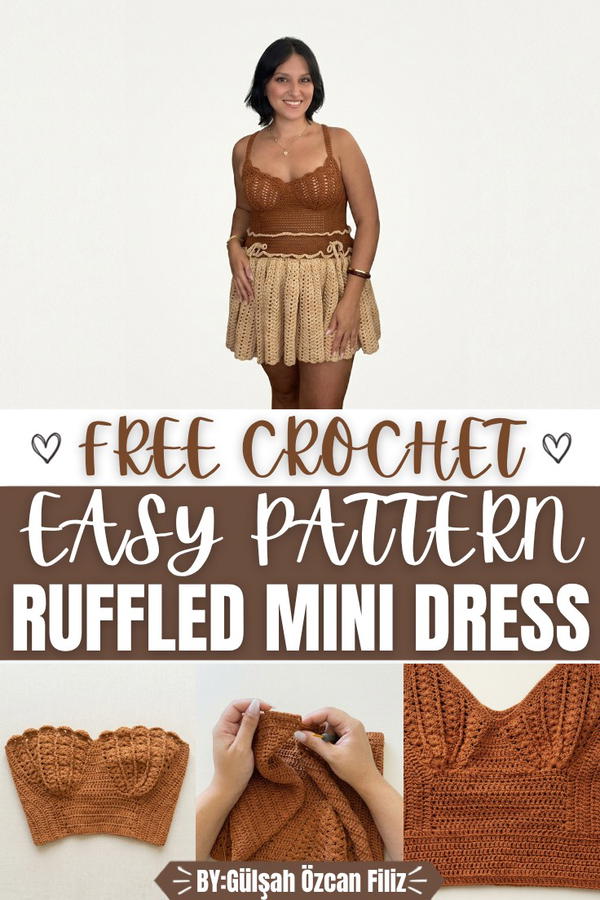
This dress is perfect for those looking to create a piece that combines elegance with comfort. Featuring ruffled edges, a flared skirt, and a ribbon tie detail, the design not only provides a flattering fit but also offers a playful and chic appearance. Its lightweight texture and timeless shape make it ideal for any occasion, from casual get-togethers to special celebrations.
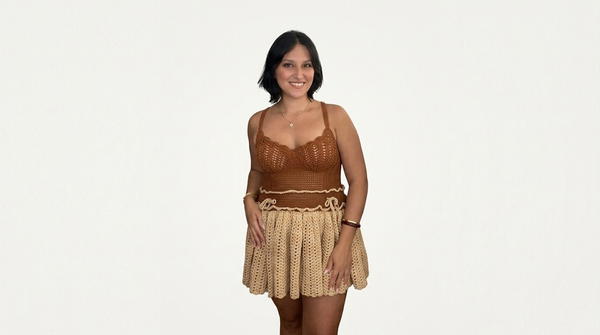
The pattern offers plenty of flexibility in terms of style and usability. Whether you want something breezy for summer days or a unique layering option for cooler weather, this dress fits the bill. Plus, its decorative qualities make it a fantastic choice for personalized gifts, allowing you to create something truly meaningful for someone special. With this pattern, you’ll enjoy a creative process that leads to a wardrobe staple blending style, comfort, and artistic flair seamlessly.
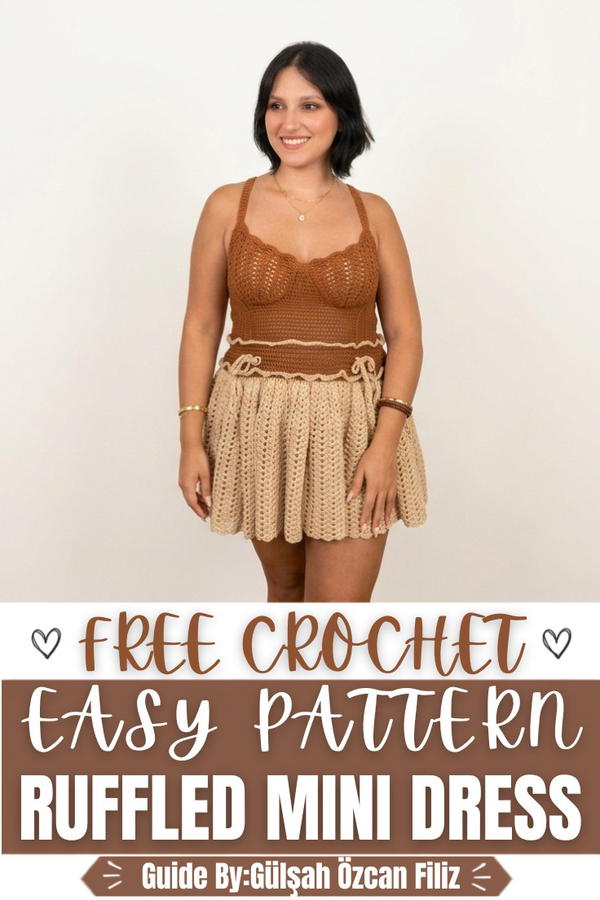
Pleated Crochet Dress Pattern
This crochet dress combines a fitted bust area with a flowing pleated skirt, resulting in an elegant yet playful silhouette. The upper bust area is worked separately, then seamlessly attached to the skirt section worked in rounds. This pattern uses cotton yarn to create a lightweight yet textured design. With careful attention to detail, this project can be customized to fit various sizes and styles.
Skill Level
Intermediate: This pattern involves techniques such as shaping, working in the round, creating pleats, assembling pieces, and basic garment construction.
Materials
- Yarn: Thin cotton yarn
- Approximately 78 balls of yarn (skirt requires high yardage due to pleated design)
- 1.5 balls of yarn for the bust section (100 grams each ball).
- Optional: Add an additional ball if sleeves or straps are desired for customization.
- Crochet Hook: 3 mm hook for the main body and skirt.
- Notions:
- Yarn needle for seams and weaving in ends.
- Scissors for cutting yarn.
- Optional: Crochet stitch markers for identifying increases, or customize with ribbon bows as described.
Special Stitches
- Half Double Crochet (HDC): Yarn over, insert hook into stitch, yarn over, pull up a loop (three loops on hook), yarn over, and pull through all three loops.
- Double Crochet (DC): Yarn over, insert hook into stitch, yarn over, pull up a loop (three loops on hook), yarn over, pull through two loops (two loops remain), yarn over again and pull through the last two loops.
- Slip Stitch (Slst): Insert hook into the stitch, yarn over, and pull through both loops on hook in one motion.
Stitch Abbreviations
- Ch: Chain
- DC: Double Crochet
- Slst: Slip Stitch
- HDC: Half Double Crochet
Useful Tips
- Fit Adjustments: Both the bust and skirt sections can be modified for size by adding or reducing rows. The bust segment is created first, allowing you to test fit before continuing with the skirt.
- Gauge: The pleated skirt design uses significant yardage, which will vary based on tension. Maintain consistent tension across all sections for even pleats.
- Skirt Customization: The length of the skirt is flexible; simply add or reduce rounds to suit your style. Mini, midi, or full-length options are possible.
- Pleat Visibility: Cotton yarn works best for highlighting the structure of pleats. Experimenting with other types of yarn may affect the final drape.
Detailed Pattern
1. Bust Section
This dress’s bust section is a fitted, seamless area that can vary in size depending on individual measurements.
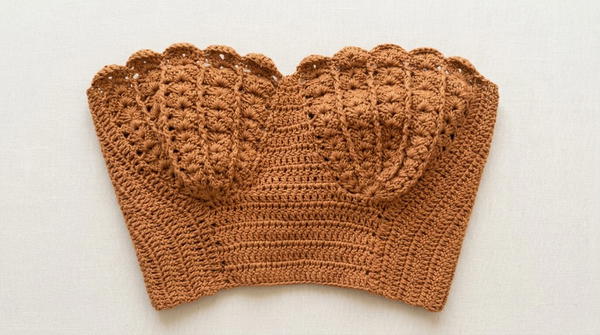
Bust Cup
The bust portion is referenced from a previous crochet tutorial go to channel that explains how to create cups seamlessly. Follow the same procedure:
- Foundation Row: Start with a slip knot and chain until it matches the width of your bust.
- Rows of DC: Work back and forth in double crochet rows across the chain, adjusting for proper fit. For thin yarn, you may require 13 rows per cup; thicker yarn may only need 10 rows.
- For larger sizes, you can increase the rows to ensure coverage.
- Assembly: Join the two cups securely at the center and sew the cups in place for stability.
Bust Joining
After the cups are completed, the sides and front are crocheted together to form a fitted "tube" shape. Once complete:
- Position the bust piece flat, ensuring that it covers your chest comfortably.
2. Skirt Section
The skirt is worked in rounds starting from the lower edge of the bust.
- Begin with the 3 mm crochet hook and attach yarn to the edge of the bust.
Foundation Railing
- Row 1:
- Insert hook along the edge of the bust piece; crochet DC by eye along the hemline.
- Ensure spacing is even but not too far apart or tight. This row establishes the foundation for the pleats.
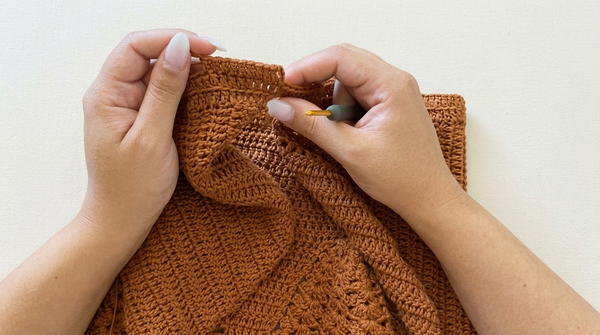
Pleated Sections
The pleats are formed through rows of increasing double crochet stitches.
- Row 2:
- Ch 3, turn.
- Work DC into the outer loop of each stitch (to create dashed lines).
- Continue evenly spacing DCs while focusing only on the outer loops.
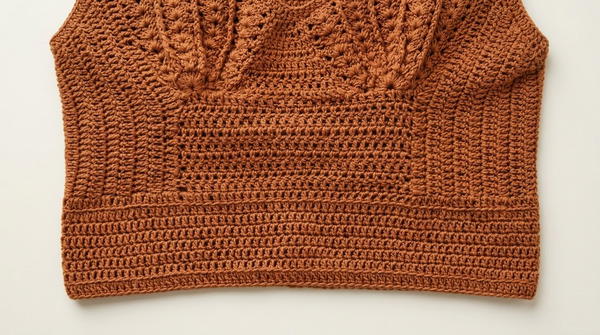
- Rows 3-6:
- Continue working DC rows, but now work into both loops for standard stitches.
- Add 6 straight rows of DC stitches across, without further increases to form the base.
Increasing Rounds for Pleats
- Round 7 (Form V-Stitches)
- Ch 3, turn. Work 1 DC into the stitch, Ch 1, and make another DC in the same space to form a “V”.
- Continue this pattern:
- Create one V-stitch per stitch all the way around (ensure proper spacing).
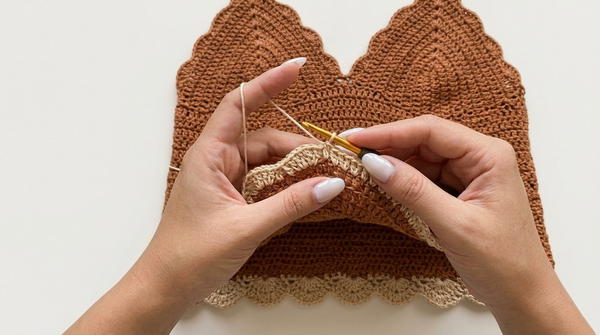
- Create one V-stitch per stitch all the way around (ensure proper spacing).
- Round 8 (Expand V-Stitches)
- Work 2 DC, Ch 2, 2 DC into each previous V-stitch. Skip over gaps and work only in V areas.
- Round 9 and Up (Maintain Pleats)
- Continue working into each V-stitch:
- Add 3 DC, Ch 2, 3 DC per V-stitch.
- Example: Rows 1-5 progress as DC sets of 2, 3, 4, and so on.
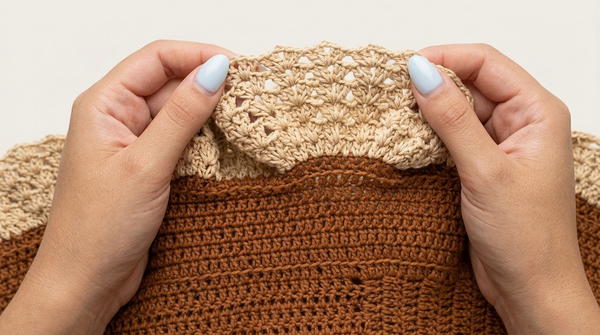
- Continue working into each V-stitch:
- Skirt Length:
- To match the length, keep repeating these rounds until the desired skirt size is achieved. Example: 78 rows may achieve a pleated length for a standard height dress. You can work fewer rows for a mini skirt or half-circle design.
3. Waistband Ruffle
After the skirt is complete:
- Attach yarn at the waistline to begin the ruffled waistband ruffle.
Form Ruffles
- Row 1:
- Crochet single and double crochet stitches around the waistline.
- Alternate between one SC and one DC to create soft waves.
- Row 2:
- Increase: Crochet two SC into one stitch occasionally.
- Row 3:
- Add further repetition using alternating stitches like: 3 odd, 3 even, 3 stitch clusters.
- Continue to add rows of ruffles until you achieve the desired waistband texture.
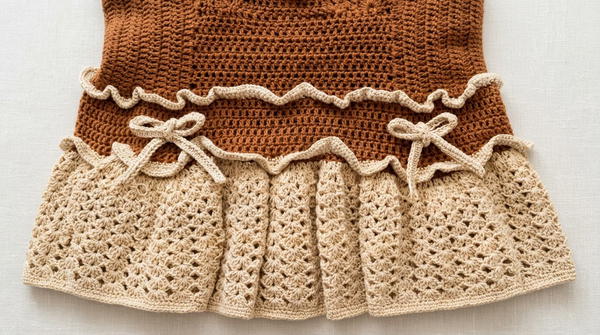
4. Ribbon Detail (Optional)
Ribbon Bow
- Ch 90:
- Adjust the chain count based on desired ribbon width.
- Work HDC down entire chain length.
- Place the ribbon around the dress’s waistband and create a decorative bow by tying securely. Ensure symmetry before wearing.
Assembly and Sizing
Once both the bust and skirt sections are completed:
- Join Skirt to Bust: Use SC or slip stitches to seam together. Try on as needed to ensure proper fit.
- Check Length: Add additional rounds to the skirt if the length is insufficient; adjust waistband ruffles for comfort.
- Weave in Loose Ends: Use a yarn needle to clean up the edges for a neat finish.
- Optional Blocking: Use steam or light blocking to smooth out pleats and ruffles for an even finish.
Conclusion
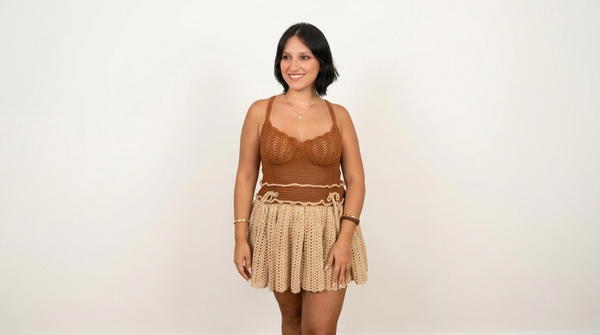
This creative crochet dress pattern combines functionality with aesthetics, featuring pleated detail in the skirt. The design offers flexible customization with playful options such as ruffles, ribbons, or optional sleeves. While the pleated structure may require effort and yarn, the result is worth it, delivering a flowy and elegant handmade garment.