 Mint Design Blog



Create adorable newborn baby socks effortlessly with our free crochet designs in two easy ways perfect for cozy, handmade comfort your little one will love.
When a new baby arrives, there’s a special joy in creating cozy, handmade items that offer warmth and comfort. One adorable project that captures this sentiment perfectly is making tiny socks for newborns. If you’re looking for an easy yet charming crochet creation, the Free crochet Newborn Baby Socks in 2 Easy Ways pattern is exactly what you need. Designed and shared by the creative mind behind the channel rasha Crochets, this pattern makes it simple to crochet soft, snug socks with just two simple techniques.
Easy Crochet Baby Socks for Newborns | Free Pattern + Step-by-Step Tutorial
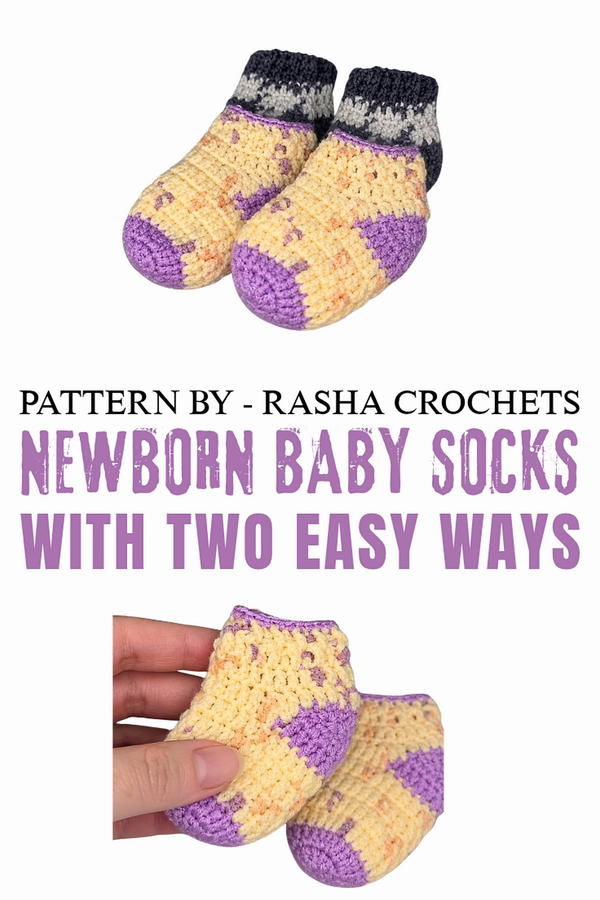
These newborn baby socks are not only practical but also incredibly cute, providing both warmth and style for little feet. Whether you’re crocheting a gift for a baby shower or simply adding to a baby’s wardrobe, these socks have a wonderful decorative appeal. They’re perfect for pairing with outfits to add a sweet finishing touch while keeping those tiny toes cozy during cooler days.
The design features a classic look with options that suit different preferences, from a shorter ankle sock to a longer, cuffed style. Their charming simplicity makes them appealing to all, and the cozy fit ensures they stay comfortably on little feet without slipping, ideal for babies who are always on the move in the early stages.
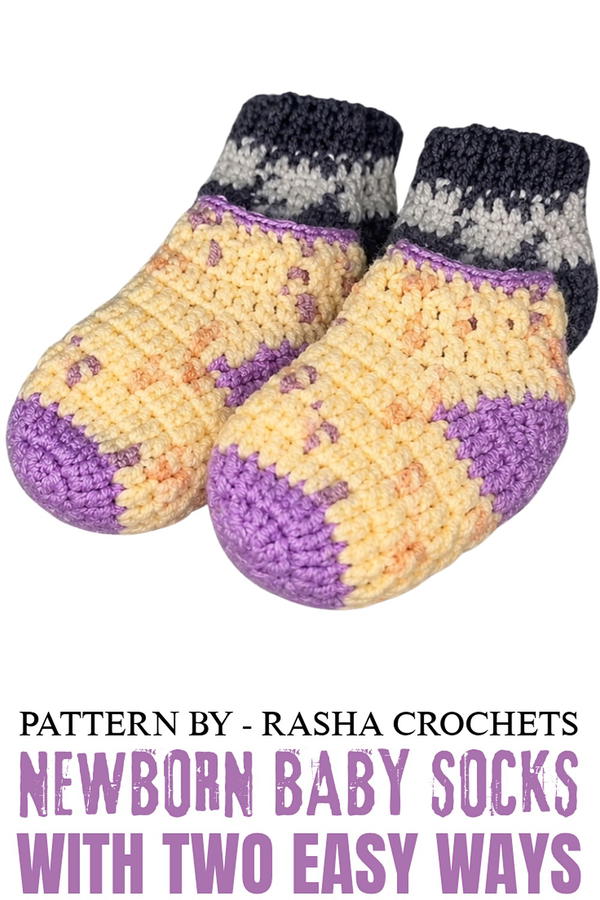
Newborn Baby Sock Crochet Pattern
Crochet a cozy pair of newborn baby socks, thoughtfully designed to provide comfort and warmth for delicate little feet. This seamless pattern features a snug fit with a soft cuff, customizable heel, and smooth shaping that ensures both functionality and aesthetics. Perfect for gifting or personal use, these socks are easy to make and adaptable for various colors or styles.
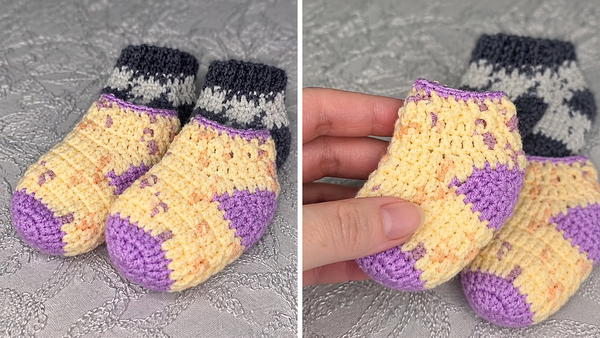
Skill Level
Beginner to Intermediate
This pattern is suitable for beginners who are familiar with basic crochet techniques such as working in rounds, increasing and decreasing stitches, and simple ribbing. Intermediate crocheters will appreciate the balance of ease and precision required for shaping the heel and cuff.
Materials
- Yarn:
- Choose a soft, baby-friendly yarn. Lightweight or DK (double knitting) yarn is recommended to ensure the socks are gentle against a baby’s skin. Consider brands that specialize in baby-safe yarns for extra softness and breathability.
- Crochet Hook:
- 2mm hook is recommended to achieve a snug texture ideal for baby socks.
- Optional Accessories:
- Contrasting color yarn: Use for customizing the heel or cuff for added flair.
- Stitch markers: Helpful for keeping track of rounds or identifying corners while shaping.
- Other Tools:
- Scissors for cutting the yarn ends.
- Tapestry needle for weaving in loose ends neatly.
Special Stitches Used
- Magic Ring (MR):
Magic Ring allows you to start crocheting in the round while leaving a small, closed center. To create a magic ring, loop the yarn around your fingers, insert the hook into the loop, yarn over, and pull through. Work the specified stitches into the loop, then pull the tail tightly to close the center. - Front Post Double Crochet (FPdc):
Yarn over, insert the hook around the front post of the stitch (not the top loops), yarn over again, and pull through. Complete the double crochet stitch as usual. This creates a raised effect. - Back Post Double Crochet (BPdc):
Yarn over, insert the hook around the back post of the stitch, yarn over again, and pull through. Finish the stitch as normal. This pairing with FPdc creates ribbing.
Stitch Abbreviations
- MR: Magic Ring
- ch: Chain
- dc: Double Crochet
- dec: Decrease
- FPdc: Front Post Double Crochet
- BPdc: Back Post Double Crochet
- sl st: Slip Stitch
Useful Tips
- Tight Magic Ring Closing: Ensure the magic ring is pulled tightly for a perfect, gap-free toe design.
- Counting Stitches: Track your stitch count at the end of each round to maintain consistent sizing throughout the socks.
- Heel Symmetry: When shaping the heel, focus on even decreases for a polished result.
- Cuff Customization: Feel free to adjust the cuff length for a snug or decorative finish.
- Blocking & Finishing: Lightly block the finished socks to even out stitches and achieve a soft texture.
Pattern Instructions
Part 1: Magic Ring and Base
The base of the sock forms its toe, worked in a closed circle for seamless construction.
Round 1:
- Start with a magic ring.
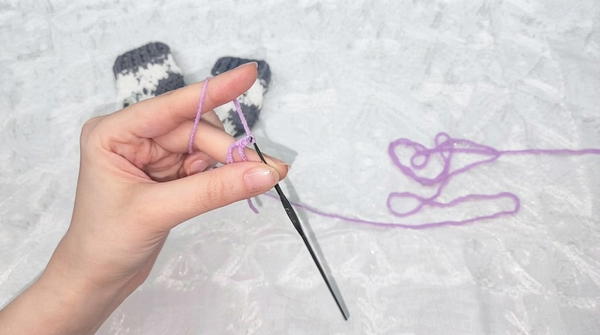
- Ch 3 (counts as the first dc).
- Work 11 dc into the ring to create 12 stitches total.
- Pull the yarn tail tight to close the ring.
- Sl st into the top of the starting ch-3 to join. (12 dc)
Part 2: Increasing the Toe
Round 2:
- Ch 3 (counts as 1 dc).
- Work 2 dc into each stitch (inc) around the circle.
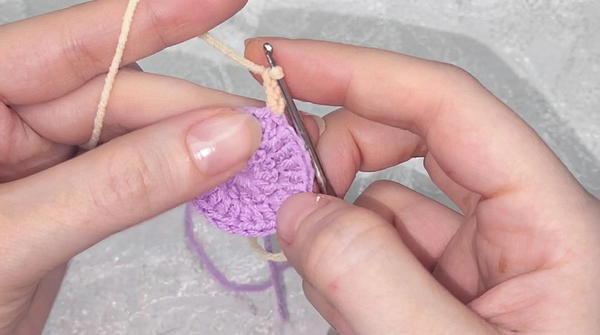
- Sl st to the top of the starting ch-3 to join the round. (24 dc)
Part 3: Creating the Sock Body
This step builds height for the sock and gives it structure.
Round 3:
- Ch 3, then work 1 dc into each stitch around.
- Sl st to the top of the starting ch-3 to join. (24 dc)
Rounds 4–6:
- Repeat Round 3 to form the desired height for the sock body. (24 dc for 4 rows)
Part 4: Shaping the Heel
The heel adjustment creates the narrow curve at the back of the sock.
Step 1: Heel Base:
- (Optional) Attach a contrasting yarn for the heel.
- Ch 3, work 12 dc into the first 12 stitches. Turn.
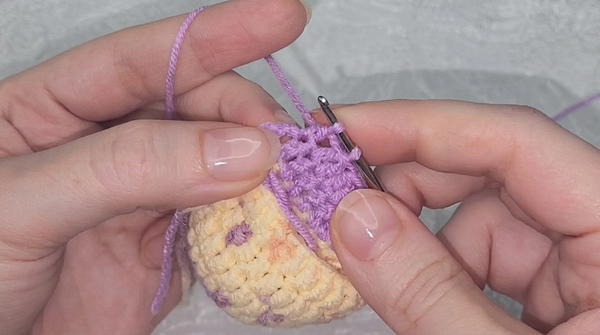
Step 2: Heel Decreases:
- Row 1: Ch 3, work dc2tog across the first 2 stitches to reduce the count. Dc across until only 2 stitches remain; work another dc2tog. Turn.
- Row 2: Repeat the decrease pattern: Ch 3, dc2tog at the beginning, dc across, and dc2tog at the end. Turn.
- Continue decreasing in this manner until 6 stitches remain.
Step 3: Closing the Heel:
- Fasten off the yarn securely and weave in the ends.
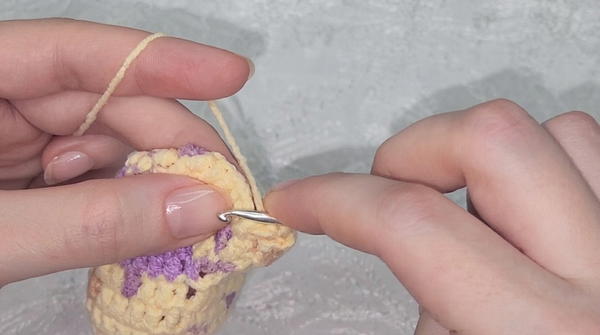
Part 5: Completing the Sock Body
Round 7:
- Rejoin your main yarn to the body of the sock.
- Ch 3, work 1 dc into each stitch, including the sides of the heel (12 stitches from the front + 12 from the heel).
- Place dc2tog in each corner stitch to keep the total stitch count at 24 dc.
Rounds 8–9:
- Ch 3, then work 1 dc into each stitch around. Sl st to join the rounds.
Part 6: Adding the Cuff
The final cuff ensures a secure fit for the baby sock.
Round 10:
- Switch to the 2mm hook for a tighter finish with added stretch.
- Work 1 FPdc and 1 BPdc alternately around the row to create ribbing.
Round 11:
- Repeat the FPdc, BPdc sequence. Continue until the cuff has reached your desired length.
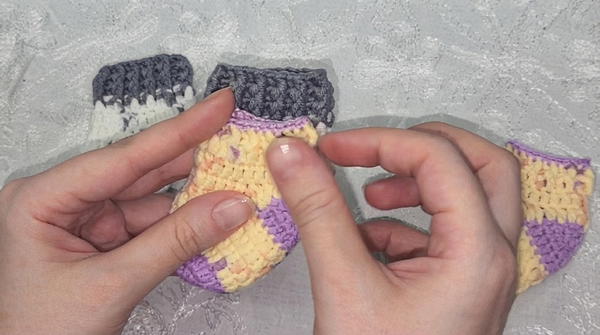
Optional Finishing Row:**
- Add a final row of sc around the cuff for a clean finish.
Finishing:
- Fasten off and weave in the loose ends using a tapestry needle.
- Lightly block the socks to set the stitches evenly.
Conclusion
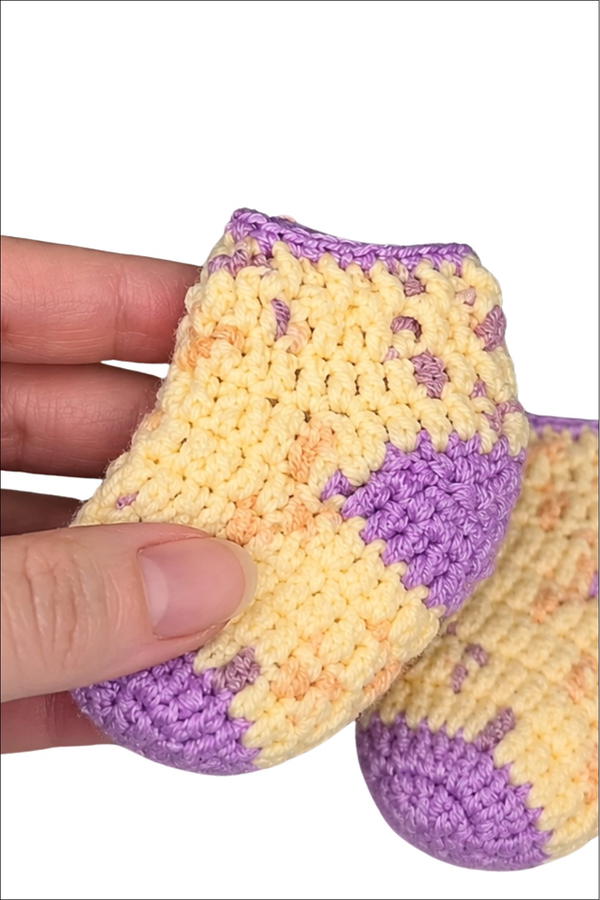
These newborn baby socks offer a balance of functionality and creative design elements, making them ideal for gifting or personal use. The pattern’s soft toe, customizable heel, and ribbed cuff ensure a snug and comfortable fit for small feet. With endless opportunities to play with yarn colors and cuff lengths, this pattern is a perfect project for crocheters looking to create something thoughtful and beautiful for a baby. Designed for simplicity and adaptability, these socks can be completed quickly while maintaining a professional finish.