Wrap your celebration in charm with this Crochet Champagne Bottle Cover Free Pattern and enjoy making a lovely cover for festive displays.
Looking for a fun and useful project? A Crochet champagne Bottle Cover is a great choice. It adds a lovely touch to any celebration and makes your bottle stand out. Also, it’s a friendly project that many enjoy making.
Featured By:
Lovely Crochet Champagne Bottle Cover Free Pattern For Celebrations
This cover fits snugly around a standard champagne bottle, which means it’s tall and slim. Usually, it stretches to cover the whole bottle from the base up to the neck. Because of this shape, the cover gently hugs the bottle, showing off its curves.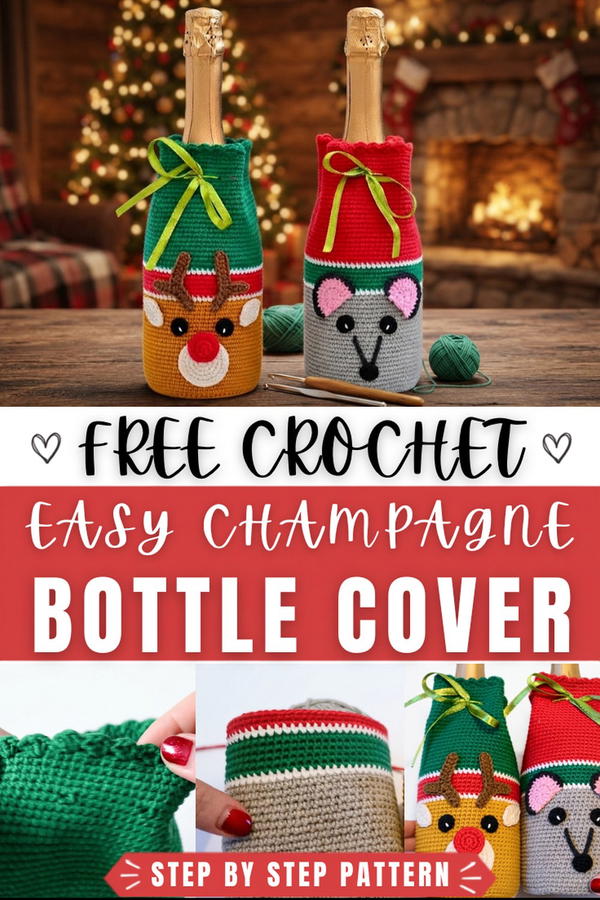 Its design can vary a lot. Often, it features simple stitches that create a neat texture. Sometimes, you might see little patterns or details like loops or small flowers to make it look festive. The yarn color can be plain or bright, depending on your mood or the event.
For those new to crochet, this project is perfect because it mainly uses easy stitches like single crochet or double crochet. However, if you have some experience, you might try adding small decorations or color changes to make it special.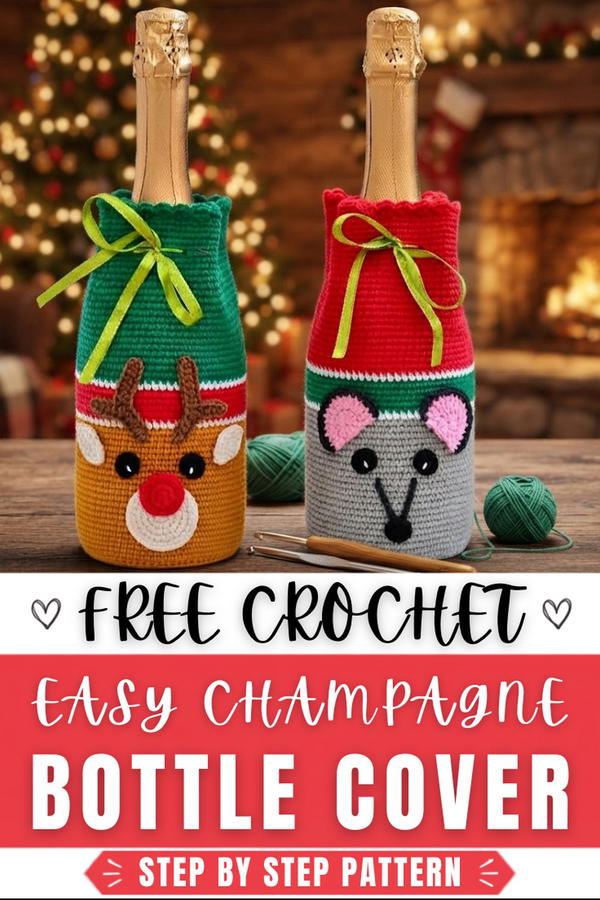 Besides looking nice, this cover protects the bottle and makes it easier to hold. Plus, it’s reusable and eco-friendly compared to paper wraps.
In short, a crochet champagne bottle cover is a charming item that suits beginners but allows for creativity. It mixes function and fun, making your celebrations more personal and enjoyable. Give it a try—you’ll be surprised how quickly it comes together!
About the Pattern
The holiday bottle cover blends playful decoration with practical function. It transforms an ordinary bottle into a festive showpiece through careful construction, seamlessly moving from a sturdy base to a cylindrical body, then culminating in lively decorative details. The cover can be adapted to suit any holiday or celebration by varying the colors, motifs, and creatures, such as reindeer antlers or mouse features, making it a versatile gift or party accent.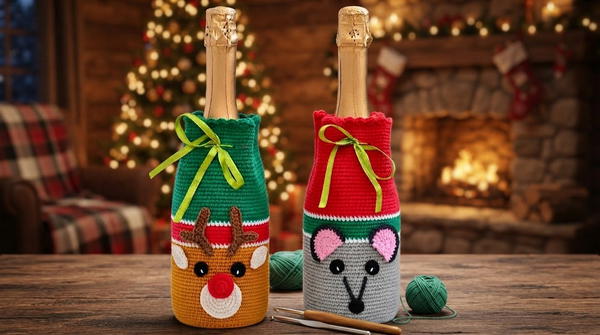
Key Pattern Details
The cover is worked in three main stages: the Base, the Body, and Decorative Details. The pattern begins by growing a flat circle through rounds of increases, ensuring a tailored fit for the bottle’s bottom. The Body transitions vertically with even stitches and the addition of ribbon holes for both function and design. Finally, the whimsical Decorative Details add personality—reindeer antlers, ears, and facial features are created separately and attached for a charming, dimensional effect.
Important Notes
- Stitch counts in increase rounds are crucial for a flat, even Base.
- When working the Body, shifting to back loop stitches ensures a crisp edge.
- Ribbon holes should be spaced evenly for balanced and functional closure.
- Use color changes thoughtfully; plan them at fixed rows for intended patterns.
- Attachments can be sewn or fastened with double-sided tape, but for longevity, integrating yarn ends through the main piece and knotting on the inside is recommended.
Difficulty Level
This pattern is suitable for advanced beginners. It requires familiarity with crocheting in the round, executing increases, color changes, working stitches in back loops only, and basic crochet assembly techniques.
Supplies Needed
- Worsted weight yarn in holiday colors
- Contrasting yarn for details (antlers, ears, face, etc.)
- 3.5 mm to 4 mm crochet hook, depending on yarn thickness
- Yarn needle for assembling details and weaving in ends
- Small scissors
- Double-sided tape (optional for attachments)
- Bottle for fitting and display
- Ribbon (for threading through holes at top)
Size & Measurements
- Designed to fit standard bottle diameters of approximately 8 cm, varying in height depending on rounds worked in the body.
- Finished cover height is typically 25-30 cm, adjustable by increasing or decreasing rows in the Body section.
Gauge & Stitch Details
- Gauge is not strictly essential for this project since fit can be fine-tuned; however, maintain firm tension for structure.
- The flat Base relies on correct increase sequences to avoid ruffling or curling.
- The Body is worked in single crochet, which offers a dense, flexible fabric ideal for covering bottles.
Crochet Abbreviations
- ch – chain
- sl st – slip stitch
- sc – single crochet
- dc – double crochet
- hdc – half-double crochet
- inc – increase (2 stitches in one)
- blo – back loops only
Special Stitch Guide
- Magic Ring: Form a loop, insert hook, pull up a loop, work stitches into the ring, then tighten.
- Increase (inc): Work 2 stitches (usually SC) into one stitch.
- Back Loop Only (blo): Insert hook into only the back loop of the stitch rather than both loops.
- Decrease (in HDC): Yarn over, insert into first stitch, pull up loop, yarn over, insert in next stitch, pull up loop, yarn over, pull through all loops.
Complete Crochet Pattern
Base
Round 1:
- Start with a magic ring.
- Crochet 6 SC into the ring.
2:
- Work 2 SC in each stitch around (inc), for a total of 12 stitches.
3:
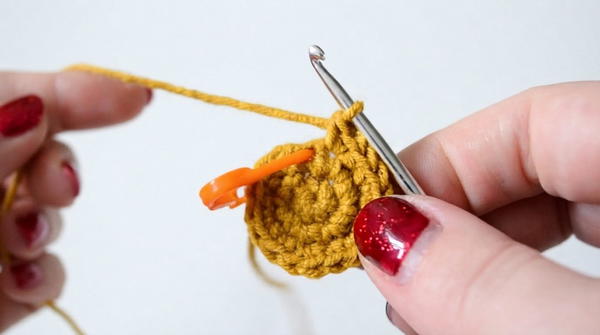
- (1 SC, 1 inc), repeat 6 times around for 18 stitches.
4:
- (2 SC, 1 inc), repeat 6 times for 24 stitches.
5:
- (3 SC, 1 inc), repeat 6 times for 30 stitches.
Rounds 6–12:
- Continue increasing as follows:
- Round 6: (4 SC, 1 inc), repeat for 36 stitches.
- Round 7: (5 SC, 1 inc), repeat for 42 stitches.
- Round 8: (6 SC, 1 inc), repeat for 48 stitches.
- Round 9: (7 SC, 1 inc), repeat for 54 stitches.
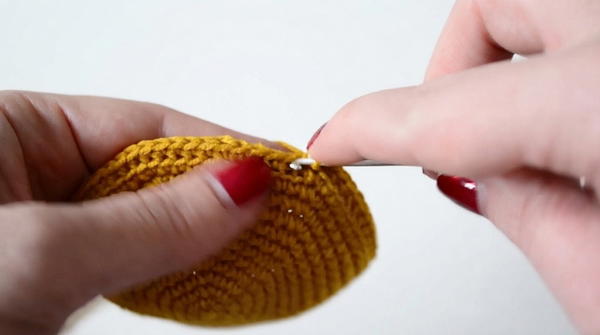
- Round 10: (8 SC, 1 inc), repeat for 60 stitches.
- Round 11: (9 SC, 1 inc), repeat for 66 stitches.
- Round 12: (10 SC, 1 inc), repeat for 72 stitches.
Body
Round 13:
- Work 72 SC into the back loops only (blo) of Round 12. This creates a crisp edge for the base.
Rounds 14–35:
- Work 72 SC in each round.
- Change yarn colors at desired rows for stripes or patterns.
Ribbon Holes (Near the Top):
- Work 8 SC, chain 1, skip 1 stitch, repeat this sequence 8 times around. This sets up 8 equally spaced ribbon holes.
Upper Rows:
- Continue for 5 more rounds, working SC in each stitch.
Border:
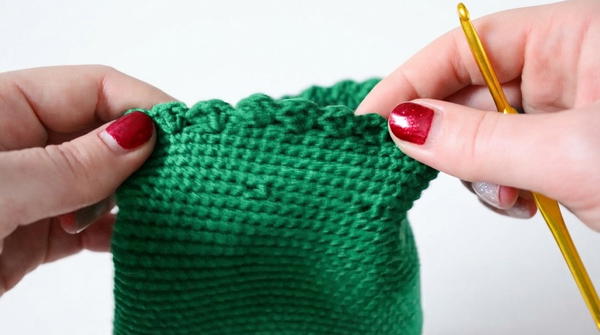
- Ch 1, work 2 DC in the same stitch, skip 2 stitches, then 1 SC in the third stitch.
- Repeat this border sequence around the top edge.
Decorative Details
Reindeer Antlers:
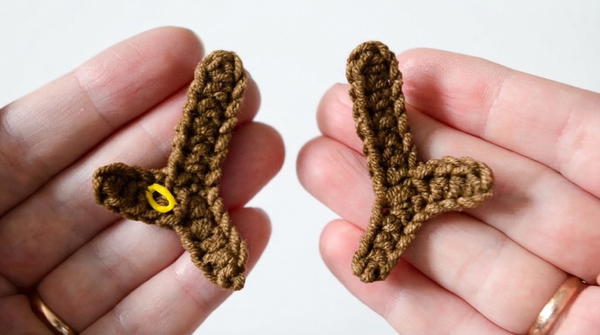
- Ch 13, work 7 HDC along the chain.
- Ch 5, work 4 HDC, then decrease and finish by working back down the chain.
Ears/Face:
- Create different small pieces as follows:
- Chains for base of ears and nose,
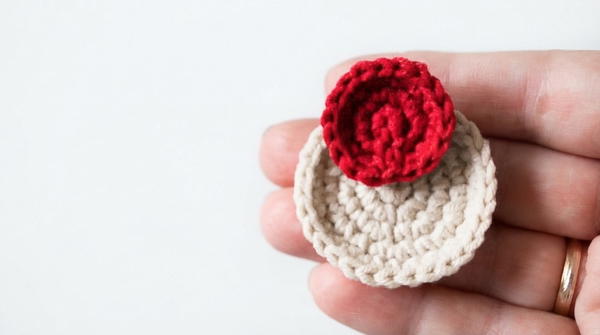
- SC and HDC stitched according to visual guides or charts,
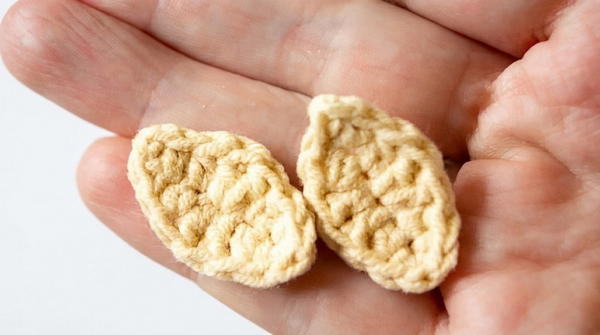
- Vary rounds and stitches to shape features as desired.
- Chains for base of ears and nose,
Assembly:
- Attach features such as mouse nose or reindeer antlers using double-sided tape, or by threading yarn ends through the cover and knotting securely inside.
Joining & Final Size
Once all rounds, rows, and decorative details are complete, fit the cover onto the bottle to check sizing. Weaving in yarn ends ensures a clean reverse. Ribbon is threaded through holes near the top for cinching, and decorative elements are secured for a festive finish. The structure allows easy removal and washing, making it both a charming and practical holiday accessory.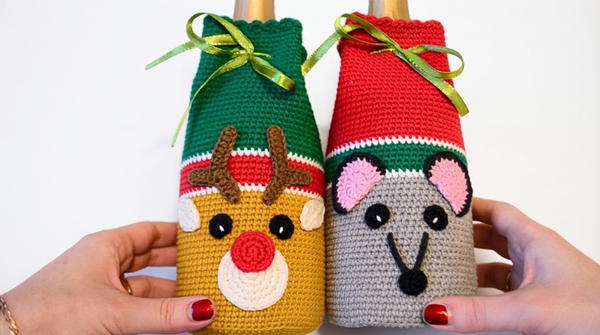
Final Words
This holiday bottle cover demonstrates how simple shaping, consistent stitchwork, and creative details come together to yield a decorative and functional crochet project. Each stage—foundation, body, and assembly—builds on essential techniques, enabling experimentation with color and motif while maintaining structure and usability. The bottle cover delivers seasonal charm and can be customized with a range of embellishments to suit any festive gathering.