Style your favorite outfits with this Crochet Beret Free Pattern and enjoy making a beautiful hat that brings a lovely touch to everyday fashion.
Looking for a cozy and stylish hat to make? The crochet beret created by Crochet with Olga Dyvinets!!! is a great choice. It’s soft, round, and sits nicely on your head, giving you a warm and fashionable look. Many people enjoy making crochet berets because you can create them in many colors, from bright and bold to soft and calm. This way, you can match your beret with any outfit or season.
Classic Crochet Beret Free Pattern For Women and Girls
What’s great is that you can make the size just right for anyone—baby, kid, or adult. The hat starts small at the top and gets wider as you crochet outward in circles until it fits perfectly.
The main stitch used is the double crochet stitch, which makes the beret light and cozy without being too thick. To help the beret stay on your head, a stretchy band using front post and back post stitches can be added at the bottom, giving a nice snug fit.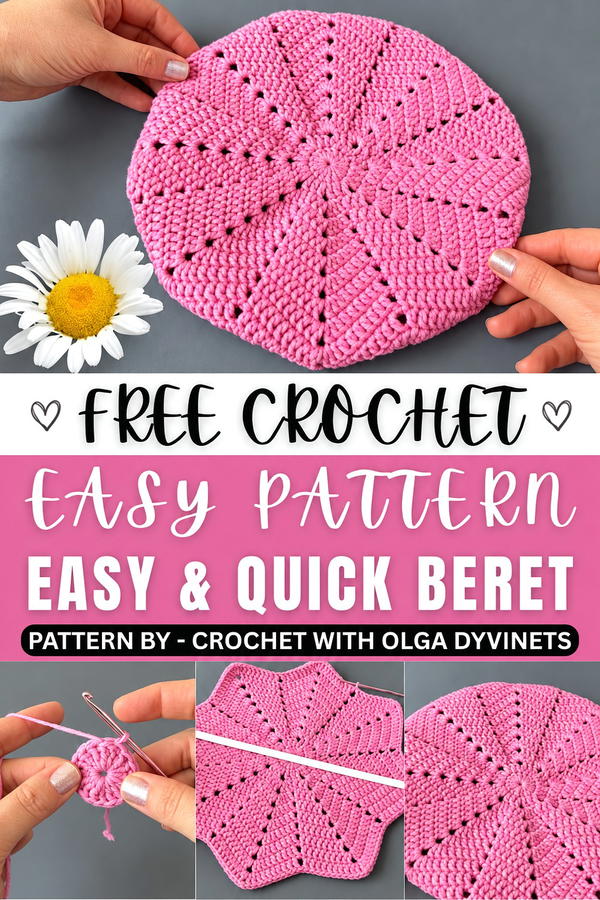 Beyond keeping your head warm, crochet berets can also be used as fun gifts, costume accessories, or even decorations. You can add extra touches like buttons, flowers, or tassels to make yours one of a kind.
In short, this is an easy and fun project for beginners and those with some experience. Making a crochet beret lets you practice basic skills while creating a lovely item you’ll enjoy wearing or sharing. It’s a perfect mix of comfort, style, and creativity all in one.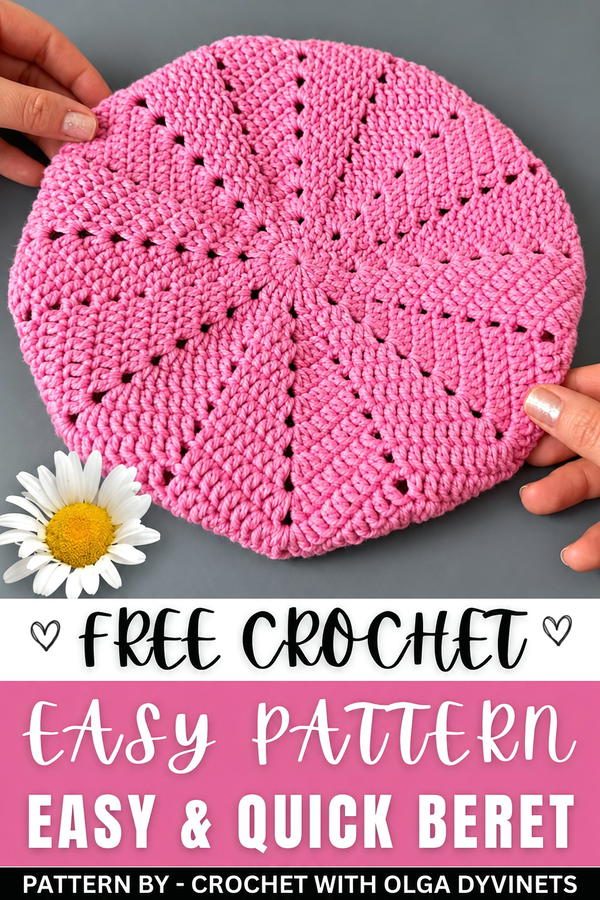
About the Pattern
This crochet beret is crafted for a child with a head circumference of 51 cm. The pattern uses NAKO Denim yarn for softness and structure, and a 3 mm crochet hook for a refined finish. The beret’s construction follows a round technique, beginning at the center and building outward with increase rows to achieve the classic, voluminous beret silhouette. The pattern offers flexibility for size adjustments, making it suitable for both children and adults through controlled increment rows.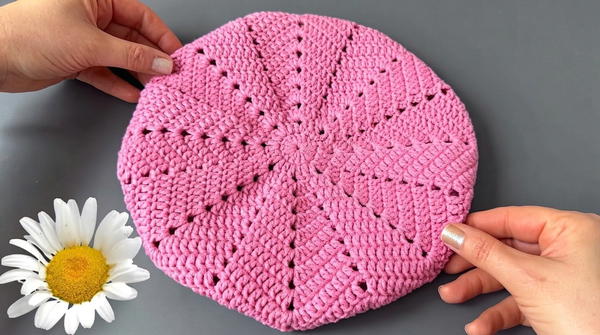
Key Pattern Details
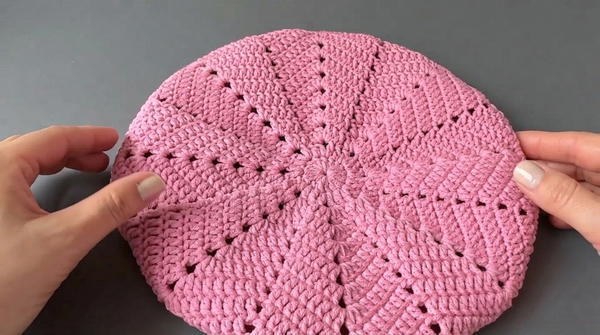
The beret consists of four primary construction phases: starting with a foundational ring and double crochets, increasing with V-stitch segments to build shape, tapering with decreases to form the brim, and finishing with a ribbing edge for comfort and fit. Each segment is defined by stitch placement and strategic increases and decreases. The shaping is achieved by alternating standard and decorative stitches—double crochets and V-stitches—to yield eight distinct segments, which are gradually expanded and later decreased for structure.
Important Notes
- To scale the beret for adult sizes, add extra increase rows as outlined in the pattern until the segments reach the desired width before proceeding with shaping and edge.
- All increase and decrease steps should be carried out precisely to preserve the beret’s circular symmetry.
- Maintain consistent tension throughout to ensure smooth transitions between rounds.
- Joining rounds with slip stitches and careful chaining at the beginning of rounds helps maintain structural integrity and a neat appearance.
- The yarn choice, NAKO Denim, delivers softness and breathability as well as shape retention. Substituting yarn may affect the final size and feel.
Difficulty Level
The pattern is rated as advanced beginner to intermediate. Mastery of basic crochet stitches, working in the round, constructing V-stitches, and executing decreases is required. The ribbed brim incorporates front-post and back-post double crochets, which adds gentle complexity.
Supplies Needed
- One skein of NAKO Denim yarn (100 g; 200 m; 60% cotton, 40% acrylic)
- 3 mm crochet hook
- Yarn needle for weaving in ends
- Small scissors
- Measuring tape to confirm diameter as you crochet
Size & Measurements
- Beret diameter: Designed for a child’s head circumference of 51 cm
- Final beret height and volume are determined by the number of increase and decrease rows; adjust as needed for larger or smaller sizes.
Gauge & Stitch Details
- Gauge is not critical but check the beret’s diameter against the recipient’s head as you progress.
- Double crochet and V-stitch combinations define the texture and structure.
- Ribbed brim is produced using alternating front-post and back-post double crochets.
Crochet Abbreviations
- ch – chain
- sl st – slip stitch
- dc – double crochet
- fpdc – front-post double crochet
- bpdc – back-post double crochet
- v-st – V-stitch (dc, ch 2, dc)
- st(s) – stitch(es)
Special Stitch Guide
- V-stitch: Into the indicated space, work dc, ch 2, dc.
- Front-Post Double Crochet (fpdc): Yarn over, insert hook from front to back around post of stitch, complete dc.
- Back-Post Double Crochet (bpdc): Yarn over, insert hook from back to front around post of stitch, complete dc.
- Decrease: Worked as joining four stitches into two at the ‘valley’ using typical decrease mechanics (pull loops together to reduce stitch count).
Complete Crochet Pattern
The Foundation
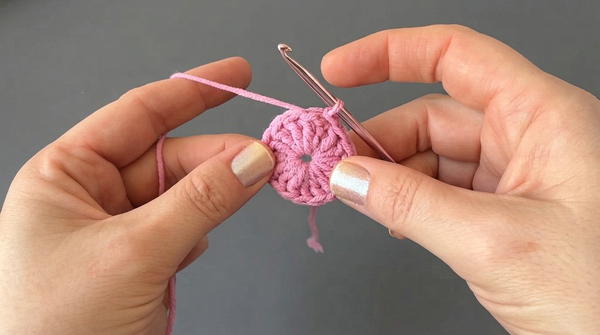
- Begin with a ring (magic ring or chain 4, join with sl st).
- Ch 3 (counts as first double crochet).
- Work 15 additional double crochets into the ring. There should be a total of 16 double crochets in the first round.
- Join with a slip stitch to the top of the initial ch 3.
The Increases
- Row 2:
- Alternate around: one double crochet in next st, then one V-stitch (dc, ch 2, dc) into next chain space.
- Repeat this sequence throughout the round.
- Row 3:
- In each gap: Work a V-stitch section—2 double crochets, chain 2, 2 double crochets into each V-stitch space.
- Skip the center stitch in-between patterns to build shape.
- Rows 4–10:
- Continue increasing.
- Each row: In every segment, increase the number of double crochets on each side of the center V-gap.
- By Row 10, each of the 8 segments will have 10 double crochets.
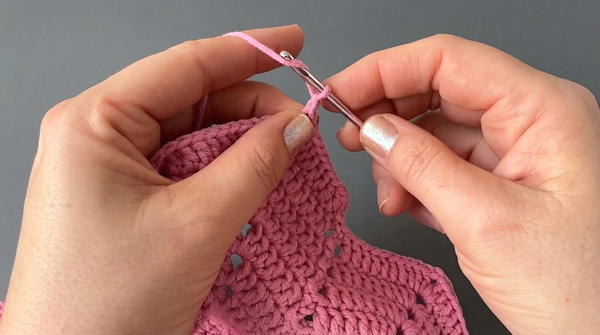
- Each segment should show a symmetrical spread of double crochets, flanked by chain spaces, centered at the V-stitch gap.
Shaping the Beret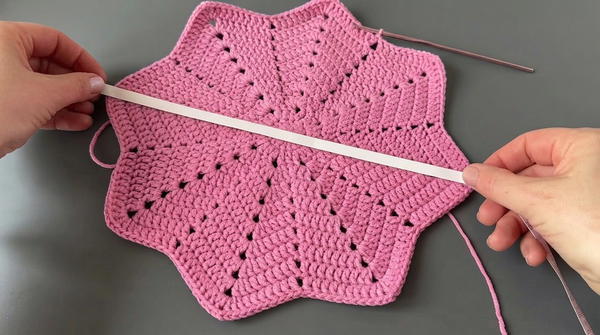
- Row 11:
- Simplify the center gap by working 1 double crochet, chain 2, 1 double crochet in the V-section (instead of 2 DC).
- Row 12:
- Begin decreasing for brim.
- Work double crochets into every stitch, omitting chain-2 gaps.
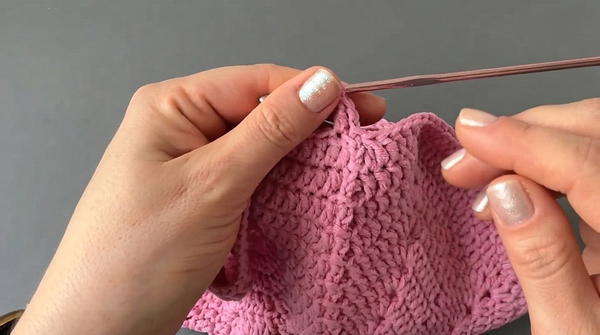
- At segment ‘valleys’ (where segments meet): join 4 stitches into 2 by pulling them together to taper the shape.
- Rows 13–16:
- Continue decrease: At each valley, join 4 stitches into 2.
- Work double crochets evenly in other stitches.
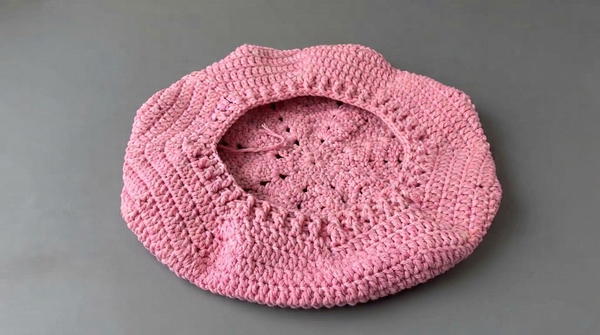
- This sequence pulls the brim inward, forming beret silhouette.
The Finishing Edge
- Row 17:
- Make the elastic-style brim.
- Alternate front-post and back-post double crochets (fpdc, bpdc) around every stitch of previous row.
- This creates a ribbed and flexible finish for a snug fit.
Joining & Final Size
Upon completion of all rounds, use a yarn needle to weave in any loose ends. Gently shape the beret, ensuring it fits comfortably and securely. For adult sizing, add more increase rows before beginning the shaping stage, confirming overall diameter matches desired head circumference.
Final Words
The crochet beret’s construction leverages foundational stitches and shaping techniques to yield a classic silhouette. Its segmented increase structure grows the crown, while gradual decreases form the taper and introduce volume. The ribbed brim offers practical comfort and aesthetic appeal. With the flexibility for sizing adjustments and subtle textural variation, this beret serves as a versatile accessory, adapting readily for children or adults through simple modifications to the increase stage.