Give your table setting a special touch with this Crochet 3D Napkin Free Pattern and enjoy its pretty three dimensional texture.
A big tip of the hat to Crochet with Olga Dyvinets!!! for generously sharing an inspiring tutorial that brings something special to the crochet world. This project, known as the Crochet 3D Napkin, takes ordinary crochet into a new dimension—literally!
Charming Crochet 3D Napkin Free Pattern To Decorate Your Table
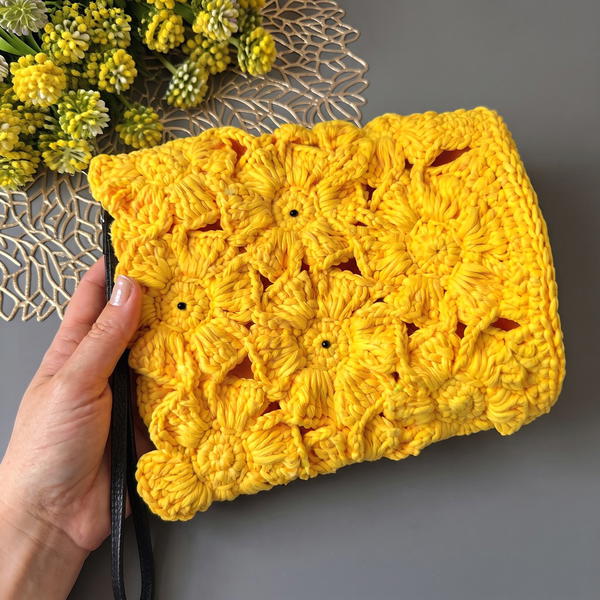
The Crochet 3D Napkin boasts a textured, raised design that gives it a lively and tactile quality. Its finished size depends on your choice of yarn and hook but generally fits well as a charming table accent. Suitable for beginners to those with moderate crochet experience, this pattern combines simple stitches with layering techniques to achieve a striking three-dimensional effect.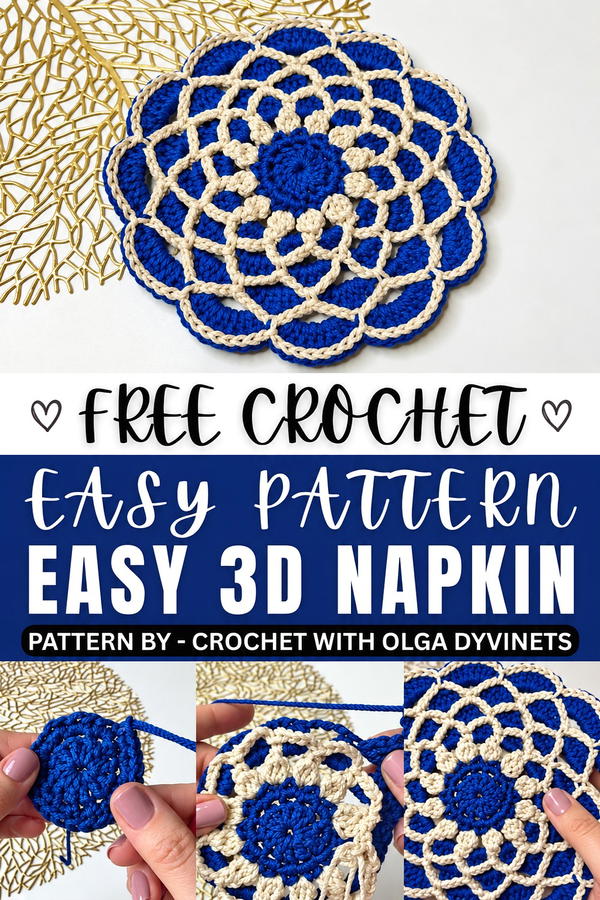 The appeal lies in its straightforward approach to adding depth through double crochets and chains arranged in a thoughtful pattern. Each layer builds gently upon the last, creating a pop-up effect that feels both cozy and visually interesting.
Use this napkin to spruce up your dining setup or gift it to someone who appreciates handmade touches. It’s a lovely way to add personality and warmth to everyday spaces or special events. The step-by-step instructions are clear and friendly, making the process smooth and enjoyable from start to finish.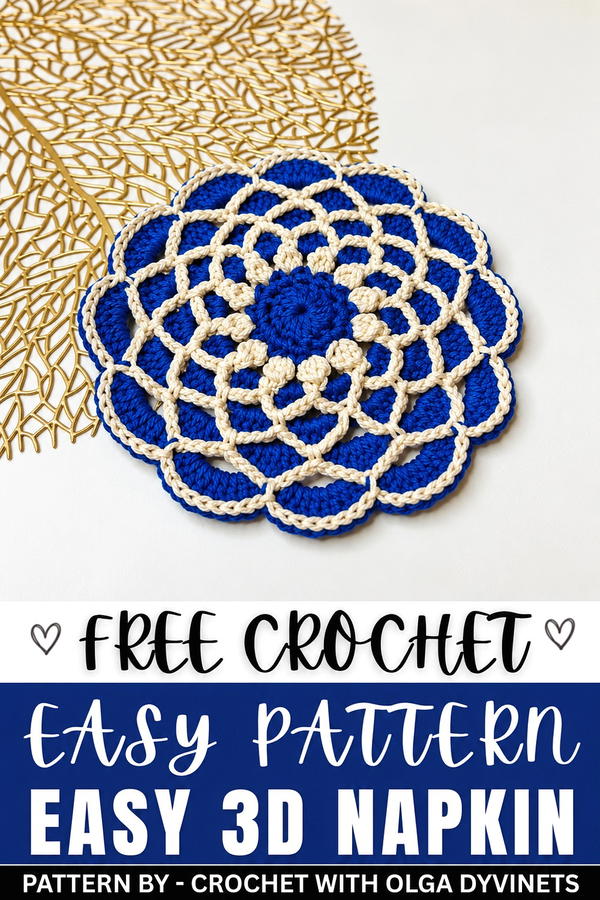 Curious to try something fresh and textured? Don’t miss out on this free pattern—give the Crochet 3D Napkin a whirl and add a new favorite to your crochet projects!
Two-Color 3D Doily Crochet Pattern
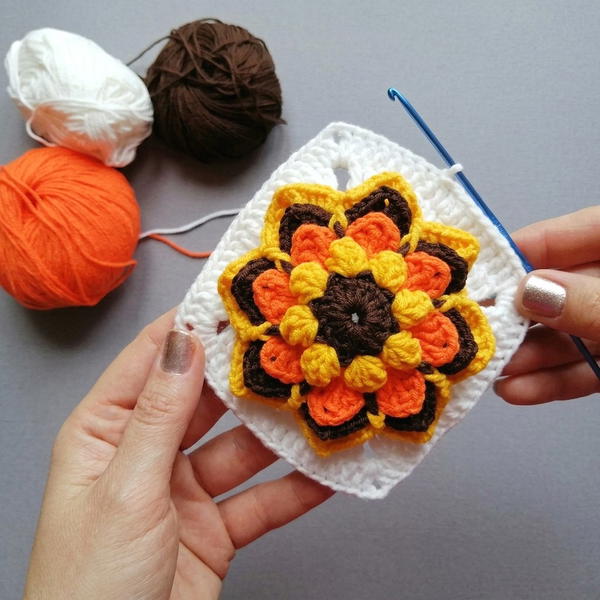
The two-color 3D doily (or rug) pattern brings dimensional texture and color contrast to classic round crochet motifs. The layered cluster construction, combined with open-chain arches and a professional slip-stitch finish, creates a visually striking piece suitable for both decorative and practical purposes. This pattern is versatile, adaptable for rug making, table centerpieces, or accent doilies. The 3D structure is achieved through alternating clustered rounds and chain arches, each building upon the last for spectacular depth and interest.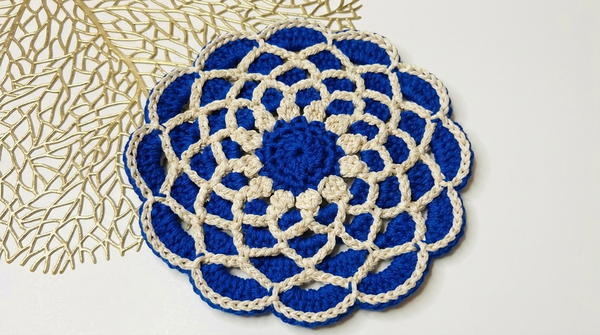
Key Pattern Details
- Main construction: Magic ring foundation, classic and relief stitch clusters, chain arches, slip-stitch edging.
- Color changes: Alternate between a main color and contrasting color for pronounced definition and depth.
- Texture: Raised cluster groups, arching chain links, and a neat slip-stitch outline.
- Shape: Round doily/rug design, enlarging with each round.
Important Notes
- Follow instructions carefully regarding color changes to preserve the crisp two-tone effect.
- Use a 3.5mm crochet hook with sturdy 2mm cord, ensuring a defined texture and lasting shape.
- Cluster stitches are always worked with a single shared top, making a pronounced raised effect.
- Chain arches and single crochet anchoring create strong definition for each round; maintain even tension.
- Stitch counts and placement must be consistent for symmetry.
Difficulty Level
The pattern requires an intermediate skill level. Experience with magic rings, cluster stitches, changing colors, and working in the round is necessary.
Supplies Needed
- 3.5mm crochet hook
- 2mm cord in two contrasting colors (main and secondary)
- Scissors
- Yarn needle for weaving in ends
Size & Measurements
Measurements depend on cord and hook choice as well as extension of rounds. The sample as described forms a medium-sized doily or rug. Expand by continuing the established stitch repeat and increasing arch chains and cluster sizes.
Gauge & Stitch Details
Gauge is not critical. The cord and hook combination yields a firm, textured motif. For projects where sizing matters, create a sample of the first three rounds and adjust tension as necessary.
Stitch Details include:
- Double Crochet (dc): Yarn over, insert hook, yarn over, pull through, yarn over, pull through two loops twice.
- Single Crochet (sc): Insert hook, yarn over, pull through, yarn over, pull through both loops.
- Chains (ch): Yarn over, pull through once.
- Slip Stitch (sl st): Insert hook, yarn over, pull through stitch and loop.
- Cluster: Work specified number of dc, leaving last loop of each on hook, yarn over, pull through all loops for shared top.
Crochet Abbreviations
- MR – Magic Ring
- ch – Chain
- dc – Double Crochet
- sc – Single Crochet
- sl st – Slip Stitch
- cluster – Group of dc with one shared top, as specified
- arch – Chain space used to bridge clusters
Special Stitch Guide
Cluster Stitch:
Work designated number of double crochets (dc) into the correct place, leaving the last loop of each on the hook. On the last dc, yarn over and pull through all loops on hook to form a single shared top.
Complete Crochet Pattern
Round 1: Base Ring
- Using main color and a 3.5mm hook with 2mm cord:
- Create a magic ring.
- ch 3 (counts as first dc).
- Work 11 dc into the ring. Total: 12 stitches.
- Pull ring tight.
- Join to the top of beginning ch-3 with a sl st.
Round 2: Increase and Color Change
- ch 1, work 2 sc in each stitch around. (24 sc)
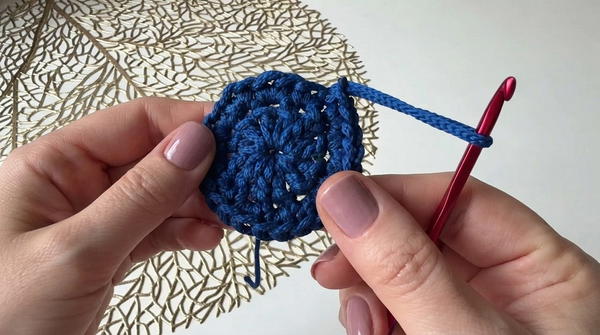
- Join with sl st to the first sc.
- Cut yarn; switch to contrasting color.
Round 3: Cluster and Chain Arches
- Skip one stitch from previous row.
- In next stitch:
- ch 3 (counts as first dc of cluster).
- Work 2 dc into the same stitch but leave last loop of each dc on hook.
- On final dc, yarn over and pull through all loops (cluster of 3 dc with single top).
- ch 3.
- Skip one stitch.
- Repeat cluster (3 dc together) into next stitch.
- Continue in this pattern all the way around, forming cluster, chain, skip, cluster.
- Join with sl st.
Round 4: Main Color Clusters and Longer Chains
- Switch back to main color.
- Attach into any chain space.
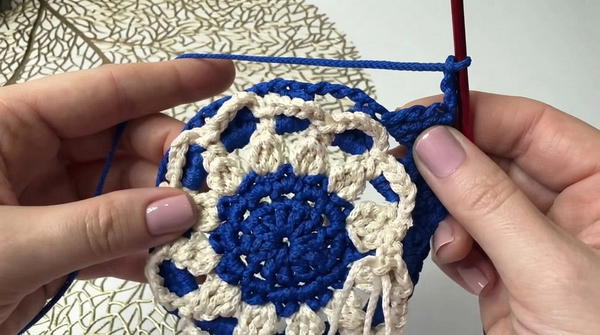
- ch 2, work a cluster of 3 dc (with shared top) into chain space.
- ch 4.
- Repeat cluster in every chain space around.
- Join with sl st.
Round 5: Contrasting Color Chains
- Use the contrasting color.
- ch 1.
- Work arches by chaining (vary between 5 to 6 chains) bridging between clusters from the previous round.
- Anchor each arch with sc into the top of the previous round’s clusters.
- Continue around, adjusting arch length as needed for a balanced circle.
Round 6: Clusters of Four with Chain Spaces
- Work clusters of 4 dc (with single shared top) into each arch.
- ch 4 between clusters to maintain space and expand diameter.
- Continue around to complete the circle.
Round 7: Light Color Chain Arches
- Using light color.
- Create arches by ch 7, anchoring each with sc into the center of each previous round’s cluster.
- Maintain tension and place arches evenly around.
Round 8: Five-Double Crochet Clusters with Chain Spaces
- In each arch, work clusters of 5 dc with one shared top.
- ch 5 between clusters.
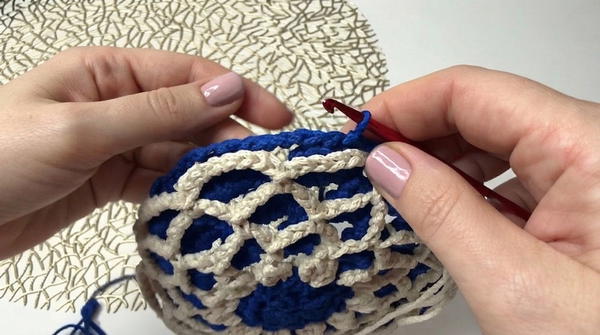
- Repeat for every arch around.
- ch 5 between clusters.
Round 9: Light Color Chain Arches
- Using light color.
- Create arches by ch 8.
- Anchor arches with sc at the top of each cluster from previous round.
- Work evenly around the circle.
Round 10: Finishing Row
- Work 8 dc into each arch of blue cord.
- Anchor each group of 8 dc with a sc in the center of the previous round’s cluster.
- Continue to build a robust, defined final edge.
Round 11: Edge Detail
- Using the secondary color, work sl st around the top of the final double crochet arches.
- This creates a neat, professional finish and adds a final accent ring in contrasting color.
- Work sl st evenly across all dc tops.
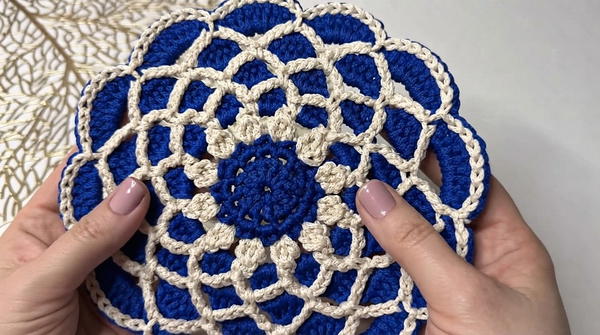
Joining & Final Size
The finished two-color doily or rug forms a structured, layered, round piece with rich texture and strong color contrast. For larger projects, additional rounds may be added by increasing cluster size and chain spaces according to the established pattern. If joining to other motifs or expanding into a multi-piece rug, use invisible joins or slip stitch techniques for seamless effect.
Final Words
This two-color 3D doily pattern blends classic cluster stitches and modern chain arches to deliver both depth and decorative appeal. Alternating colors and structured stitch placement make the pattern adaptable for various uses, from rugs to table centerpieces. Carefully following the cluster and arch construction results in a robust, visually dynamic motif, highlighting texture and the interplay of tones throughout.