Bring a lovely floral touch to your table with this Crochet Flower Coaster Free Pattern and enjoy making pretty protector for your favorite cups.
A big thanks to Oksana HandMade for sharing her lovely creation. The Crochet Flower Coaster is a charming little piece that adds a bit of warmth and style to everyday spots around your home.
This small, flower-shaped coaster measures about 4 to 5 inches across and is made with simple crochet stitches layered into delicate petals. Its light and friendly design brings a gentle touch to any surface it rests on.
Simple Crochet Flower Coaster Free Pattern For Everyday Use
Ideal for beginners or those familiar with basic crochet stitches, this project uses chains, single crochet, and double crochet to shape the petals and round form. It offers a chance to practice stitch tension and shaping in a straightforward and enjoyable way.
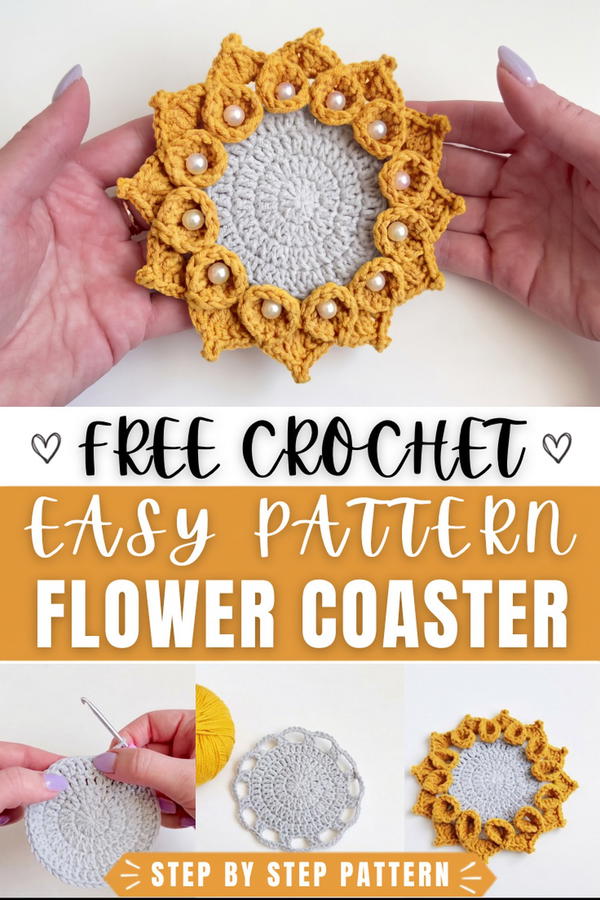 You can place these coasters on your dining table, desk, or kitchen counter, where they protect surfaces from drink rings. They also work well as thoughtful homemade gifts that add a personal touch to everyday moments.
This project stands out because of its simple, step-by-step process that guides you through basic stitches while building a lovely finished piece that is both pretty and practical.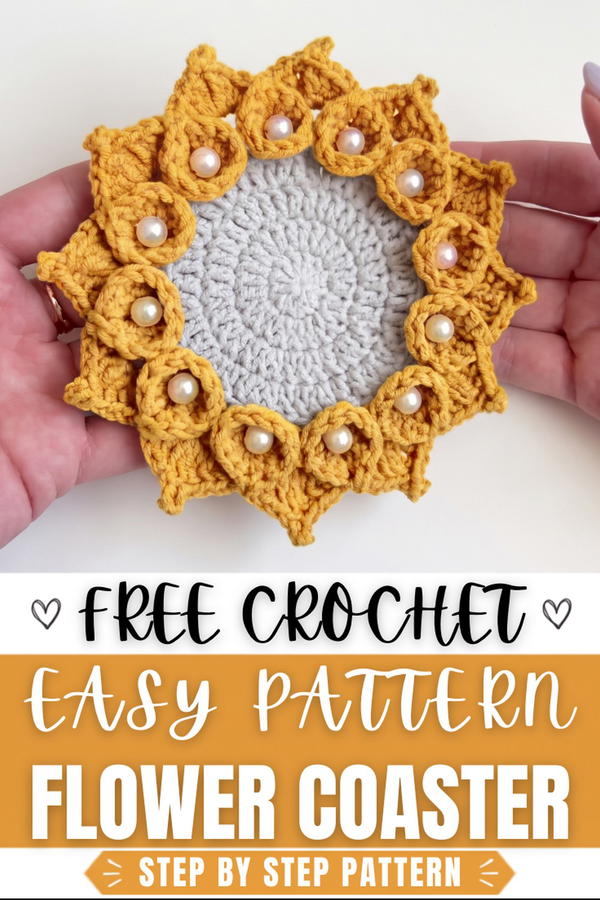 Try this free pattern and watch the flower come to life stitch by stitch—it’s a satisfying way to pass the time with your crochet hook in hand!
About the Pattern
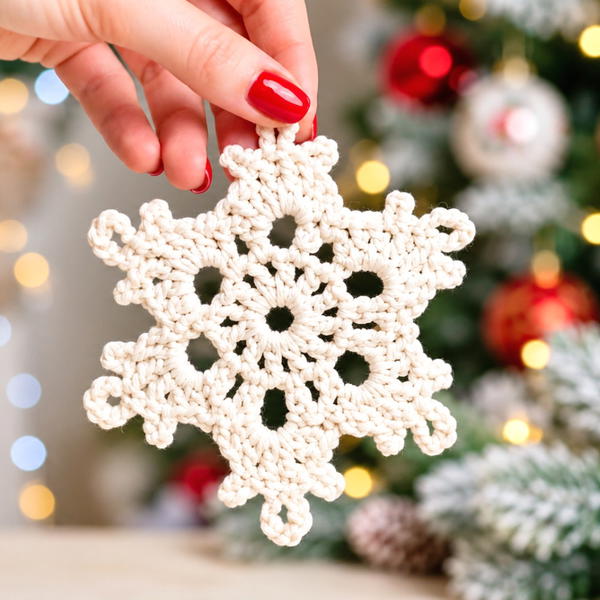
This decorative crochet motif is created with classic rounds and arches, showcasing refined structure and contrast in two tones using YarnArt Jeans. The project combines foundational rounds, elegant arches, a feathery picot border, and optional beadwork—ideal for use as a stand-alone ornament or as part of a larger textile composition. Its dynamic texture and contrasting border make it a versatile choice for your crochet repertoire.
Key Pattern Details
The motif is divided into two sections: a firm base in Color 1 (Gray) and a lacy, dramatic border using Color 2 (Electric Blue). The piece begins with a magic ring and expands into consecutive rounds with controlled increases, culminating in open arches. The final round adds a decorative flourish with double and treble crochets enhanced by picots and optional beading.
Important Notes
- Consistent stitch tension is essential for a uniform motif.
- Beginning chains generally count as a stitch unless specified.
- Beads are optional and can be adjusted or omitted per preference.
- Place stitch markers if needed to keep track of rounds.
Difficulty Level
Advanced Beginner to Intermediate: Suitable for crocheters familiar with working in the round, performing stitch increases, changing colors, and creating decorative stitches (dc, tr, picot).
Supplies Needed
- Yarn: YarnArt Jeans, Color 1 (Gray) and Color 2 (Electric Blue)
- Hook: 3.5 mm crochet hook
- Notions: Yarn needle, scissors, stitch markers (optional)
- Embellishments: 6mm beads, sewing needle and thread
Size & Measurements
- Finished diameter: Approximately 10–12 cm (may vary according to tension and yarn).
Gauge & Stitch Details
- Gauge is not crucial, but maintain a medium tension for the best appearance.
Crochet Abbreviations
- ch – chain
- sl st – slip stitch
- dc – double crochet
- tr – treble crochet
- st(s) – stitch(es)
- beg – beginning
- rep – repeat
Special Stitch Guide
- Magic Ring: Loop the yarn to form a ring, work the initial round into this adjustable ring.
- Picot: ch 3, insert hook into first ch, sl st—forms a decorative “bump.”
Complete Crochet Pattern
Begin with Color 1 (Gray):
Round 1 (Foundation)
- Start with a magic ring.
- Ch 2 (counts as first dc).
- 11 dc into the ring (total 12 sts).
- Pull ring tight.
- Sl st to first dc to close round.
Round 2
- Ch 2, 1 dc in same st.
- 2 dc in each st around (total 24 sts).
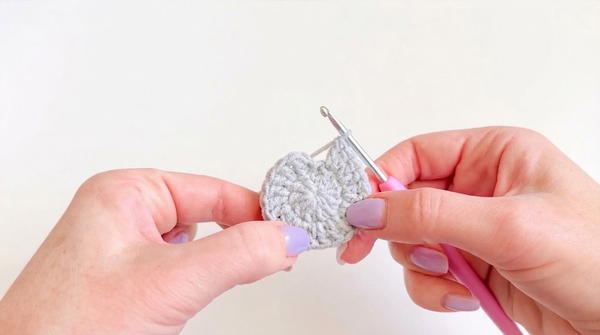
- Sl st to first dc.
Round 3
- Ch 2, 1 dc in base of ch.
- Repeat around: 1 dc in next st, 2 dc in next st (alternate; this increases evenly).
- Continue pattern (dc in one, 2 dc in next) to round’s end.
- Sl st to first dc.
Round 4
- Ch 2, 1 dc in base of ch.
- Repeat around: 1 dc in next st, 1 dc in next st, 2 dc in next st (dc in two, 2 dc in next).
- Continue to complete the round in established sequence.
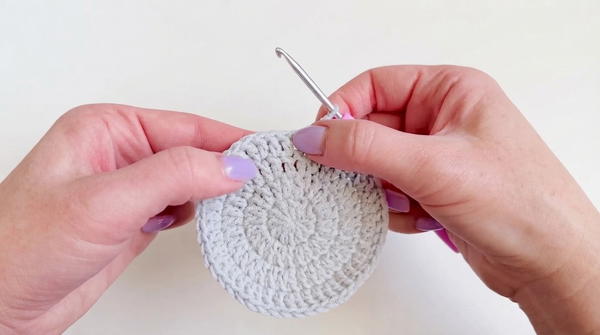
- Sl st to join.
Round 5 (Arches)
- Ch 2, 1 dc.
- Ch 5, skip 2 sts.
- Repeat around: (2 dc, ch 5, skip 2).
- At the close, you'll see arches formed by ch-5 spaces with dcs between.
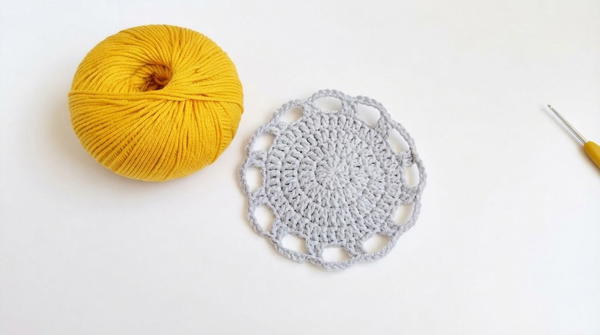
- Sl st to first dc.
Switch to Color 2 (Electric Blue) for Decorative Border:
Decorative Border
Joining:
- Attach Color 2 with a sl st at the start of any ch-5 arch.
Pattern Segment (Repeat for Each Arch and Base Pair):
In Arch (ch-5 space):
- 1 dc in ch-5 space
- 1 tr in same space
- ch 3 (for a picot), sl st to first ch
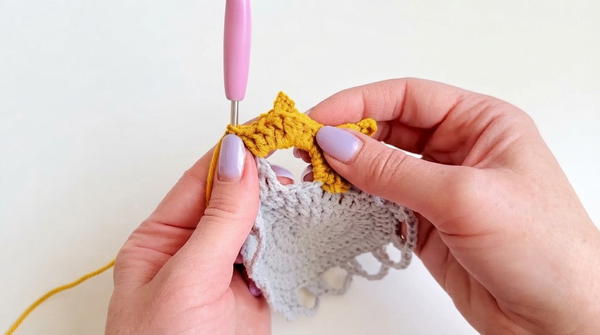
- 1 tr in same space
- 3 dc in same space
Over the two base stitches between arches:
- 5 dc into the first base st
- 2 dc (increase) into the center gap
- 5 dc into the second base st
- Repeat this full segment (arch and base) around the piece.
- After final segment, sl st to the starting point to complete.
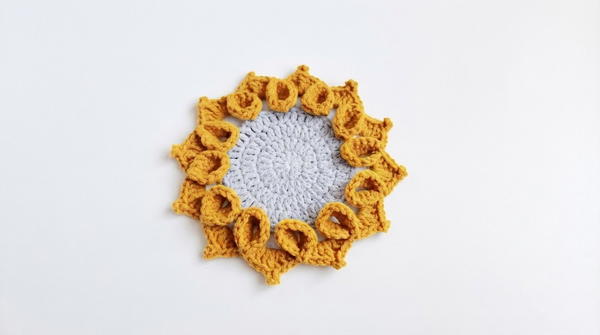
Finishing
- Fasten off and use your yarn needle to weave in loose ends.
- Add 6mm beads to the center of each stitched section for embellishment. Secure beads with matching thread and a sewing needle, stitching firmly in place.
Joining & Final Size
When completed, this motif features a structured center with dynamic arches and a textured border, enhanced by optional beadwork. After weaving in all ends and securing bead embellishments, the motif is ready for use.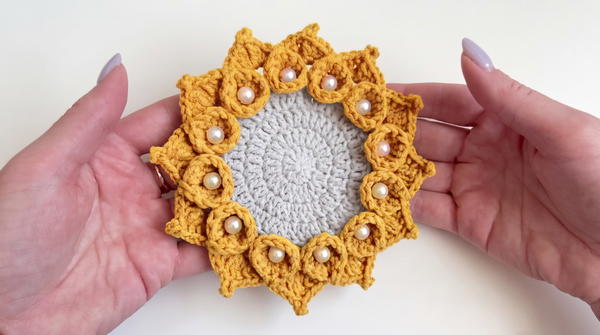 b
b
Final Words
Combining foundational crochet skills with decorative techniques, this motif delivers a balanced project ideal for adding refinement to home décor, accessories, or garments. Its crisp base, contrasted border, and customizable finishing touches create a distinctive and adaptable pattern for many applications.