Decorate your bedroom with this Crochet Bunny Jelly Cat Free Pattern and add a sweet floppy-eared bunny to your favorite toy collection.
The talented crochet artist Fairycrochett has created a charming tutorial that guides you through making a delightful crochet project. The Crochet Bunny Jelly Cat is a soft, cuddly toy inspired by the famous Jellycat stuffed animals but made with yarn and hook. This project results in a small bunny that is both cute and huggable.
Lovely Crochet Bunny Jelly Cat Free Pattern For Easter Decor
The finished bunny is a perfect size to hold in your hands, usually around 8 to 10 inches tall, making it great for kids or as a lovely decorative item. It features long floppy ears, a round body, and a sweet little tail. These details give the bunny its adorable personality. The project is suitable for those with beginner to intermediate crochet skills, as the tutorial clearly explains each step, from simple stitches forming the body to attaching the ears and tail with basic sewing techniques.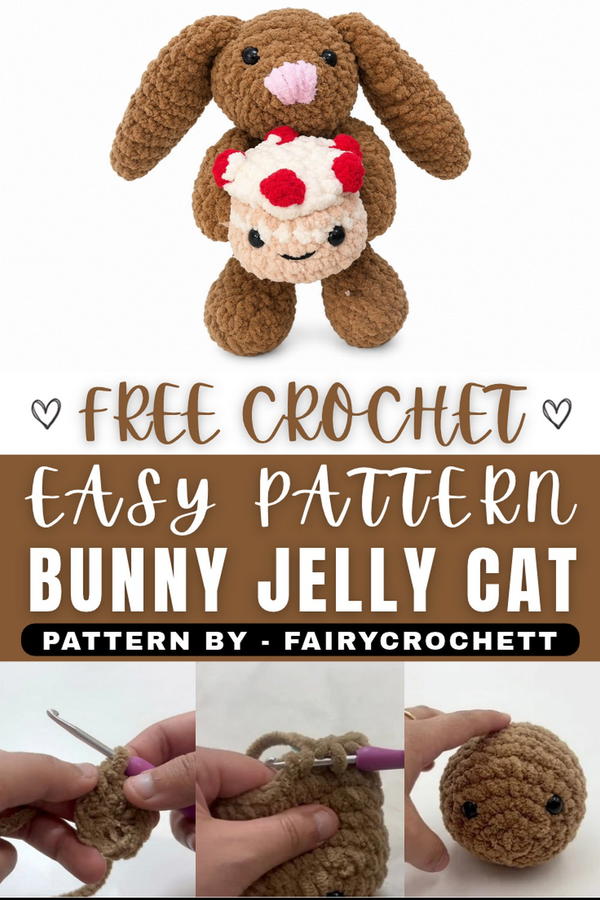 This crochet bunny has many uses. It makes a wonderful gift for baby showers, birthdays, or holidays. It can be a comforting toy for children or a charming decoration in a nursery or living room. Some even use it as a cute photo prop or a handmade item to add to their craft collection.
This project is enjoyable because it breaks down the crochet process into easy parts, encouraging a fun and relaxing crafting experience. The sewing steps for attaching the ears and tail add a nice finishing touch that makes the bunny look neat and complete. If you are looking for an approachable yet satisfying crochet project, take on this free pattern and weave some handmade joy into your day!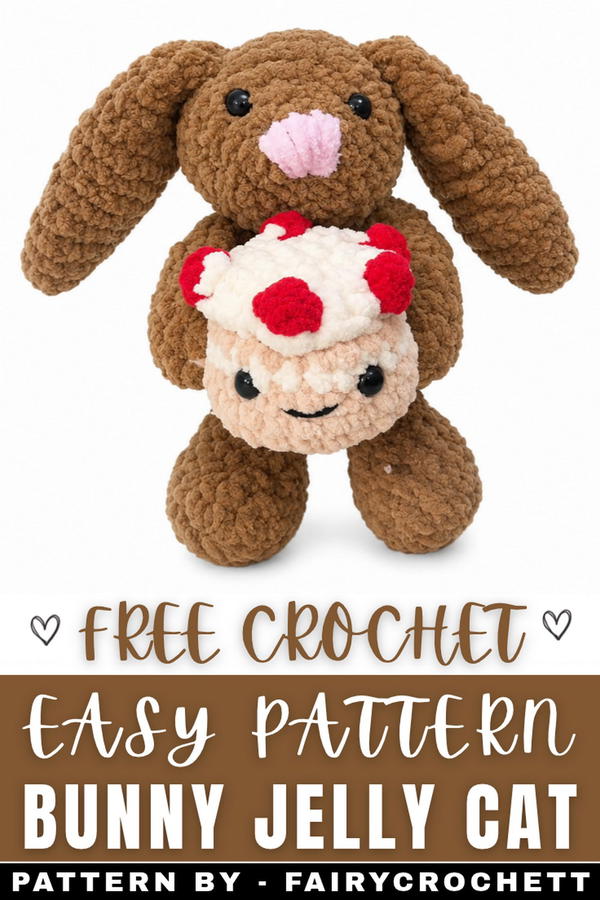
1234
About the Pattern
This Jellycat-inspired bunny holding a kawaii cake is an amigurumi pattern that combines classic crochet construction with whimsical details. The project uses a series of distinct techniques—magic ring starts, strategic increases and decreases, simple embroidery and color changes—to sculpt both the bunny and cake components. Each element is assembled thoughtfully to maintain proportion and pose, resulting in a plush toy with endearing character and delightful accessories. Expressive touches like cake icing, bobble-stitch cherries, and embroidery bring warmth and playful charm.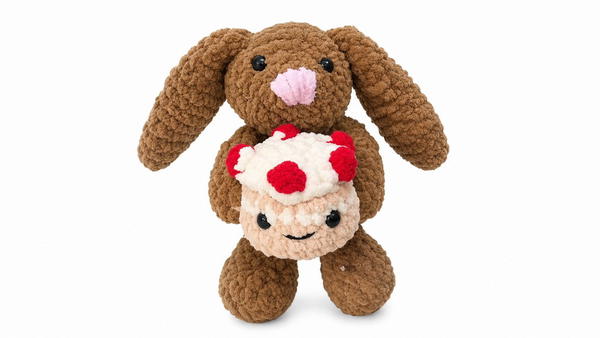
Pattern at a Glance
- Figure Style: Soft, cuddly bunny with floppy ears, paired with a miniature multi-layered cake, decorated with icing and cherries.
- Components: Bunny (head, body, arms, legs, ears), cake (body, icing, cherries), face embroidery.
- Techniques: Magic ring base, single crochet in rounds, increases and decreases, color changes, embroidery, bobble stitches, slip stitch finishing.
Important Notes
- Stuffing is added throughout to ensure plush softness without distortion.
- Color changes help define cake layers and icing; switch colors at the end of the final pull-through of the stitch.
- Placement of safety eyes and embroidered features impacts expression—take care in positioning.
- Secure attachments for durability, especially where the cake joins the arms.
Difficulty Level
Intermediate: The pattern involves multiple amigurumi techniques, shaping via increases/decreases, color changes for cake, bobble stitches for cherries, and careful assembly. Comfortable familiarity with working in rounds, amigurumi shaping, and embroidery is recommended.
Supplies Needed
- Worsted-weight yarn: Bunny (gray, white, pink), Cake (peach, cream), Icing/cherry (red, white)
- Crochet hook: 2.5–3.5 mm for tight amigurumi stitches
- Safety eyes
- Fiberfill stuffing
- Yarn needle
- Scissors
- Stitch marker
- Embroidery thread (for nose/mouth)
- Optional: small amount of green yarn for cherry stems
Size & Measurements
- Bunny: Approximately 5–6 inches (13–15 cm) tall, seated
- Cake: 1.25 inches (3 cm) in diameter, 1 inch (2.5 cm) tall
- Ears: 2 inches (5 cm) long
- Cherries: 0.3 inch (0.8 cm) each
Gauge & Stitch Details
- Gauge is not critical; aim for dense stitches, with no fiberfill showing between stitches.
- Main stitch: single crochet in continuous rounds.
- Special stitches: bobble stitch (for cherries), half double crochet and double crochet for icing curves.
Crochet Abbreviations
- ch – chain
- sc – single crochet
- inc – increase (2 sc in same stitch)
- dec – decrease (sc two together)
- hdc – half double crochet
- dc – double crochet
- sl st – slip stitch
- MR – magic ring
Special Stitch Guide
- Magic Ring (MR): Adjustable loop to start round pieces securely.
- Bobble Stitch: [Yarn over, insert hook, pull up loop, yarn over, pull through two] x4 into one stitch, yarn over, pull through all loops for a puff.
- Color Change: When switching, pull new yarn through last loop of previous stitch.
- Invisible decrease: Work decrease only into front loops for smooth shape.
Complete Crochet Pattern
Bunny Head
- Round 1: MR, 6 sc.
- Round 2: 6 inc (12 sc).
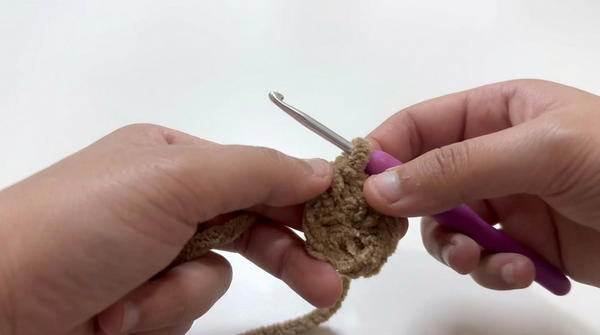
- Round 3: (1 sc, inc) around (18 sc).
- Round 4: (2 sc, inc) around (24 sc).
- Rounds 5–8: sc in each stitch evenly.
- Insert safety eyes between rounds 3 and 4.
- Rounds 9–11: Begin decreasing (e.g., (2 sc, dec), (1 sc, dec), (dec) per round as needed) to close head.
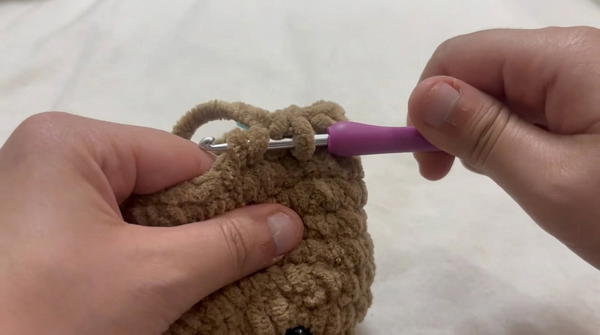
- Stuff before final closing. Fasten off, slip st to finish and use needle to sew shut.
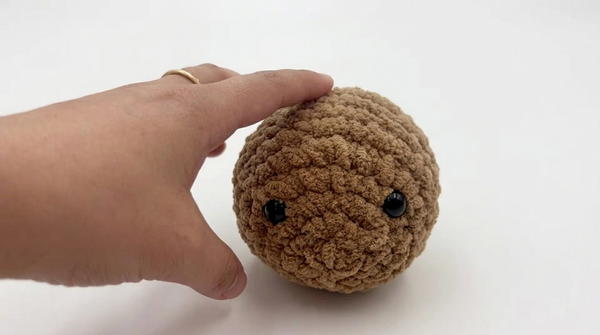
Face Embroidery
- Use contrasting yarn to embroider nose—horizontal stitch, then vertical for lip lines.
- Stitch mouth extending downward in “Y” shape under the nose.
Bunny Body
- Round 1: MR, 6 sc.
- Round 2: 6 inc (12 sc).
- Round 3: (1 sc, inc) around (18 sc).
- Round 4: (2 sc, inc) around (24 sc).
- Rounds 5–7: sc in each stitch evenly.
- Round 8: Begin decreasing (e.g., (2 sc, dec) around).
- Stuff before fully closing. Fasten off, leave tail for sewing.
Bunny Arms
- Round 1: MR, 6 sc.
- Round 2: 6 inc (12 sc).
- Rounds 3–5: sc in each stitch evenly.
- Round 6: Begin decreasing (e.g., (1 sc, dec)), lightly stuff.
- Fasten off, leave tail.
Make two arms.
Bunny Legs
- Round 1: MR, 6 sc.
- Round 2: 6 inc (12 sc).
- Rounds 3–5: sc in each stitch evenly.
- Round 6: Work specialized decreases to create leg curve (e.g., (2 sc, dec)), shaping for bent leg effect.
- Fold leg flat and work 4 sc across (both sides) to close end.
- Fasten off, leave tail.
Make two legs.
Bunny Ears
- Round 1: MR, 6 sc.
- Rounds 2–7: sc in each stitch (6 rounds even).
- Round 8: Decrease to shape tip (e.g., (2 sc, dec) or (1 sc, dec)), continue as needed.
- Fold ear in half lengthwise, join edges with 3 sc for pinch effect.
- Fasten off, leave tail.
Make two ears.
Body
- Round 1: MR, 8 sc in peach.
- Round 2: 8 inc (16 sc).
- Rounds 3–5: sc in each stitch (16 sc), switch color for each layer (peach → cream → peach).
- Stuff after round 5.
- Round 6: 8 dec (8 sc), closing cake.
- Fasten off.
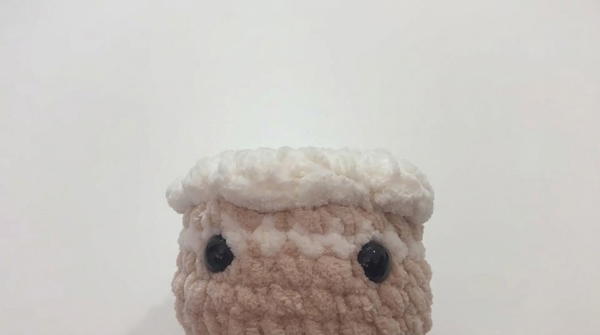
Cake Icing
- Round 1: MR, 8 sc in white.
- Round 2: sc in each stitch (8 sc).
- Work decorative curves:
- (ch 2, hdc, dc inc, sl st) into next stitch; repeat sequence for a total of 5 icing curves, spaced around edge.
- Fasten off.
Cherries
- For each icing curve, create a cherry:
- Into top of each curve, work a bobble stitch in red:
- [Yarn over, insert, pull up loop, yarn over, pull through two] four times; yarn over, pull through all loops.
- Into top of each curve, work a bobble stitch in red:
- Fasten off, tuck in ends.
Make five cherries.
Assembly & Finished Size
- Ears: Position on top of head, sew with tail, alternating across head and ear stitches for secure join.
- Head to Body: Use remaining tail from body to sew head atop body, aligning so face is forward.
- Arms and Legs: Stitch arms on sides just below neck, legs at base for seated pose.
- Cake: Place cake between bunny arms, sew by threading yarn through both the cake and arm edges repeatedly to anchor firmly.
- Icing and Cherries: Attach icing to cake top, sew bobble cherries onto each icing curve.
Finished bunny sits 5–6 inches tall, holding a layered cake decorated with five gleaming cherries. Ears are floppy and expressive, cake is plush and visually detailed, and the embroidered face adds charming character.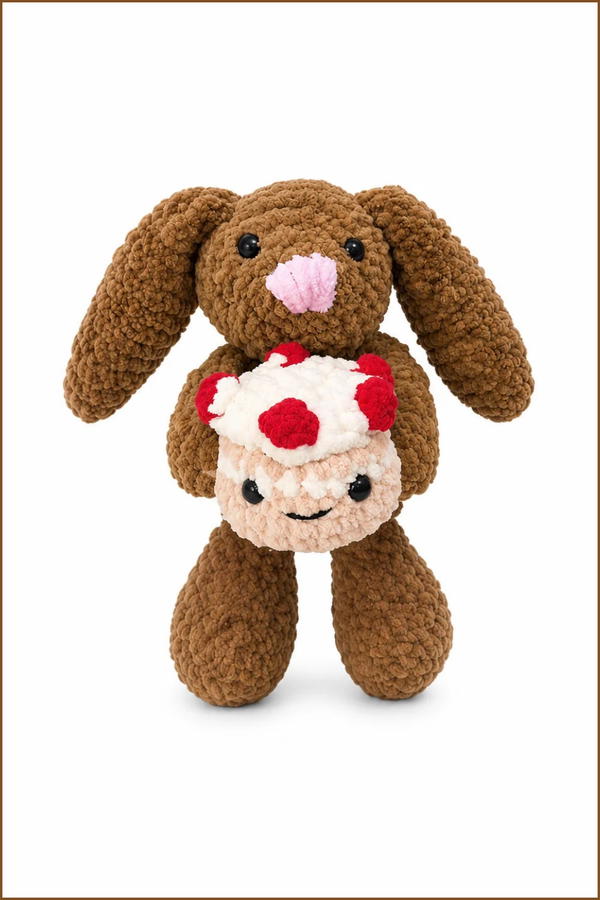
Conclusion and Ending Words
This pattern uses varied amigurumi construction and vibrant colorwork to portray a playful bunny cuddling a decorative cake. The interplay of increase/decrease rounds, color changes, bobble stitches, and careful assembly results in a project that is fun, expressive, and highly tactile. The complete figure blends soft textures and kawaii details, reflecting joyful craftsmanship and imaginative design.