Mint Design Blog


Start your next project with this free bag pattern crocheted for those who love blending creativity and utility in their everyday accessories.
A perfect blend of style and functionality, this project from Crochet with Olga Dyvinets!!! invites you to create a beautiful bag that suits many occasions. The Free crochet Bag Pattern makes it easy to design an accessory that’s both practical and eye-catching, ideal for everyday use or special outings. This versatile bag also holds wonderful potential as a thoughtful gift for loved ones who appreciate handmade treasures.
Easy-to-Follow Free Crochet Bag Pattern for Beginners
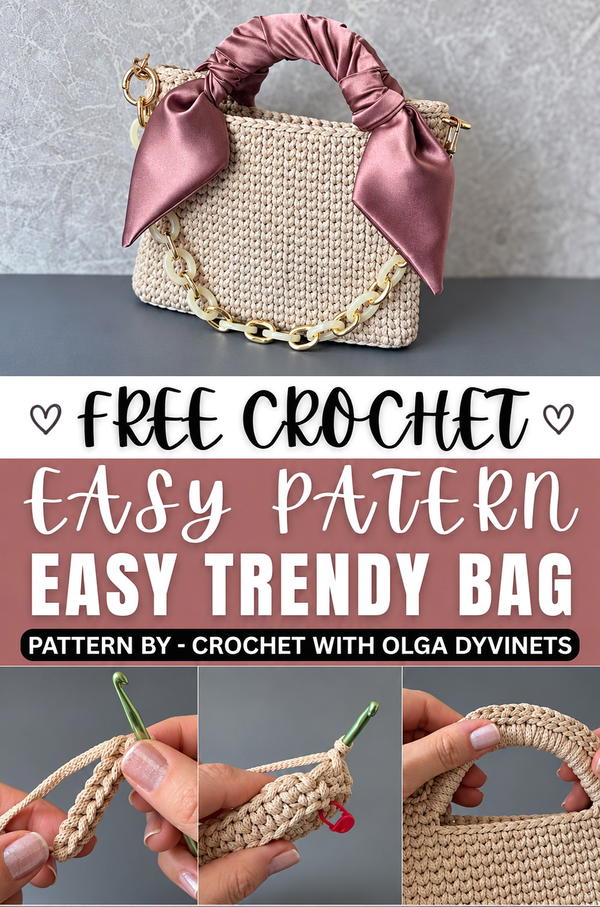
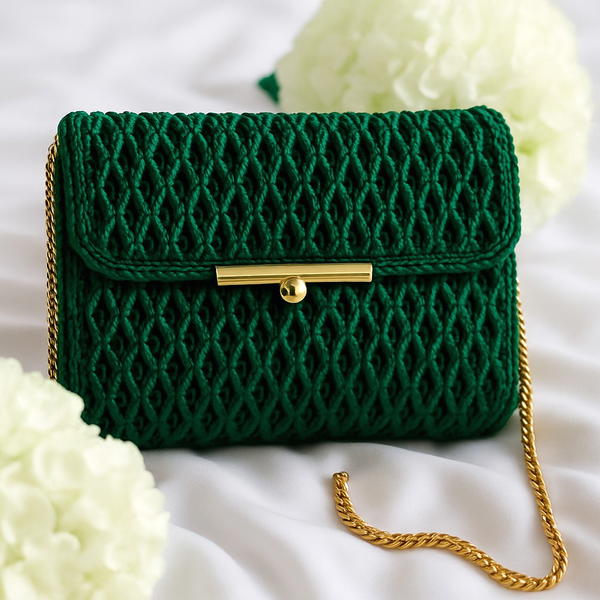
The bag's overall look is charming with a rectangular shape that offers ample space without being bulky. Its texture is formed by neat, open stitches that add a delicate lace-like effect, making the piece light and breezy while maintaining sturdiness. The combination of simplicity and elegance makes this bag a stylish addition to any wardrobe.
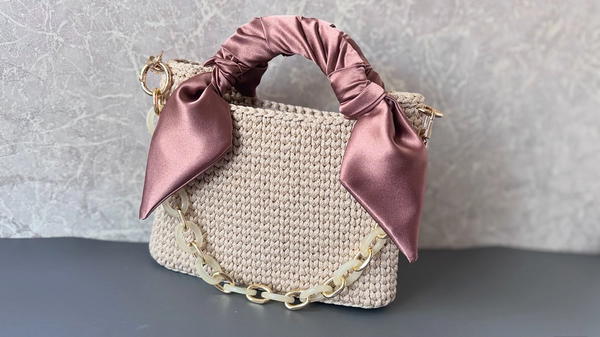
One of the unique features is the subtle scalloped edge, which brings a feminine touch and sets it apart from ordinary bags. With a comfortable handle sized just right for carrying either by hand or over the shoulder, this bag balances convenience with fashion.
Perfect for carrying essentials or small shopping trips, this accessory doubles as a decoration that complements casual or dressy outfits. The timeless design paired with the light texture ensures it remains a favorite in your collection or a delightful gift that anyone would cherish.
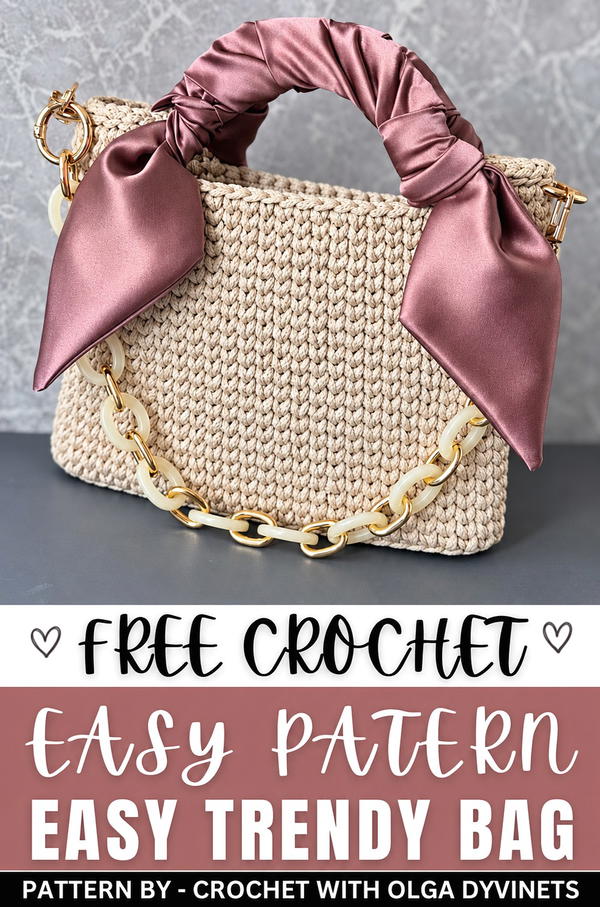
Crochet Miniature Handbag Pattern
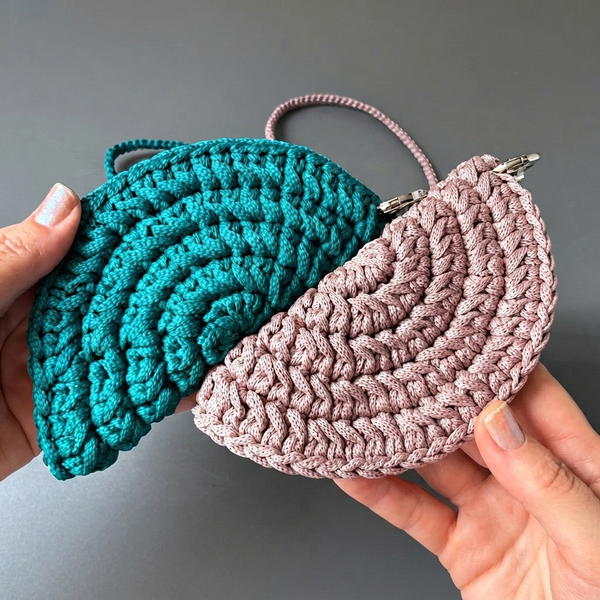
This miniature handbag is a stylish and practical accessory for everyday use or special occasions. Designed using durable cord with decorative Twilly ribbons, it features sturdy walls, comfortable handles, and customization options for a versatile finish. The sleek texture and thoughtful design result in an elegant accessory perfectly suited to various outfits.
Skill Level
Intermediate – This pattern includes techniques such as elastic chain foundation, working in spirals, and shaping handles. Familiarity with single crochet, basic increases, and assembly is required.
Materials
- Cord: Approximately 200 meters of Mlanzh cord (light beige, or preferred color).
- Twilly Ribbons:
- 2 ribbons, 6 cm width and 58 cm length.
- Ribbons may be pre-sewn or purchased.
- Hooks:
- Size 4 mm crochet hook.
- Additional Items:
- Two rings for attaching the strap.
- Magnetic button or sew-on button for closure.
- Fabric lining (optional).
- Lighter to seal cord ends.
- Needle for stitching.
- Stitch marker for tracking rounds.
Stitch Abbreviations
- Ch: Chain
- SC: Single Crochet
- Sl St: Slip Stitch
Special Stitches
Elastic Chain Foundation
This method creates a flexible base without distortion:
- Measure a long tail (approximately 50 cm).
- Form a slip knot with the tail and main thread.
- Yarn over the tail and pull through to form a loop, then yarn over the main thread and pull through. Repeat, ensuring loops are tight but not overly stretched.
Split Single Crochet
A textured stitch worked into the center split of the single crochet below:
- Insert the hook between the two vertical bars of the previous stitch from front to back.
- Yarn over and pull through.
- Yarn over again and complete the stitch.
Useful Tips
- Maintain Tension: Keep even tension while working the elastic chain foundation and split single crochet stitches for a professional finish.
- Steam the Base: Steam the bag’s base once completed to prevent curling and achieve a flat shape before transitioning to the walls.
- Customize Handle Length: Adjust the handle and Twilly ribbon length to fit your preferences or image.
- Optional Design Changes: Use different cord colors for the strap or decorative seams to personalize the bag further.
- Seal Cord Ends: Melt the cord tails lightly with a lighter to eliminate fraying.
Step By Step Instructions
This handbag is worked seamlessly from the base to the walls, followed by attaching handles, ribbons, and optional finishing touches.
1. Base of the Bag
Foundation – Elastic Chain
- Measure a 50 cm tail.
- Work 22 elastic chains as instructed in the "Special Stitches" section.
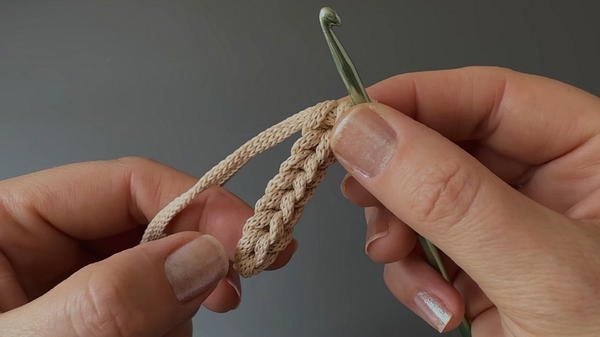
Row 1: Single Crochet Base
- Add 1 Ch (for turning).
- Work SC into each chain. Insert the hook into the elastic chain’s ridge to avoid holes. Hide the starting tail as you crochet.
- (Total: 22 SC)
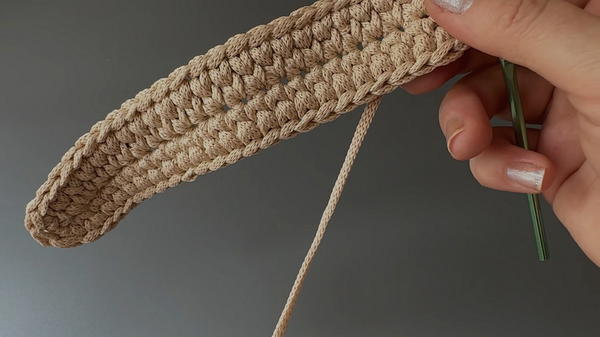
Place a stitch marker at the first SC of the row to track the beginning and end of each round.
Row 2: Rounding the Corners
- Work SC into each stitch (21 stitches) across.
- At the corner loop, work 3 SC into one stitch to turn the base smoothly. Continue working SC along the opposite edge until you reach the first loop again.
- At the final corner, add 3 more SC into one stitch, completing the base’s rounded shape.
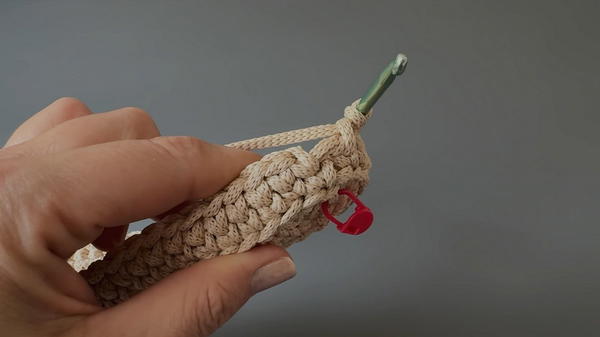
- (Total: 50 SC)
2. Walls of the Bag
Transition to Walls
Steam the base to ensure it is flat and not curled. Without breaking the thread, begin directly with the first row of the walls.
Row 1: First Wall Row
- Work SC into the half-loop and jumper of each base stitch. Pull your working thread firmly but not overly tight to maintain a dense structure.
- (Total: 50 SC)
Rows 2–22: Building the Walls
- Continue working split single crochet (insert hook into the split of the previous stitch). Work in a spiral (do not join rounds).
- Complete 22 rows of split single crochet for a total wall height of approximately 13 cm.
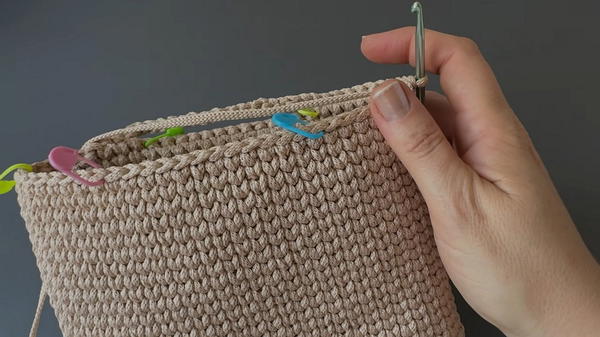
3. Handles
Sectioning for Handles
- Use markers to section the handles:
- Divide into four sections around the bag. Place markers at the following:
- Front half: Middle section of 13 stitches.
- Side section: Eight stitches on each side of the middle front.
- Divide into four sections around the bag. Place markers at the following:
- Repeat for the back half.
Row 23: Handle Creation
- Work SC in a split pattern until you reach the first marker.
- Remove the marker and Ch 18 to form the handle.
- Skip the section marked for the handle and continue SC until reaching the next marker. Repeat the process to form the second handle on the opposite side.
Row 24: Tie the Handles
- Work split SC along the bag’s walls and into each chain loop forming the handles. Ensure the stitches are tightly secured to create stiff and durable handles. Repeat for both handles.
- (Total: 58 SC, including handles)
Row 25–26: Reinforce Handles
- Work SC stitches around the bag, including extra stitches along the handles (approximately 28 SC each) for added durability.
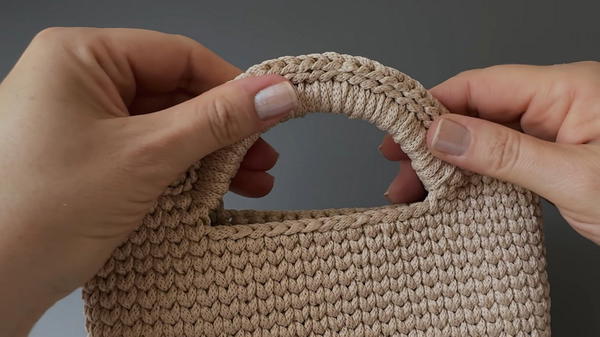
4. Strap
Caterpillar Stitch Strap
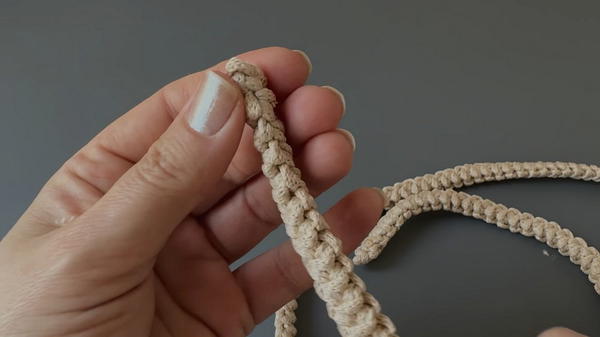
- Begin with 2 foundation chains and work slip stitches into the cord. Pull tight to form a dense strap approximately 125 cm long, or adjust as needed.
Attach Strap to Rings
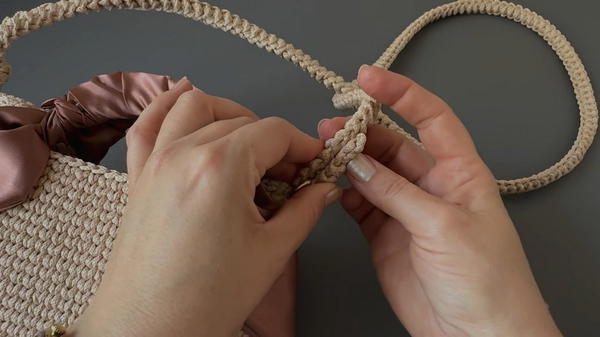
- Tie the strap ends around the two rings or sew them securely using needle and thread. Adjust the strap length depending on preferred appearance or use.
5. Decorative Twilly Ribbons
Attach Ribbons to Handles
- Take one Twilly ribbon and tie it securely around one handle. Begin with a simple knot and wrap tightly along the handle for coverage. Adjust the tail for neat symmetry.
- Repeat for the second handle, ensuring alignment and tight wrapping.
6. Optional Finishing Touches
- Magnetic Closure: Sew a magnetic button at the top center for convenient closure.
- Lining: Use canvas or linen fabric to create a lining for additional support. Sew it carefully along the bag’s interior edges.
Conclusion
This miniature handbag combines durability, style, and personalization in a compact accessory. The sturdy polyester cord and decorative Twilly ribbons make it ideal for both casual and formal settings. Adjust dimensions and decorative elements as needed to match your preferences or image.