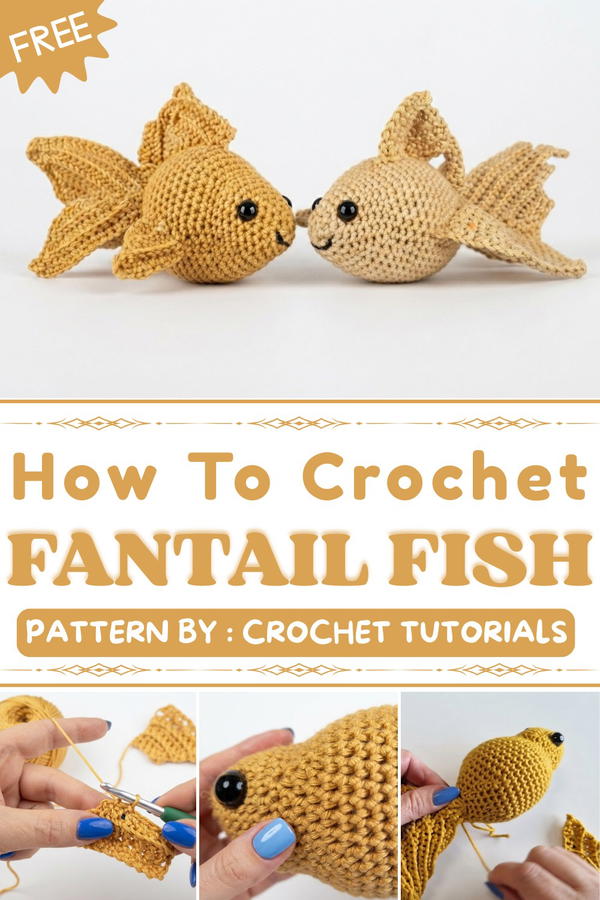
This delightful crochet fish fits perfectly in many places. It can sit on a shelf, brightening a room with its splash of color. It works well as a cute decoration for a child’s bedroom, a playful desk ornament, or even a cozy mascot on a couch. People love it because it feels warm and handmade, giving any space a little ocean magic.
One of the best things about this Free Crochet Fantail Fish Pattern is how easy and fun it is to make. Whether you are new to crochet or have done many projects, you will enjoy bringing this cheerful fish to life. The clear instructions make the process smooth and enjoyable.
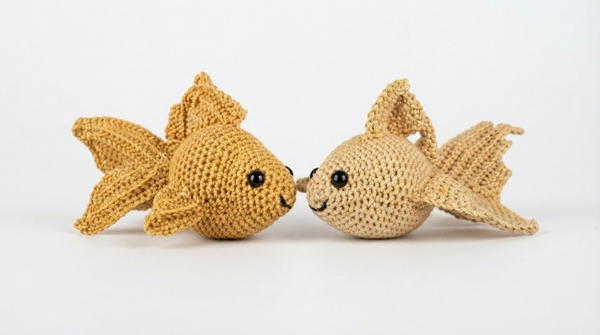
Once finished, this fantail fish is more than just a toy or decoration; it’s a bright, happy friend that reminds you of the sea. It’s a perfect gift for someone special or a charming addition to your own crochet collection.
Crochet Fantail Goldfish Pattern by Kate Wood
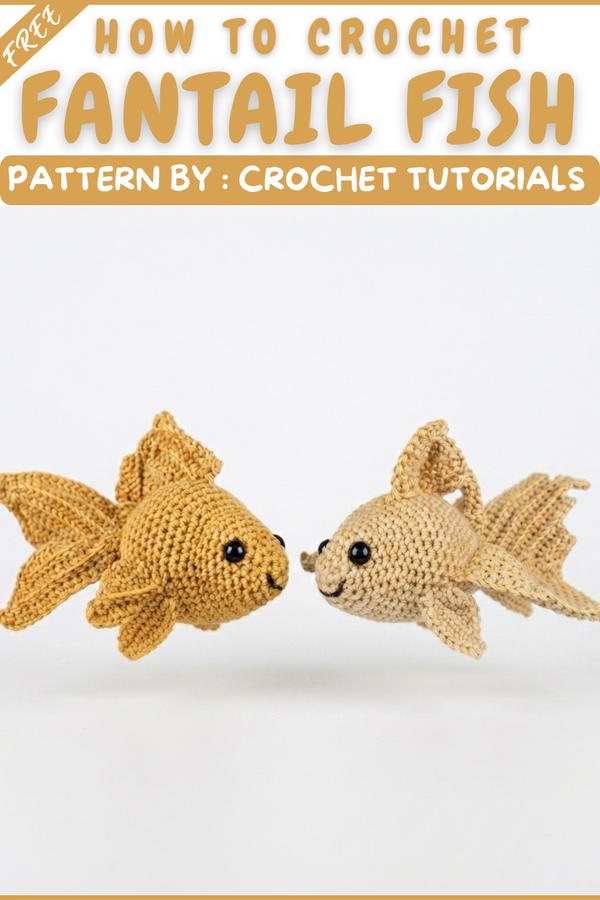
This charming Fantail Goldfish crochet pattern by Kate Wood brings to life the delicate features of a goldfish through textured fins and a rounded body. Worked in individual pieces including small fins, a large tail fin, and a rounded body, this amigurumi-style project uses cotton yarn to give a crisp finish and features safety eyes and embroidered details to enhance the fish’s expressive face.
Whether you're an experienced crocheter or an intermediate enthusiast looking for a detailed amigurumi project, this pattern guides you step-by-step, from magic rings to intricate joinery.
Quick Overview of Pattern
- The pattern is made in pieces:
- Small Fins (3 pieces) — dorsal and two pectoral fins worked in back loop only.
- Tail Fin — larger fin, textured and shaped with increases and decreases, also in back loop only.
- Body — started from a magic ring, worked in rounds with increases and decreases shaping the spherical contours.
- Key techniques include: magic ring, back loop only stitches, invisible decreases, front post stitches, safety eyes insertion, and embroidered features.
- Recommended materials include cotton yarn and safety eyes to complete the look.
Notes
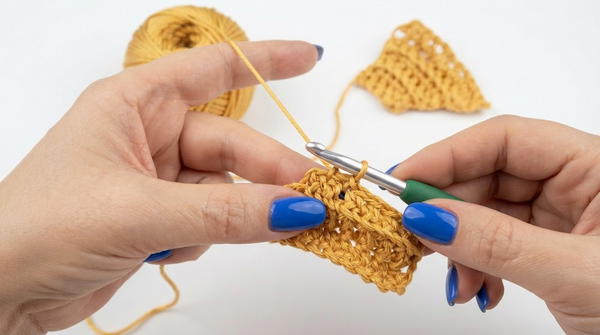
- The project uses Back Loop Only (BLO) stitches for fins to add texture and distinct edges.
- Invisible decrease (BLO) helps shape body rounds while keeping a neat appearance.
- Safety eyes should be attached securely at the right point on the body (approximately Row 6).
- Embroidery thread is used for facial details like the mouth to bring your goldfish to life.
- Crochet tension may affect size; the recommended yarn and hook balance stiffness with softness for shaping.
- Weaving in tails and carefully closing the last gap ensure a professional finish.
Skill Level
Intermediate: The pattern incorporates basic stitches like single crochet (sc) and chain (ch), but also requires familiarity with:
- Working in the back loop only (BLO).
- Magic ring (MR) to start rounds tightly.
- Invisible decreases for shaping.
- Assembly of multiple parts with sewn joins.
- Adding safety eyes and embroidery.
Materials
- Cotton yarn (recommended for firmness and stitch definition).
- 5.0 mm crochet hook (or size to match yarn gauge).
- Safety eyes (appropriate size for the body).
- Embroidery thread for facial details.
- Scissors and yarn needle for finishing.
Measurements / Sizing
- Final dimensions depend on yarn and hook tension.
- Approximate size with recommended materials: around 8-10 cm tall including fins and tail.
- Use smaller hooks and lighter yarn for a smaller, delicate fish or larger yarn for a bigger toy.
Gauge
- Gauge is flexible but aiming for firm stitches to hold shape well.
- Gauge sample recommendation: 12 sc and 8 rows in BLO with 5 mm hook ~ 4 inches (10 cm) square.
Stitch Abbreviations
| Abbreviation | Meaning |
|---|---|
| ch | Chain |
| sc | Single crochet |
| sc2tog | Single crochet two together (decrease) |
| BLO | Back loop only (crochet in back loop only) |
| sl st | Slip stitch |
| MR | Magic ring |
Special Stitches
Invisible decrease (BLO sc2tog): Decrease by slipping the first stitch, inserting hook into the back loop of the next stitch, pulling up a loop through both, and completing a single crochet; creates a less visible decrease.
The Crochet Pattern
1. Small Fins (Make 3: 1 Dorsal, 2 Pectoral)
All fins are worked in Back Loop Only (BLO) to create a textured effect.
Start:
- Chain 10.
Row 1:
- Chain 1 (does not count as a stitch).
- Work 8 single crochets (sc) into the chain.
- Work sc2tog (single crochet two stitches together) over the last two chains to reduce the end width.
- (Total: 9 stitches).
Row 2:
- Chain 1, turn.
- Work sc2tog at start (decreasing stitch count).
- Work 7 sc across.
Row 3:
- Chain 1, turn.
- Work 6 sc.
- Work sc2tog at the end.
Row 4:
- Chain 1, turn.
- Work sc2tog at start.
- Work 5 sc.
Row 5:
- Chain 1, turn.
- Work 4 sc.
- Work sc2tog.
Row 6:
- Chain 1, turn.
- Work sc2tog at start.
- Work 3 sc.
Fasten off leaving a tail for sewing.
Repeat this process to make all 3 fins (1 dorsal fin, 2 pectoral fins).
2. Tail Fin
Worked entirely in Back Loop Only (BLO) for flexibility and texture.
Start:
- Chain 32.
Row 1:
- Chain 1.
- Work 15 sc,
- Work (sc2tog) twice,
- Work 13 sc.
Row 2:
- Chain 3, turn (counts as first sc).
- Work 15 sc,
- Work (sc2tog) twice,
- Work 14 sc.
Row 3:
- Chain 2, turn.
- Repeat pattern: 15 sc, (sc2tog) twice, 14 sc.
Row 4:
- Chain 2, turn.
- Repeat pattern as Row 3.
Row 5:
- Chain 1, turn.
- Work 14 sc,
- Work (sc2tog) twice,
- Work 14 sc.
Row 6:
- Chain 4, turn.
- Work 17 sc,
- Work (sc2tog) twice,
- Work 10 sc.
Row 7:
- Chain 1, turn.
- Work 9 sc,
- Work (sc2tog) twice,
- Work 13 sc.
Row 8:
- Chain 1, turn.
- Work 12 sc,
- Work (sc2tog) twice,
- Work 5 sc.
Row 9:
- Chain 1, turn.
- Work 4 sc,
- Work (sc2tog) twice,
- Work 7 sc.
Row 10:
- Chain 1, turn.
- Work 6 sc,
- Work (sc2tog) twice,
- Work 2 sc.
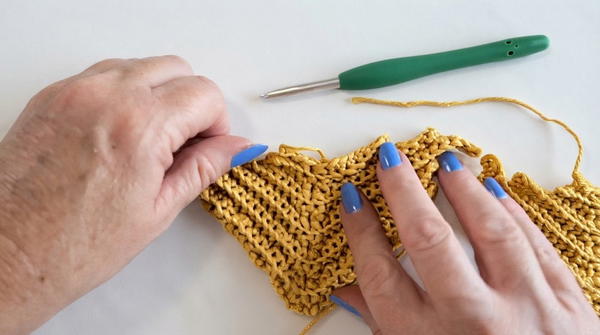
Fasten off, leaving a long tail for attachment.
3. Body
Worked in continuous rounds starting with a magic ring.
Rounds 1-8:
- Begin with a magic ring and work 6 sc into it.
- Increase each round evenly, following the sequence to grow circles up to 30 stitches.
Round 9 (Decrease):
- Work sc 3,
- Make invisible decrease (BLO sc2tog) to shape the body gently.
Round 10:
- Work 24 sc evenly around.
Face Details:
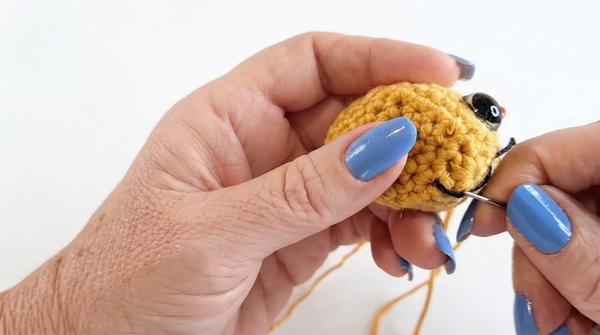
- Insert safety eyes approximately at Row 6.
- Embroider the mouth with thread for an expressive face.
Rounds 11-13:
- Resume increasing rounds carefully, increasing stitch count up to 42.
Rounds 14-21:
- Maintain body shape with 42 sc around for 8 rounds.
Rounds 22-28:
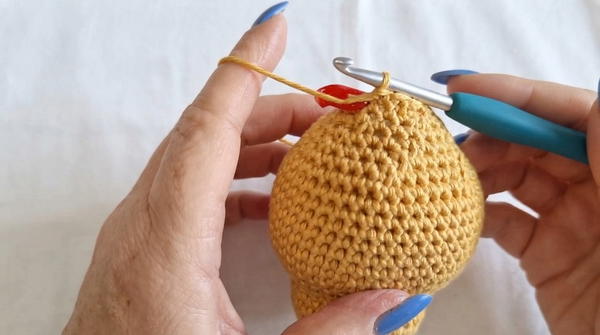
- Decrease rounds steadily to taper the body.
Rounds 29-31:
- Work 12 sc rounds to complete tapering.
Finishing:
- Use a yarn needle to close the remaining gap tightly, weaving ends inside.
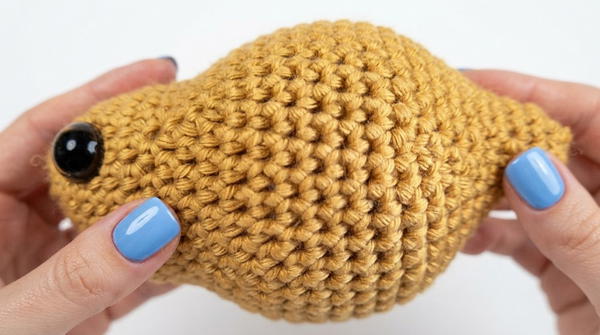
Assembly & Finished Size
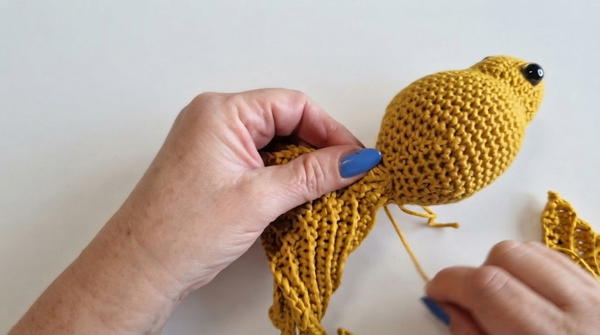
- Sew the small fins and tail fin securely to the body symmetrically.
- Insert and secure safety eyes if not already attached.
- Embroider the mouth and any other desired facial features.
- The finished goldfish stands at approximately 8–10 cm tall, depending on yarn and hook.
- Weave in all loose yarn ends to guarantee durability and neat appearance.
- Optionally, block the finished amigurumi for better shape retention.
Conclusion
This Fantail Goldfish crochet pattern combines textural detail with classic amigurumi shaping, creating a visually striking and tactile project. With individual piece construction, you gain control over the unique features of the fish while practicing techniques like BLO stitches and invisible decreases.