Start crocheting a fashionable polyester cord bag today with our free pattern that offers a perfect blend of durability and contemporary design.
A stylish and practical tote comes to life with a blend of durability and charm through a pattern shared by Crochet with Olga Dyvinets!!!. This Free crochet Polyester Cord Bag Pattern is perfect for those looking to create a lightweight yet sturdy bag ideal for everyday use. The design is not only functional but also makes a wonderful gift for friends and family who appreciate unique accessories.
Free Crochet Polyester Cord Bag Pattern for Stylish and Tough Bags
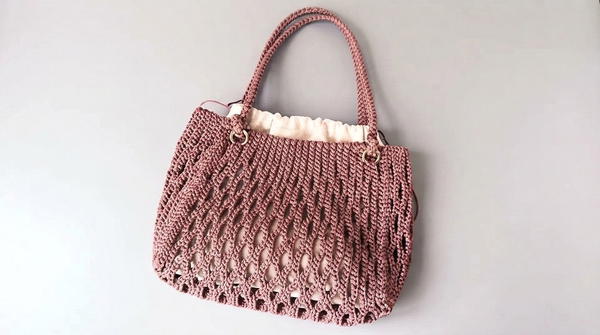
The bag features a firm texture thanks to the polyester cord, giving it a solid structure that maintains shape while remaining flexible. Its clean lines and rectangular silhouette offer plenty of space, making it great for shopping trips, beach days, or casual outings. The tightly stitched pattern provides a modern look while ensuring the bag withstands regular wear and tear.
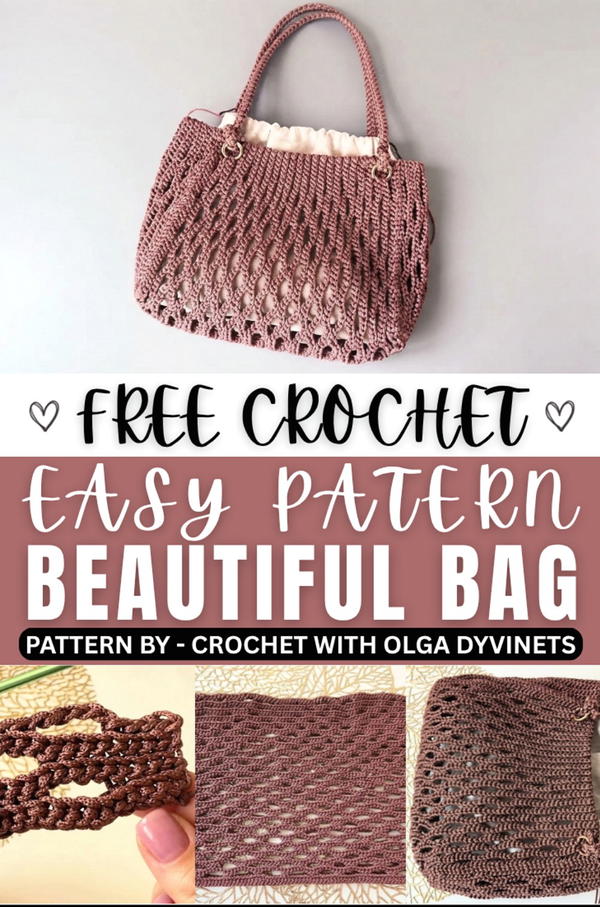
An appealing aspect of this project is its simplicity combined with a stylish finish. The cord material lends a slight sheen that catches light beautifully, adding to the bag’s decorative value. A sturdy handle completes the design, allowing comfortable carrying without compromising strength.
Beyond its fashionable appearance, this polyester cord bag is easy to care for and quick to dry, which adds to its everyday appeal. This pattern is perfect for anyone keen on creating a useful and attractive accessory that blends practicality with timeless style.
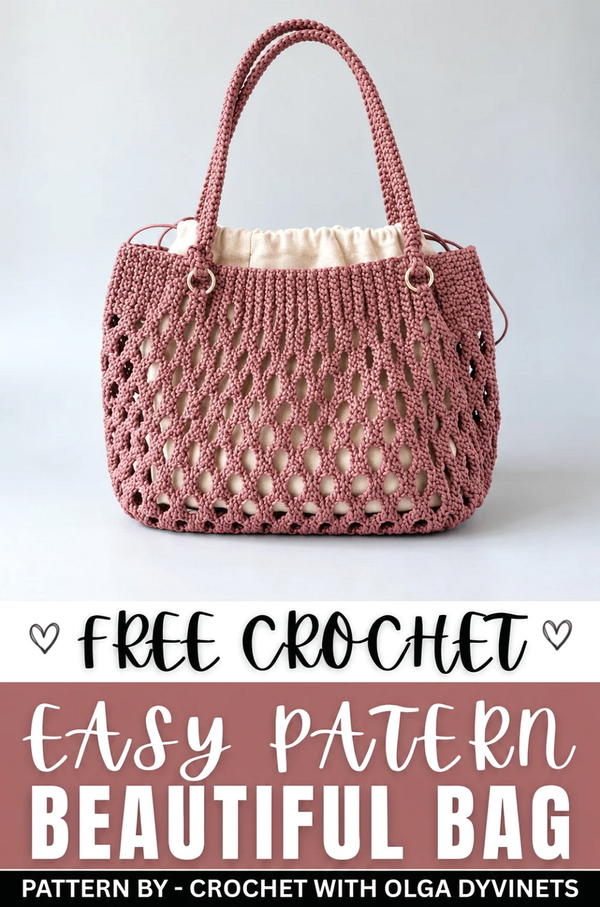
Crochet Pattern: Stylish Bag with 3 mm Polyester Cord
This crochet project creates a stylish bag using durable 3 mm polyester cord. With its geometric design of slip stitch arches and a practical structure, this bag is both functional and chic. The pattern includes detailed instructions for creating the main panel, side panels, and a sturdy strap. Optional elements, like metal rings and a fabric lining, can add the finishing touches.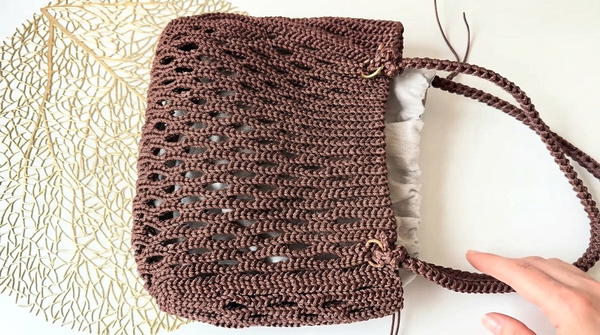
Skill Level
Intermediate – This project requires familiarity with slip stitches, working into back loops, creating consistent tension with polyester cord, and basic sewing techniques for assembly and finishing. While the stitches themselves are simple, maintaining uniformity in tension is essential for a clean finish.
Materials
- 3 mm Polyester Cord: Approximately 300 meters (1.5–2 skeins).
- Crochet Hook: Size 4 mm.
- Additional Items:
- 4 metal rings to attach the strap.
- Yarn or upholstery needle for sewing the panels and ends of the strap.
- Fabric lining (optional) to give the bag a professional, finished look.
- Stitch markers to mark corners or special areas in the pattern.
Stitch Abbreviations
- Ch: Chain
- Sl St: Slip Stitch
Special Stitches
Slip Stitch into Back Ridge
When working in the foundation chain, insert the hook into the back ridge (the single bump on the back of the chain, rather than under the top loops). This creates a smooth finish on the edge of the row.
Useful Tips
- Consistent Tension: Polyester cord does not stretch much and can tangle easily if uneven tension is used. Work carefully and slowly to maintain even stitches throughout.
- Flexible Bag Size: Adjust the number of starting chains to tweak the width and height of the bag. Ensure any adjustments maintain the pattern repeat to preserve the design.
- Mark the Panels: Use stitch markers to indicate corners while assembling the side panels to the main body. This ensures proper alignment.
- Start with Extra Cord: Leave longer starting and finishing tails on all panels to use for sewing, minimizing the need to join extra cord.
- Optional Lining: Use sturdy fabric like canvas or linen for lining to support the bag’s shape and prevent items from poking between stitches.
Pattern Instructions
The bag consists of three main components: the main panel, two side panels, and a strap. Follow the instructions carefully to achieve the desired result.
1. Main Bag Panel (47 Rows)
This is the largest panel and serves as the front, back, and base of the bag.
Foundation
- Ch 94 stitches.
- Total width of the foundation chain: Approximately 46 cm.
Row 1: Creating the Base Row
- Skip the first chain.
- Work 93 slip stitches (Sl St) into the back ridges of the foundation chain.
- (Total: 93 Sl St)
Pattern Rows (2nd–5th Rows)
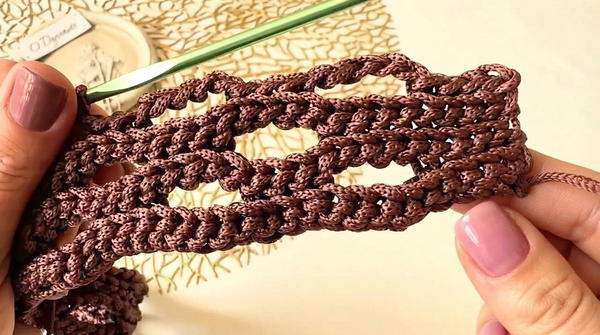
The pattern alternates rows of arches and rows of slip stitches into back loops, creating an airy, geometric design.
- Row 2 (Arches):
- Work 4 Sl St along the edge.
- Ch 5, skip 5 stitches, work 3 Sl St into the next 3 stitches.
- Repeat from * to the end of the row. Finish the row by working 4 Sl St.
- Row 3:
- Work a row of 93 Sl St, inserting the hook into the back loops of each stitch and into the chain-5 arches from the previous row.
- Row 4 (Staggered Arches):
- Work 8 Sl St along the edge.
- Ch 5, skip 5 stitches, work 3 Sl St into the next 3 stitches.
- Repeat from * to the end of the row. Finish the row by working 8 Sl St.
- Row 5:
- Work a row of 93 Sl St, inserting the hook into the back loops of each stitch and into the chain-5 arches from the previous row.
Rows 6–47:
Repeat Rows 2–5 a total of 12 times, alternating arches and sl st rows. The completed panel should measure approximately 56 cm in height.
2. Side Panels (Make 2)
These panels define the depth of the bag.
Foundation
- Ch 38 stitches.
Row 1: Base Row
- Skip the first chain.
- Work 37 slip stitches (Sl St) into the back ridges of the foundation chain.
- (Total: 37 Sl St)
Pattern Rows:
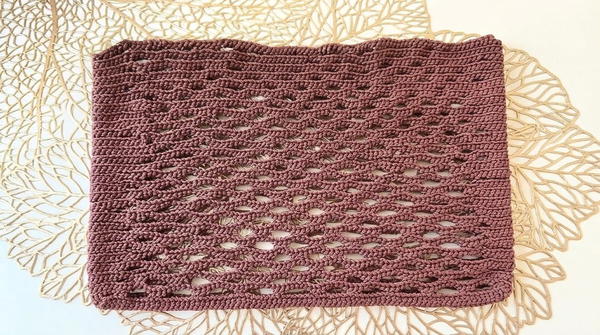
Follow the same arch pattern as the main panel:
- Row 2 (Arches):
- Work 4 Sl St along the edge.
- Ch 5, skip 5 stitches, work 3 Sl St into the next 3 stitches.
- Repeat from * to the end of the row. Finish with 4 Sl St.
- Row 3:
- Work a row of 37 Sl St, inserting the hook into the back loops along the panel and into the chain arches.
- Row 4 (Staggered Arches):
- Work 8 Sl St along the edge.
- Ch 5, skip 5 stitches, work 3 Sl St into the next 3 stitches.
- Repeat from * to the end of the row. Finish with 8 Sl St.
- Row 5:
- Work a row of 37 Sl St, inserting into the back loops as in Row 3.
- Work a row of 37 Sl St, inserting into the back loops as in Row 3.
Rows 6–19:
Repeat Rows 2–5 4 more times to reach a total of 19 rows. The completed side panels should measure approximately 38 cm in height.
3. Assembly
Attaching the Pieces:
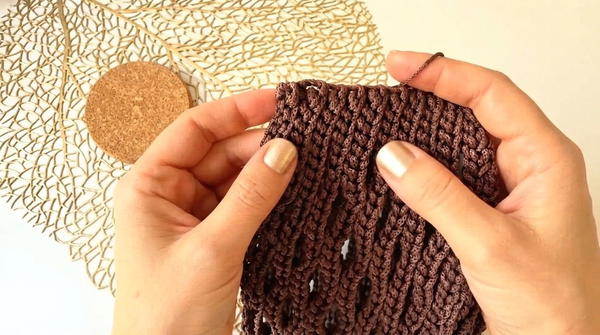
- Lay the main panel flat and align the side panels along its edges where they fold.
- Use the tail ends of the cord to sew the pieces together securely using a tight whipstitch from the right side. Ensure there are no gaps between stitches to prevent items from slipping through.
4. Strap
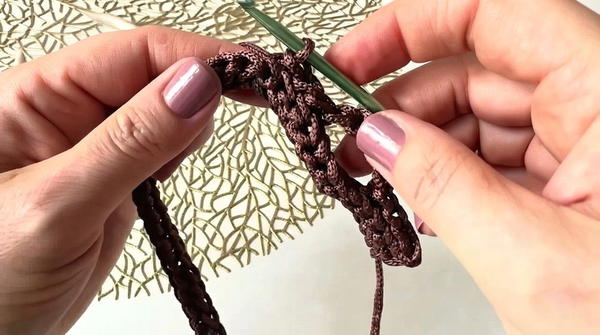
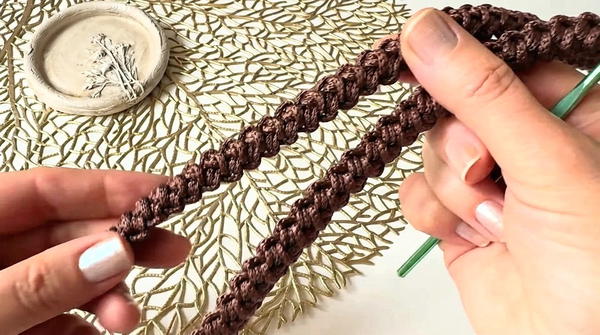
Using the caterpillar stitch, create a strap approximately 75 cm in length. Adjust the length to your preference for a shoulder or crossbody style.
- Chain 2 and join into a tight loop.
- Work slip stitches into the loop, coiling the cord to create a dense, sturdy strap.
- Continue until the strap reaches the desired length. Cut the cord, leaving a tail to secure it.
5. Finishing Touches
- Attach Metal Rings:
- Feed each end of the strap through the metal rings and sew securely using the remaining tail.
- Add Optional Lining:
- Cut fabric slightly smaller than the dimensions of the bag. Sew or glue the lining into the interior for added durability.
- Add Decorative Elements:
- Attach a tag, button, or decorative beads if desired to personalize your creation.
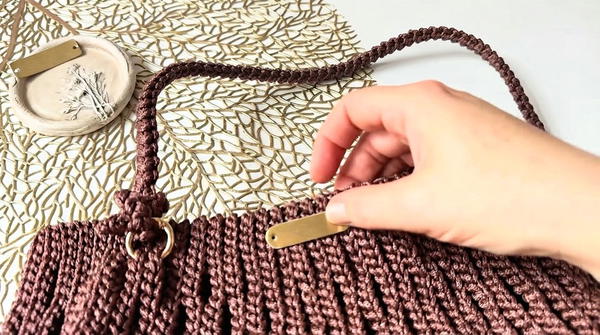
- Attach a tag, button, or decorative beads if desired to personalize your creation.
Conclusion
This stylish bag combines functional durability with an elegant design, thanks to the polyester cord's strength and the slip stitch pattern's structure. The arches add a touch of texture and personality, while the optional lining and strap provide practicality. Adjust the size and embellishments as needed to suit your personal style!