Carry your beauty essentials with flair by crocheting this free cosmetic bag pattern perfect for adding a handmade touch to your daily routine.
Organizing your essentials becomes stylish and simple with the Free crochet cosmetic bag Pattern. This handy pouch is perfect for storing makeup, small toiletries, or accessories, making it a thoughtful gift for friends or family. Crochet with Olga Dyvinets!!! offers a clear and engaging tutorial that guides you through creating this colorful, functional accessory.
Stylish & Small Free Crochet Cosmetic Bag Pattern + Tutorial
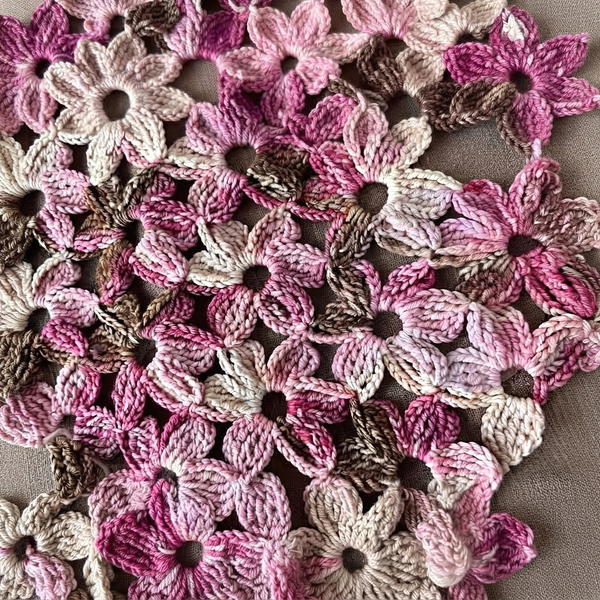
The cosmetic bag features a vibrant flower stitch pattern, giving it a charming and decorative look. Its sturdy oval base provides a good shape while maintaining a soft texture thanks to the use of polyester cord. With dimensions around 21 cm wide and 12 cm high, it’s just the right size for everyday use.
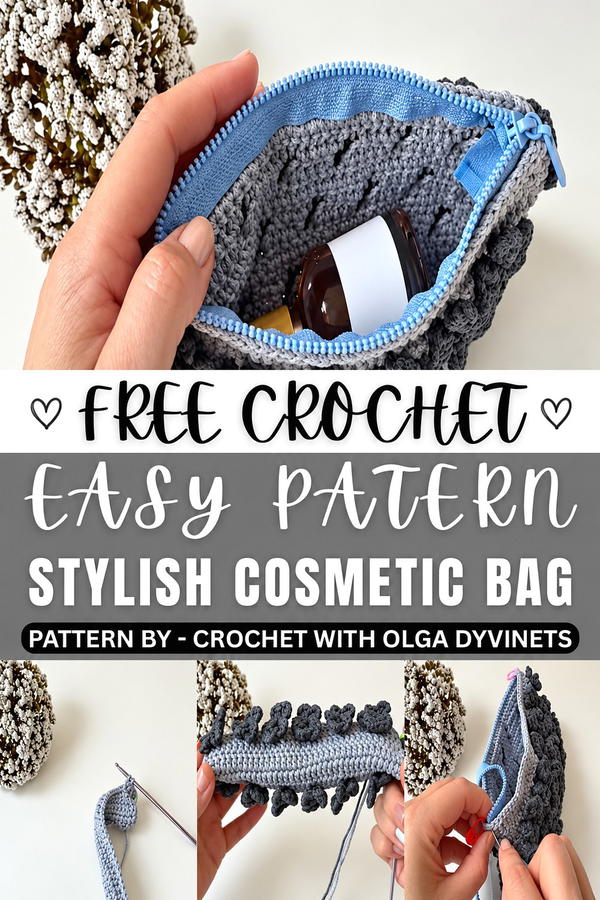
The bag’s neat shape is complemented by a smooth zipper closure, ensuring your items stay secure. The alternating colors in the flower motifs create a lively checkerboard design that adds both texture and depth. This thoughtful combination of pattern and structure makes it a standout item, both practical and visually appealing.
Its compact form and durable construction make it an ideal travel companion or an elegant addition to your vanity. The balance between firmness and softness ensures it holds its shape while feeling comfortable to handle. This cosmetic bag is not only useful but also a delightful statement piece that elevates everyday organization.
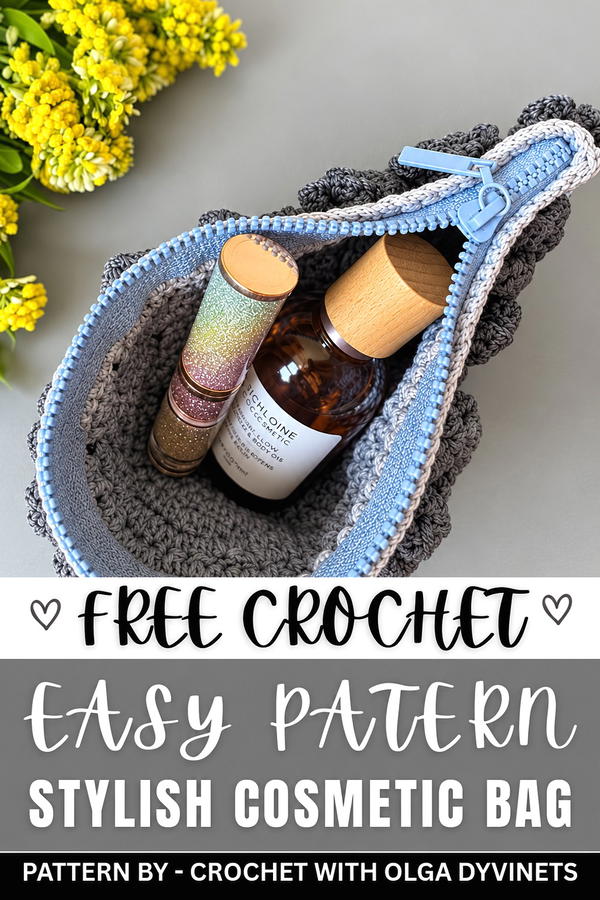
Crochet Pattern: Two-Color Cosmetic Bag
The two-color cosmetic bag is a beautiful and functional accessory, combining a sturdy elastic base with a decorative flower pattern. Featuring a checkerboard-style flower arrangement, this bag is perfect for holding essentials while showcasing a vibrant, textured design. The zipper closure ensures practicality, and the polyester cord guarantees durability.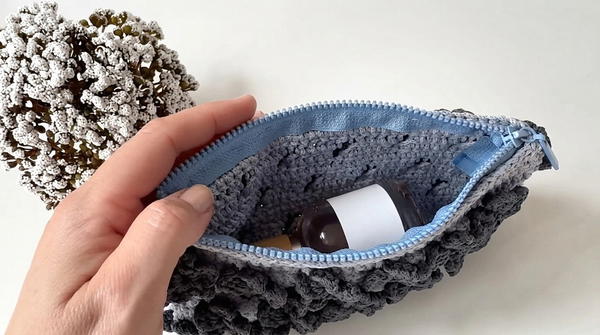
Skill Level
Intermediate – This pattern involves a mix of techniques, including an elastic foundation, color changes, creating layered flower petal designs, and sewing in a zipper. Familiarity with these techniques is recommended for best results.
Materials Required
- Cord: Polyester cord (2mm thickness), such as Caramel Baby brand
- Main Color: Approx. 200 meters
- Accent Color: Approx. 50–75 meters
- Hook: Size 3mm
- Zipper: 20 cm or longer (can be trimmed to size)
- Additional Tools:
- Stitch marker
- Scissors
- Lighter for sealing cord ends
Stitch Abbreviations
- Ch: Chain
- DC: Double Crochet
- Sl St: Slip Stitch
Special Stitches
Elastic Foundation
This technique prevents gaps from forming in the base of the bag.
- Ch the required number of foundation stitches.
- Work into the back bump of each chain rather than under the top loops. This creates a denser, elastic foundation with a clean edge.
Flower Petals
- Pick up your accent color and join it to stitch 6 (or as directed in the row pattern).
- Form the petal:
- Base of petal: Work two DC in the same stitch.
- Top of petal: Ch 2, then work two more DC into the same stitch.
- Fasten off the accent color and switch back to the main color.
Useful Tips
- Tidy Color Changes: Use your hook to carry the unused yarn while switching colors, ensuring clean transitions.
- Weave in Tails: Hide yarn tails as you go to reduce finishing time.
- Track Flower Placement: Use stitch markers to identify flower placement, especially for the checkerboard rows.
- Check Zipper Length Early: Adjust the zipper trim to the bag's opening before final assembly.
- Maintain Even Tension: Polyester cord can be slippery, so work carefully to keep stitches even.
Pattern Instructions
This pattern is divided into six sections: Base, Second Round, Flower Pattern Rows, Transition Rows, Checkerboard Flowers, and Finishing.
1. Base (Foundation)
Round 1: Elastic Base Foundation
- Begin by making an elastic foundation:
- Ch 37 stitches, working into the back bump for elasticity (this will eliminate any center holes in the base).
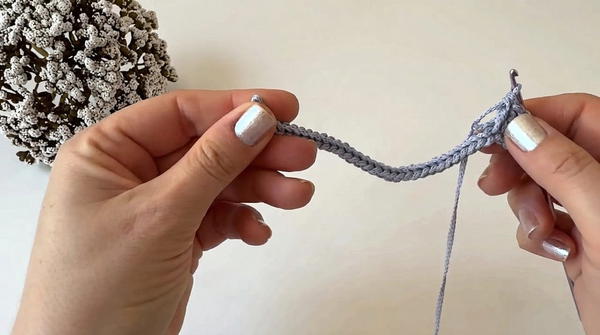
- Ch 37 stitches, working into the back bump for elasticity (this will eliminate any center holes in the base).
- Row Around Foundation Chain:
- Ch 3 (counts as first DC).
- Work 1 DC into each chain across.
- Turning the Corner:
- At the final chain, work 3 DC into the same space to turn the corner, continuing along the opposite side of the chain.
- Final Join:
- Once you have worked all the way across, close the round with a Sl St into the top of the Ch-3.
- (Total: 78 stitches)
2. Second Round (Increase-Free)
Round 2: Establish the Base Shape
- Ch 3 (counts as the first DC).
- Work 1 DC into each of the 78 stitches around the base foundation.
- Close the round with a Sl St for a seamless join.
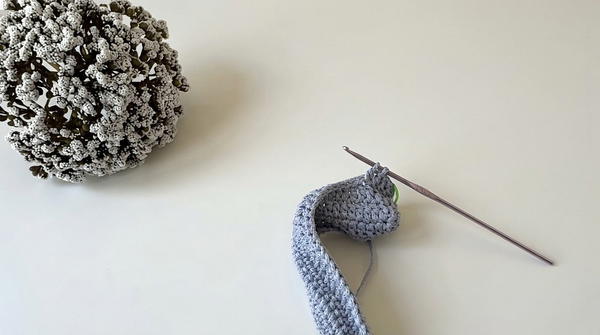
- (Total: 78 stitches)
3. Flower Pattern Rows
The flowers are created using alternating long and short rows with the main and accent colors.
First Flower Row
- Start with 5 DC stitches using the main color.
- Switch to Accent Color:
- On the 6th stitch, drop the main color and attach the accent yarn.
- Begin forming the flower petals as described in the "Special Stitches" section (2 DC, Ch 2, 2 DC in the same stitch).
- Return to Main Color:
- Drop the accent yarn and pick up the main color, working 5 DC in the next stitches.
- Repeat Across Row:
- Repeat this sequence until you have formed 13 flowers.
- Ensure that the accent yarn remains neat and untangled as you switch colors.
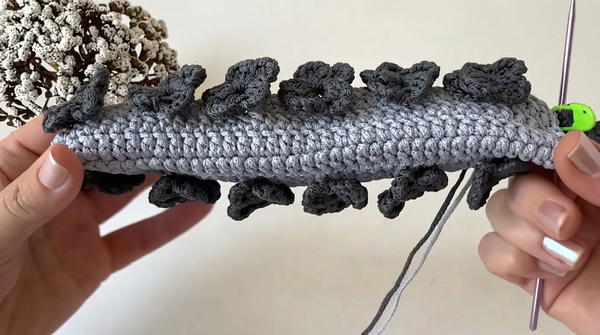
- Close the round with a Sl St in the first Ch-3.
4. Transition Rows
Row Between Flowers
- Work 2 rows of plain DC stitches using the main color only. This will form a neutral line to separate the rows of flowers.
- Repeat the same stitch count as the previous rows (78 stitches per row).
5. Checkerboard Flowers
Alternating Flower Placements
- Begin the new flower row by alternating the position of the flowers. For example, instead of placing the first flower on stitch 6, start with stitch 3.
- This offsets the flower placements, creating the checkerboard effect.
- Repeat the same instructions as the first flower row for creating the petals and alternating between the main and accent colors.
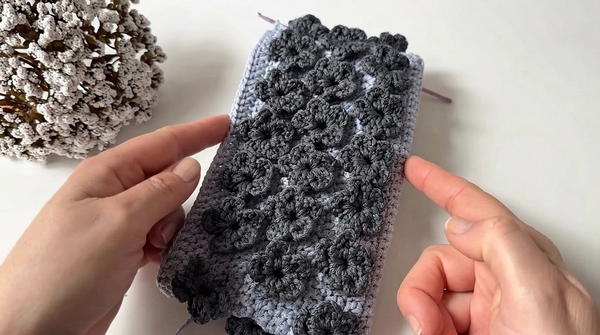
Continue Alternating:
- Alternate flower rows and transition rows until the bag reaches the desired height. In the video, the bag height is 11 cm.
6. Finishing and Assembly
Final Edge Row
- Work a final row of Sl St into the back loop only.
- This will create a neat, dense edge that strengthens the bag's opening.
Adding the Zipper:
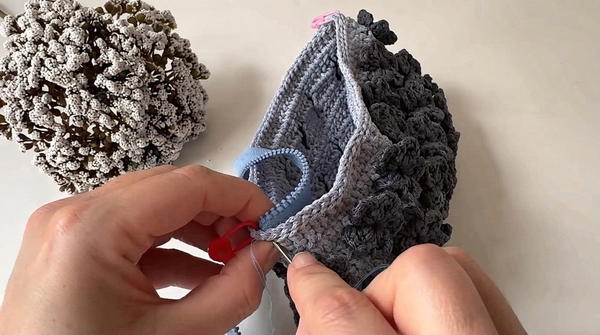
- Trim the zipper to fit the opening of the bag if necessary.
- Fold in the raw edges of the zipper and secure them with a stitch or glue if desired.
- Hand stitch the zipper to the inside of the opening using a needle and thread.
Conclusion
The two-color cosmetic bag combines utility and style. The elastic foundation ensures no unsightly holes, while the flower pattern adds a decorative touch. The checkerboard design allows for creativity in color combinations, making this bag a personalized and versatile project for daily use or gift-giving.