Mint Design Blog


Handmade flower pot hanger get a fresh twist with this free crochet pattern that’s easy to follow and ideal for sprucing up any space.
Gülşah Özcan Filiz has kindly shared a wonderful way to create a charming hanging decoration that brings life and color to any space. This beautiful piece is perfect for holding small plants or flowers and can brighten up rooms, balconies, or outdoor areas with an artistic touch.
Easy & Free Crochet Flower Pot Hanger Pattern for Home Decoration
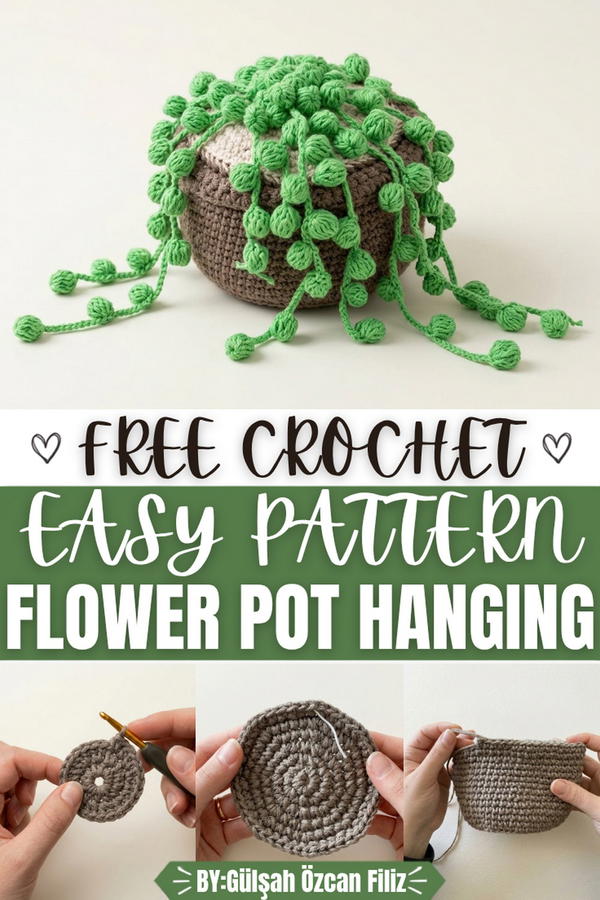
The creation begins with a sturdy base made using strong macrame yarn to ensure it holds its shape well. The process starts by making a tight loop called a magic ring, followed by rows that gradually increase in size to form a pot-like shape. The stitches used are mainly single crochets worked in rounds and rows, making the structure firm and neat. Soft cotton yarn is then used to add delicate flowers and leaves, enhancing the natural appearance of the piece. These floral details are made with simple loops and chains that build small buds and petals, giving a visually appealing three-dimensional effect.
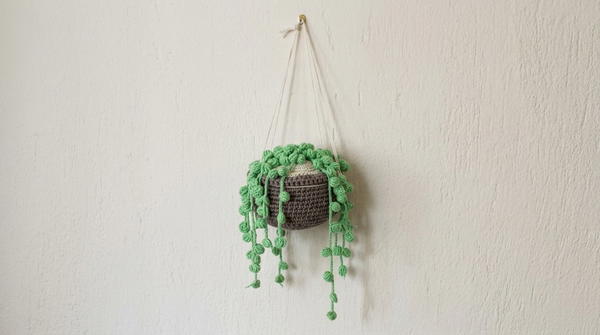
One of the most captivating features is the way the pot curls inward naturally after several rows, creating a realistic flower pot shape. The hanging strings are arranged carefully to form a balanced triangle, allowing the piece to hang gracefully. This combination of strength, beauty, and easy-to-follow technique makes this design both practical and elegant for anyone wanting to add a touch of handmade charm to their home.
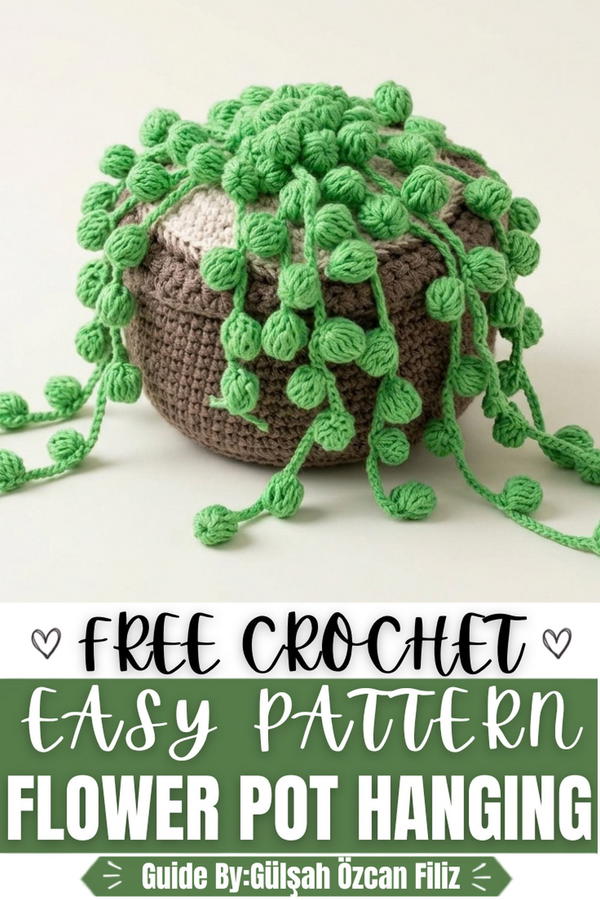
Crochet Flower Pot with Flowers Pattern
This crochet flower pot with flowers project offers a perfect combination of structural elegance and delicate artistry, making it an ideal decorative piece for home or gifting purposes. Constructed from two distinct components — a sturdy pot base crocheted from macrame rope and charming flowers made from cotton yarn — this design boasts both durability and aesthetic appeal. The pot provides firm support thanks to the thickness and strength of macrame rope; whereas the soft yarn flowers add dynamic texture and variety through color and form. Balancing simplicity with scope for customization, this project invites beginners to develop their crochet skills in increasing rounds, pattern repetition, shaping, and assembly. Handmade, it not only enhances your crafting repertoire but also lets you create personalized decorations tailored to your preferred size, color palette, and arrangement.
Skill Level
Beginner
This pattern employs fundamental crochet stitches such as single crochet (sc), chain (ch), and slip stitch (sl st) exclusively. Increasing in rounds and simple shaping techniques are central methods used, presented with step-by-step guidance. Basic knowledge of forming a magic ring and crocheting in rounds is helpful but beginner-friendly techniques and descriptions are provided.
Materials
- Macrame rope: For the pot base. Its thickness and firmness are essential for shape retention.
- Cotton yarn: In varying thicknesses and colors, used to make the flowers and leaves. Thicker yarn provides fuller flowers; thinner yarn allows for delicate detailing.
- Crochet hooks: 4 mm for the pot base (compatible with macrame rope); 3.25 mm for flowers and leaves to afford fine detail.
- Fiberfill or stuffing material: For shaping the pot and flower buds. Fabric scraps or beads may be used as well.
- Yarn needle: For sewing pieces and weaving in ends.
- Scissors: For cutting yarn and trimming.
- Optional: Hot glue gun or fabric glue, to assist with attaching flowers and leaves for a secure finish.
Special Stitches
- Magic ring: Utilized to begin closed, tight rounds especially important for the pot base and flower buds.
- Single crochet (sc): Fundamental stitch throughout the project.
- Chain (ch): Used for foundational work and petal shaping.
- Slip stitch (sl st): Employed for finishing rounds and neat transitions.
- Increase: Achieved by working two single crochets (sc) into one stitch to expand the diameter gradually.
Stitch Abbreviations
- ch = chain
- sc = single crochet
- sl st = slip stitch
Useful Tips
- Macrame rope choice: Use thick macrame rope; thin yarns will not provide sufficient rigidity for the pot.
- Tension: Maintain consistent stitch tension, especially during magic ring and increasing rounds, for even fabric and a smooth shape.
- Flower customization: Adjust flower size by varying the number of foundation chains and petal stitches; bigger flowers can be created with longer chains and more petals.
- Stuffing: Use adequate fiberfill or fabric scraps inside the pot and flower buds to maintain form, but avoid overstuffing which might distort the shape.
- Attachment: Sew flowers and leaves securely using a yarn needle or use hot glue for quicker assembly, taking care not to damage delicate stitches.
- Finishing: Leave small openings for stuffing if needed, then close with invisible stitches for polished results.
- Blocking: Lightly block or shape the finished pieces to improve appearance and alignment before attachment.
Pattern Instructions
Pot Base
The pot begins with a flat circular base, increasing every round to the desired diameter, followed by building vertical walls.
Round 1:
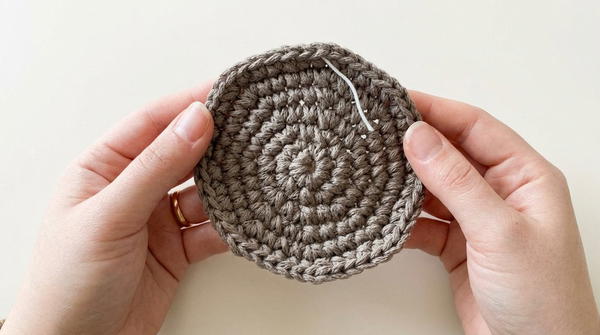
- Create a magic ring with macrame rope to form a tight center.
- Crochet 8 single crochet (sc) stitches evenly into the magic ring.
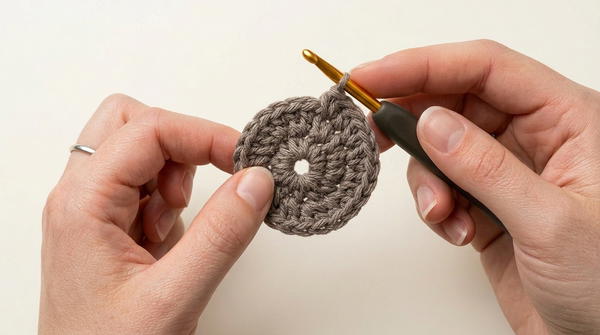
Round 2:
- Work 2 single crochet (sc) into each stitch around to double stitch count (total 16 sc).
Round 3:
- Work 2 single crochet (sc) stitches into every stitch of previous round (total 32 sc).
Rounds 4–5:
- Increase the base diameter by working alternate sequences around the round, such as:
- 1 single crochet (sc) in one stitch, then
- 2 single crochet (sc) stitches in the next stitch (increase).
- Repeat this (1 sc, increase) pattern across the round.
- Adjust stitch counts if necessary to maintain even round growth.
Rounds 6–12:
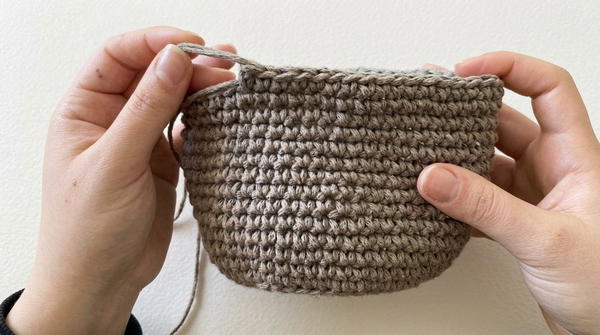
- Build the pot’s height by working 1 single crochet (sc) stitch in each stitch around without increasing, for approximately 12 rows.
- This will form the sturdier wall section of the pot.
Final Row:
- Join with a slip stitch (sl st).
- Cut the yarn and fasten off securely.
- Tighten the magic ring of the pot’s base as necessary to prevent gaps at the bottom.
Pot Shaping and Finishing
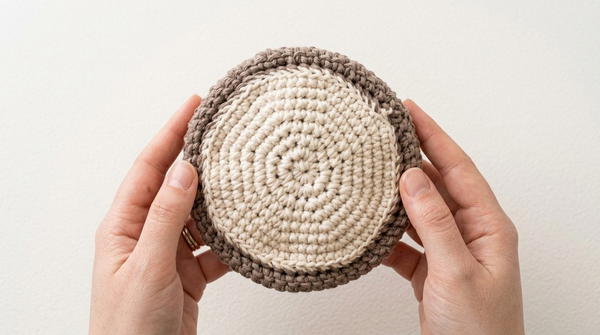
- Using a yarn needle, weave the tail of the yarn through the edge stitches to shape the pot slightly if needed, making stitches neat and uniform.
- Firmly stuff the pot with fiberfill or fabric scraps to maintain roundness and stability.
- Close any gaps left for stuffing using invisible stitching with the yarn needle.
- The pot should stand firm and retain shape without collapsing.
Flowers
Flowers are crafted separately and attached to the pot later.
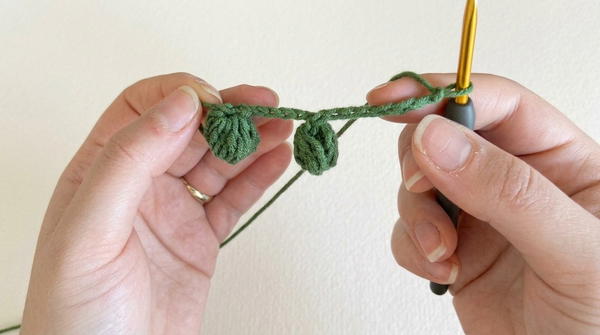
Bud Base:
- Using cotton yarn and a 3.25 mm crochet hook, chain 8–10 stitches depending on the size desired.
- Join in a round or work back and forth with single crochet (sc) stitches to create a circular base for the bud.
Petal Formation:
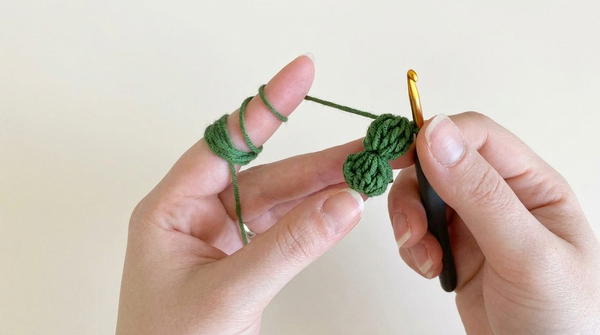
- Chain 3.
- Work clusters of single crochet (sc) stitches into single chain or stitch spaces to simulate petals, forming “bunches” of petals.
- Repeat these petal clusters evenly around until the flower looks suitably full.
Bud Completion:
- Close off the top of the bud by decreasing stitches or working a second magic ring for a tight finish.
- Lightly stuff each bud to hold its spherical shape.
Leaves
- Chain approximately 8–12 stitches for preferred leaf length.
- Work single crochet (sc) stitches back along the chain, increasing or decreasing at ends to mimic natural leaf tapering.
- Optionally, add edging with picot or slip stitches (sl st) for enhanced texture and visual interest.
Assembly
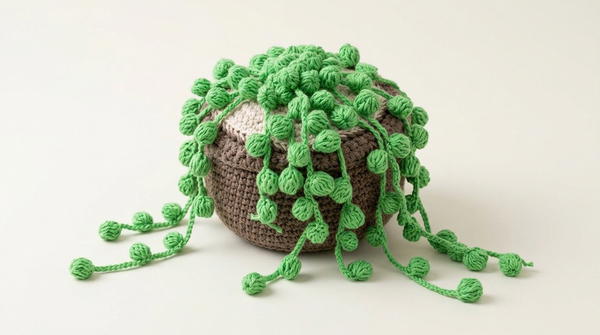
- Arrange flowers and leaves artistically on or around the pot before attaching to finalize placement.
- Secure pieces either through sewing with a yarn needle or by applying hot glue.
- Attach leaves to provide balance and natural appeal alongside flowers.
- If desired, add a hanging loop or rope by securely sewing it to the pot’s rim.
- Fill any final gaps with fiberfill and complete with neat stitching for a finished appearance.
Sizing
- The pot’s width is determined by the number of increasing rounds at the base; more rounds mean a larger pot.
- The pot’s height is governed by the number of straight single crochet rows worked after shaping the base.
- Flower sizes vary by chain length and petal repetitions; mix sizes for richness.
- Customize colors for each flower and leaf for personalized effects.
Conclusion
This flower pot with crochet flowers pattern provides an excellent chance to practice foundational crochet skills while producing a visually appealing decorative item. The project combines varied materials and textures — firm macrame rope for structure and soft cotton yarn for flowers — allowing creative freedom tempered by straightforward technique. Its modular nature supports many customization options in sizing, colors, and floral arrangement, making it a rewarding and adaptable project. Whether as an engaging beginner’s task or a thoughtful handmade gift, this crochet flower pot brings warmth and artisanal charm to any space.