Create a buzz with style by crocheting this free honeycomb handbag pattern perfect for adding a trendy and textured accessory to your collection.
Looking to create a stylish and practical accessory that stands out in any crowd? The Free crochet honeycomb handbag Pattern offers just that—a beautiful and sturdy handbag perfect for everyday use or special occasions. This bag boasts a dense yet elegant texture made from thick polyester cord, giving it a firm structure that holds its shape beautifully. Presented with flair by Crochet with Olga Dyvinets!!!, this pattern combines functionality with eye-catching design.
Free Crochet Honeycomb Handbag Pattern – Quick & Simple
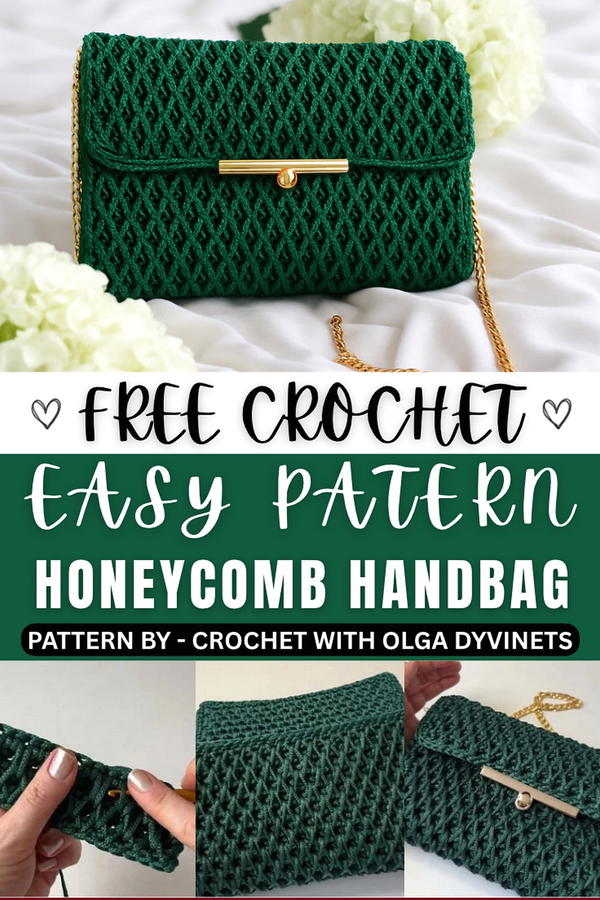
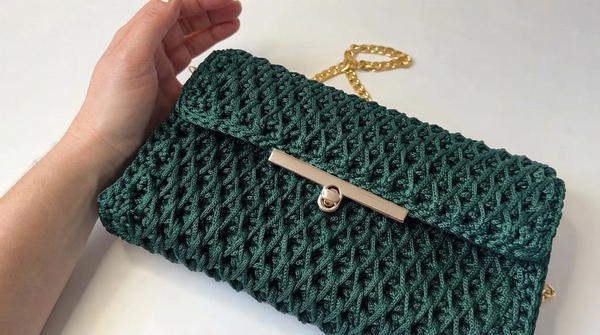
What makes this handbag truly special? Its unique honeycomb stitch pattern creates a textured diamond effect that adds depth and charm. The bag’s rectangular shape with well-finished edges ensures durability while maintaining a sleek look. Gold-colored fittings and a matching clasp elevate its style, making it a fashionable statement piece. It comes with both short and optional long straps, allowing for versatile carrying options, whether hand-held or worn over the shoulder.
The dense stitch pattern offers practical benefits too—it’s tough enough to carry daily essentials without sagging or losing shape. The construction includes neatly sewn side panels that enhance the bag’s structure and elegance. The finishing touches, like a sturdy binding and a secure clasp, make this handbag both decorative and functional. Its timeless design and quality materials promise a gift that anyone would treasure.
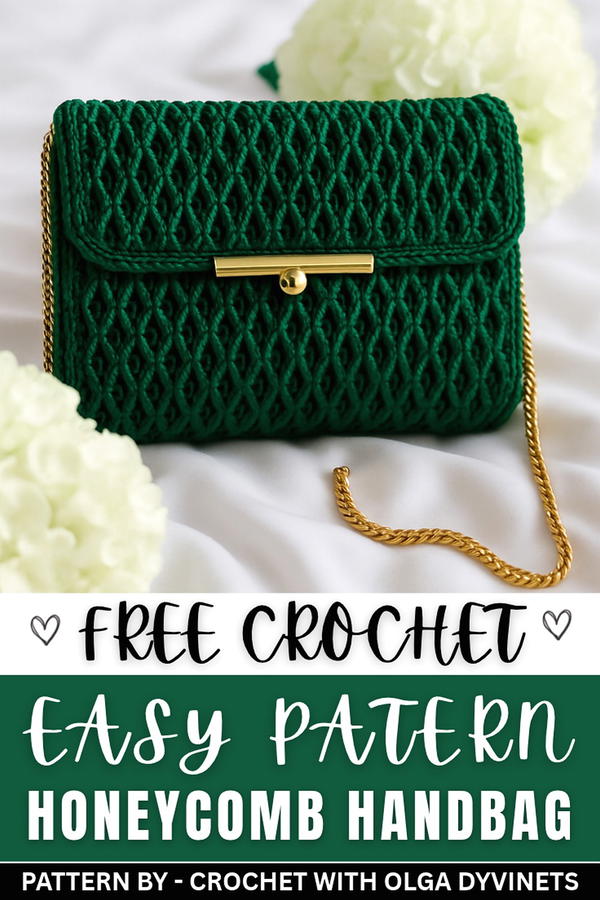
Crochet Emerald Honeycomb-Patterned Bag
The Emerald Honeycomb Bag is a stylish and durable accessory designed using 3mm polyester cord. Its honeycomb pattern provides an elegant texture, while the reinforced trim and gusset panels ensure a sturdy, high-quality finish. This bag is perfect for casual or formal occasions, with a timeless design that pairs functionality and sophistication. 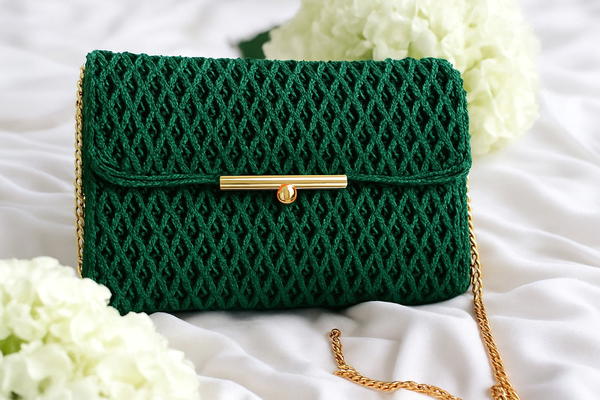
Skill Level
Intermediate – The pattern features front-post relief stitches, alternating stitch techniques, and assembly, making it ideal for crocheters comfortable with textured stitches and working with polyester cords.
Materials
- Yarn: 2 skeins of 3mm polyester cord (200m each)
- Hook: 3.75mm or 4mm crochet hook
- Hardware:
- Lock or clasp for the flap
- Short handle or strap
- Carabiner rings for attaching the handle
- Additional Items:
- Scissors
- Stitch markers (optional)
- Yarn needle for weaving in ends
Stitch Abbreviations
- Ch: Chain
- SC: Single Crochet
- FPSC: Front Post Single Crochet (relief stitch)
- Sl St: Slip Stitch
Special Stitches
Front Post Single Crochet (FPSC)
- Insert the hook from front to back and around the post of the stitch below.
- Yarn over, pull the yarn around the post, yarn over again, and pull through both loops on the hook.
- This creates a raised, textured stitch.
Long Stitch
- Yarn over, insert the hook into the same space or stitch from a previous row, pull up a loop.
- Complete as a single crochet.
- This adds texture and depth to the honeycomb pattern.
Useful Tips
- Maintain Even Tension: Polyester cords tend to be less forgiving; work slowly to maintain even tension for a neat finish.
- Use a Stitch Marker: Mark the beginning and end of rows to track patterns and ensure symmetry.
- Work into Back Bumps: For the foundation chain, working into the back bumps creates a neater edge.
- Check Measurements: Double-check panel dimensions before assembly to ensure the bag aligns properly.
- Sew with Right Sides Facing: When joining panels, work with the right sides facing inward to create seamless edges.
Pattern Instructions
This pattern consists of three primary sections: the Main Body, Side Gussets, and Assembly & Finishing. Follow each step to ensure accurate shaping and sturdy construction.
1. Foundation
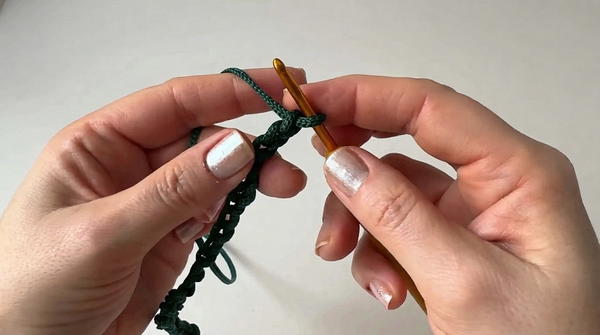
Foundation Chain
- Ch 32 (31 base stitches + 1 turning chain).
2. Base Row
Row 1: Single Crochet Row
- Insert the hook into the back bumps of the foundation chain.
- Work 31 SC stitches across evenly. (Total: 31 SC)
3. Honeycomb Pattern
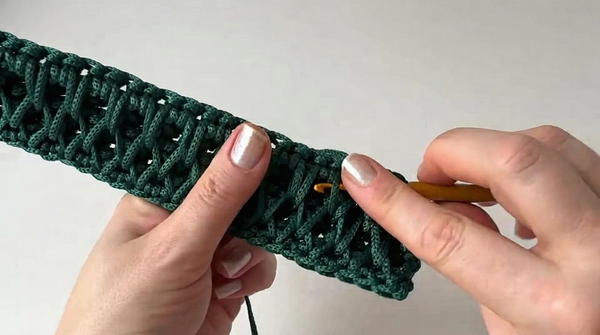
The honeycomb texture is established with a 4-row repeat using a combination of single crochet, long stitches, and front-post relief stitches.
Row 1:
- Work alternating long stitches (insert the hook into the base of the previous row) and standard single crochet (SC) stitches. (Total: 31 stitches)
Row 2:
- Work a row of regular SC stitches, alternating with FPSC stitches around the long loops from the previous row. (Total: 31 stitches)
Row 3:
- Work long stitches between the long loops created in previous rows, alternating with SC stitches. (Total: 31 stitches)
Row 4:
- Start with 2 SC, then alternate FPSC stitches with SC stitches for the remaining row. (Total: 31 stitches)
4. Main Panel
Rows 5–57 (or until desired length):
- Repeat the 4-row honeycomb sequence until the panel measures 41 cm long and 25 cm wide.
- Ensure the edges remain clean and straight by counting stitches frequently.
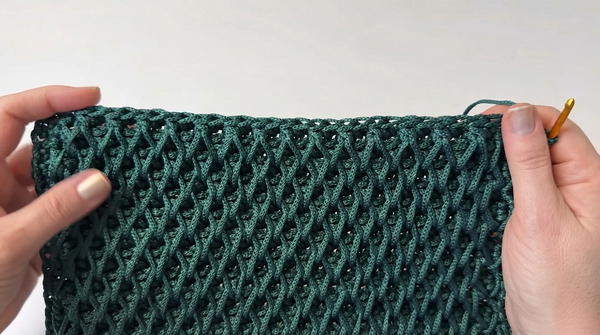
Edging for the Main Panel
- Once the rectangle is fully constructed, add SC edging along the perimeter:
- Work 1 SC into every row edge along the sides and 1 SC into each stitch along the top and bottom edges.
- (Optional): Work slip stitches into the back loop only for the top edge (inner side) to create a reinforced trim.
5. Side Gussets
Foundation Chain
- Ch 7.
Gusset Rows
- Starting in the second chain from the hook, work 6 SC. (Total: 6 SC)
- Repeat for 29 rows, working into both loops of each row for density.
- The gussets should measure 7 stitches wide and 29 rows long.
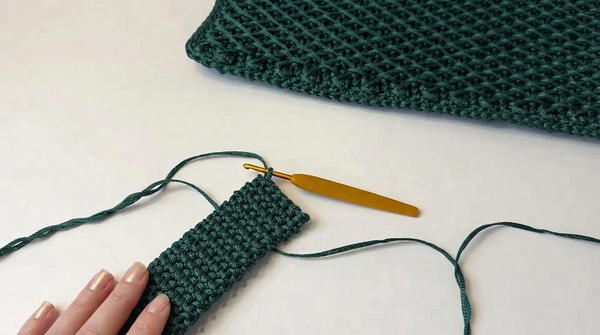
6. Assembly
Joining the Panels
- Place the gussets on either short side of the main panel.
- With right sides facing, join the side panels to the main panel using Sl St through the edge loops.
- Repeat for both sides, ensuring the seams are flush and secure.
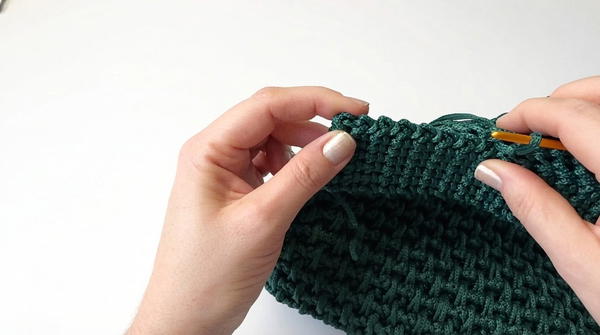
7. Finishing
Installing the Hardware
- Lock or Clasp:
- Center the lock or clasp at the top flap of the bag.
- Sew or attach it securely using the hardware’s included instructions.
- Rings and Handle:
- Attach the carabiner rings to the side gussets where the handle will be secured.
- Attach the handle to the rings using the hooks or ties.
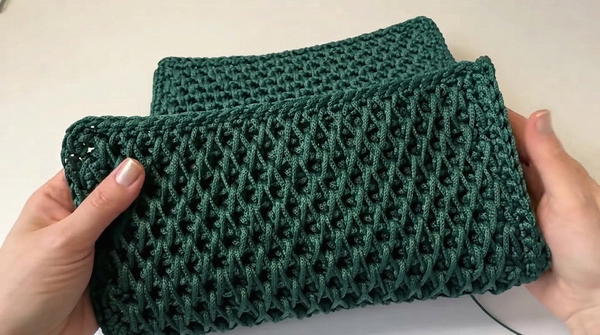
8. Decorative Touches (Optional)
- Add tassels, charms, or beads to the bag for personalization.
- Consider lining the bag with fabric for additional strength and style.
Conclusion
The Emerald Honeycomb Bag combines elegance with durability, thanks to the textured honeycomb pattern and sturdy polyester cord. This design allows for customization with different hardware and decorative touches. Whether you use it as an everyday tote or a statement piece, this bag is both functional and fashionable.