Add festive charm to your holiday décor with this free crochet Christmas bell keychain ornament pattern, blending style and function for memorable celebrations.
There’s something truly special about making your own holiday decorations, and I recently tried a charming little crochet project that instantly brought festive cheer to my home. If you’re looking for a fun and quick way to add some handmade magic this season, the Free crochet Christmas Bell Keychain Ornament Pattern is a perfect choice. This delightful pattern creates a small, cute bell that doubles as both a keychain and a Christmas ornament, blending creativity with practicality.
Cute Crochet Christmas Bell Ornament Keychain with Free Instructions
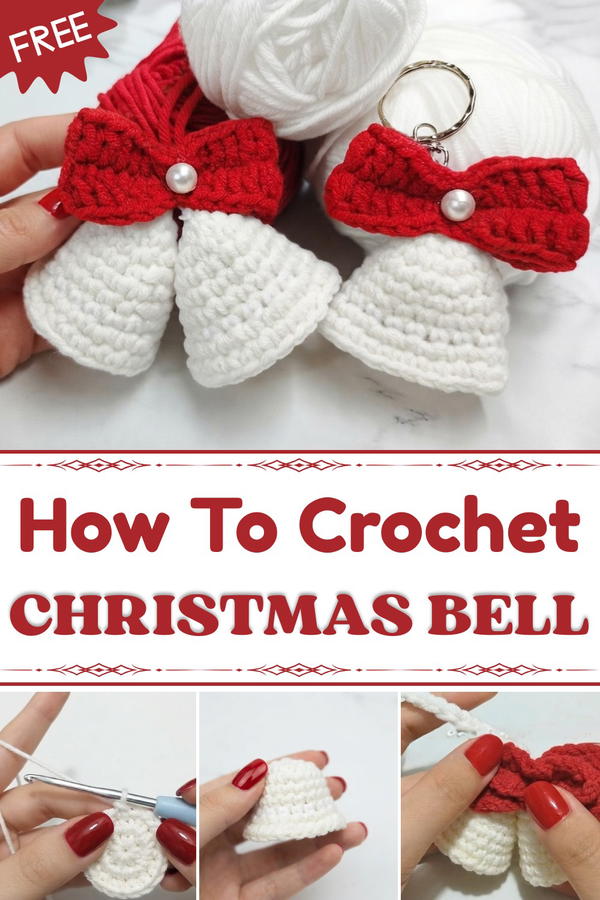
The finished bell is beautifully shaped like a classic Christmas bell, complete with a lovely round body and a tiny loop for hanging. It has a soft texture thanks to the cozy yarn, making it pleasant to hold and look at. The bell's bright colors and neat stitches add to its festive appeal, making it a charming accent for your keys, bag, or Christmas tree. Its small size and delicate design make it a wonderful addition to holiday decorations or a sweet little gift.
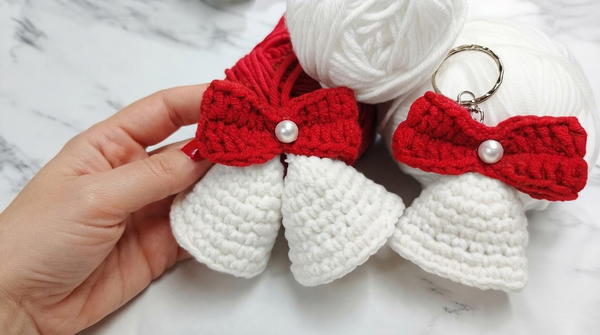
This pattern is ideal for beginners who want to get creative with crochet. The main stitch used throughout the project is the single crochet, which keeps the process simple and accessible. Because of its straightforward technique, it’s perfect for newcomers looking to improve their skills while making something festive.
Overall, this Free crochet Christmas Bell Keychain Ornament Pattern is a fantastic project that offers lots of gifting potential and holiday joy. Whether you use it as a decorative ornament, a wearable accessory, or a heartfelt handmade gift, this cute bell is sure to spread warmth and festive spirit to anyone lucky enough to receive it.
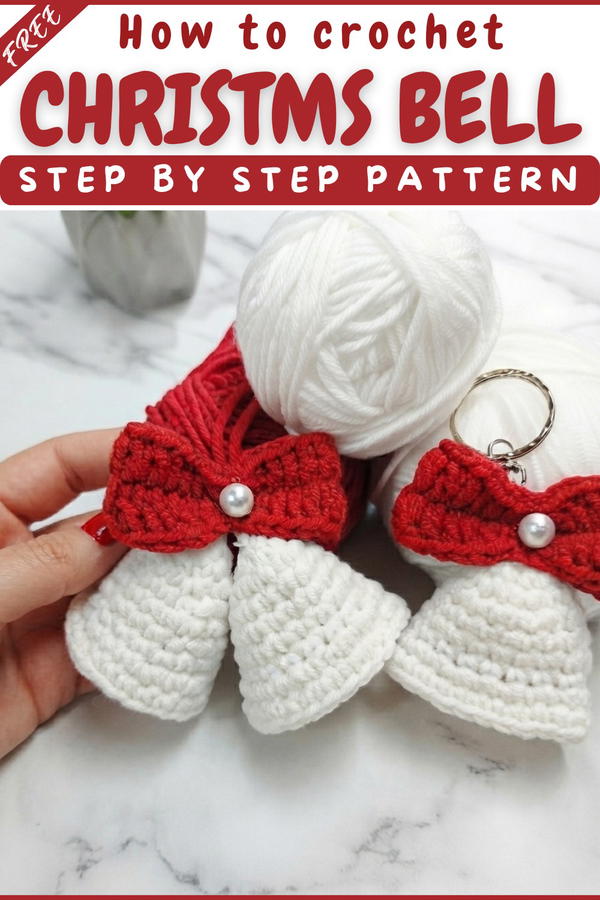
Crochet Bell Keychain Pattern
This pattern guides you step-by-step to create a decorative bell-shaped crochet keychain with an accent bow and attaching chain strap. The project calls for foundational crochet skills and is ideal for intermediate to advanced crocheters seeking to explore 3D shaping and colorwork. Each section below details the proper materials, key techniques, and construction process as derived from the tutorial video.
Materials
- Yarn:
- Milk cotton yarn, 2 mm thickness
- Main colors: Yellow (bell), Red (bow), White (bell band)
- Recommended Hook Size: 2.5 mm crochet hook
- Sewing needle: With a large eye for weaving in ends
- Scissors
- (Optional) Keychain hardware: keyring and jump ring
Skill Level
Intermediate to Advanced
You should be comfortable with magic rings, working in the round, color changing, basic shaping techniques, and finishing work using a sewing needle.
Key Abbreviations (US Crochet Terminology)
| Abbreviation | Definition |
|---|---|
| ch | chain |
| sc | single crochet |
| hdc | half double crochet |
| dc | double crochet |
| sl st | slip stitch |
| MR | magic ring |
| inc | increase (2 sc in same st) |
Special Notes
- All rounds are worked in continuous spirals unless otherwise noted. Use a stitch marker to mark the start of each round.
- When changing colors, pull through the new color on the final step of previous stitch.
- Fasten off and weave in yarn tails securely after each segment for a polished finish.
Written Pattern
A. Bell Body (Worked in Yellow)
Foundation:
- Make a magic ring (MR).
Round 1:
- Ch 1, work 6 sc into the MR.
- Pull to tighten the ring.
- Join with sl st to first sc.
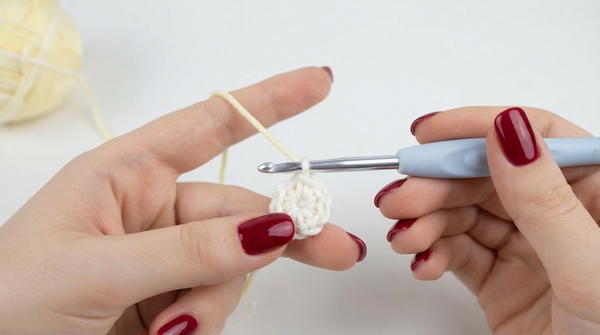
Round 2:
- Ch 1.
- Work 2 sc in each st around (inc in each) – 12 sc.
- Join with a sl st.
Round 3:
- Ch 1.
- (1 sc in next st, 2 sc in next st) – repeat from * to * around.
- [sc, inc] x 6; you’ll have 18 sc total.
- Join with sl st.
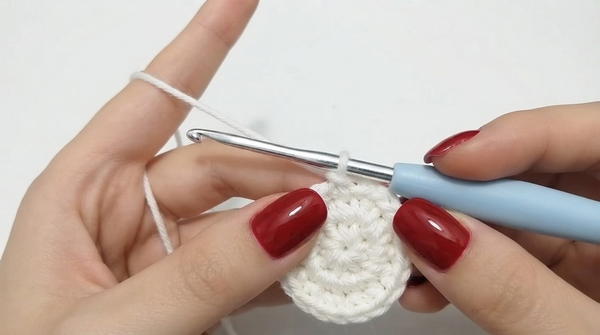
Rounds 4–6:
- Ch 1.
- Work 1 sc in each st around (no increases) – 18 sc per round.
- Join with sl st at the end of each round.
Round 7:
- At the end of Round 6, cut yellow yarn and change to white yarn.
- Insert hook into the same st as previous sl st, pull up loop with white yarn to begin.
- Ch 1, work 1 sc in each st around – 18 sc.
- Join with sl st at end of round.
Round 8:
- Ch 1, repeat 1 sc in each st around – 18 sc.
- Join with sl st.
Round 9:
- Ch 1, work 1 sc in each st around – 18 sc.
- Join with sl st, fastening off at the end.
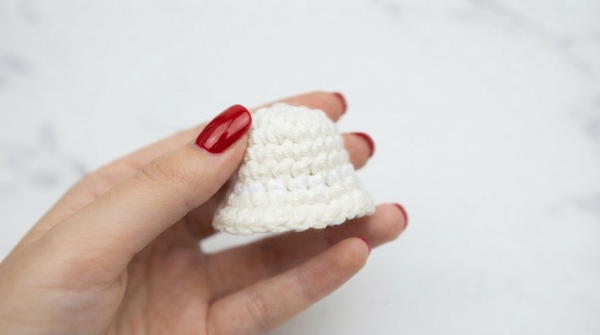
Finishing for Bell Body:
- Pull yarn tail through the last loop.
- Use a needle to weave the tail through the back loops for a seamless finish.
- Weave in ends securely.
- Repeat the body instructions to make a second bell, if desired.
B. Bow (Worked in Red)
Foundation:
- Make a slip knot.
Row 1:
- Ch 27.
Row 2:
- Sc in first ch,
- hdc in next ch,
- dc in next 9 ch,
- hdc in next ch,
- sc in next 2 ch,
- hdc in next ch,
- dc in next 9 ch,
- hdc in next ch,
- sc in last ch.
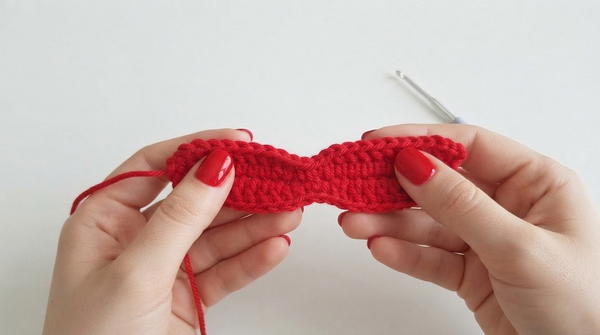
- Fasten off, leaving a long tail for sewing.
(Optional) Wrap the center with extra yarn several times and pull tight, then tie a knot to cinch the bow shape.
C. Strap / Hanging Chain
Foundation:
- Attach yarn at the center top of the bell.
Chain Strap:
- Ch 60 (or as long as desired for keychain or bag charm).
- Join the last chain to the same stitch at the bell’s top with a sl st to form a loop.
- Fasten off and weave in ends.
D. Finishing & Assembly
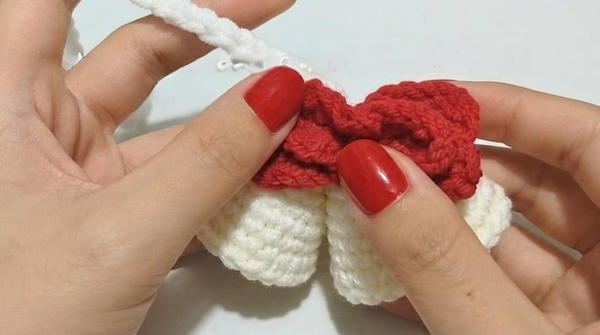
- Use the long yarn end from the bow for sewing:
- Stitch the bow neatly to the front or around the bell band section.
- Attach the keychain hardware (if desired) to the end or midpoint of the strap.
- Weave in all remaining ends.
Conclusion
You have completed a charming crochet bell keychain featuring a stranded bell body, a crisp contrasting band, a decorative bow, and a customizable hanging strap. With careful attention to shaping, color changes, and finishing details, this project makes an excellent holiday, birthday, or “just because” gift for any occasion.
Pattern Correction & Tips
- Correction: When making the bell body, count stitches at the end of each increase round to ensure proper shaping and correct stitch count.
- Tip: If your bell is puckering or too loose, check your tension or try a smaller hook.
- For added structure, lightly stuff the bell with a bit of fiberfill before closing completely.
- For a bigger or smaller bell, adjust yarn thickness and chain foundation as needed, remembering to proportion each part accordingly.
- Always secure yarn ends tightly for durability, especially if the keychain will be used frequently.