Mint Design Blog


Protect your eyewear in style with this free crochet glasses case pattern that combines function and charm for a handmade accessory you’ll love.
Adding a practical and stylish accessory to your daily essentials can be a delightful project. Offering just that, the Free crochet glasses case pattern from the inventive tutorials at Crochet with Olga Dyvinets!!! provides clear guidance to create a charming, functional case perfect for protecting your eyewear. This item is thoughtful to gift, beautifully combining usefulness with a personal, handmade touch.
Free Crochet Glasses Case Pattern – Easy Accessory
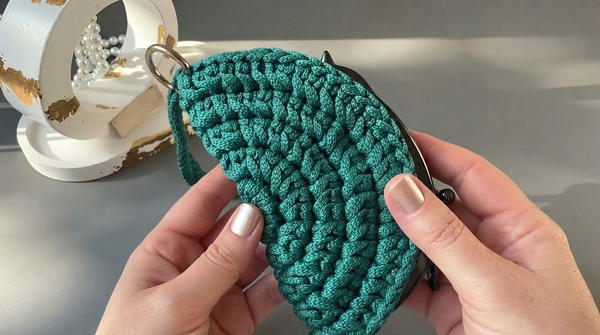
The glasses case features a sturdy yet soft texture thanks to the use of a 3 mm polyester cord, which lends durability while remaining lightweight. Its round base is worked in five carefully increased rows, forming a perfect circle that smoothly transitions into a neat barrel shape. The subtle herringbone-inspired stitch adds an original flair, making the pattern stand out with elegant texture and visual interest.
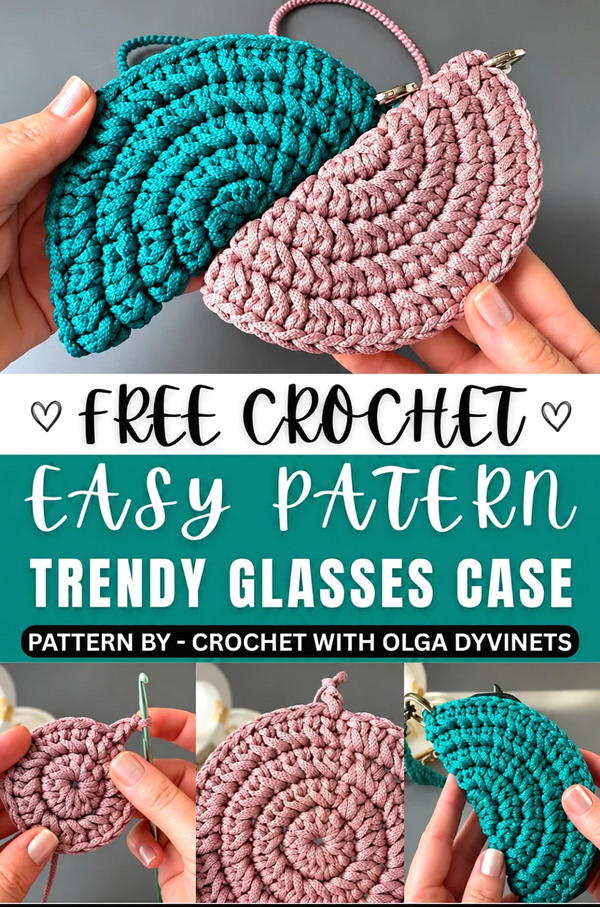
There’s a magnetic snap button closure, offering easy access while ensuring glasses stay securely inside. Additionally, the design includes silicone holders attached to a long, braided strap that can serve as a practical chain for the glasses, allowing them to hang stylishly from your neck or bag. This combination of elements not only brings charm but also a useful carrying option, enhancing everyday convenience.
The video tutorial walks you through the step-by-step process, explaining each stitch and assembly detail. This project suits all skill levels and results in a delightful accessory that’s as handy as it is attractive—ideal for anyone looking to add a little handcrafted charm to their eyewear care.
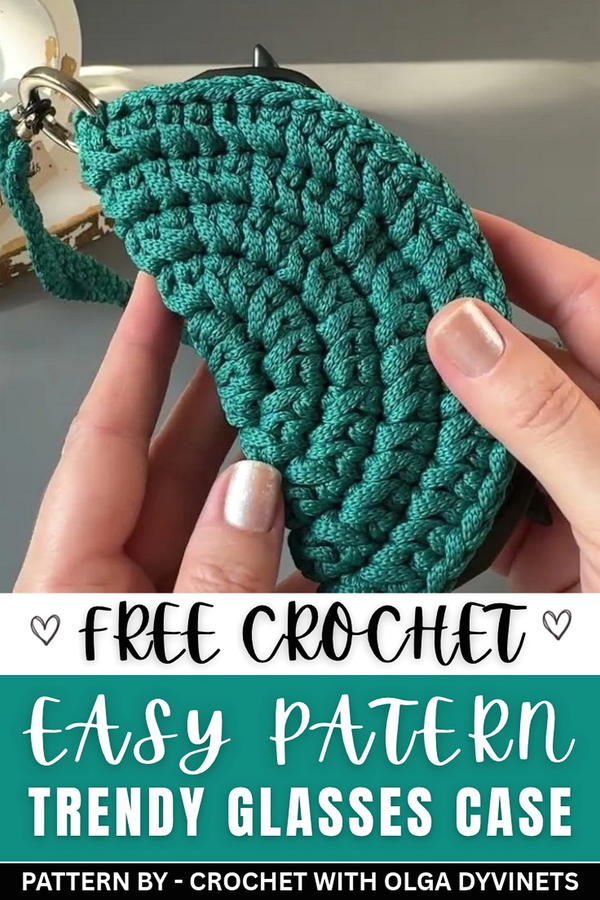
Crochet Glasses Case with Strap Pattern
This practical yet stylish glasses case combines functionality with design. Featuring a secure button closure and a detachable carrying strap, it’s perfect for keeping your glasses safe while on the move. The combination of a durable 3 mm cord and a braided-look strap ensures sturdiness and comfort.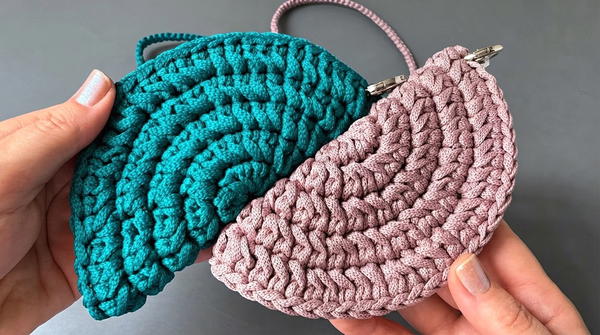
Skill Level
Intermediate – This project requires knowledge of rounds, basic increases, assembly, and creating a braided-look strap. It’s suitable for crocheters familiar with following patterns and comfortable handling cord material.
Materials
- Cord: 3 mm Melange brand cord in lilac or your preferred color.
- Hook: 4 mm.
- Hardware:
- 1 magnetic sew-on button (for closure).
- 2 silicone glasses holders (for attaching to glasses).
- 1 small metal ring (for attaching the strap to the case).
- Additional Tools:
- Scissors for trimming cord.
- Lighter for sealing cord ends.
Stitch Abbreviations
- MR: Magic Ring
- St: Stitch
- SC: Single Crochet
- Inc: Increase (two stitches in one stitch)
Special Stitches
Herringbone Stitch Variation (used in the base)
This variation creates a unique spiral texture:
- Yarn over and insert the hook into the designated stitch.
- Yarn over, pull up a loop, then pull that loop through the first loop on your hook.
- Yarn over and pull through the remaining two loops on your hook to complete the stitch.
Useful Tips
- Cord Handling: When working with cord, keep your tension consistent. If the cord frays, gently seal the ends with a lighter after trimming.
- Braided Strap: Ensure an even pull on both working yarn and tail to create a clean, uniform braid.
- Assembly: Properly position and sew in the button closure before assembling the strap and ring to prevent misalignment.
- Measurement Accuracy: Carefully measure the cord for the strap to ensure the final length matches your intended size.
Pattern Instructions
The glasses case is worked in three sections: the base, the strap, and the assembly. Follow each section step-by-step.
1. Base (The "Slice")
The base of the glasses case is worked in the round, with increases to form a flat circular slice.
Round 1:
- Begin with a Magic Ring (MR).
- Into the MR, work 12 Herringbone stitches.
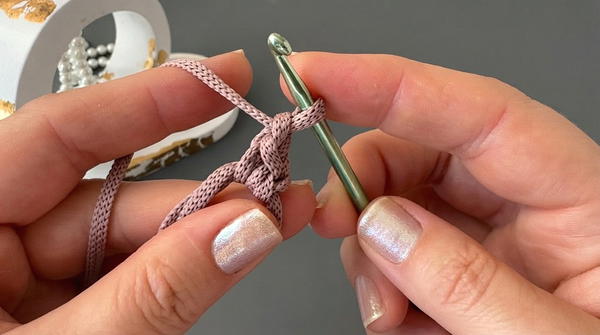
- Pull the tail of the ring tightly to close the center. (12 stitches total)
Round 2:
- Work 2 SC into each stitch (Inc) from the previous round. (24 stitches total)
Round 3:
- Alternate: 1 Inc, 1 SC, repeating around the circle. (36 stitches total)
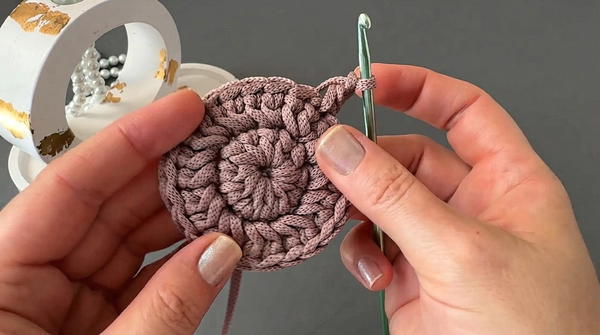
Round 4:
- Alternate: 1 Inc, 2 SC, repeating around the circle. (48 stitches total)
Round 5:
- Alternate: 1 Inc, 3 SC, repeating around the circle. (60 stitches total)
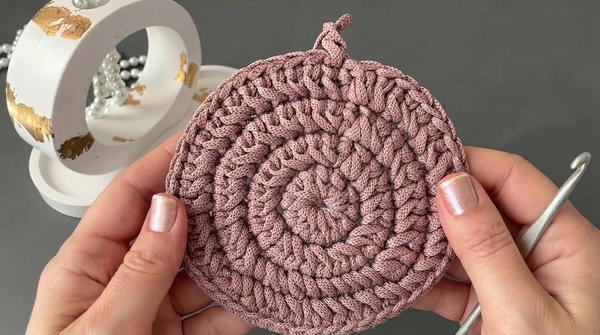
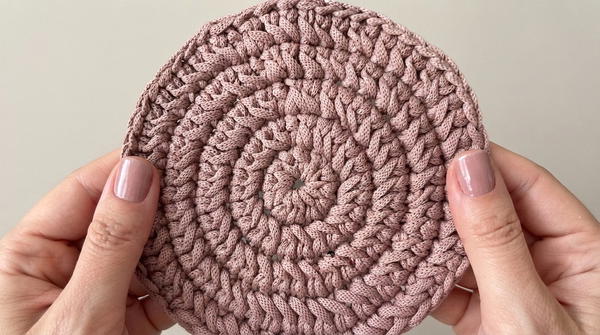
Finishing the Base:
- Cut the cord, leaving a short tail.
- Weave in ends securely using a yarn needle or your hook.
- Attach the magnetic sew-on button to the center or at the desired position for the closure.
2. The Strap
Preparation:
- Measure and cut a 310 cm tail of cord. This length will create a finished strap approximately 70 cm long.
Attaching the Silicone Holders (Optional):
- Thread the two silicone glasses holders onto the cord. Position them near the ends for final attachment to the glasses.
Creating the Braided Strap:
- Fold the measured cord in half, leaving a loop at one end. This loop will eventually attach to the metal ring.
- Start the strap by alternating between the main working cord and the long tail:
- Cross the tail over the main working yarn.
- Rotate your work clockwise and pull the tail snugly. Repeat this alternating action consistently.
- Maintain even tension to create a uniform, spiral-braided look.
3. Assembly
- Attach the Ring to the Base:
- Secure the metal ring to the side or top edge of the case, depending on your preference for strap connection.
- Connect the Strap:
- Loop the braided strap through the ring, securing the strap tightly.
- Complete the Glasses Attachments:
- Position the silicone holders on the strap’s ends, ensuring a snug fit for attaching to your glasses.
Final Touches:
- Ensure all hardware (strap, button, and ring) is secured properly.
- Trim and seal any loose cord ends with the lighter to prevent fraying.
- Test the strap’s length and adjust if necessary.
Conclusion
This glasses case with a strap is both functional and stylish, providing a protective solution for eyewear. The durable base and braided strap ensure longevity, while the magnetic closure and silicone holders add usable features. Customize the project by experimenting with different colors or hardware to create a unique accessory that fits your personal style.