Make a cozy and stylish crochet hat easily with this free pattern that guides you step by step to make a perfect accessory for any season.
The original YouTube tutorial by Crochet with Olga Dyvinets!!! gives full credit to the creator for a simple and charming crochet hat project anyone can follow. This crochet hat is a warm and comfortable accessory that works well during colder days, adding both function and style to your outfit.
Simple Crochet Hat Free Pattern With A Modern Style
This crochet hat stands out because it is easy to customize. You can choose your favorite yarn color and texture, or add small details like pom-poms or a different edging to give it a unique touch. The design is straightforward but still attractive, offering a neat fit that keeps the head cozy and protected.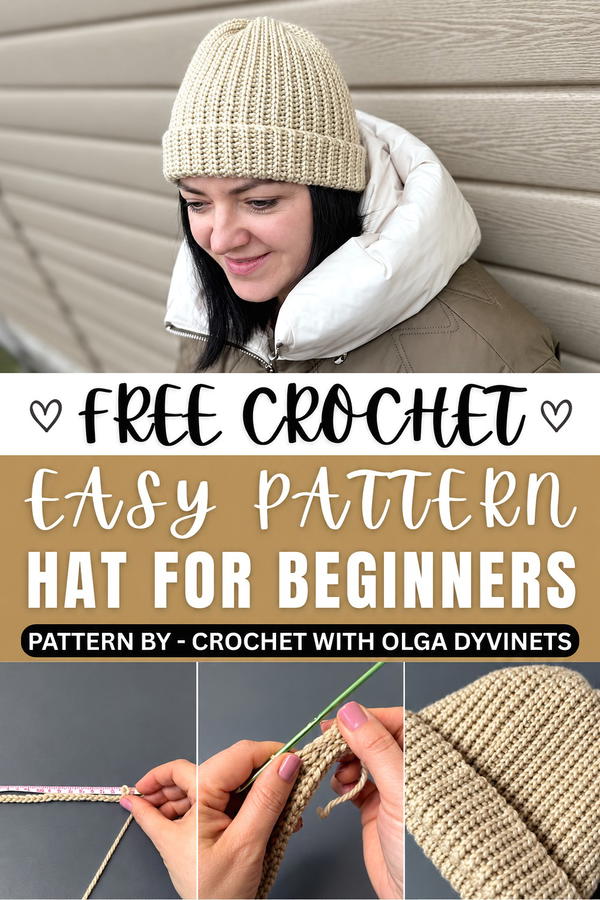 The process starts with a magic ring, which creates a smooth center for the crown of the hat. From there, you work in rounds using basic stitches such as single or double crochet, increasing the number of stitches evenly to shape the top part. After the crown reaches the right size, you continue crocheting without increasing to form the sides until the hat has enough length to cover the head comfortably. Olga’s tutorial also guides on finishing the hat with clean edges and securely weaving in any loose yarn ends.
Overall, this crochet hat project is approachable and satisfying. It lets you use simple techniques to produce a useful, stylish piece that can also be a thoughtful gift. 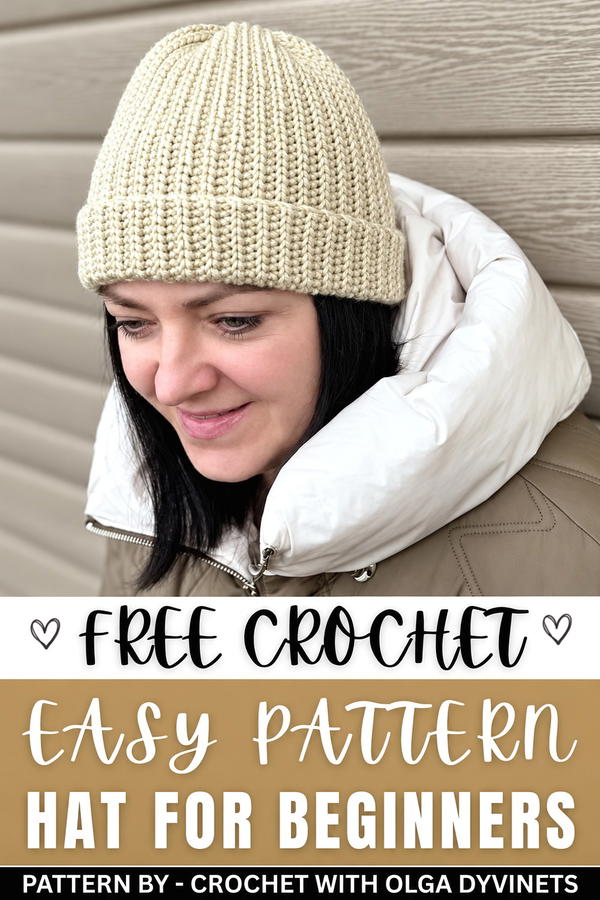
About the Pattern
This beanie is crocheted as a flat rectangle and shaped using basic stitches, then seamed and cinched at the top for a comfortable, classic fit. The project combines simple slip stitch and ribbed single crochet techniques, resulting in a stretchy texture suitable for beginners. The crown is tapered gently with slip stitches, and the folded brim adds both warmth and versatility. The final assembly ensures a neat finish and snug fit.
Pattern at a Glance
- Construction: Flat rectangle seamed at the sides and gathered at the top
- Technique: Combination of slip stitch and single crochet with a yarn-over in the back loop only
- Texture: Ribbed, flexible, suitable for fold-over brim
Important Notes
- Stitch sequencing is key: slip stitches create crown shaping, while the rest of the row establishes ribbing.
- Maintaining consistent tension ensures ribbing remains stretchy.
- Adjusting row number allows for custom circumference and fit.
- Seam and gathering techniques finish the beanie for a polished result.
Difficulty Level
Beginner. All stitches are approachable, with row-based work and basic assembly. No complex shaping or decreases are involved.
Supplies Needed
- Yarn: Worsted weight yarn (or similar)
- Crochet hook: 3.5mm–4.5mm, matching yarn for desired fabric density
- Tapestry needle: For crown gathering and weaving in ends
- Scissors
- Measuring tape: For confirming dimensions
Size & Measurements
- Height: 28 cm (with folded brim)
- Circumference: Approx. 58 cm (adjust as needed by adding or subtracting rows)
- Foundation chain: 49 stitches for 28 cm height (may adjust to preferred length)
- Total rows: 86 for standard adult size
Gauge & Stitch Details
- Gauge: Not specified; prioritize a stretchable fit with ribbing
- Stitch Pattern: Single crochet with yarn-over (resembles half-double crochet) worked in back loop only; slip stitch crown taper
- Texture: Ribbed due to back-loop work
Crochet Abbreviations
- ch: chain
- sc: single crochet
- yo: yarn-over
- sl st: slip stitch
- BL: back loop only
- st(s): stitch(es)
Special Stitch Guide
- Single crochet with yarn-over (sc-yo): Begin by yarn-over, insert hook into stitch, yarn over and pull up loop, yarn over and pull through both loops
- Back loop only (BL): Insert hook in only the back loop of the stitch, which creates ribbing
- Slip stitch (sl st): Insert hook, yarn over, pull through both stitch and loop on hook for a flat, connecting stitch
Complete Crochet Pattern
1. Foundation and Base
Measuring
- Decide desired height for beanie (fold-over brim recommended; example is 28 cm).
Foundation Chain
- Chain 49 (for 28 cm height; adjust chain count to preferred height).
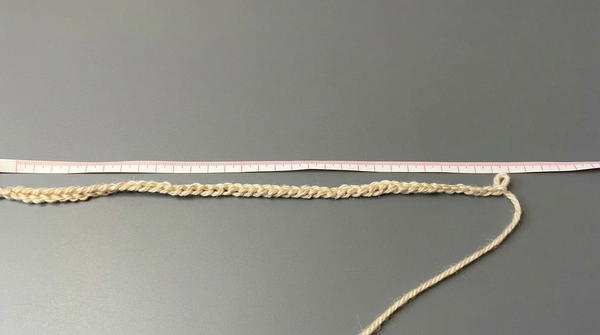
- Plus 1 turning chain.
Row 1
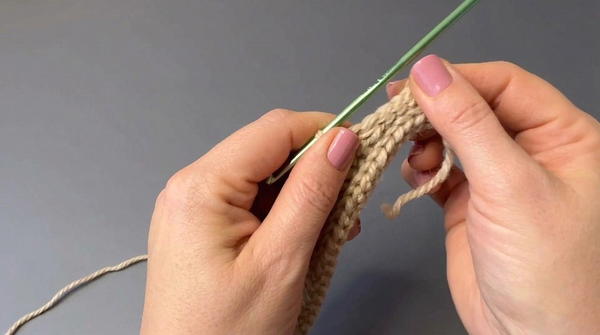
- Starting in second chain from hook, work 49 single crochet with yarn-over (sc-yo) across the foundation chain.
- This stitch: yarn-over, insert hook, yarn over and pull through (three loops), yarn over and pull through all loops.
- Finish the row.
2. Main Pattern and Shaping
Row 2
- Chain 1, turn work.
Crown Shaping
- For the first 4 stitches of every row: slip stitch (sl st) into back loop only.
- This shapes the crown and tapers the top subtly.
Main Body
- For the next stitches (remaining stitches of the row):
- Single crochet with yarn-over (sc-yo) into back loop only (BL) of each stitch.
Repetition
- Repeat Row 2 for a total of 86 rows (or adjust for your head circumference; 86 rows fits a 58 cm head).
- Each row should begin with 4 slip stitches, then continue with ribbed sc-yo BL.
3. Assembly and Finishing
Seaming the Side
- Fold the completed rectangle in half, lining up starting and ending edges.
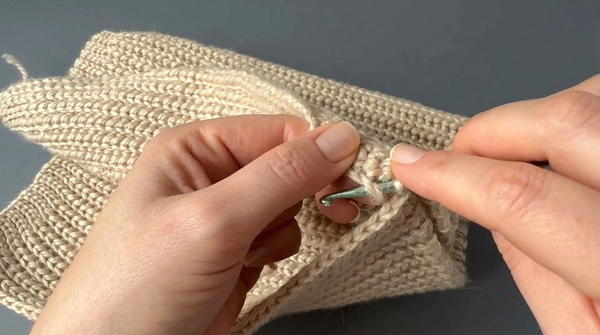
- Join with slip stitch (sl st) through both layers, working from outer edges inward to create a neat seam.
Closing the Crown
- Cut a new length of yarn.
- Use a tapestry needle, thread yarn through the top stitches of every row along the crown edge (i.e., through each row’s starting slip stitch section).
Gathering
- Pull yarn tightly to cinch the crown closed.
- Secure with a firm knot.
- Weave in all remaining yarn ends for a tidy finish.
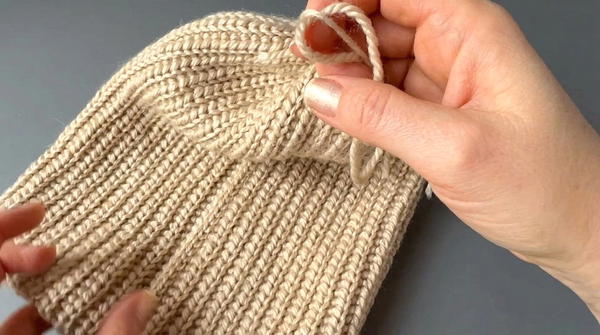
Assembly & Finished Size
The assembled beanie measures approximately 28 cm tall (with adjustable brim fold and crown gathering), and fits a 58 cm head circumference when completed over 86 rows. The ribbed texture allows for extra stretch and adaptability. The crown is neatly cinched, and the seam is flat and unobtrusive.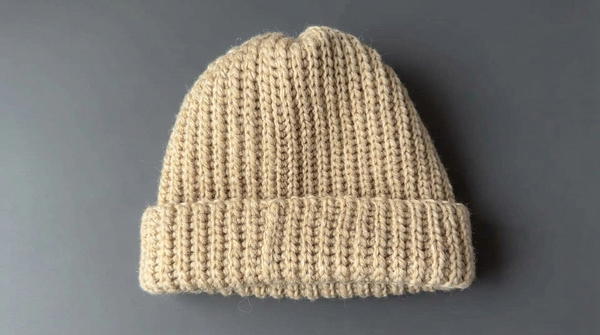
Conclusion and Ending Words
This flat-crochet beanie delivers structure and comfort with minimal technique and reliable results. The ribbed main body gives stretch and classic styling, while the slip stitch crown creates gentle shaping. Straightforward assembly yields a practical, attractive hat that can be customized in height, circumference, and color for different sizes and preferences. The simple sequence equips beginners with foundational skills and produces a versatile accessory suitable for all ages.