 Mint Design Blog



Keep your space tidy with the Crochet Rectangular Basket Free Pattern, a handy yarn basket for toys, towels, and everyday household items.
Crochet with Olga Dyvinets!!! shares a useful storage idea for keeping household items in one place. The Crochet Rectangular Basket is a handy home accessory with a simple shape and a neat finish. It is a good choice for anyone who wants extra storage without using plastic boxes or large containers.
Handmade Crochet Rectangular Basket Free Pattern With Thick Yarn
The basket has a flat rectangular bottom with four sides that rise upward. Its straight edges and open top allow you to see everything inside. The crochet stitches give the surface a thick texture, while the wide opening makes it easy to put things in and take them out. You can choose light brown, dark green, or cream yarn to suit your furniture.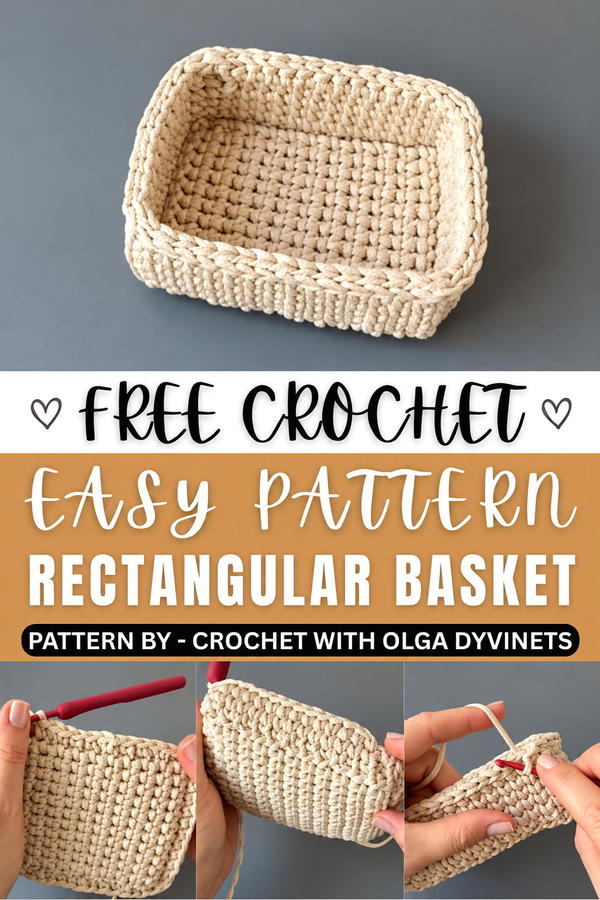 This basket can be worked with strong yarn or crochet cord to help it hold its shape. The rectangular base is formed first, followed by the sides. Keeping the corners even helps the basket stand properly. A firm edge around the opening can also help the sides stay upright.
You can use this basket to store TV remotes, folded napkins, hand towels, or small packets of tissues. It is useful on a bathroom counter, inside a wardrobe, or on a kitchen cabinet. You can also keep one near your sewing machine to organize measuring tapes and other small supplies.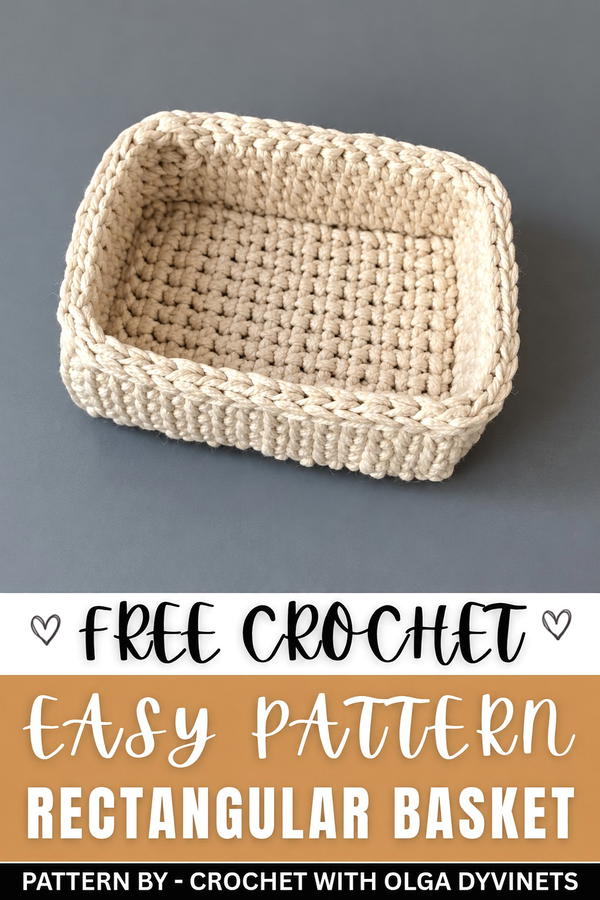 The rectangular shape makes this basket easy to place against a wall or inside a drawer. It helps keep everyday items together while giving your home a clean, organized appearance.
About the Pattern
This rectangular crochet basket features sharp, defined corners and dense, structured sides that maintain their shape without slumping or flaring. Designed with a previously crocheted base, the pattern emphasizes effective stitch calculation, neat transitions, and precise corner assembly for both functional strength and an attractive, tailored finish. The waistcoat stitch provides a robust texture, while the finishing edge is secured with slip stitches for durability.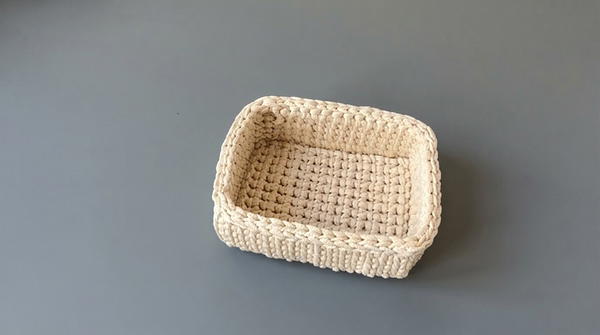
Pattern at a Glance
- Style: Rectangular basket with sharp corners and dense walls
- Key Construction: Sturdy crocheted base, seamless corner assembly, solid walls, reinforced rim
- Best Uses: Storage, organization, decorative containers
Important Notes
- Accurate stitch counts along all sides are essential to prevent puckering or flaring of the basket walls.
- Maintain even tension and carefully observe the joining technique at corners for the sharpest, most elegant results.
- The waistcoat (yarn-under) stitch produces a structured, uniform basket with a visually striking texture.
- Using a previously completed, dense base ensures a firm foundation for the basket sides.
Difficulty Level
Intermediate. Experience with single crochet, working in the round, and special join techniques is beneficial. Precision in assembly and a basic grasp of stitch anatomy are helpful for neatly defined corners.
Supplies Needed
- Yarn: Chunky cotton or polyester cord, or other stiff, durable yarn suitable for basket-making
- Crochet Hook: Size appropriate for yarn (commonly 5–6mm)
- Scissors: For cutting yarn neatly
- Tapestry Needle: For weaving in ends and finishing corners
- Previously Crocheted Base: Rectangular, dense; 9 x 12 cm is the example size
Size & Measurements
- Sample Basket: Base measures approximately 9 x 12 cm
- Wall height: Adjustable; sample height is typically 5–8 cm
- Stitch Count: 15 stitches per long side (including increases), 11 stitches per short side
Gauge & Stitch Details
- Gauge: Not critical; a firm, dense fabric is required for best results
- Stitch Pattern: Primarily single crochet and waistcoat (yarn-under) stitch worked in the round
- Edge: Finished with slip stitch
Crochet Abbreviations
- ch: chain
- sc: single crochet
- sl st: slip stitch
- st(s): stitch(es)
- inc: increase (2 stitches in one base stitch)
- WS: waistcoat stitch (yarn-under sc, worked into the stitch “V”)
Special Stitch Guide
- Waistcoat Stitch (WS): Insert hook into the center (“V” split) of the single crochet from the previous round, yarn under (instead of over), pull through and complete as for single crochet. Produces a dense, knit-like texture.
- Corner Assembly: At each corner, pick up one loop from each adjacent side without closing, then pull main yarn through both loops and complete the stitch for a clean, sharp edge.
Complete Crochet Pattern
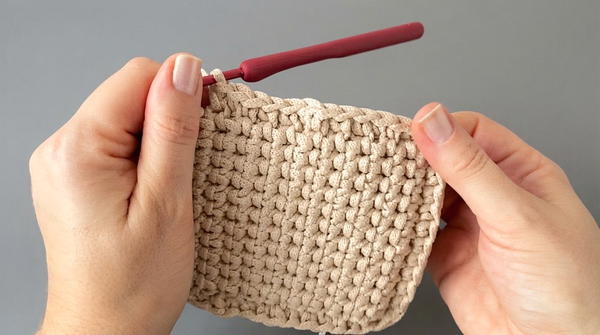
1. Calculating and Preparing the Base
- Use a previously completed, dense crochet base (rectangle, e.g., 9 x 12 cm).
- Count and plan stitches as follows:
- Long sides: 15 stitches each (including the three increases)
- Short sides: 11 stitches each
- Mark corners and plan increases so the sides will remain straight, and corners well-defined.
2. First Row of Walls
Long Sides:
- Begin at one corner.
- Without working the actual corner stitch, work single crochet (sc) along the long side.
- Add increases: Space 3 increases evenly along the length so the total reaches 15 sc for each long side.
- For example: (sc in next 3 stitches, 2 sc in next stitch [increase/sc inc]), repeat as needed according to your base stitch count.
Short Sides:
- Work 1 sc into each stitch along the short side (11 sc).
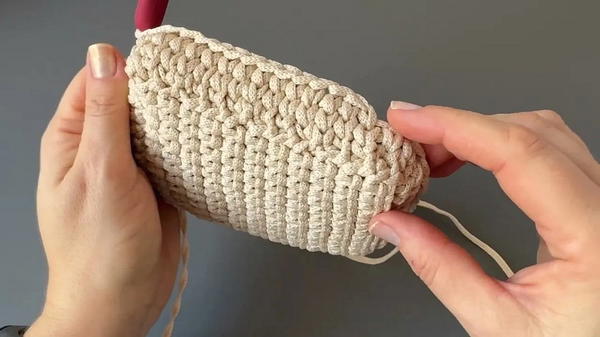
- Leave the corner stitches unworked for now.
Corner Assembly:
- At each corner, pick up one loop from the long side, and one from the short side (do NOT yarn over or complete the sc yet).
- Keep both loops on the hook.
- Pull main yarn through both loops, then through the remaining loop to close the corner stitch sharply.
- This locks adjacent sides together, forming a crisp corner.
Row Closure:
- At the final (fourth) corner, use the original long yarn tail (not your working yarn) to close the stitch seamlessly, mimicking the established corner technique.
3. Subsequent Rows and Working in the Round
- Begin working in the round with waistcoat stitch (WS).
- For each stitch, insert the hook into the “V” split at the top of the stitch below, yarn under, pull up a loop, and finish as a single crochet.
- Continue in this manner for all stitches around.
-
Corners:
- At each corner (where long side meets short side), continue picking up one loop from each side as previously described.
- Pull yarn through both loops before completing the stitch.
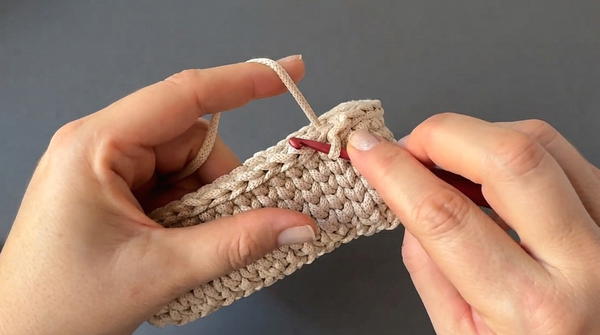
- This keeps edges rigid and well-shaped.
-
Closing rounds:
- At the end of each round, close the final corner by pulling the yarn tail through as before, ensuring that the corner transition stays clean and unified.
- Repeat WS rounds, maintaining sharp corners and even stitches, until the basket walls reach the desired height.
4. Finishing Edge
- At the final round’s completion, switch to slip stitches (sl st) for the top edge.
- Work 1 sl st into each waistcoat stitch around the rim.
- This reinforces the basket’s edge and gives a neat, professional finish.
- Cut yarn, leaving a 15–20 cm tail.
- Use a tapestry needle to weave the end inside the basket, hiding the tail and securing the work.
Assembly & Finished Size
The finished basket should feature four sharp, squared corners, flat and upright sides, and a clean, sturdy rim. The dense, waistcoat-stitched walls maintain the basket’s shape, while seamless corners and a slip-stitched edge provide durability and polish. The base size (sample: 9 x 12 cm) determines the overall dimensions; the height is customizable to your needs.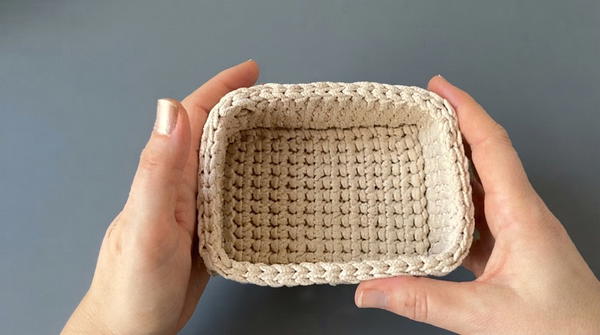
Conclusion and Ending Words
Meticulous calculation, precise stitch placement, and strategic increasing ensure this basket holds its form and functions as a long-lasting storage solution. The combination of dense stitching and careful corner construction results in a robust and stylish container suited for organizing household items or as a decorative piece. Each step builds on practical techniques, offering a satisfying and useful addition to any crochet repertoire.