Try the Crochet Frog Hello Kitty Free Pattern for a sweet green costume look that Sanrio fans can display on desks or share as a birthday gift.
The talented Fairycrochett deserves full credit for her delightful tutorial on a fun project featuring Crochet Frog Hello Kitty. This adorable creation combines the charm of Hello Kitty with a playful frog twist, making it a unique and eye-catching piece.
Funny Crochet Frog Hello Kitty Free Pattern That Kids Will Love
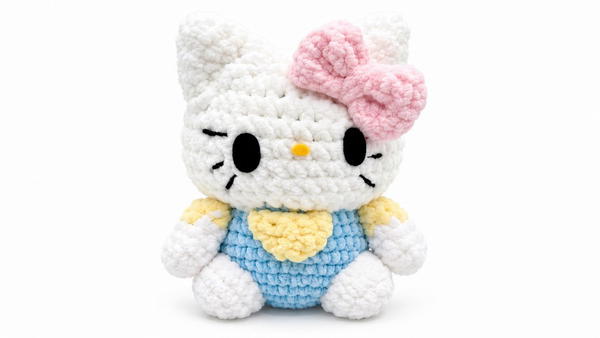
The Crochet Frog Hello Kitty is a small amigurumi figure, usually about 5 to 6 inches tall, perfect for displaying on a shelf, using as a keychain, or gifting to someone who loves cute handmade items. Its main features include Hello Kitty’s iconic face adorned with little frog eyes and maybe even a tiny crown or bow, depending on how you want to personalize it.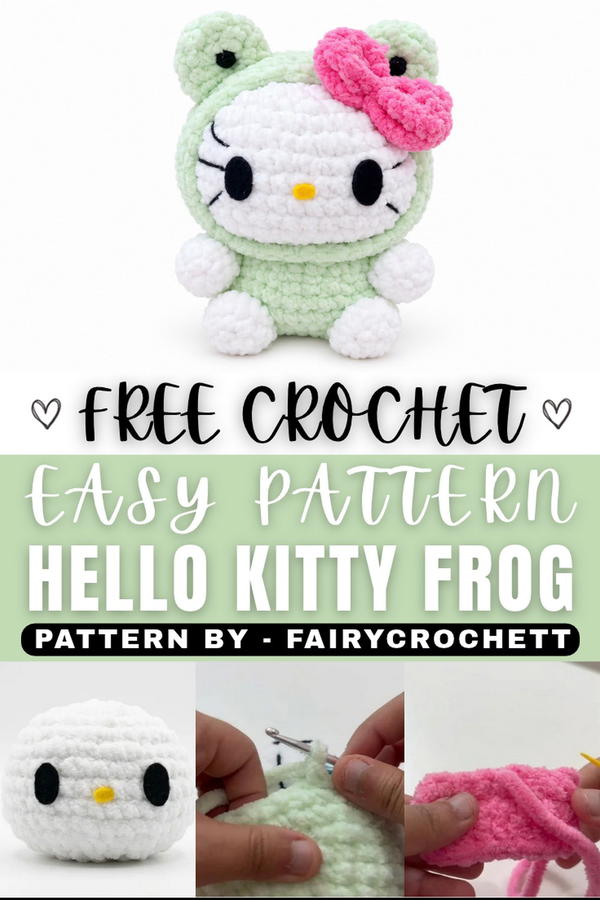 This project is suitable for those with basic to intermediate crochet skills. It involves creating the body and head using simple crochet stitches like single crochet, increasing, and decreasing in rounds to shape the figure. After crocheting the main parts, sewing comes into play—attaching the eyes, bow, and any other details carefully to bring the character to life. The tutorial guides you through each step clearly, making it a manageable and enjoyable process.
Why choose this Hello Kitty? It’s a wonderful way to practice amigurumi techniques, explore cute character design, and end up with a charming figure that can brighten any space or collection. The mix of crochet and sewing makes it engaging and satisfying.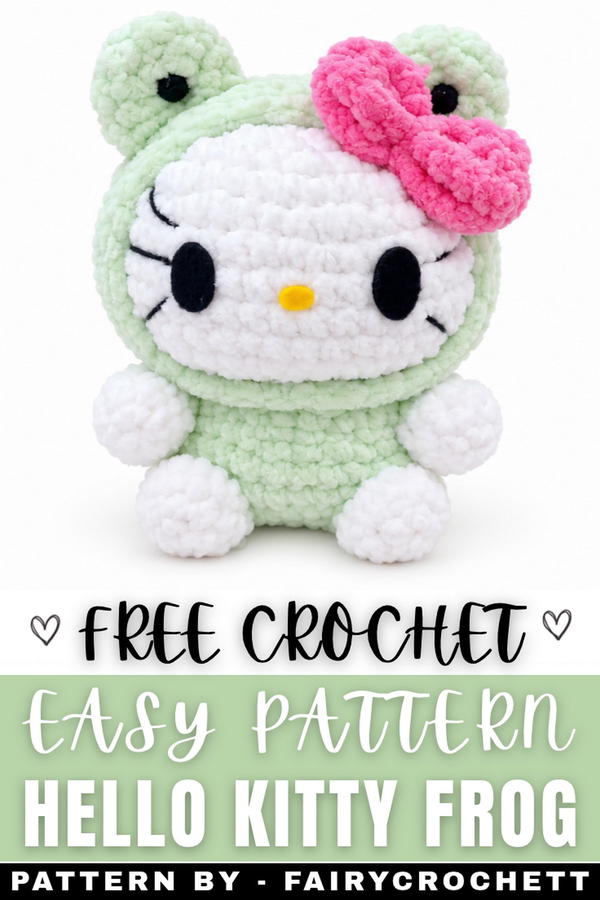 Ready to add some fun to your crochet? Give this free pattern a whirl and hop into creativity!
About the Pattern
The Hello Kitty Frog Hood Plushie pattern is inspired by the timeless charm of Hello Kitty, elevated with an adorable frog-themed hood. This amigurumi is constructed using the fundamental technique of crocheting in the round, with incremental increases and decreases for shaping, and the addition of signature details such as whiskers, a bow, and felt facial features. The frog hood is crocheted as a separate piece, then assembled to create a harmonious finished plushie. Each element offers both stability and symmetry for a soft, collectible toy.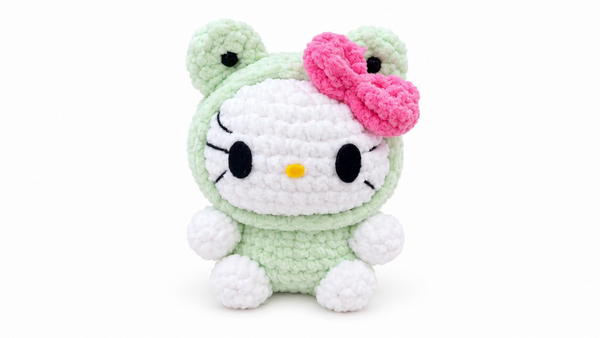
Pattern at a Glance
- Main Character: Hello Kitty with frog hood
- Construction Method: Amigurumi in the round; separate elements joined during finishing
- Key Features: Distinctive facial expression, frog hood, classic bow accessory
Important Notes
- The pattern uses US crochet terms throughout.
- Consistent gauge ensures the frog hood fits snugly; all pieces match up neatly.
- Attach facial features and embroider whiskers before closing the head.
- Stuff head, ears, body, and bow moderately for best shape.
- Use a stitch marker for tracking rounds.
Difficulty Level
Intermediate – Suitable for those comfortable with amigurumi, rounds, increases, decreases, and assembly.
Supplies Needed
- Yarn:
- White (head, ears, body)
- Green (frog hood)
- Red/Pink (bow)
- Yellow and black felt (nose, eyes) or safety eyes
- Black embroidery thread (whiskers)
- Crochet Hook: 2.25mm–2.75mm
- Fiberfill Stuffing
- Tapestry Needle / Yarn Needle
- Scissors
- Stitch Marker
- Sewing Needle
- Pins (for holding pieces)
- Optional: Hot glue for felt details
Size & Measurements
- Finished Height: ~4.5–5 inches (11–13 cm)
- Sizing may vary by yarn, hook, and tension
Gauge & Stitch Details
- Gauge: ~7 SC x 7 rows = 1” (2.5 cm)
- Tight stitches prevent stuffing from showing
Crochet Abbreviations
- MR: Magic Ring
- SC: Single Crochet
- INC: Increase (2 SC in same stitch)
- DEC: Decrease (SC 2 together)
- CH: Chain
- SL ST: Slip Stitch
- ST(S): Stitch(es)
- FO: Fasten Off
Special Stitch Guide
- Magic Ring (MR): Create a loop, crochet stitches into the loop, pull tail to close
- Increase (INC): Work 2 SC in the same stitch
- Decrease (DEC): SC 2 together to reduce stitch count
- Whip-stitch: Sew pieces together through corresponding rounds
Complete Crochet Pattern
Head
- Round 1:
- Make a magic ring (MR), work 8 SC into the ring (8 STS)
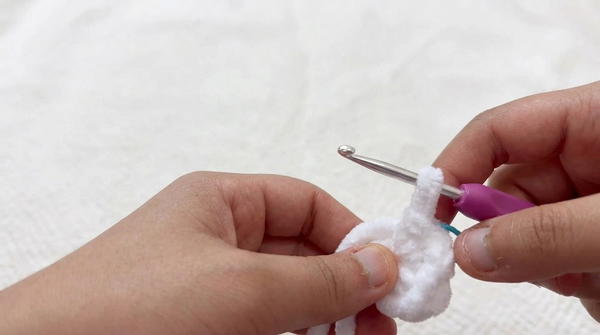
- Make a magic ring (MR), work 8 SC into the ring (8 STS)
- Round 2:
- INC in each stitch around (16 STS)
- Round 3:
- [1 SC, 1 INC] – repeat around (24 STS)
- Round 4:
- [2 SC, 1 INC] – repeat around (32 STS)
- Round 5:
- [3 SC, 1 INC] – repeat around (40 STS)
- Rounds 6–10:
- SC evenly around for 5 rounds (40 STS per round)
- Round 11:
- [3 SC, 1 DEC] – repeat around (32 STS)
- Round 12:
- [2 SC, 1 DEC] – repeat around (24 STS)
- Round 13:
- [1 SC, 1 DEC] – repeat around (16 STS)
- Round 14:
- 8 DEC to close (8 STS), stuff firmly as you go
- FO and secure the yarn tail
Frog Hood
- Round 1:
- Start with a MR, work 8 SC into ring (8 STS)
- Round 2:
- INC in each stitch (16 STS)
- Round 3:
- [1 SC, 1 INC] – repeat around (24 STS)
- Round 4:
- [2 SC, 1 INC] – repeat around (32 STS)
- Round 5:
- [3 SC, 1 INC] – repeat around (40 STS)
- Rounds 6–11:
- SC evenly around for 6 rounds (40 STS per round)
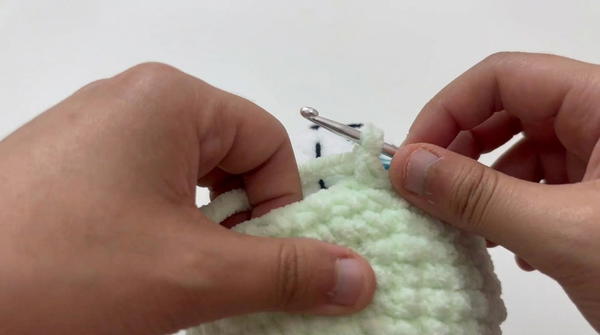
- SC evenly around for 6 rounds (40 STS per round)
- Round 12:
- [3 SC, 1 DEC] – repeat around (32 STS)
- Round 13:
- [2 SC, 1 DEC] – repeat around (24 STS)
- FO, leave tail for sewing if desired
Ears (Make 2)
- Round 1:
- 6 SC in MR (6 STS)
- Round 2:
- 6 INC (12 STS)
- Rounds 3–4:
- SC evenly for 2 rounds (12 STS per round)
- FO, leave tail for sewing
Body
- Round 1:
- 8 SC in MR (8 STS)
- Round 2:
- 8 INC (16 STS)
- Round 3:
- [1 SC, 1 INC] – repeat around (24 STS)
- Round 4:
- [2 SC, 1 INC] – repeat around (32 STS)
- Rounds 5–10:
- SC around for 6 rounds (32 STS per round)
- FO, stuff, and close as you sew to the head
Bow
- Row 1:
- CH 18, skip first chain, work 17 SC (17 STS), CH 1, turn
- Rows 2–4:
- SC across each row (17 STS), CH 1, turn
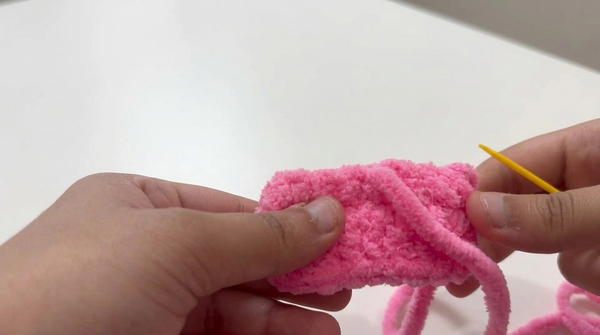
- SC across each row (17 STS), CH 1, turn
- FO, leave tail for sewing
- Fold the rectangle, whip-stitch edges to form a loop
- Wrap the yarn tail around the center several times, tie securely to shape the bow
Assembly & Finished Size
- Eyes & Nose: Cut black felt for eyes and yellow felt for nose, or attach safety eyes/nose. Secure to the head before closing.
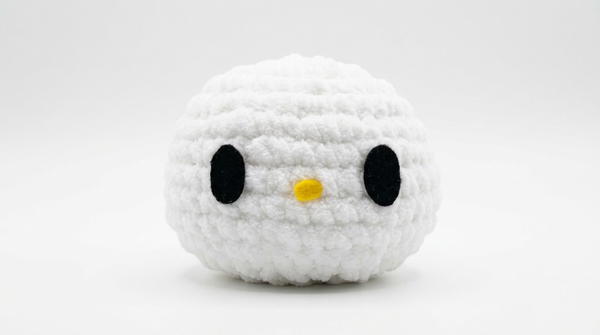
- Whiskers: Use needle and black embroidery thread to embroider three whiskers on each cheek.
- Head & Body: Stuff body and head firmly. Use whip-stitch to attach head to body, aligning rounds.
- Hood: Place frog hood over head, adjust for smooth fit. Sew down if desired.
- Ears: Pinch and sew ears onto hood with tail, making sure they are symmetrical.
- Bow: Sew bow to side of ear or under chin as preferred.
- Weave in all ends, shape features gently by hand.
The plushie measures approximately 4.5–5 inches (11–13 cm). The frog hood remains snug, and details ensure Hello Kitty’s iconic look.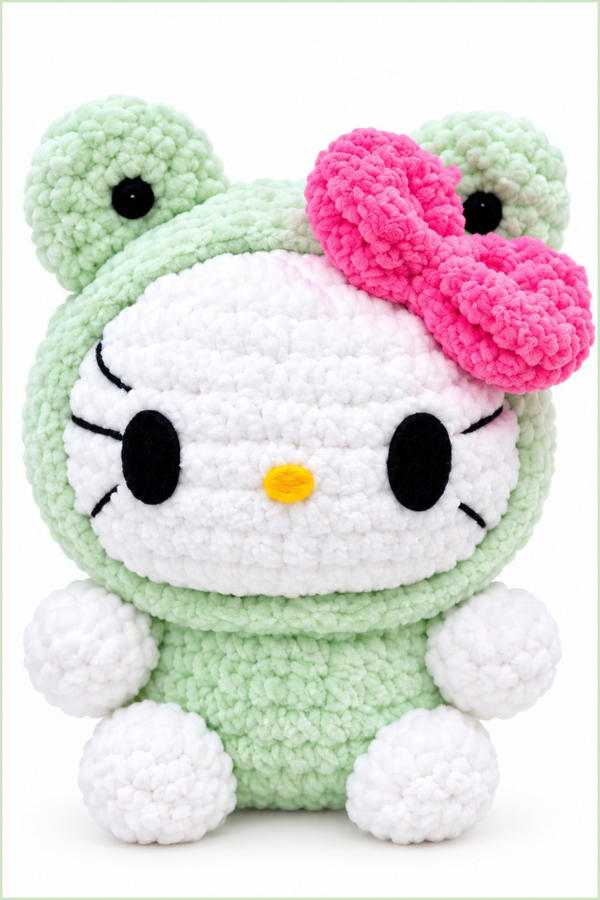
Conclusion
This pattern provides a structured yet playful approach to amigurumi, blending iconic character features with a whimsical frog hood and signature bow. Straightforward round-by-round instructions and clear stitch highlights ensure each step is visible and manageable, resulting in a delightful plushie ready for display or gifting. The combination of visual detail and precise construction showcases both technique and creativity in character amigurumi work.