Carry your daily items in style with the Crochet My Melody Bag Free Pattern, featuring a sweet character look that suits girls and Sanrio fans.
Fairycrochett shares a lovely bag idea inspired by one of the most loved Sanrio characters. The Crochet My Melody Bag has a cute character-inspired appearance, with a soft pink hood, little bunny ears, and a sweet face that gives it a friendly look. Its lovely shape and gentle colors suit anyone who likes pretty accessories with a little cartoon style.
Pink & Pretty Crochet My Melody Bag Free Pattern
This bag is a nice choice for carrying small everyday items such as keys, lip balm, coins, or other little things. You can take it on casual outings, use it during a shopping trip, or keep it as a fun accessory with your favorite outfit. It also works well as a birthday present for a friend who loves My Melody.
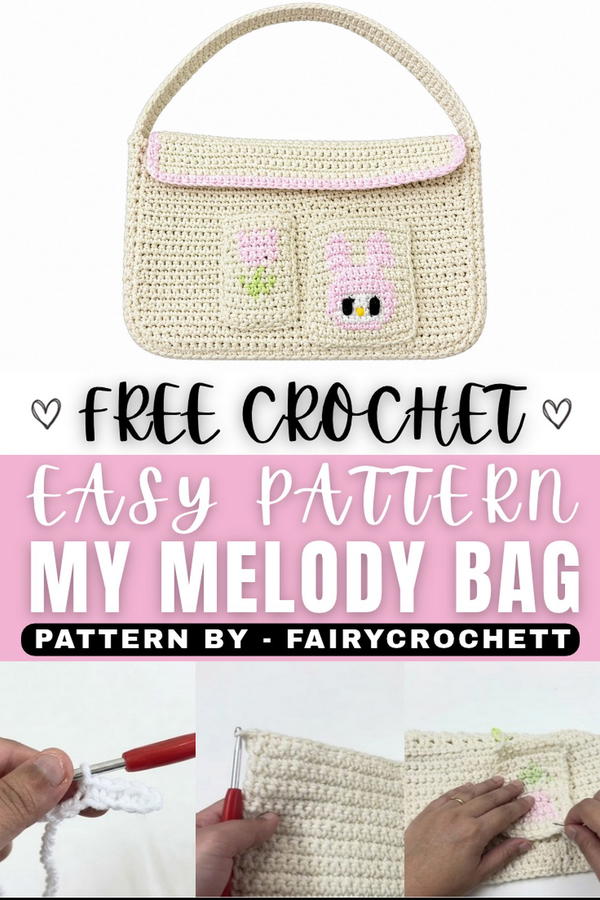 The soft yarn gives the bag a comfortable feel, while the crochet stitches help it hold its shape. Its character details are the main attraction, especially the long ears and small facial features. These little touches give the finished piece its recognizable appearance without needing too many decorations.
Another nice thing about this project is that it offers a fun way to practice working on small shapes and joining different parts together. The finished bag can also sit on a bedroom shelf as a cute display item when it is not being used.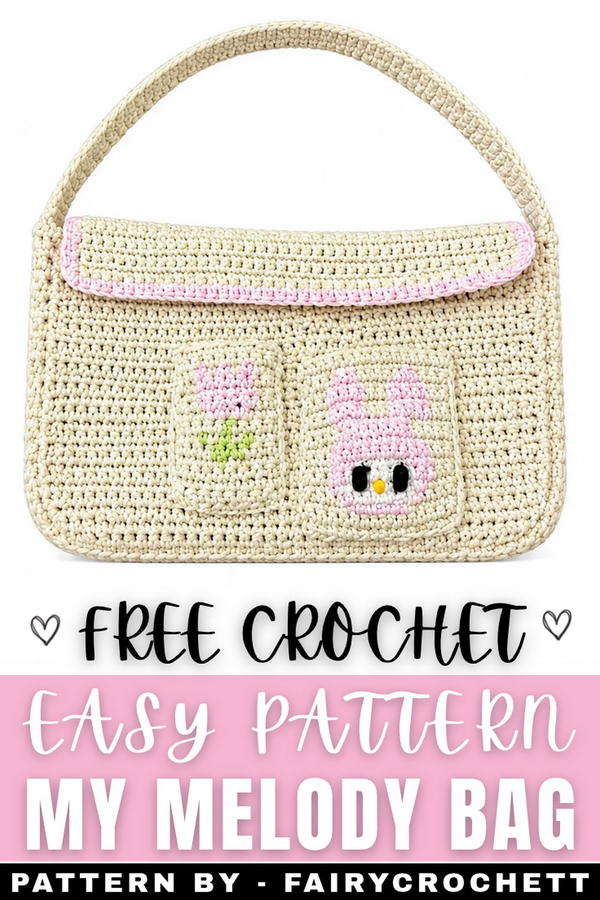 With its cheerful look and useful size, this little bag is a lovely choice for fans of cute handmade accessories.
About the Pattern
The My Melody messenger bag blends classic crochet techniques with modern pixel art for a playful, functional accessory. Each panel is built on a sturdy foundation chain, worked in single crochet for strong, dense fabric. The pixel art motif adds visual interest, requiring colorwork precision using simple graph reading and color changes. The strap is reinforced by crocheting along the edges, while the careful assembly results in a bag with a neat border and optional pockets for practicality. The structure, versatility, and custom design make the pattern appealing for both utility and aesthetic purposes.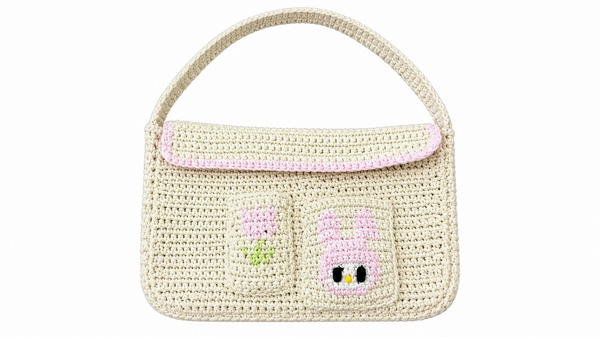
Pattern at a Glance
- Panels: Two rectangles form the bag base—the front receives the pixel embroidery, the back incorporates a flap.
- Strap: Crocheted as a strip and joined at the ends, creating both function and durability.
- Pixel Art: Embroidered by crocheting from a graph, implementing smooth color changes for a vivid My Melody motif.
- Assembly: Panels and strap connected using yarn tails and sewing, followed by single crochet edging and pocket installation.
Important Notes
- Maintain consistent tension throughout, especially on the pixel art rows and strap for structural stability.
- All color changes must be carried smoothly to avoid bumps or loose strands; the crossover method on the back side ensures clean lines.
- Before sewing, align panels and strap carefully so that the flap portion is free and unobstructed.
- For a clean edge, flip the bag inside out before working border stitches.
- Set stitch markers on the back panel to delineate the flap, preventing accidental sewing over the opening.
Difficulty Level
Beginner to intermediate. Basic skills with chain, single crochet, color changes, and assembly are all that’s required. An understanding of reading pixel graphs will enhance the final finish.
Supplies Needed
- Medium-weight yarn (multiple colors for bag body and pixel grid)
- 3–4 mm crochet hook
- Yarn needle
- Stitch markers
- Scissors
- Optional: pocket lining fabric
Size & Measurements
- Panel width: Adjustable; example uses 9 chain grid squares.
- Main panel: 28 rows for front, 38 rows for back (to include flap).
- Strap: 6 stitches across, length adjustable to fit desired messenger style.
- Finished size: Approx. 18–22 cm wide x 22–28 cm tall (based on chain and row counts); strap length customizable.
Gauge & Stitch Details
- Gauge: 4 rows ≈ 2.5 cm in single crochet.
- All stitches worked tightly for a durable, non-slouchy bag fabric.
- Edging stitches maintain shape and color definition around the flap and borders.
Crochet Abbreviations
- ch: chain
- sc: single crochet
- sl st: slip stitch
- sp: space
- st(s): stitch(es)
Special Stitch Guide
- Single crochet (sc): Insert hook, yarn over, pull up loop, yarn over, pull through both loops on hook.
- Color Change (pixel grid): On front: pull new color through last two loops of the previous stitch. On back: carry yarn behind work (crossover method) for tension.
- Slip knot: Basic starting method for attaching yarn to hook or panel.
Complete Crochet Pattern
1. Main Bag Panels
Base:
- Begin with a slip knot.
- Chain to desired width (example: chain 9 for pixel grid width), plus 1 extra chain for turning.
Body:
- Work single crochet (sc) into the second chain from hook and continue across.
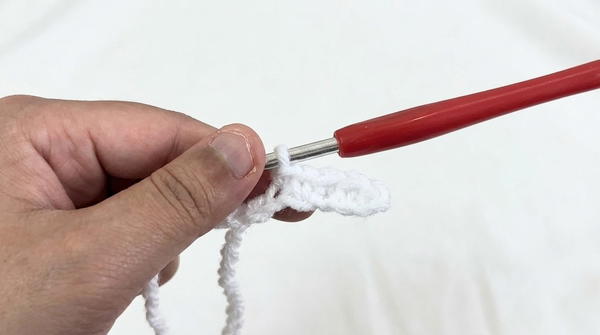
- End the row: chain 1, turn. On subsequent rows, skip the chain-1 space and sc in each stitch across.
- Repeat for:
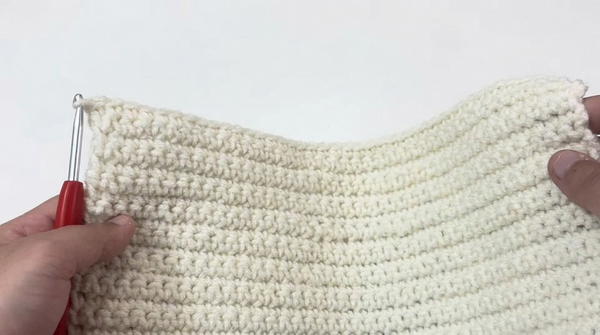
- Front panel: Crochet 28 rows.
- Back panel: Crochet 38 rows (to create flap).
- Fasten off each panel, leaving a long tail for sewing.
2. The Strap
Foundation:
- Chain 6, add 1 turning chain.
Construction:
- Work sc into the 6th chain, chain 1, turn.
- Repeat: sc across, chain 1, turn, continue until the strap reaches the desired length (long enough to span the sides and top edges of the bag).
Joining:
- Fold ends carefully, ensuring no twists.
- Single crochet the edges together through both loops to create a reinforced strap.
3. Pixel Grid Add-on
Reading the Graph:
- Count grid squares for your chain (example: chain 9).
- Work in rows (right-to-left for one row, left-to-right for the next).
- For each row, follow graph color order.
Color Changes:
- On the front (right side): Pull the new color through the last two loops of the previous stitch at the color change point.
- On the back: Use the crossover method—hold the unused color behind the work and maintain tension.
- Continue working pixel art rows according to the graph, alternating direction per row until the design is complete.
4. Assembly
Front Panel Assembly:
- Use the long tail and needle to sew the strap onto the top edge of the front panel.
- Stitch through both the panel and the strap for a secure join.
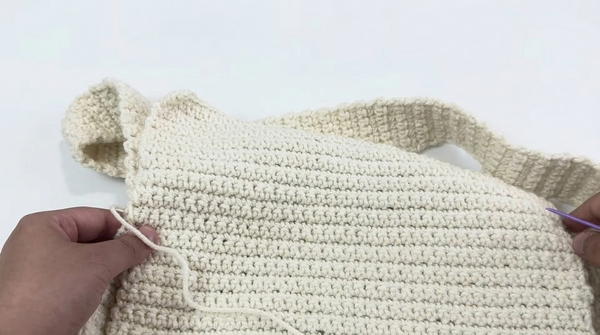
Back Panel Assembly:
- Place stitch markers to mark where the flap starts.
- Sew the back panel to the strap, stopping at the markers to leave the flap free.
Edging:
- Flip the bag inside out.
- Attach yarn to the edge of the flap and work single crochet all around for a clean, colorful border.
Pockets:
- Align the pocket with the desired position on the bag.
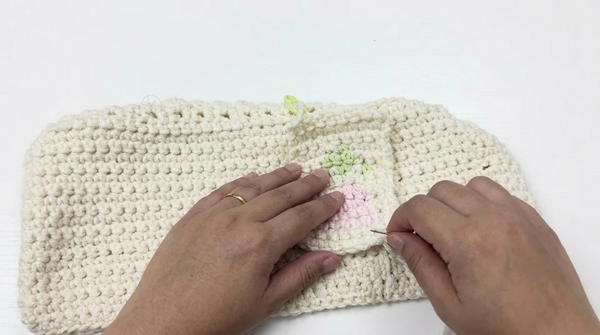
- Sew it on by alternating stitches between the bag edge and the pocket for a reinforced seam.
Assembly & Finished Size
Once panels, strap, border, and pockets are sewn, adjust the flap so it folds neatly over the front. Double-check all seams for security. The finished messenger bag should measure approximately 18–22 cm wide by 22–28 cm tall, with a customizable strap length and flap. The pixel art should be centered and tension even across the motif.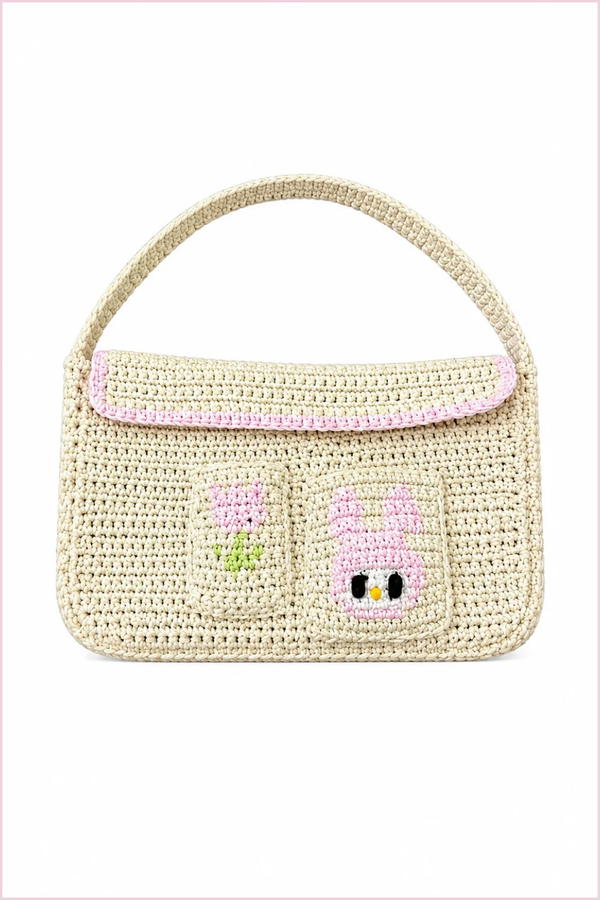
Conclusion
This structured messenger bag pattern leverages straightforward single crochet and practical pixel art to create a functional accessory. The final project features sturdy panels, a reinforced strap, neat borders, and optional pockets for organization. Color changes within the pixel area are performed with clear techniques, ensuring crisp lines and character definition. Accurate assembly and finishing provide durability and a tailored appearance, making the design suitable for everyday use, gifting, or display.