 Mint Design Blog



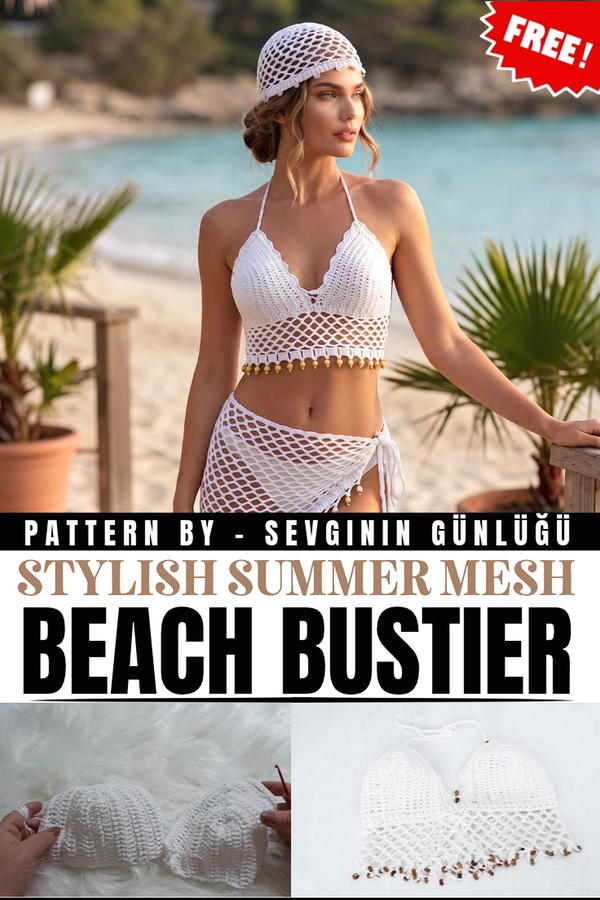
Try this Crochet Mesh Beach Bustier Free Pattern for a light, airy summer top with pretty open stitches, ideal for beach days and warm weather outfits.
The original YouTube tutorial by Sevginin Günlüğü offers a fantastic guide to creating a stylish Crochet Mesh Beach Bustier, and full credit goes to this skilled creator for sharing such a beautiful and trendy project. This bustier is a lightweight, airy crochet top designed especially for beachwear or casual summer outings. Its mesh pattern makes it breathable and comfortable, perfect for warm weather while adding a touch of handmade elegance to your wardrobe.
Stylish Crochet Mesh Beach Bustier Free Pattern For Women
The Crochet Mesh Beach Bustier features an open, net-like design that looks both chic and fresh. It can be worn over swimsuits for a cute beach cover-up or paired with shorts or skirts for a relaxed summer look. The project allows for plenty of customization, including choosing different yarn colors, adjusting the length, or adding straps to suit your personal style.
 Making this bustier involves working mostly with chain stitches and double crochets to create the mesh pattern. You start by making a foundation chain to fit your size, then crochet rows of open mesh using simple repeats. As you progress, you shape the bustier by increasing or decreasing stitches for a comfortable fit. Finishing touches like edging or decorative borders can make your piece even more unique.
Making this an enjoyable project whether you are a beginner or have some crochet experience. Try this free pattern to create a beautiful handmade piece perfect for sunny days and beach vibes!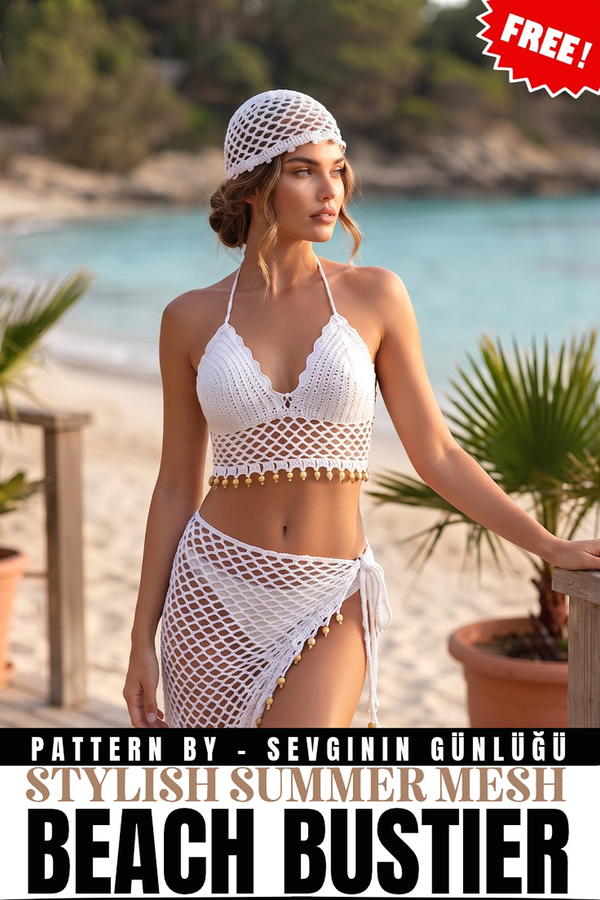
About the Pattern
This multi-purpose crochet beach bustier, which doubles as a bikini top, is crafted in fresh cotton yarn for maximum comfort and breathability. The structured construction begins with classic triangle cups, worked with double crochet for durability and modest coverage, and edged with firm single crochet for long-lasting wear. Strategic joinings, a lace net detail, and customizable ties make this design ideal for individual body types and adjustable for comfort and style. Mesh filet work, ribbed elastic bands, and bead embellishments elevate the design, providing both visual interest and secure fit. Whether at the beach, pool, or styled under festival layers, this versatile project balances contemporary flair with heritage technique.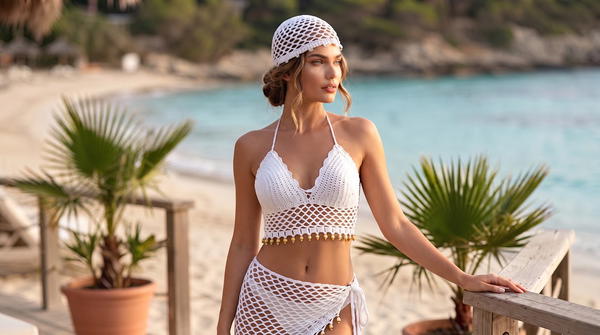
Pattern at a Glance
- Cups: Formed in double crochet with curved, increasing rows for a supportive triangle shape; neatly finished with a dense single crochet border.
- Joins: Detachable or fixed bridge between cups using a decorative cluster and chain combination.
- Base Band: Features cozy ribbing (front- and back-post double crochet) for stability and support, finished with customizable tie-ends.
- Netting: Mesh filet detail creates breathability and a beach-ready look, with added wooden bead accents for a bohemian touch.
- Straps: Continuous chain ties for neck and back ensure an adjustable and secure fit.
Important Notes
- Maintain even stitch tension for uniform shaping, especially on the cup increases and netting rows.
- Try on the piece as you go; add rows to increase coverage or extend chaining for a custom fit.
- When beading, use a small hook or beading needle to avoid fraying or breaking the yarn.
- The single crochet edging adds structure and longevity—do not omit for active wear.
Difficulty Level
Confident Beginner to Intermediate. Requires knowledge of double crochet increases, single crochet, post stitches for ribbing, filet mesh work, and basic assembly.
Supplies Needed
- 100% cotton yarn (sport or DK weight; quantity for a small/medium top approx. 100–150g)
- 3 mm crochet hook
- Wooden beads with large center hole (optional, for decorative effect)
- Tapestry needle for weaving in ends
- Scissors
- Thin crochet hook or beading needle (if adding beads)
Size & Measurements
- Cups: Each approx. 13–15 cm from base to tip (adjustable in length/rows)
- Underbust band: Adjustable length with 25 chained ties at each end; ribbing sits comfortably under bust
- Mesh length: Adjustable filet/net section, typically 8–15 cm in depth, based on desired coverage
- Straps: Customizable chain length for neck and back
Gauge & Stitch Details
- Gauge: 7 rows of double crochet ≈ 12–13 cm in height; adjust hook size if needed
- Cups: Built with symmetrical, central increases to maintain proportionality
- Netting: Even mesh maintained by consistent ch-5 loops anchored by firm single crochets
Crochet Abbreviations
- ch: chain
- sc: single crochet
- dc: double crochet
- fpdc: front post double crochet
- bpdc: back post double crochet
- st(s): stitch(es)
- sp: space
- sl st: slip stitch
Special Stitch Guide
- Front post/back post double crochet: To create ribbing, work the double crochet around the post of the stitch from the previous row, inserting hook either from front or back for raised texture.
- Cluster: (For lacy join, if given): group of dc stitches into the same space.
- Filet mesh: ch 5, sc into next space.
Complete Crochet Pattern
1. Cup Construction
- Starting Chain: Ch 18.
- Row 1: Dc in 4th ch from hook and in each ch across for a total of 15–16 dc.
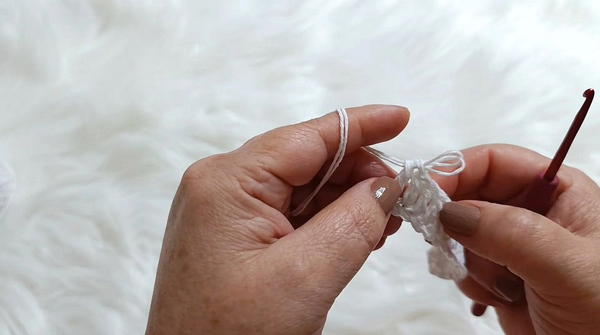
- Cup Tip (Increase Curve): Into the last chain, work 5 dc to form a rounded corner.
- Row 2: Turn. Dc back along the opposite side of chain foundation, mirroring stitch count.
- At end of row, turn.
- Row-by-Row Increases: In each subsequent row (total of 7 rows for cup), always place 5 dc in the center-most stitch of previous row’s 5-dc group (the peak), to shape and expand the triangle. Continue until 7 rows, or until coverage desired.
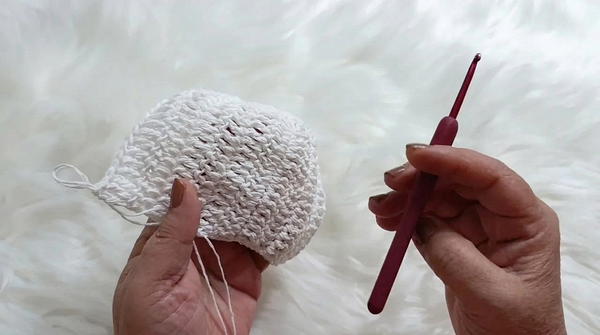
- Edging: Work 1 round of sc evenly along all edges, working extra sc at cup tip for smooth curve. Fasten off, weave ends.
- Repeat for second cup.
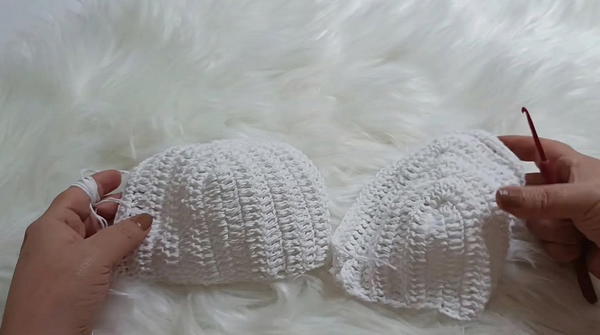
2. Joining and Netting Assembly
- Cup Joining: Put cups side by side, right sides up. Join with chains and double crochet clusters between top inner edges for bridge. For a simple join:
- Join yarn at inner corner of one cup, ch a number to cross gap (usually 2–5), and sl st to opposite inner cup edge.
- Edge Pattern: For a decorative lace join: Work group of 8 dc in a space, skip 3 sts, sc to secure, repeat along top outer edge for a wavy, scalloped edge.
3. Base Band and Lower Netting
- Ties: At each end of under-cup edge, ch 25; these form adjustable body ties.
- Foundation Band: Join yarn to base of one cup, ch across both cups (including the bridge), then work a dc row into each st (including chain ties for strength).
- Ribbing: For the next row(s), alternate fpdc and bpdc for elastic band effect; repeat for desired snugness. Usually 1–2 rows are sufficient.
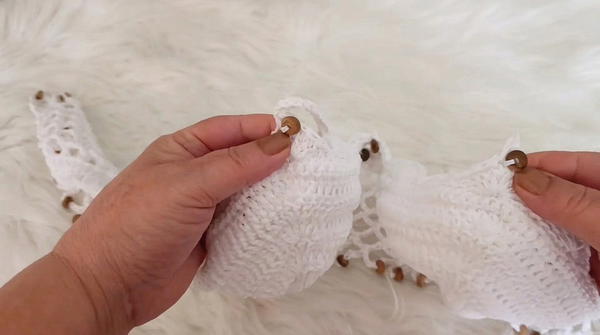
- Filet/Netting Detail: At base of ribbing, ch 5, skip a few sts, sc in designated sp, repeat for full row. Continue this ch-5, sc mesh filet for as many rows as desired, always stacking mesh for even netting. Adjust length for desired body coverage.
4. Final Touches
- Beading: At desired intersections of mesh, thread a wooden bead onto yarn using small hook, then continue crocheting in pattern. Secure beads on both sides for symmetry.
- Straps: For neck and any additional back support, attach yarn to cup-tops and ch a long tie (minimum ch 60–100 depending on fit). Fasten off, weave ends.
- Finishing: Weave in all thread tails with tapestry needle. Block gently to shape, if desired.
Assembly & Finished Size
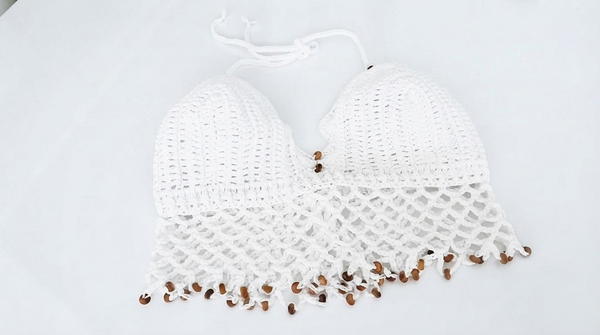
Once all components are complete, lay the piece flat and shape the cups, netting, and bands. Knot ties and gently steam (if cotton) to even edges and set stitches, avoiding direct heat on beads. Finished bustier should be form-fitting with flexible ties for adjustments; base ribbing hugs securely, mesh falls softly, and beads add artisanal detail.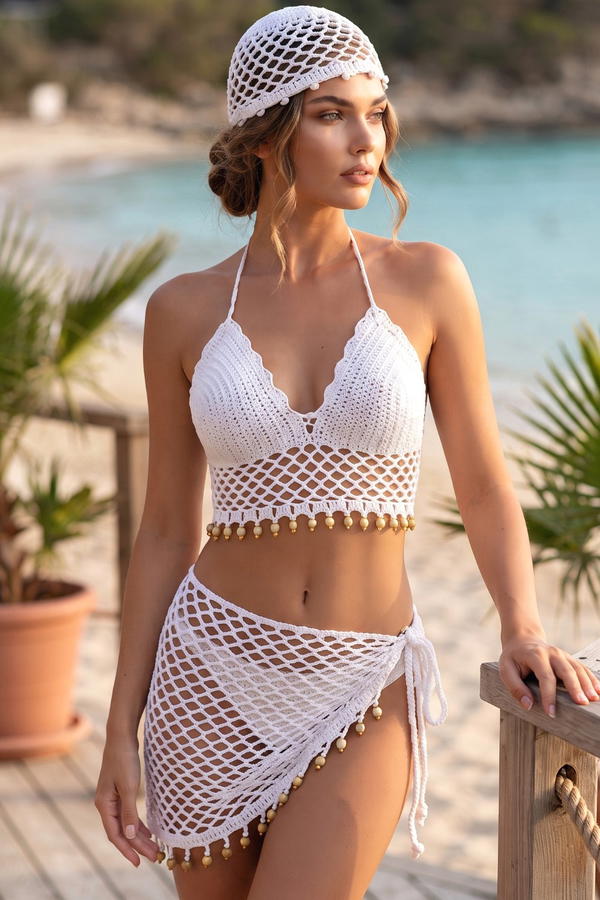
Conclusion
This adaptable beach bustier/bikini top highlights the strength of classic crochet forms while integrating modern construction techniques for comfort, fit, and style. Durable cup shaping and ribbing lay a secure foundation, while filet mesh and beaded finishes evoke a playful, breezy aesthetic. With flexibility in coverage, strap placement, and decoration, it serves both as practical swimwear and a fashionable festival layer, ensuring handmade texture and personality in every stitch.