Share a happy moment with the Crochet Hello Kitty Free Pattern, a lovely little figure that looks sweet beside books and other favorite toys.
Who doesn't love a little kitty with a sweet face? The Crochet Hello Kitty is a lovely yarn doll inspired by the famous Sanrio character. Her simple appearance and cute details give her a special charm that appeals to both children and adults. This project is a fun choice for anyone who likes cartoon toys. Fairycrochett shares this lovely crochet idea, giving fans a chance to try a familiar character using yarn and simple stitches.
Quick Crochet Hello Kitty Free Pattern To Try at Home
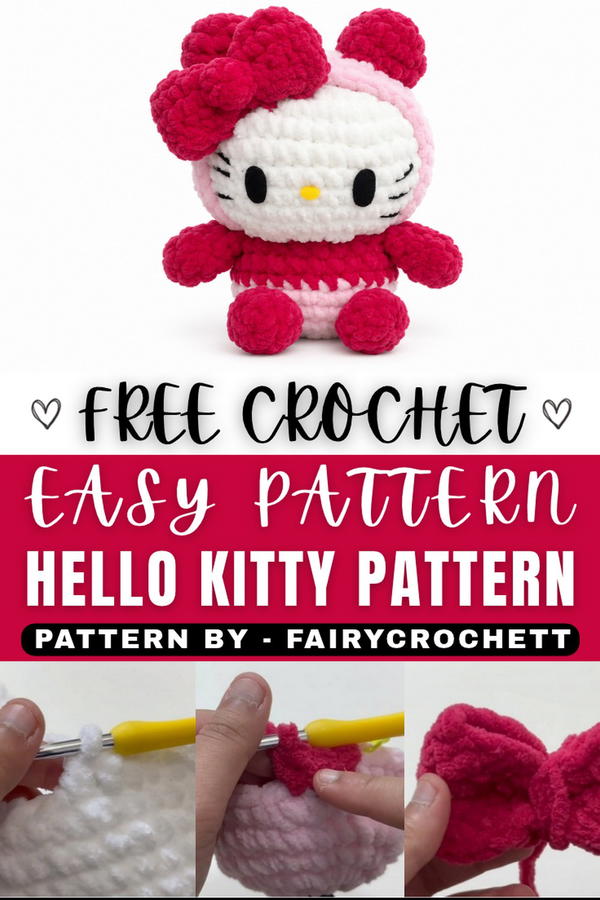
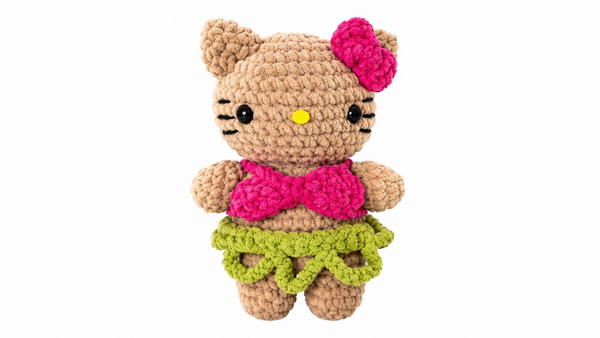
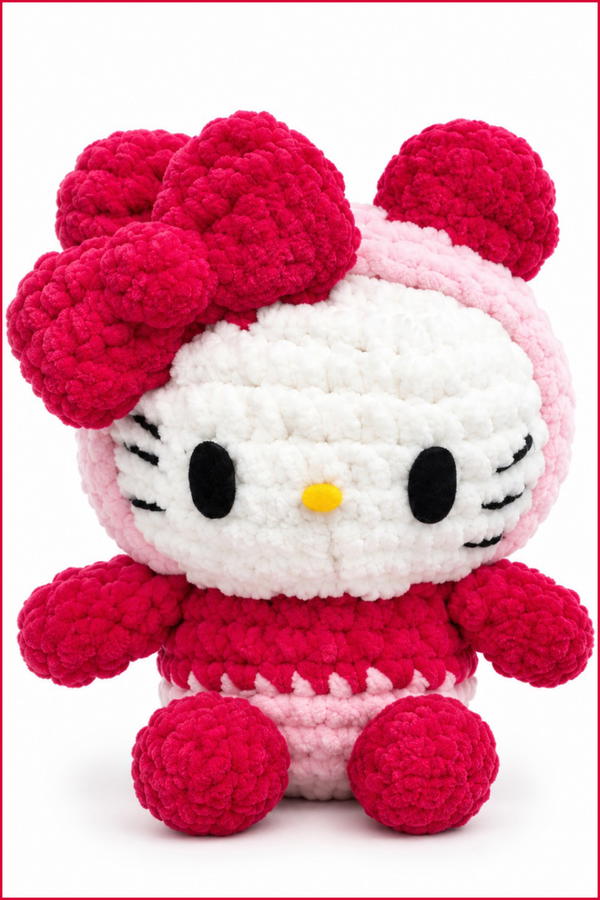
Hello Kitty has a white head, two small ears, and a cute face with black eyes, a yellow nose, and three whiskers on each side. Her famous bow adds a pretty detail near one ear. The body has a neat shape with little hands and feet. A colorful dress can add more beauty, while the white yarn keeps her familiar appearance.
The doll can be crocheted using basic stitches. The head and body are worked into their shapes, and the ears, arms, and legs are added afterward. A little stuffing helps keep the figure full. The bow and facial details are then attached to complete her look.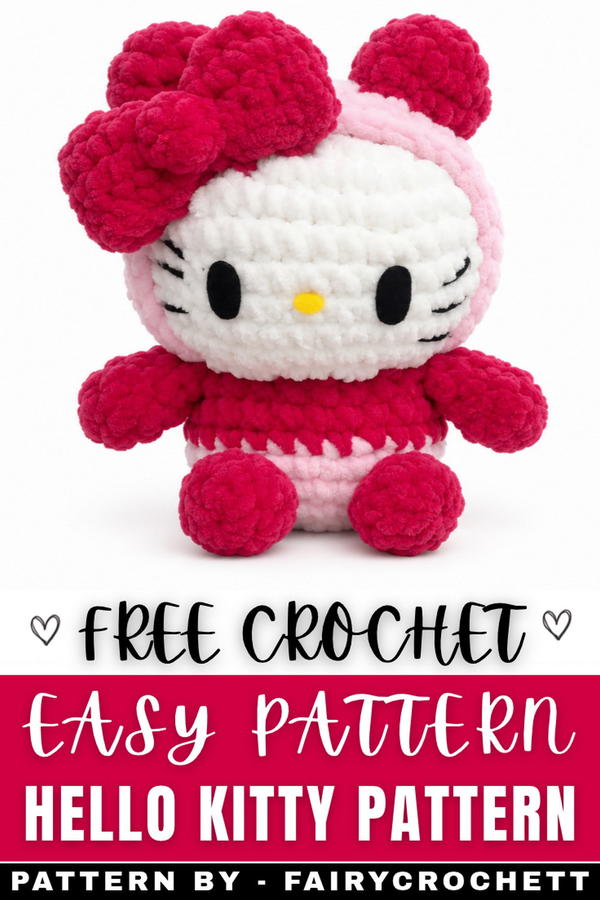 You can place this kitty on a bedroom dressing table, use her to decorate a girl's birthday cake table, or give her as a special present to a Hello Kitty fan. She can also become part of a cartoon toy collection.
This little doll is a lovely way to keep a favorite character close. Her simple style and familiar face give her a timeless appeal that people of all ages can appreciate.
About the Pattern
This crochet pattern showcases the steps for constructing a whimsical Hello Kitty plush, featuring a panda-themed hood and a vibrant pink body. The plush is composed using classic amigurumi techniques, with systematic increases and decreases to achieve rounded shapes, and seamless color changes for distinctive character styling. Each section has been carefully articulated to ensure consistency and ease, resulting in an unmistakably charming Hello Kitty plush doll.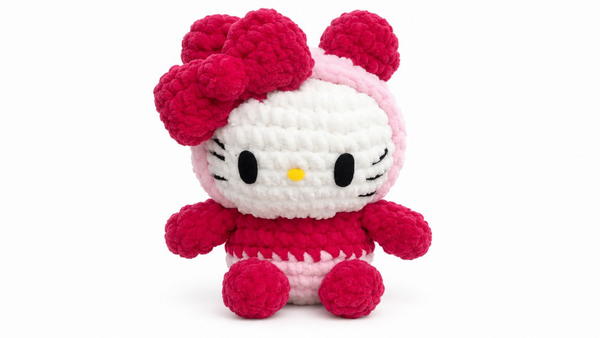
Pattern at a Glance
The creation process is divided into structured segments:
- Head: Spherical shaping through defined rounds and stuffing.
- Panda Hood: Built using the head's shaping, with additional rounds to fit over the head.
- Body: Worked in two colors, following prior increase methods and expanding with plain rounds.
- Parts: Arms, ears, legs, and bow, constructed individually.
- Assembly: Strategic sewing for final character unification and decorative accent placement.
Each section is elaborated with precise stitch counts and methods for shaping, stuffing, and joining.
Important Notes
- Always use stitch markers at the start of each round, guaranteeing even shaping and easy color changes.
- Stuff amigurumi pieces as you go, for an even and solid appearance.
- Maintain consistent tension, especially during increases and decreases, to avoid gaps or distortion.
- Use a yarn needle for all sewing and finishing, ensuring firm and invisible joins.
- Work each element separately and assemble only when all are complete.
Difficulty Level
The pattern is accessible for those comfortable with basic amigurumi. The only specialties required are simple color changes, magic ring foundation, basic increases, and decreases. Assembly requires some sewing skills but is straightforward.
Supplies Needed
- Worsted weight yarn: white, light pink, dark pink, black (for panda hood, facial features, bow)
- Crochet hook: 3.5 mm or 4.0 mm
- Fiberfill stuffing
- Yarn needle for sewing parts and embroidery
- Scissors
- Stitch markers
Size & Measurements
The finished plush measures approximately 8–10 inches tall, depending upon yarn, hook size, and stuffing density. Proportions reflect a classic stylized Hello Kitty.
Gauge & Stitch Details
Although not critical, gauge uniformity ensures parts are proportional. Four rounds of single crochet in the round should measure roughly 1.5 inches in diameter. Select a hook size that produces tight, gap-free stitches.
Crochet Abbreviations
- SC – Single Crochet
- INC – Increase (2 SC in the same stitch)
- DEC – Decrease (single crochet two together)
- MR – Magic Ring
- CH – Chain
- ST – Stitch
- FO – Fasten Off
- SLST – Slip Stitch
Special Stitch Guide
Magic Ring (MR):
Form a loop, insert hook into ring, yarn over and draw up a loop, then chain and work stitches into the ring. Pull the tail tight to close.
Increase (INC):
Work 2 SC in the same stitch.
Decrease (DEC):
Work a standard decrease by crocheting two stitches together (SC2tog), preferably using the invisible decrease method in amigurumi.
Complete Crochet Pattern
Head
- Magic Ring: Create a MR with 8 SC.
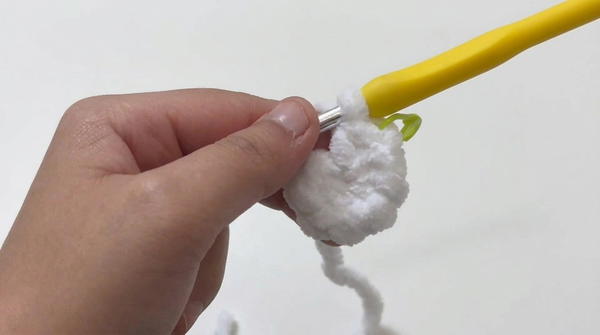
- Round 2: INC in each stitch (8 INC) — (16 SC).
- Round 3: (1 SC, 1 INC) repeat around — (24 SC).
- Round 4: (2 SC, 1 INC) repeat around — (32 SC).
- Round 5: (3 SC, 1 INC) repeat around — (40 SC).
- Rounds 6–11: Work 1 SC in each stitch around for 6 rounds (40 SC each round).
- Round 12: (3 SC, 1 DEC) repeat around — (32 SC).
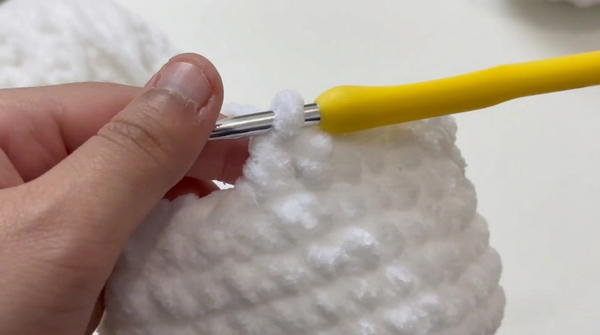
- Round 13: (2 SC, 1 DEC) repeat around — (24 SC).
- Round 14: (1 SC, 1 DEC) repeat around — (16 SC).
- Stuffing & Closing: Fill the head firmly with fiberfill, then work 8 DEC around to close — (8 SC remains). FO and use needle to sew the hole shut.
Panda Hood
- Follow the Head pattern up to Round 12 (3 SC, 1 DEC) (ending with 32 SC).
- Work 2 rounds of 1 SC in each stitch around (32 SC per round).
- FO and leave a long tail for sewing or continue if working directly onto the head.
Body
- Start as with the Head, working up to and including (3 SC, 1 INC):
- MR: 8 SC
- Round 2: INC in each stitch (16 SC)
- Round 3: (1 SC, 1 INC) (24 SC)
- Round 4: (2 SC, 1 INC) (32 SC)
- Round 5: (3 SC, 1 INC) (40 SC)
- Rounds 6–7: Using light pink yarn, 1 SC in each stitch (40 SC for 2 rounds).
- Change to dark pink, work 3 rounds of 1 SC in each stitch (40 SC per round).
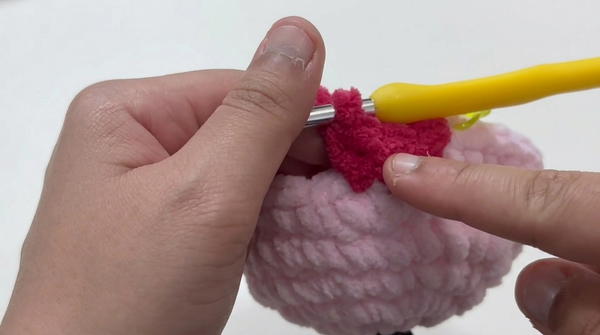
- FO and stuff the body firmly.
Parts
Arms (make 2)
- Create a MR with 6 SC.
- Work 4 rounds of 1 SC in each stitch (6 SC per round).
- FO, stuff lightly, and leave a yarn tail for sewing.
Ears (make 2)
- MR: 6 SC
- Round 2: 6 INC (12 SC)
- Rounds 3–4: 1 SC in each stitch (12 SC per round)
- FO, stuff lightly, and leave tail for sewing.
Legs (make 2)
- MR: 8 SC
- Rounds 2–3: 1 SC in each stitch (8 SC per round)
- FO, stuff and leave a yarn tail for sewing.
Bow
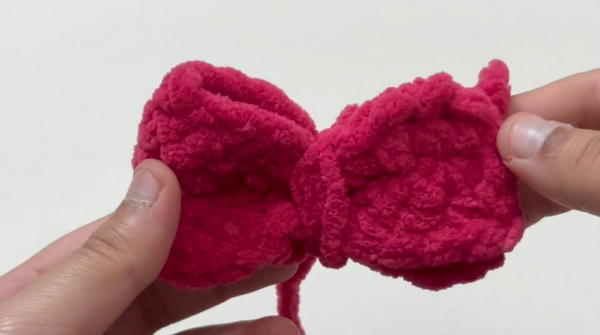
- CH 20
- Rows 1–4: 20 SC across, turn (repeat for 4 rows)
- FO. Fold rectangle in half. SLST edges to close, then pinch center and wrap middle with extra yarn to secure and create classic bow shape.
Assembly & Finished Size
- Position and sew bow onto panda hood using a yarn needle.
- Attach hood to the top of the head, aligning and securing at the seam.
- Sew ears to appropriate places on the hood.
- Attach arms to the sides of the body and legs to the bottom.
- Carefully sew the body onto the head, ensuring a stable and seamless join.
- Final plush stands 8–10 inches tall with secure, sturdy construction.
Conclusion
This pattern follows a logical sequence for constructing a characterful Hello Kitty plush with a panda hood motif, ensuring the shaping, coloring, and assembly are well defined. The methodology encourages consistent practice with basic but essential amigurumi techniques, facilitating the creation of a delightful plush with careful attention to detail and proportion. The result is both decorative and collectible, embodying the spirit of Hello Kitty and the cozy appeal of handmade craftsmanship.