 Mint Design Blog



Refresh your hairstyle with the Crochet Scrunchie Free Pattern, a soft hair tie for ponytails, casual outfits, and sweet little handmade gifts.
Adding a handmade touch to your daily hair routine becomes effortless with a crochet scrunchie. Inspired by a delightful tutorial from TrebleCat Crochet, this simple project quickly became one of my favorites. Crochet scrunchies are not just functional hair accessories; they bring warmth and charm to any look.
Trendy Crochet Scrunchie Free Pattern To Style Your Hair
A crochet scrunchie is essentially a soft, stretchy hairband wrapped in beautifully crocheted yarn. This gives it a lovely texture and a charming homemade feel, unlike typical plastic or fabric scrunchies. Its style is casual yet elegant, making it perfect for everyday wear, workouts, or even as a decorative accent to an outfit. These scrunchies also make wonderful handmade gifts—personal, practical, and always appreciated.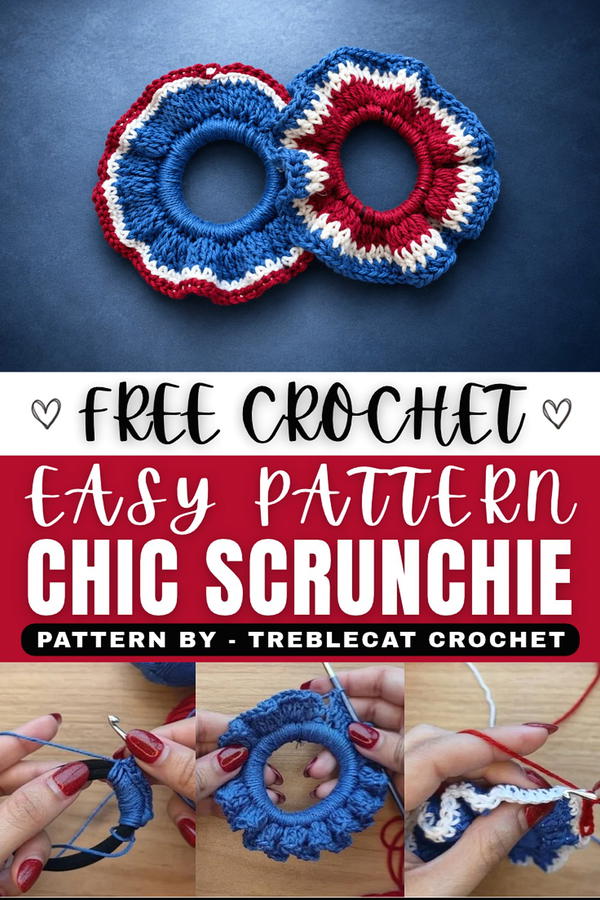 The appeal lies in the endless variety—choosing from countless colors, patterns, and sizes allows each scrunchie to be a unique creation. Plus, they’re gentle on hair, reducing breakage compared to regular elastic bands. The cozy, soft yarn feels comfortable and adds a splash of creativity to your accessories collection.
For anyone interested in crocheting a crochet scrunchie, the free pattern shared by TrebleCat Crochet provides clear guidance without overwhelming beginners. This project is a fantastic way to experience the joy of crochet while making something both beautiful and useful. Check out the tutorial and start your own collection of these charming little accessories today!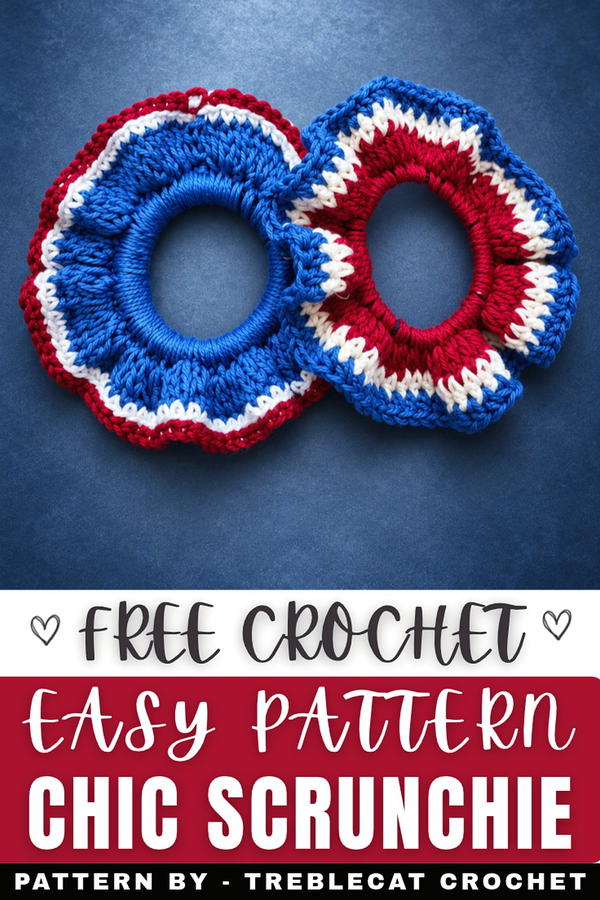
About the Pattern
This pattern provides detailed steps for constructing a wavy, layered crochet scrunchie that incorporates multiple yarn colors and textured borders. Each stage is designed to build volume, texture, and visually appealing layers on a standard elastic hair tie. The instructions offer clarity for each round, ensuring a consistent approach and a finished accessory that stands out for its playful ruffles and vibrant hues.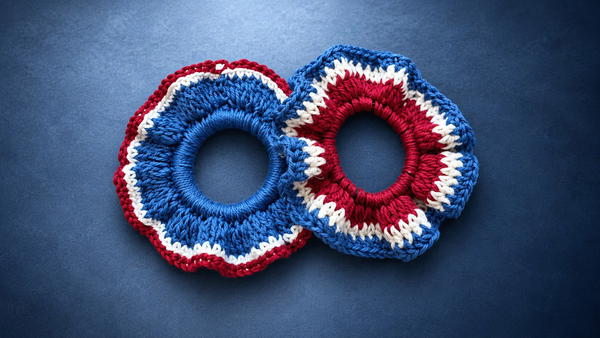
Pattern at a Glance
The design unfolds through four deliberate stages:
- Round 1: Securing the yarn and chaining around a hair tie
- Round 2: Using double crochets to add ruffle volume
- Round 3: Introducing a second color and single crochet edging
- Round 4: Applying a contrasting border in the back loop for definition
Each stage contributes to the scrunchie’s fullness, movement, and striking color transitions.
Important Notes
- Cover the elastic hair tie completely in the first round for best results.
- Use color changes at the start of designated rounds for crisp, layered effects.
- Crochet tightly in the first round to prevent gaps, then relax tension for ruffle volume.
- When working slip stitches in the border, inserting into back loops only accentuates the wavy texture.
- Always weave in loose tails with a yarn needle, minimizing bulk and ensuring durability.
Difficulty Level
This pattern is beginner-friendly, ideal for those comfortable with slip knot, chain, single crochet, double crochet, and slip stitch. Color changes and working into back loops provide mild complexity suited to skill-building.
Supplies Needed
- Three colors of worsted or DK weight yarn (or your preferred fibers)
- 4.0 mm crochet hook (adjust for yarn thickness)
- Standard elastic hair tie
- Scissors
- Yarn needle for weaving ends
Size & Measurements
Finished scrunchie fits most hair ties. When fully ruffled, expect a diameter of 4–5 inches (10–13 cm) from edge to edge. Can be scaled up or down by altering yarn weight or increasing chain count in the first round.
Gauge & Stitch Details
Gauge is not essential, but chaining snugly around the hair tie and working double crochets closely together creates the desired fullness. Adjust hook size if stitches are too loose or tight.
Crochet Abbreviations
- SC – Single Crochet
- DC – Double Crochet
- CH – Chain
- SLST – Slip Stitch
Special Stitch Guide
Slip Knot:
Create a loop, pull working yarn through, tighten onto hook.
Slip Stitch (SLST):
Insert hook into stitch, yarn over, pull through both loops.
Double Crochet (DC):
Yarn over, insert hook, yarn over, pull through (three loops on hook), yarn over, pull through two loops, yarn over, pull through remaining two loops.
Single Crochet (SC):
Insert hook, yarn over, pull up loop, yarn over, pull through two loops.
Back Loop Only:
Work into the loop furthest from you, leaving the front loop untouched for ridged borders.
Complete Crochet Pattern
1:Securing and Chaining
- Make a slip knot and loop your working yarn onto the crochet hook.
- Pull the yarn through the center of the elastic hair tie, anchoring at one point.
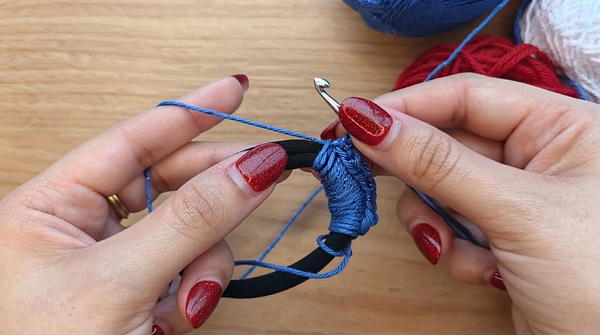
- Using your working yarn, chain stitches snugly and evenly around the hair tie. Continue chaining until the entire circumference is well covered; there is no specific stitch count as coverage is the goal.
- When the tie is completely encircled, join the last chain to the first chain with a slip stitch to form a closed foundation round.
2: Building Volume
- Chain 3 to start this round, which counts as the first double crochet.
- Work a double crochet (DC) into the same stitch as the chain-3.
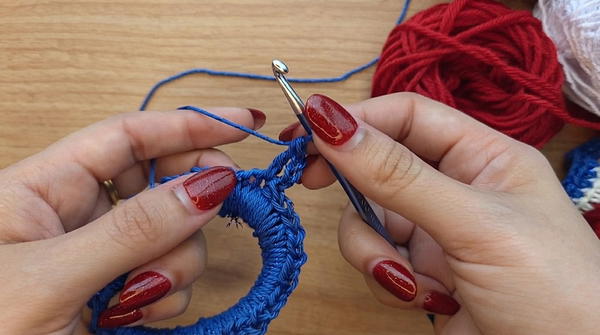
- Proceed around the scrunchie, working two double crochets into each stitch from the previous round. This frequent stitch increase creates the ruffling and fullness characteristic of scrunchies.
- Continue until you have doubled into every stitch, circling the entire tie for a complete, wavy round.
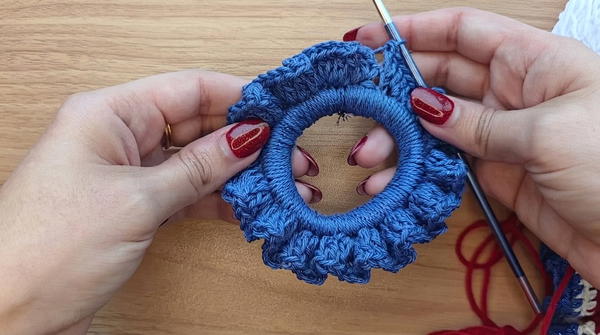
3: Color Layering
- Join your second yarn color at the start of the round with a slip stitch.
- Chain 1 for height.
- Into every stitch around from the previous round, work 1 single crochet (SC) using the new color. This round both secures the volume and adds a contrasting edge inviting further layering.
- Complete the round by single crocheting into every stitch, then slip stitch to the first single crochet at the end.
4: Final Border
- At the final stitch, prepare to switch to your third (or final) yarn color.
- Secure the new color with a slip stitch at the start of the round.
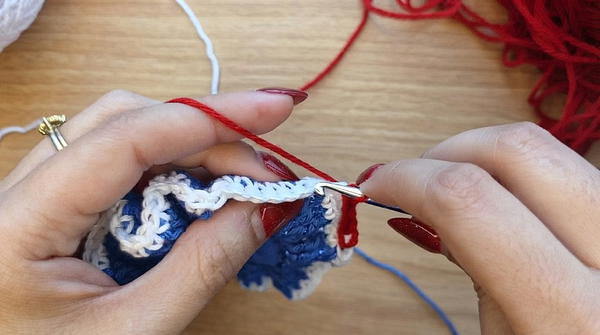
- Work slip stitches (SLST) into the back loop only of each single crochet from the previous round. This selective insertion produces a ridged border that stands out visually and texturally.
- Continue slip stitching around the entire scrunchie.
- At the last loop, slip stitch to join, cut your yarn, and pull tight to finish.
Finishing
- Take a yarn needle and weave in all loose ends and tails, hiding them neatly inside the ruffled layers or along the elastic to preserve structure and comfort.
Assembly & Finished Size
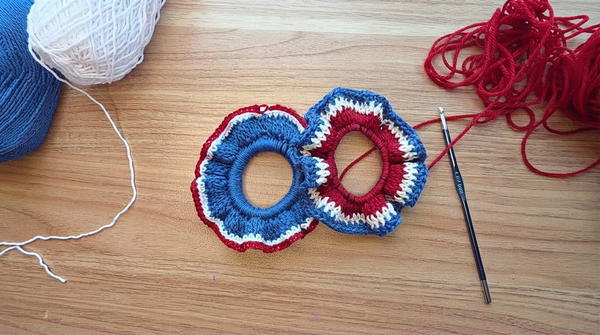
The completed scrunchie should display three distinct layers—an inner base, a ruffled middle, and a pronounced border. After weaving in ends, the scrunchie is ready for use or gifting and will fit securely around most standard hair ties, adding both style and function to everyday hair styling.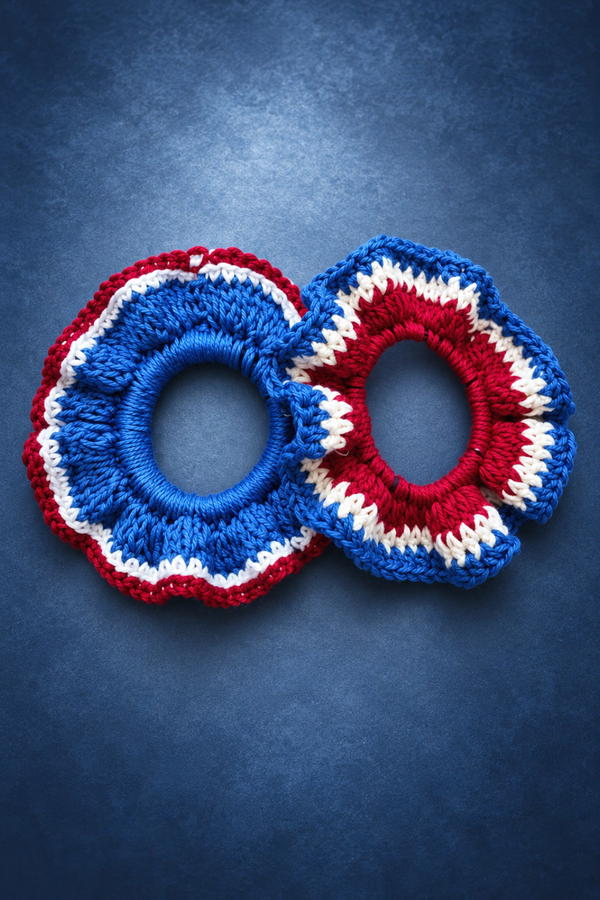
Conclusion
This crochet scrunchie pattern introduces a lively, wavy accessory that blends practicality and visual interest through rounds of increasing stitch volume and thoughtful color changes. By covering an elastic hair tie with neat stitches, doubling up for volume, and adding contrasting borders, the pattern emphasizes basic crochet techniques while allowing for creative color exploration. The result is a finished scrunchie with professional texture, reliable structure, and appealing style for any occasion.