Brighten your favorite corner with the Crochet Big Hello Kitty Free Pattern, a cheerful large doll that looks sweet beside books and pillows.
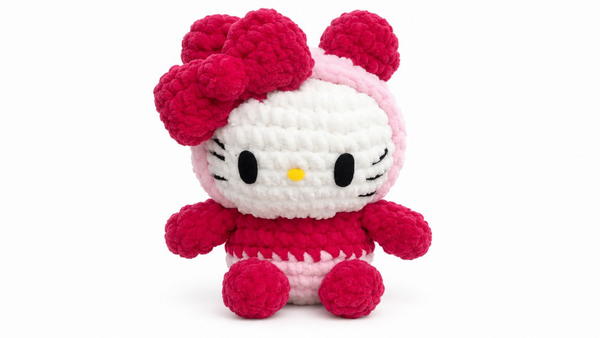
Fairycrochett shares a wonderful crochet idea for anyone who dreams of having their favorite cartoon character as a large, cuddly toy. The Crochet Big Hello Kitty is a beautiful oversized doll with a soft body and a lovable appearance. Its large size makes it an exciting project for people who love collecting cute stuffed characters.
Soft Crochet Big Hello Kitty Free Pattern For Birthday Gifts
One of the nicest things about this doll is how its familiar details stand out in a bigger form. The white face has small black eyes, a yellow nose, and thin whiskers on both cheeks. A lovely bow near one ear adds a touch of color. Its short arms, rounded feet, and pretty outfit give the character a friendly appearance. The larger body also provides more space to show the crochet texture.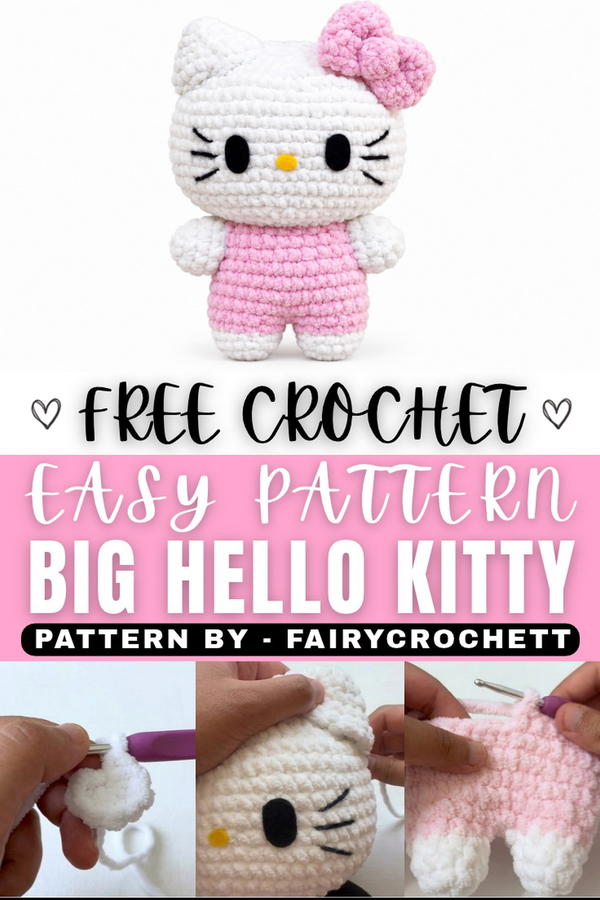 This doll can be worked using soft yarn and basic crochet stitches. The main sections are shaped carefully before the smaller parts are attached. Filling the body evenly helps it stay plump, while secure joining keeps the arms and other details in position.
You can place this doll in a children's bedroom, keep it on a large sofa, or use it as a decoration for a Hello Kitty birthday celebration. It is also a thoughtful present for a younger sister, a cartoon fan, or someone who has loved this character since childhood.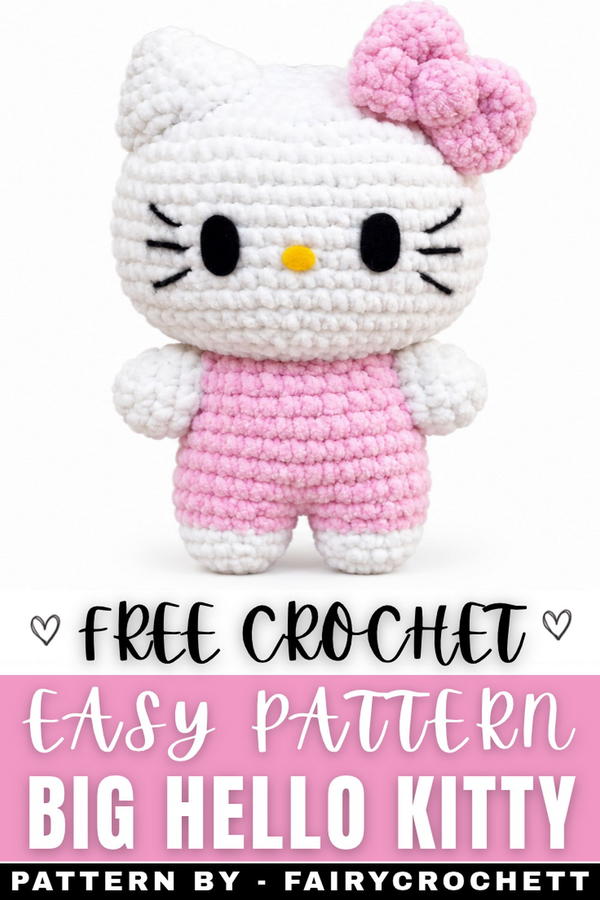 The oversized design gives this familiar kitty a different feeling from smaller crochet toys. It is a lovely companion for relaxing at home and a special addition to any Hello Kitty collection.
About the Pattern
This pattern provides detailed, step-by-step instructions to create a jumbo Hello Kitty amigurumi featuring iconic overalls and a bow. It’s designed to help crocheters of all experience levels crochet an appealing, large plush that embodies the charm of Hello Kitty. Clear increase, decrease, and assembly directions are included for a seamless experience from start to finish.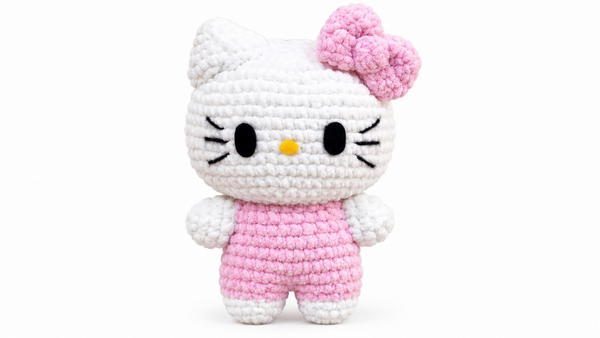
Pattern at a Glance
The project is accomplished in sequential sections:
- Head (with facial features)
- Body and legs (joining legs seamlessly before building the torso)
- Bow (crafted and assembled in layers)
- Final assembly, including ears and attachment of all components
Important Notes
- Stuff all parts firmly and consistently for strong structure.
- Mark the start of rounds using a stitch marker for even rounds.
- Use felt or safety eyes, according to preference, for safe and authentic facial features.
- All sewing and embroidery is done with a yarn needle.
- Complete and stuff parts before assembling to ensure an even appearance.
Difficulty Level
Suitable for beginners. The piece relies on basic shaping, straightforward decreases and increases, and simple finishing techniques, perfect for those starting out in amigurumi.
Supplies Needed
- Worsted weight yarn: white, blue, yellow, pink, and black
- Crochet hook: 4.0 mm (G)
- Fiberfill stuffing
- Yarn needle
- Scissors
- Black felt (eyes), yellow felt (nose)
- Fabric glue or hot glue (for felt pieces)
- Stitch marker
Size & Measurements
The finished Hello Kitty measures approximately 12–14 inches tall, depending on materials and personal tension.
Gauge & Stitch Details
Gauge is not essential for this project; however, 4 rounds of single crochet in the round should measure about 1.5–2 inches in diameter for recommended yarn and hook.
Crochet Abbreviations
- SC – Single Crochet
- INC – Increase (2 SC in the same stitch)
- DEC – Decrease (Single crochet 2 together)
- MR – Magic Ring
- CH – Chain
- FO – Fasten Off
- ST – Stitch
Special Stitch Guide
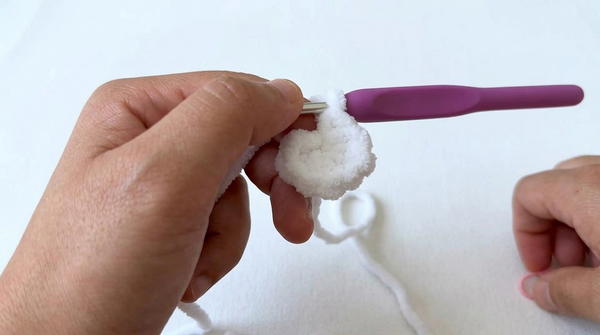
- Magic Ring (MR): Create a loop, hold in place, insert hook, yarn over, pull through, and then crochet your first stitches into the ring. Tighten by pulling the tail.
Complete Crochet Pattern
Head Creation
- Round 1: Make a MR and work 8 SC into the ring.
- Round 2: INC in each ST (8 INC) — (16 SC).
- Round 3: (1 SC, 1 INC) repeat 8 times — (24 SC).
- Round 4: (2 SC, 1 INC) repeat 8 times — (32 SC).
- Round 5: (3 SC, 1 INC) repeat 8 times — (40 SC).
- Round 6: (4 SC, 1 INC) repeat 8 times — (48 SC).
- Round 7: (5 SC, 1 INC) repeat 8 times — (56 SC).
- Round 8: (6 SC, 1 INC) repeat 8 times — (64 SC).
- Round 9: (7 SC, 1 INC) repeat 8 times — (72 SC).
- Rounds 10–18: 1 SC in each ST around — (72 SC for 9 rounds).
- Round 19: (7 SC, 1 DEC) repeat 8 times — (64 SC).
- Round 20: (6 SC, 1 DEC) repeat 8 times — (56 SC).
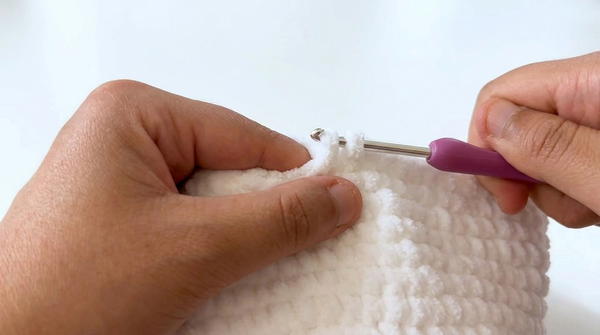
- Round 21: (5 SC, 1 DEC) repeat 8 times — (48 SC).
- Round 22: (4 SC, 1 DEC) repeat 8 times — (40 SC).
- Round 23: (3 SC, 1 DEC) repeat 8 times — (32 SC).
- Round 24: (2 SC, 1 DEC) repeat 8 times — (24 SC).
- Round 25: (1 SC, 1 DEC) repeat 8 times — (16 SC).
- At this stage:
- Cut two black ovals from felt for eyes and one yellow oval for nose.
- Attach felt features securely using fabric glue (or sew in place).
- With black yarn, embroider whiskers (three on each side).
- Firmly stuff the head with fiberfill.
- Round 26: DEC in each ST (8 DEC) — (8 SC).
- FO and use a yarn needle to sew the hole closed.
Body and Legs
Legs (make 2):
- Round 1: Start with a MR, 6 SC into the ring.
- Round 2: INC in each ST (6 INC) — (12 SC).
- Rounds 3–4: 1 SC in each ST around — (12 SC per round).
- First leg: FO.
- Second leg: Do not FO.
Joining the Legs:
- From the second leg, CH 2.
- Join to the first leg with a SC in the first ST of the fastened-off leg.
- Next Round:
- 12 SC around first leg
- 1 SC in each of the 2 CH between legs
- 12 SC around second leg
- 1 SC in each of the 2 CH on the reverse side
- 28 SC in round
Body Rounds:
- Round 1: 1 SC in each ST around — (28 SC).
- Round 2: (3 SC, 1 INC) repeat 7 times — (35 SC).
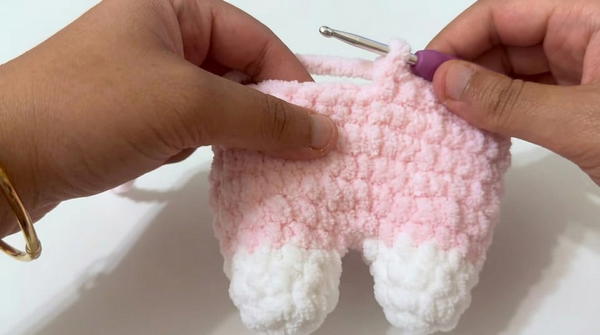
- Rounds 3–6: 1 SC in each ST around — (35 SC per round, 4 rounds total).
- Shaping rounds:
- (3 SC, 1 DEC) repeat 7 times — (28 SC).
- (2 SC, 1 DEC) repeat 7 times — (21 SC).
- (1 SC, 1 DEC) repeat 7 times — (14 SC).
- Firmly stuff the body with fiberfill.
- Final round: DEC in each ST (7 DEC) — (7 SC).
- FO and close the opening.
Bow and Assembly
Circular Center (for Bow):
- Round 1: MR, 6 SC.
- Round 2: (2 SC, 1 INC) repeat 2 times — (8 SC).
Main Bow Piece:
- CH 21, turn.
- Rows 1–4: 20 SC across, turn (repeat 4 times).
- FO leaving a long tail.
Bow Assembly:
- Fold rectangle in an accordion shape.
- With tail, tightly wrap center to form bow shape.
- Sew the circular piece onto the center for a classic bow finish.
Final Assembly:
- Make two small ears using basic triangle shapes in white (each row increased from 3 SC to 9 SC; create as needed for size and proportion).
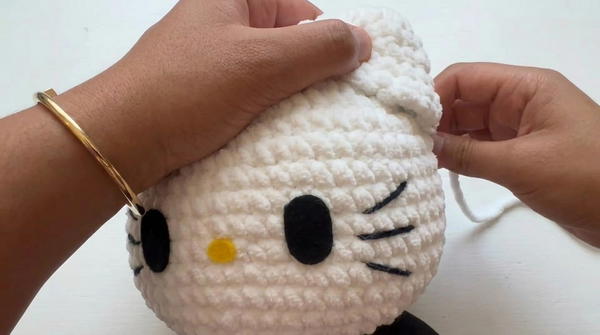
- Lightly stuff and sew ears in place atop the head.
- Attach bow next to one ear with needle and yarn.
- Attach the completed body to the head with sturdy, even stitches.
Assembly & Finished Size
Carefully join all parts for a cohesive and durable plush. Once complete and properly stuffed and joined, your Hello Kitty measures about 12–14 inches tall, with iconic features and clear character definition.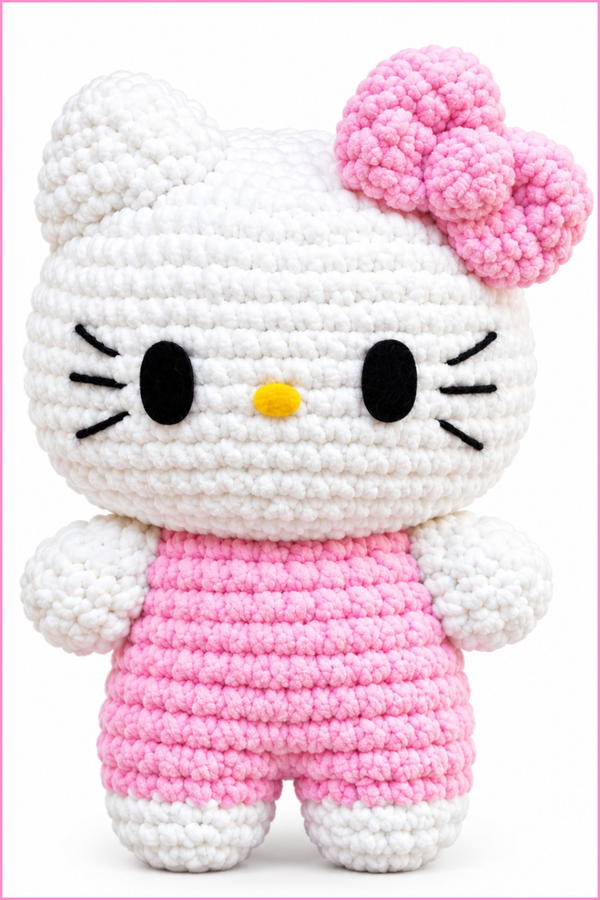
Conclusion
This beginner-friendly, large-scale Hello Kitty crochet pattern provides all the necessary detail and technique in a highly structured format. Following each step with accurate highlighting of the stitches results in a substantial plush, perfect for display or play, and a wonderful project for building amigurumi skills.