 Mint Design Blog



Master the foundation of crochet with a free chain stitches pattern that helps you create endless projects while perfecting your technique effortlessly.
Adding delicate and airy textures can instantly uplift any handmade textile, making it versatile for many projects. The Free crochet Chain Stitches Pattern, shared by TrebleCat Crochet, is a perfect example of simplicity meeting elegance. This pattern relies mainly on chains and slip stitches, creating a stunning lace-like design that is easy to follow and enjoyable to work on.
Quick and Free Crochet Chain Stitches Pattern to Learn Now
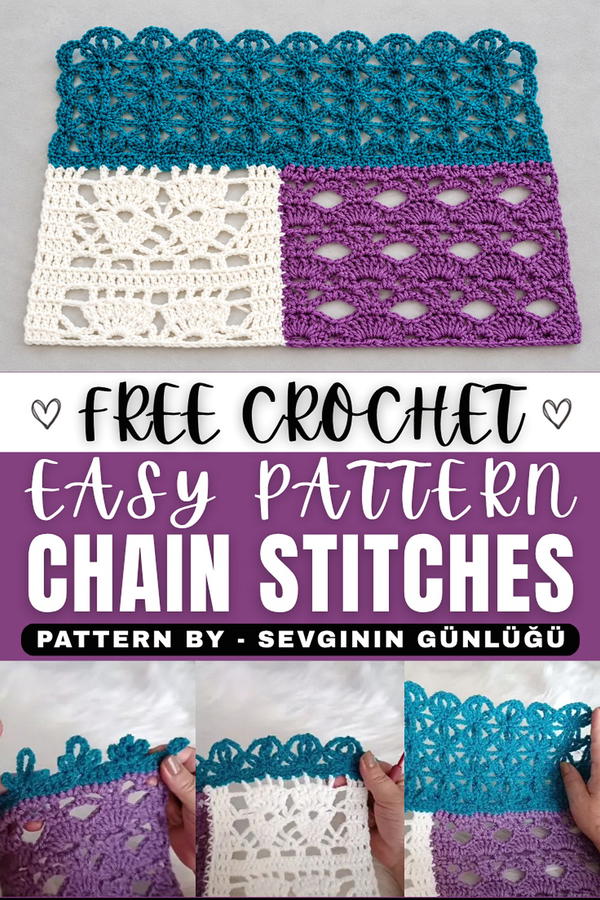
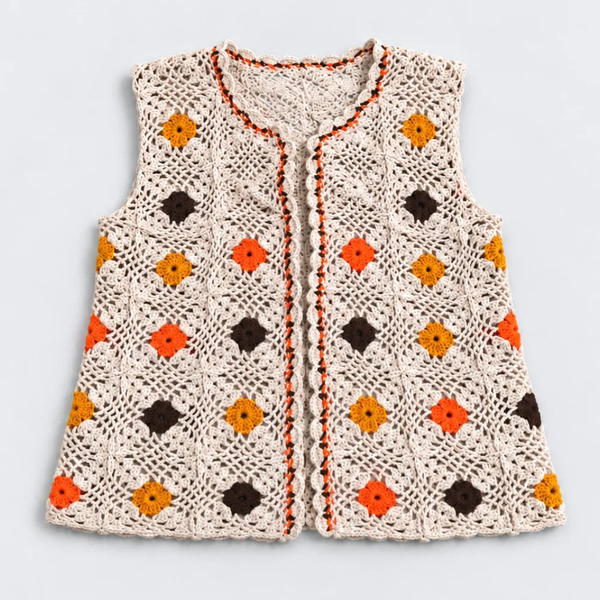
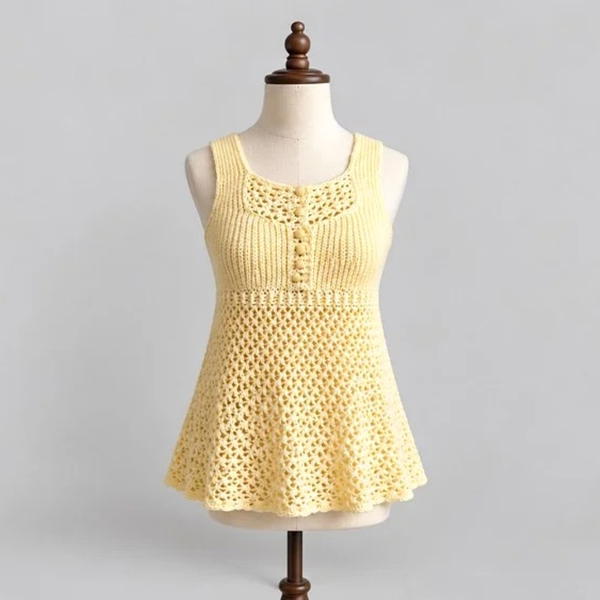
This pattern is especially suited for lightweight garments like summer vests, cardigans, or sweaters, thanks to its open, breathable texture. It features repeating motifs made by groups of chains and slip stitches, forming neat loops and slots that give the fabric a beautiful, rhythmic flow. The shape of the stitches creates a subtle, geometric arrangement, making it not only stylish but also eye-catching in any color choice.
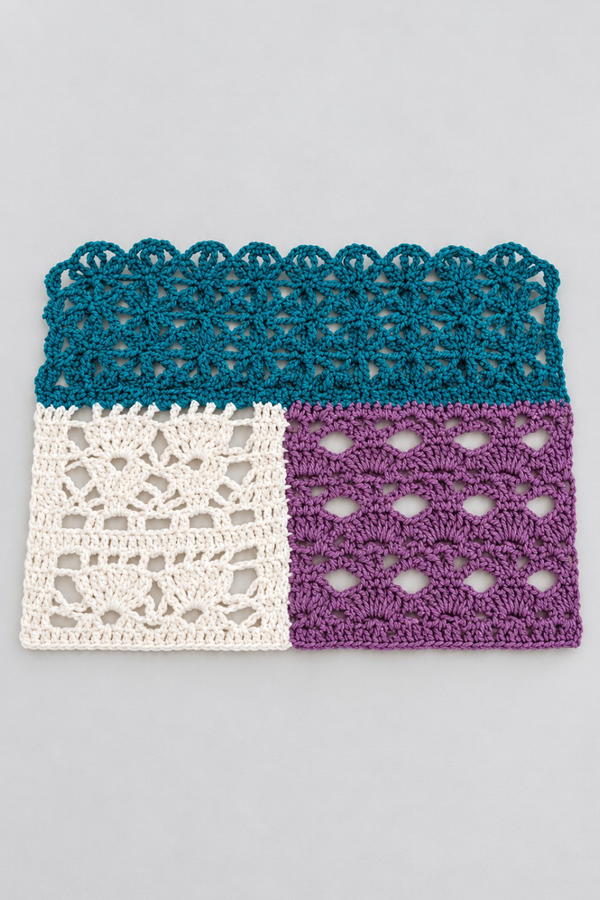
The Free crochet Chain Stitches Pattern is great for those who want a project that works up quickly without losing charm. Its light and flexible feel add comfort and elegance, perfect for gifting to loved ones who appreciate handmade clothing or accessories. Beyond clothing, this pattern can also be used for decorative pieces like scarves or wraps, adding a touch of handmade artistry to everyday life.
With detailed instructions about this pattern is straightforward enough for beginners yet appealing to experienced stitchers wanting a fresh, reliable design. The combination of ease and elegance makes this pattern a lovely way to create beautiful, wearable art that stands out in both appearance and texture.
Delicate Lacy Crochet Pattern
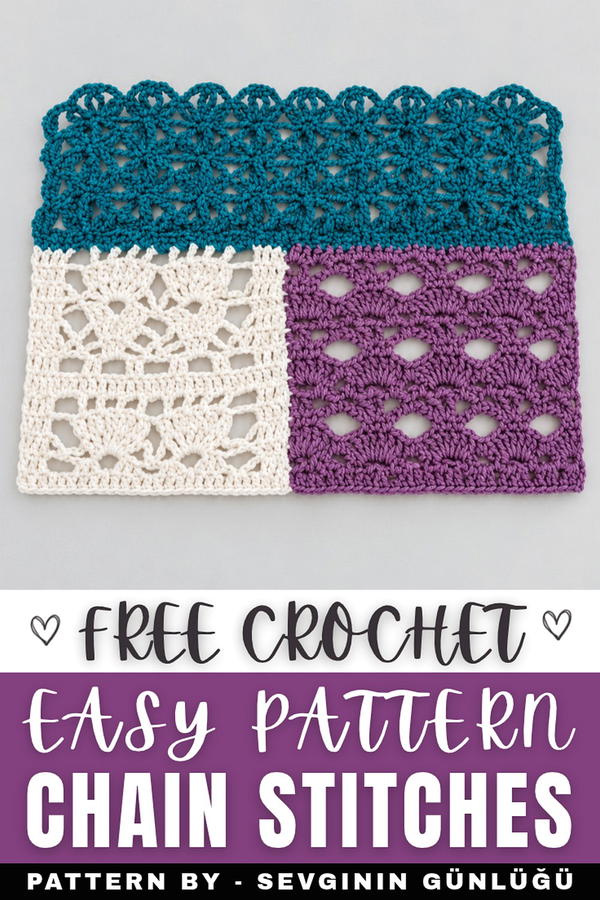
This delicate crochet pattern creates a consistent, lacy texture, perfect for summer projects such as scarves, shawls, or light tops. The design emphasizes simplicity by relying on basic stitches, making it accessible and enjoyable for crochet enthusiasts.
Skill Level
This pattern is best suited for intermediate crocheters due to its careful attention to detail in connecting lacy units and working with fine chain counts.
Materials
- Yarn: Medium-weight cotton yarn for durability and breathability, ideal for summer projects.
- Crochet Hook: 3.0 mm hook for a fine, detailed texture.
Special Stitches Used
- Slip Stitch (SL ST): Insert the hook into a stitch, yarn over, and pull through both loops on the hook.
- Single Crochet (SC): Insert the hook into the stitch, yarn over, pull through (2 loops on the hook), yarn over and pull through both loops.
- Double Treble Crochet (DTR): Yarn over 3 times, insert the hook into the stitch, yarn over and pull through a loop (5 loops on the hook). [Yarn over, pull through 2 loops] 4 times.
Stitch Abbreviations
- CH: Chain Stitch
- SC: Single Crochet
- SL ST: Slip Stitch
- DTR: Double Treble Crochet
Useful Tips
- Use a stitch marker to mark the beginning of each row to help with spacing and alignment consistency.
- Maintain even tension throughout the pattern to create a smooth lacy texture that lays flat.
- When working long chains, ensure that each chain loop is of even size to achieve a polished final look.
Pattern Instructions
Foundation
- Set up the base using one of these options:
- Create a row of single crochet (SC) stitches onto an elastic or existing foundation row.
- Alternatively, start with a foundation chain of your desired length.
Row 1: Creating the Bases
- Edge Section:
- CH 7 and make a SL ST into the base.
- Model Units:
- CH 5, skip 5 stitches of the base, and SL ST into the 6th stitch.
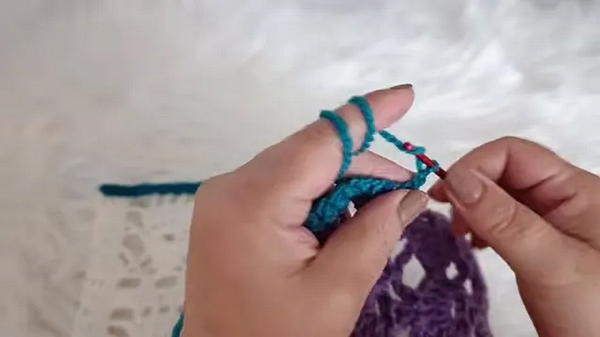
- In the same stitch, work the following sequence: CH 7, SL ST; CH 11, SL ST; CH 7, SL ST.
- CH 5, skip 5 stitches of the base, and SL ST into the 6th stitch.
- Repeat this model sequence (steps 1 and 2) across the entire row (4:14). The edge will end with CH 7 and a SL ST.
Row 2: Connecting the Units
- Begin by working CH 5 and a SL ST into the last base stitch of the previous row
- Work CH 4 and make a DTR (double treble crochet) into the same space to connect and secure the edge
- CH 1 to turn your work and start working into the loops created in the previous row.
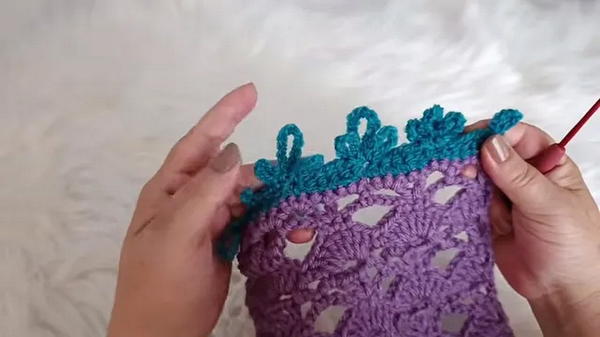
- In the first 7-CH loop, make 1 SC.
- CH 4, and make 1 SC into the middle loop (11-CH loop) of the same model unit.
- CH 4, and make 1 SC into the last 7-CH loop of the same model unit
- Without adding additional chains, move directly to the next model unit’s first loop and repeat the sequence
Row 3: Repeating the Pattern
- Foundation Start: CH 1, then CH 4 to turn
- Center Connections:
- SL ST into the center SC of the previous row
- In the same spot, repeat the base pattern: CH 7, SL ST; CH 11, SL ST; CH 7, SL ST
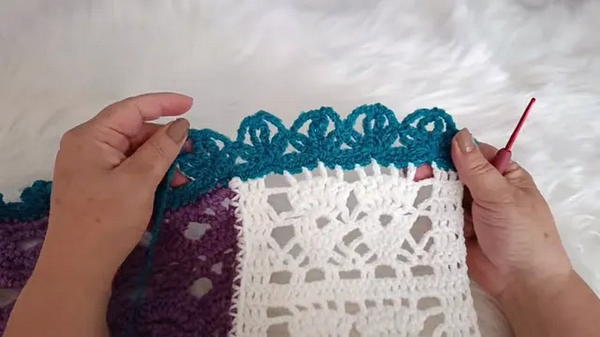
- Add CH 5 between model units, repeating this base sequence across the entire row
- Finish with a SL ST and turn your work.
Row 4: Repeating the Connecting Row
- Follow the same steps as Row 2:
- Work single crochets (SC) and connecting chains (CH 4) into the loops of the previous row.
- Continue with single crochets into each loop of a model unit, moving directly into the next group without adding extra chains (15:51–16:52).
- The pattern will begin to form its characteristic lacy, textured look after completing this row.
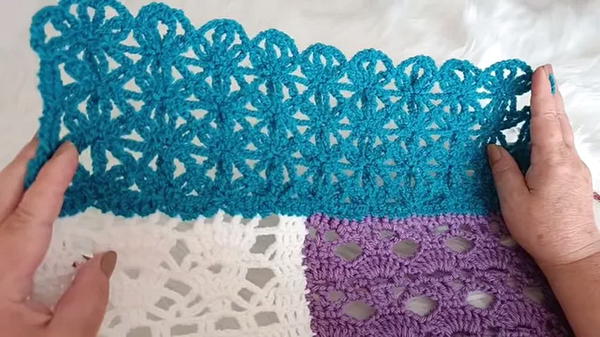
Repeating the Rows
- Alternate between the pattern rows (Row ⅓) and connection rows (Row 2/4) to repeat the design. Continue the sequence until the project has reached your desired length.
- Ensure consistency by counting stitches at the end of each row to maintain the lace's alignment.
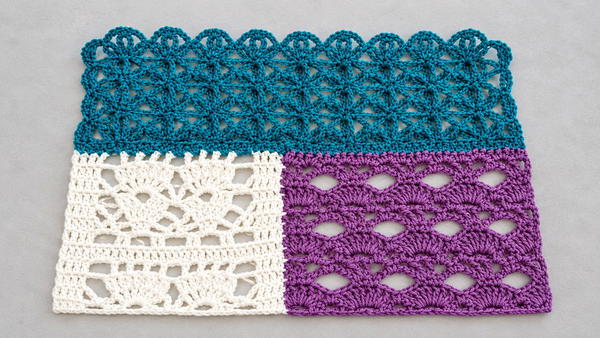
Finishing Steps
- Fasten Off: Once your desired length is achieved, cut the yarn leaving a small tail. Use the tapestry needle to weave in the ends neatly on the back side of the project.
- For a polished look, add a short row of SC stitches along the edges of the finished pattern.
- Block the completed piece if needed to help smooth its texture and enhance its drape.
Conclusion
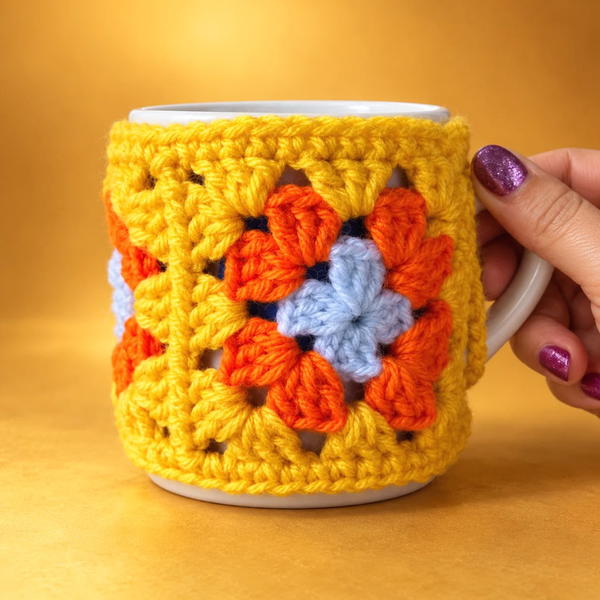
This delicate lacy pattern offers a versatile and charming design, perfect for various projects, from mug wraps to summer tops. Its simplicity combined with elegant detailing makes it an enjoyable piece to create and easy to customize for different sizes and colors.