 Mint Design Blog



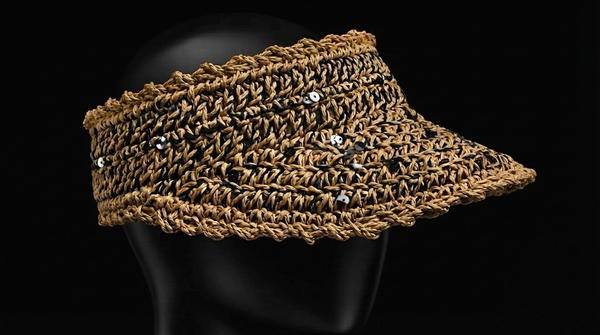
Shine bright with our free crochet visor hat with sequins pattern that’s stylish, easy to follow, and perfect for adding sparkle to your sunny days.
Accessories that blend style and function can truly elevate everyday wear, and this beautifully designed visor hat exemplifies that perfectly. Thanks to the clear and detailed guidance from Zehranın Atölyesi, creating this headpiece is an enjoyable experience suitable for everyone. The hat offers excellent protection from the sun with its structured brim, making it ideal for outdoor activities while adding a touch of sparkle through carefully attached sequins. Working with soft yarn, the project involves straightforward stitches that build a comfortable and flexible fabric, shaped precisely to fit the head.
Trendy Free Crochet Visor Hat With Sequins Pattern – Tutorial
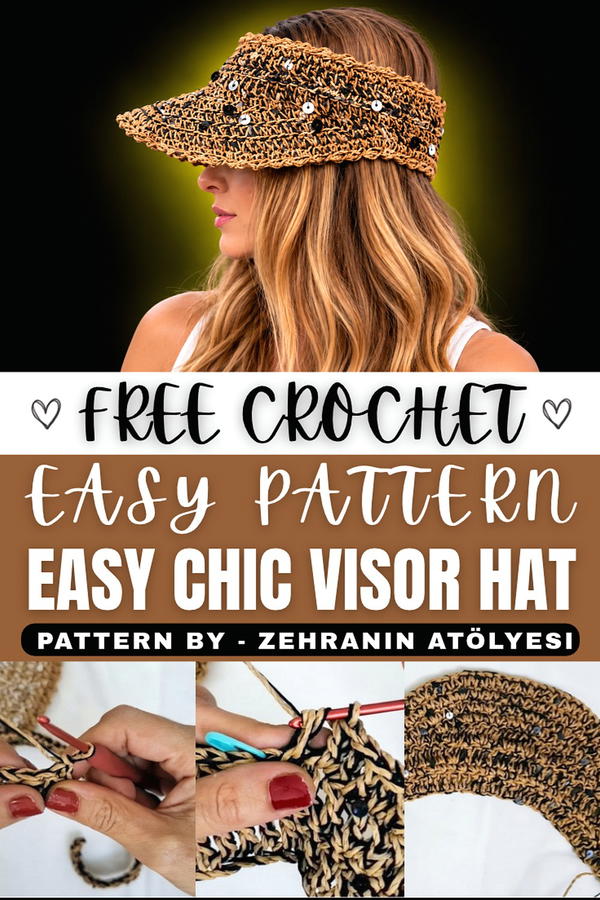
The technique uses rows of basic stitches combined with increasing and decreasing to achieve the right form around the head and the curved visor. The addition of sequins during the process brings elegant shine, catching light beautifully without overwhelming the design. This combination of practicality and flair makes the piece both functional and fashionable. The shape stands out for its balanced proportions—the visor extends enough to shield the eyes while the crown remains lightweight and breathable.
What makes this project especially appealing is how it merges simplicity with style, allowing wearers to enjoy comfort and charm together. The sequins add a subtle glamour that transforms an everyday hat into a statement accessory.
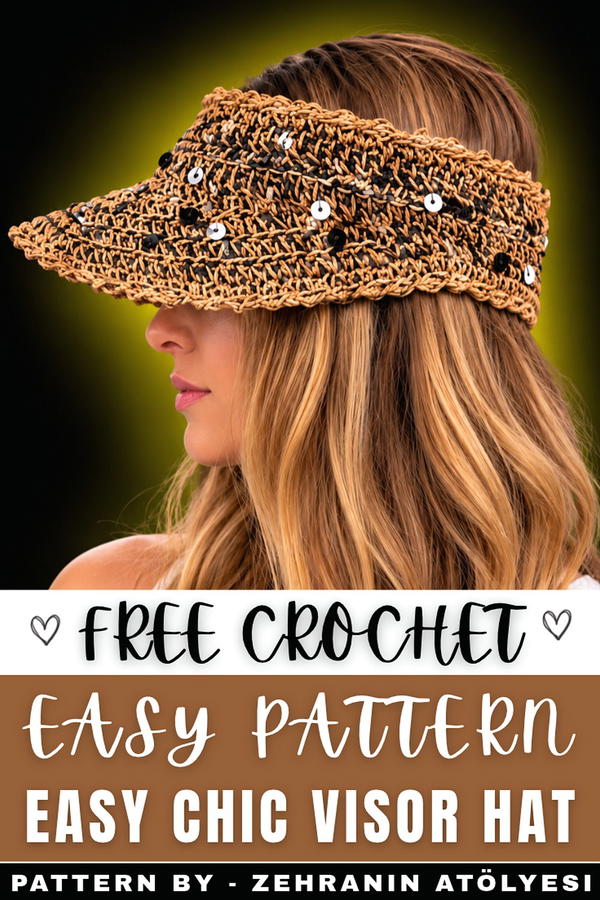
Crochet Visor Hat Pattern
This crochet visor hat combines paper yarn and sequined yarn to create a lightweight, durable, and fashionable accessory. The loose stitching and dual yarn threading contribute to the design’s airy, summer aesthetic. The pattern features a structured band and textured edging techniques, making it suitable for casual wear.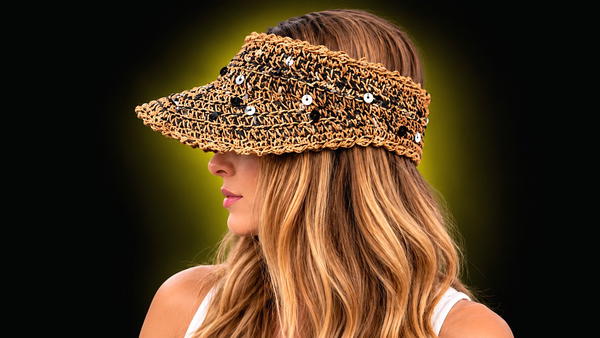
Skill Level
Intermediate
This pattern involves working with two yarns simultaneously, maintaining relaxed tension, and creating uniform stitches while shaping components. Familiarity with double crochet, single crochet, and edging techniques is recommended.
Materials
- Yarn:
- Paper Yarn (natural color): Provides structure and durability for the visor.
- Sequined Yarn (black): Adds texture and sparkle to the design.
- Crochet Hook:
- 3 mm hook (or size suitable for your chosen yarn).
- Extras:
- Yarn Needle: For weaving in ends and sewing sections.
- Scissors: For cutting yarn and trimming edges.
Special Stitches
Double Crochet (DC):
- Yarn over, insert hook into stitch, yarn over and pull up a loop (3 loops on hook).
- Yarn over, pull through first two loops.
- Yarn over again, pull through remaining two loops.
Single Crochet (SC):
- Insert hook into stitch, yarn over, and pull up a loop (2 loops on hook).
- Yarn over, pull through both loops.
Slip Stitch (Sl St):
- Insert hook into stitch, yarn over, and pull through both the stitch and loop on hook.
Stitch Abbreviations
| Abbreviation | Meaning |
|---|---|
| SC | Single Crochet |
| DC | Double Crochet |
| Sl St | Slip Stitch |
| Ch | Chain |
Useful Tips
- Loose Tension: Keep stitches relaxed to accommodate both yarns without creating stiffness or uneven fabric.
- Counting Chains: Ensure accurate chain and stitch counts for uniform shaping, especially on the visor edge.
- Alternating Stitches: Alternate rows of single and double crochet to maintain structure and variation.
- Marking Points: Use markers to identify the middle and sides of the band and visor for alignment during edging and closing.
- Measurements: Measure frequently during construction to ensure your visor matches the desired dimensions.
Pattern Instructions
Band Section
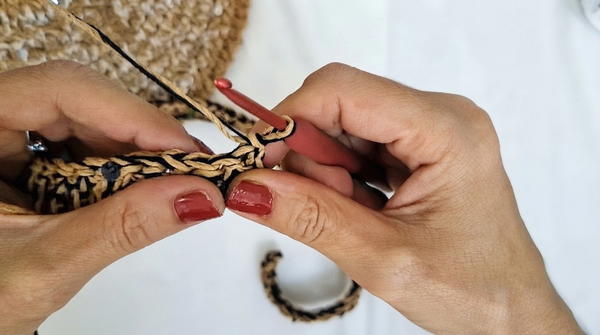
The band is worked in rows. Paper yarn and sequined yarn are held together throughout the band section.
- Step 1: Chain:
- Begin with Ch 72 stitches.
- Row 1:
- Skip the first two chains and insert hook into the third chain from the hook.
- Work DC across the row, inserting the hook into each chain.
- Pull loose tension throughout the stitches and chain 1 at the end. Turn your work.
- Row 2:
- Work SC across the row. Insert the hook into the base of each stitch. Keep yarn loose.
- At the end of the row, Ch 1 or 2 stitches and turn your work.
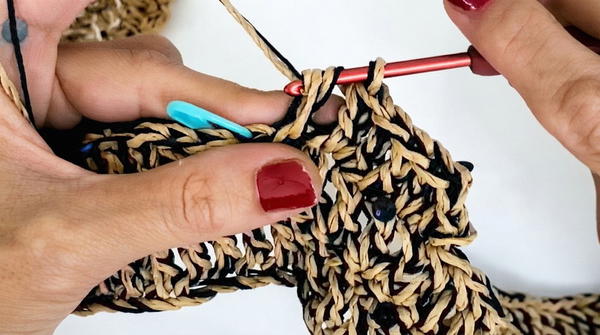
- Row 3 & 4:
- Work DC, following the same technique as Row 1. Continue to maintain relaxed tension throughout.
- At the end of Row 4, fasten off and measure the band. The band should measure 59 cm x 4.5 cm.
Visor Section
The visor is worked on one edge of the band. Fold the band in half and mark the center. Work from one marked edge toward the other edge.
Row 1:
- Start with single crochet stitches: Insert hook into the fifth stitch (starting from the marker).
- Work SC in 9 spaces evenly, then alternate with DC, working 1 or 2 stitches as needed to reach the next marker.
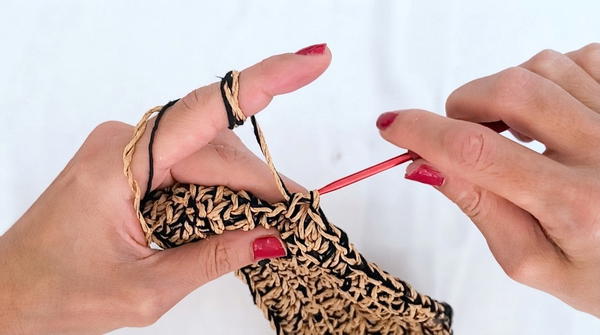
Pull yarn loosely through all spaces. Work double stitches in marked spaces, alternating evenly with single crochet stitches.
Row 2:
- Chain 3 stitches to turn. Repeat the alternation: SC in odd rows, DC in even rows. Increase stitches evenly across the empty spaces to shape the visor.
- Work rows of 22 stitches (odd/even alternation). Mark the center edges and test the symmetry of the visor.
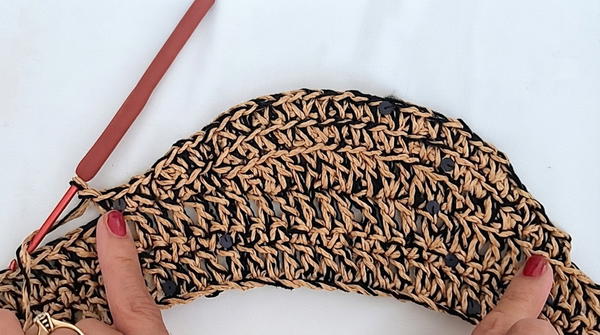
Rows 3–6:
- Continue to increase. For each row, increase by 3 stitches.
- Work evenly, alternating scrolling sequences (SC) and stitch fills (DC).
By Row 6, the visor edge should have a total of 52 stitches.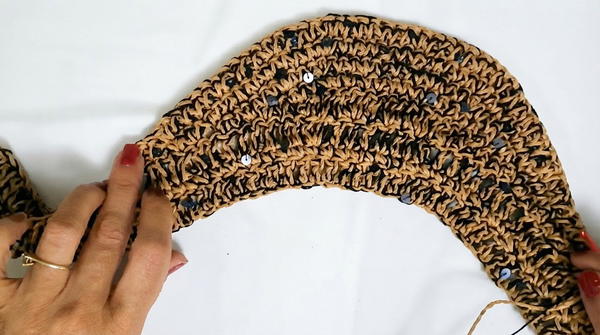
Final Row and Edging:
- After completing Row 6, fasten off paper yarn and sequined yarn. Switch to paper yarn only to create a clean edge.
- Work SC across the edges of the visor, creating firm border stitches.
Dimensions
Measure the visor hat after completing the edging:
- Band Dimensions: 61–62 cm long and 7 cm wide.
- Visor Dimensions: 14 cm height and 33 cm width.
Closing the Tape
To close the band and visor, use single crochet stitches or sewing methods to join the two edges securely (Chapter 24). Test the fit and adjust tension if needed before final stitching.
Final Notes
This visor hat offers a stylish combination of functional design and creative texture. Maintain loose tension throughout to balance the structural durability of paper yarn with the decorative sparkle of sequined yarn. This pattern provides a versatile canvas for adding personal flair, such as embellishments or color variations. Proper measurements and attention to edge closures ensure a polished final piece.