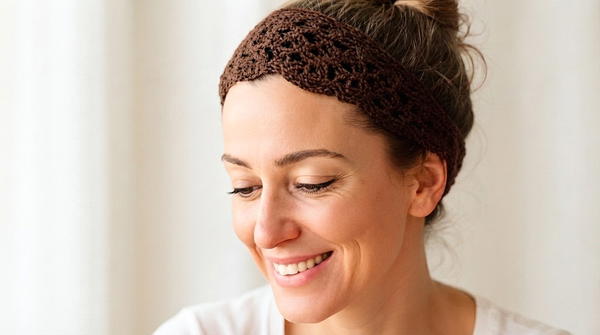
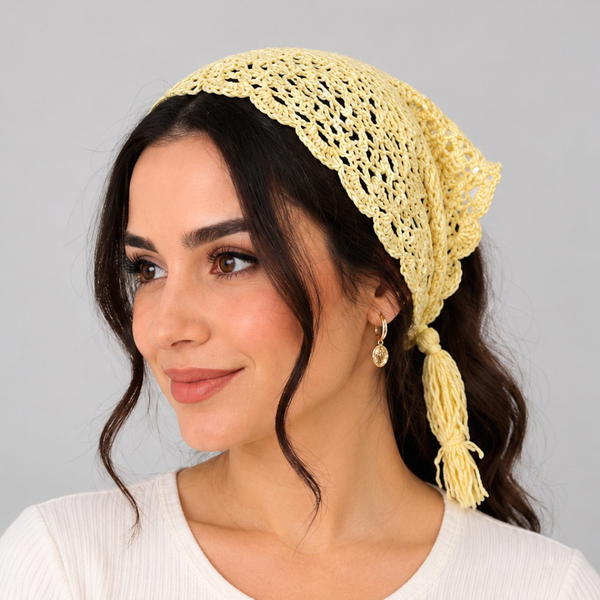
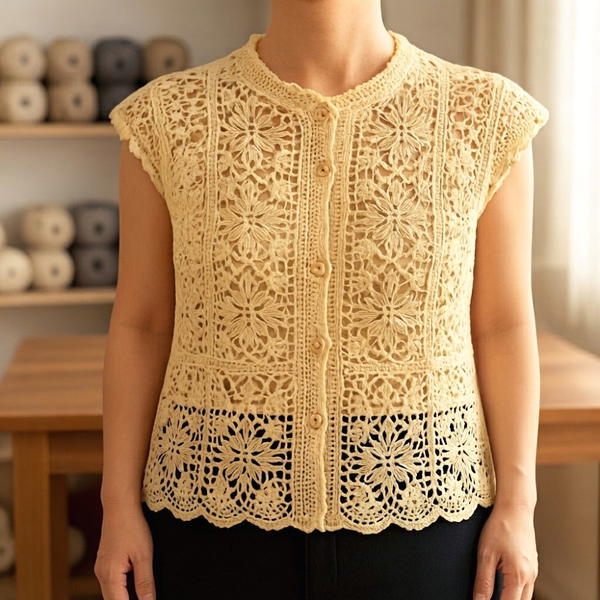
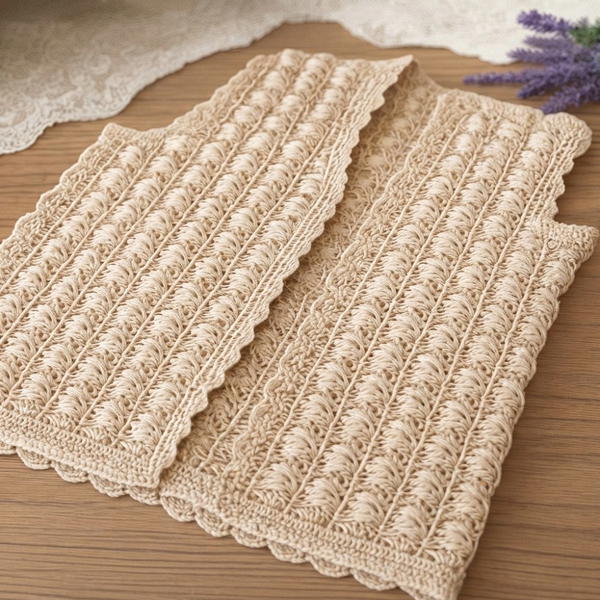
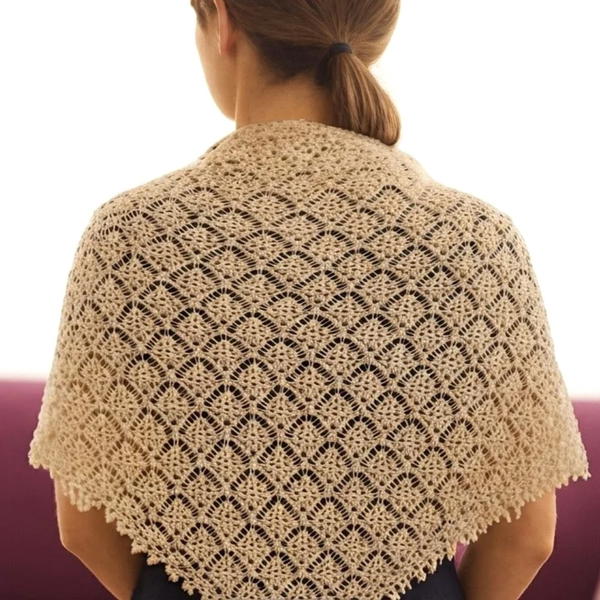
Add elegance and comfort to your style by making a handmade crochet braided headband with this free pattern that’s perfect for year-round wear.
A braided headband is a versatile and attractive accessory that can add style and function to any outfit. It is designed to fit comfortably around the head, holding hair back while offering a charming decoration. The pattern creates a series of small open spaces, called slots, which combine with carefully placed stitches to give the headband its unique braided appearance. This technique adds stretch and flexibility, allowing the headband to fit snugly yet comfortably. Thanks to Sevginin Günlüğü for providing a clear and easy tutorial that makes creating this fashionable piece possible for everyone.
Quick & Easy Free Crochet Braided Headband Pattern for Beginners
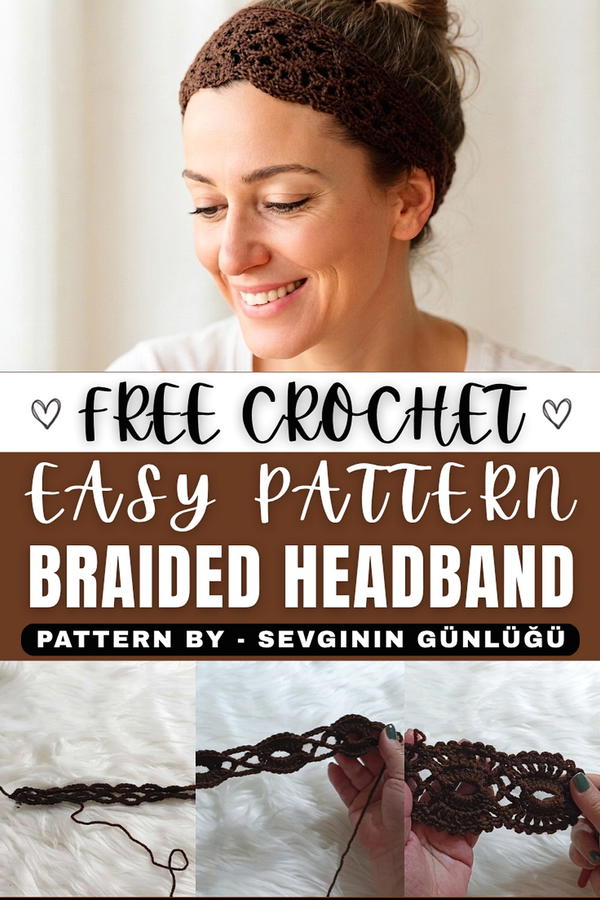
The making process is straightforward, using a combination of double and single stitches worked in an alternating sequence. These stitches form neat rows that build up the body of the headband quickly. The design includes ties at the ends, which are helpful for adjusting the size to suit different head shapes and preferences. This practical feature means it can be worn all day without discomfort. Additionally, the headband’s shape gathers slightly as it wraps, creating a soft, elegant curve that frames the face nicely.
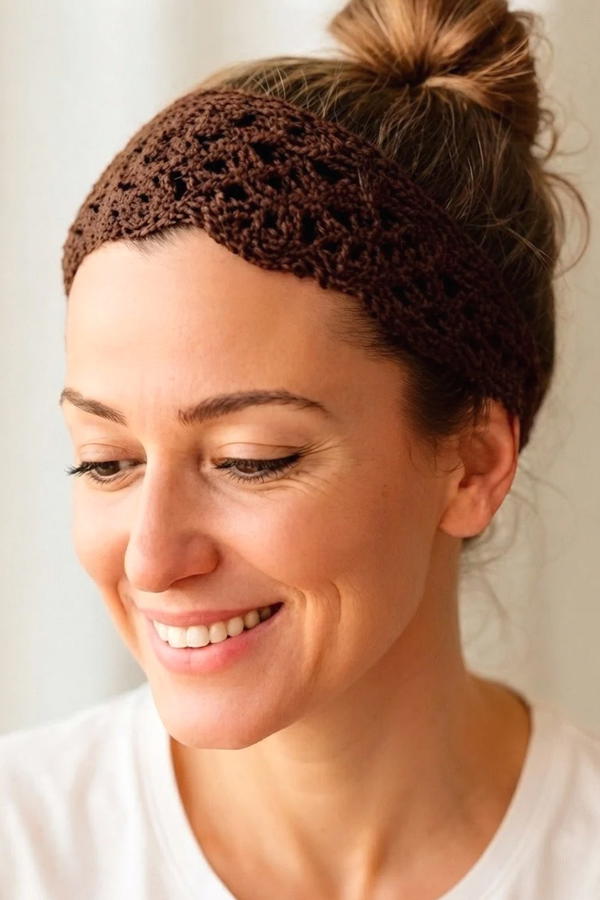
What makes this braided headband pattern stand out is its balance between simplicity and style. It can be made using any type of yarn or hook size, which offers flexibility for personal touch. Its open, airy spaces give it a modern feel while keeping it light and breathable. This thoughtful combination of beauty, comfort, and ease of creation makes it an excellent choice for anyone looking to add a handmade accessory to their wardrobe.
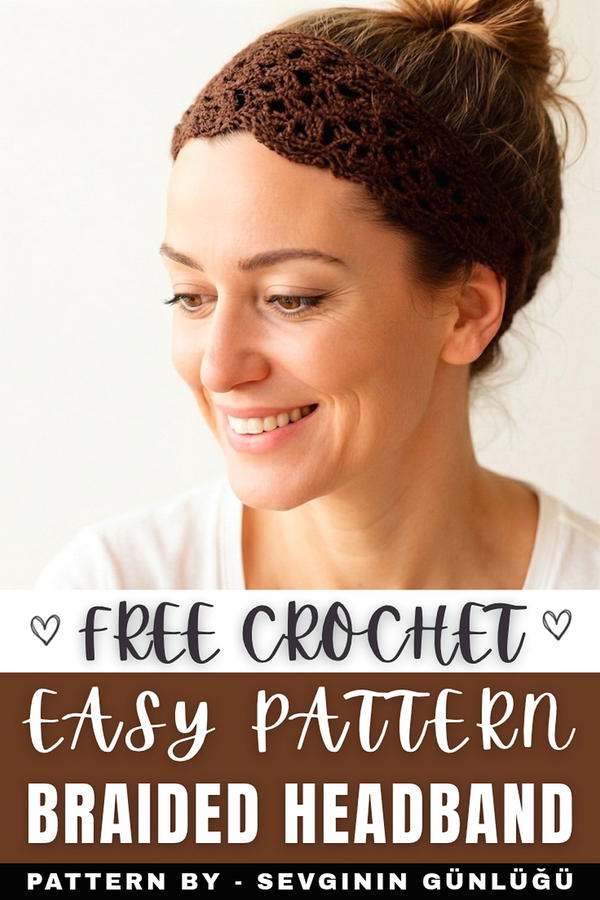
Crochet Headband Pattern
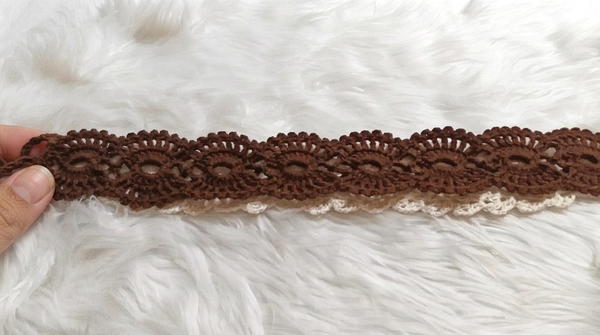
This crochet headband pattern is versatile and straightforward, making it perfect for beginners. Whether you're creating a stylish hair accessory or a unique belt, the design allows for flexibility in size and purpose. The pattern includes a beautiful combination of loops, double crochet stitches, and decorative edges, resulting in an elegant final product. You can customize the length and color palette according to your preferences, making it a highly adaptable project.
Skill Level
Beginner
This pattern uses basic crochet techniques, including chain stitches, double crochets, and single crochet stitches. The repeat structure is simple, enabling even beginners to follow along effortlessly.
Materials
- Yarn: Any yarn of your preference. Lighter weight yarns are recommended for a delicate finish, but thicker yarns can create a bolder look.
- Crochet Hook: A 3 mm crochet hook or as suitable for your selected yarn.
- Additional Tools:
- Scissors for cutting yarn.
- Measuring tape for determining your desired length.
Special Stitches Used
- Double Crochet (dc): Yarn over, insert the hook into the stitch, yarn over again, pull up a loop, yarn over, pull through two loops, yarn over again, and pull through the remaining two loops.
- Single Crochet (sc): Insert the hook into the stitch, yarn over, pull up a loop, yarn over again, and pull through both loops on the hook.
- Picot: Chain 3, then slip stitch into the first chain to create a decorative point.
- Extended Double Crochet (Optional): Yarn over, insert the hook into the stitch, yarn over and pull up a loop. Yarn over and pull through two loops, yarn over again and pull through the remaining loops to create an elongated double crochet.
Stitch Abbreviations
| Abbreviation | Description |
|---|---|
| ch | Chain |
| sc | Single Crochet |
| sl st | Slip Stitch |
| dc | Double Crochet |
| picot | Picot Stitch |
Useful Tips
- Adjusting Size: The pattern can be made larger or smaller by adjusting the number of loops. Begin with a multiple of three chains for a balanced structure.
- Versatility: This design can also double as a belt, headband, or decorative neckwear.
- Blocking: Lightly block the finished product to refine its shape and smooth out any inconsistencies.
- Tension: Maintain consistent tension to ensure the loops and stitches look even throughout.
Pattern Instructions
1. Foundation Row
The base of the pattern is created using chain loops of uniform size.
- Round 1:
- Start with a slip knot on the hook.
- Chain 6 stitches (ch 6) and wrap the yarn around the hook 3 times (this creates the elongated loop).
- Insert the hook into the first chain and work the following sequence:
- Yarn over and pull up a loop.
- Yarn over, pull through 2 stitches.
- Yarn over again and pull through 2 stitches.
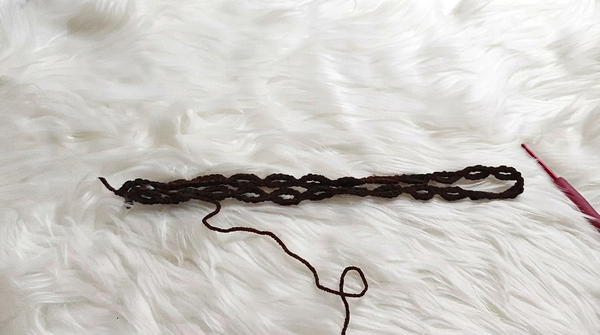
- Repeat this process until only one loop remains. This will create a "nest" or closed loop.
- Repeat: Chain 6 stitches (ch 6) and repeat the elongated loop process. Continue creating looped "nests" until the desired length is reached.
- Tip: Measure the length to ensure it matches your preferred size (e.g., headbands are typically 50–60 cm before fastening).
2. First Row of Design
Work double crochet stitches into the loops formed in the foundation row to begin forming the body of the piece.
- Round 2:
- Turn your work and chain 3 stitches (ch 3) to act as the first dc.
- Into the first loop, work 8 double crochet stitches (dc).
- Work 1 single crochet stitch (sc) into the center of the next loop.
- Chain 6 stitches (ch 6) to bridge to the next loop.
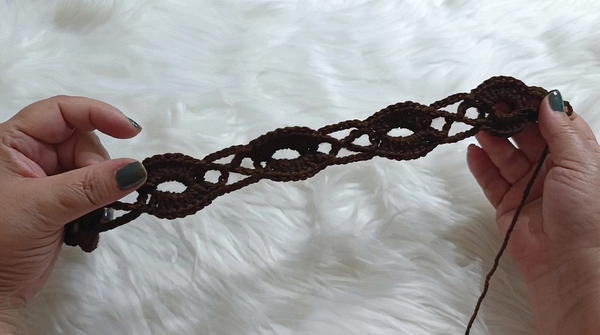
- Repeat: Work 8 double crochet stitches (dc) into every alternate loop, separated by 1 sc and ch 6 stitches (ch 6) for the chain bridges.
- Tip: This sequence creates a textured variation of filled loops and open spaces.
3. Second Row of Design
On this row, align the designs from the previous row and add decorative sequential steps.
- Round 3:
- Turn your work and chain 3 stitches (ch 3) to begin.
- Into the first loop of double crochet from the previous row, work alternating sequences of:
- 1 double crochet (dc)
- 1 chain (ch 1). Repeat this for all 8 double crochets from the previous row.
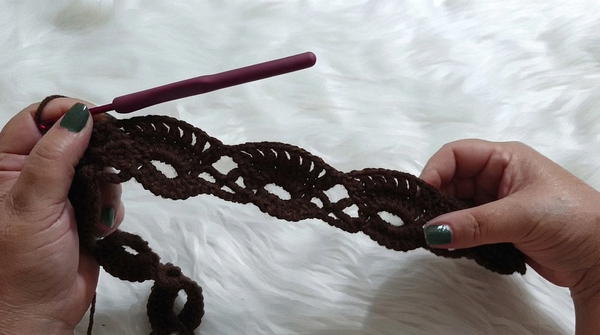
- Secure the structure by working 1 single crochet (sc) into the open chain spaces.
- Repeat this sequence for every group of 8 dc from the previous row.
4. Decorative Edging
The final row adds a polished look to the band by incorporating decorative picot stitches.
- Final Round (Picot Edging):
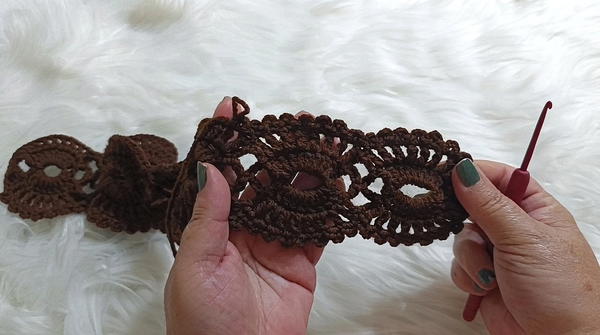
- Into the first loop, work 1 single crochet (sc).
- Chain 3 stitches (ch 3), then slip stitch (sl st) into the first chain to create a picot.
- Work 1 single crochet (sc) into the same loop.
- Repeat this sequence for all loops along the row: Single crochet, picot, single crochet.
5. Finishing
Once the crocheting is complete, finish off the design:
- Secure the end of the yarn by weaving in loose ends using a hook or yarn needle.
- Tie a gentle knot, then trim any excess yarn.
- Lightly block the headband to straighten and smooth out the shape.
Conclusion
This simple yet elegant crochet headband pattern is a fantastic project for beginners seeking to create something practical and beautiful. Quick to make and effortlessly stylish, this design can be adapted as a headband, belt, or even trim for other clothing items. Customize the size, yarn, and colors to suit your preferences, and enjoy crafting a timeless and versatile piece.