Make playtime or dress-up extra fun with this Free Crochet Bunny Ears Headband Pattern, an easy-to-follow guide for a cute handmade accessory.
Adding a touch of cuteness to your wardrobe can be so much fun, especially with creative handmade accessories. One delightful project that captures this playful spirit is a free crochet bunny ears headband pattern. This charming accessory brings a whimsical vibe to your style, perfect for both kids and adults who love a bit of fun.
Simple Crochet Bunny Ears Headband – Free Pattern to Try
The project type here is accessory crocheting, focusing on a cozy, wearable headband adorned with soft, floppy bunny ears. Its style is both adorable and approachable, blending a classic crochet texture with a lively shape that makes the ears stand out. The texture feels plush yet lightweight, thanks to carefully chosen stitches that give the ears gentle firmness without sacrificing comfort. Shaped to curve naturally, the ears pop up neatly from the band for an eye-catching effect.
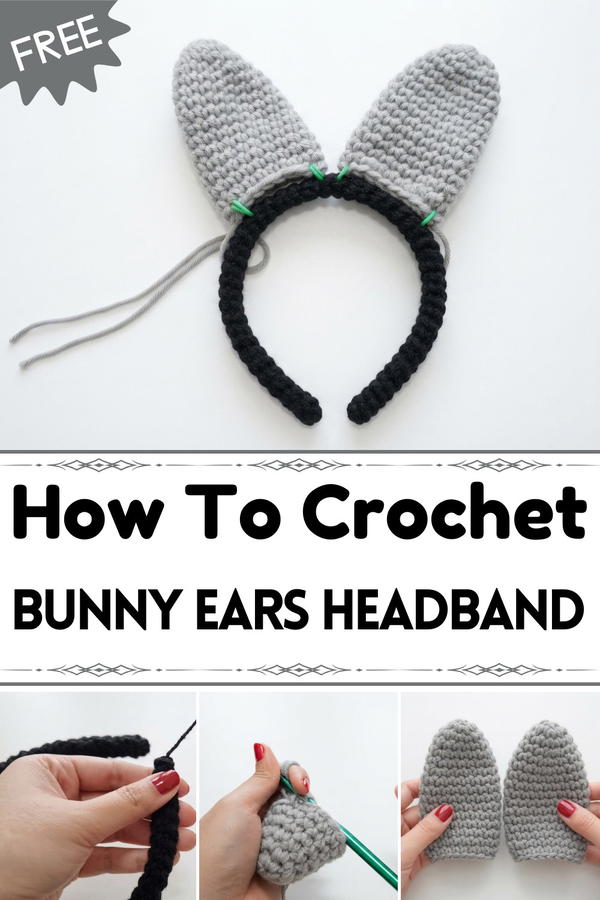
One of the best things about the free crochet bunny ears headband pattern is its customizable sizing. Whether you’re making it for a toddler, a teenager, or yourself, you can easily adjust the band length and ear size, personalizing it for the perfect fit and look. This project works wonderfully with soft acrylic or cotton yarns, as these fibers hold the stitch texture well while remaining comfortable against the skin.
Constructing the headband typically involves simple rows with increases to shape the ears, joined seamlessly to a stretchy band base. A handy tip is to keep your tension consistent to maintain the ears’ shape and ensure a snug fit around the head. The design draws inspiration from playful springtime themes and the joy of handmade gifts that bring smiles.
This free crochet bunny ears headband pattern makes a fantastic gift idea for Easter, birthdays, or costume parties, encouraging you to experiment with colors and yarn types to crochet a truly unique and delightful accessory.
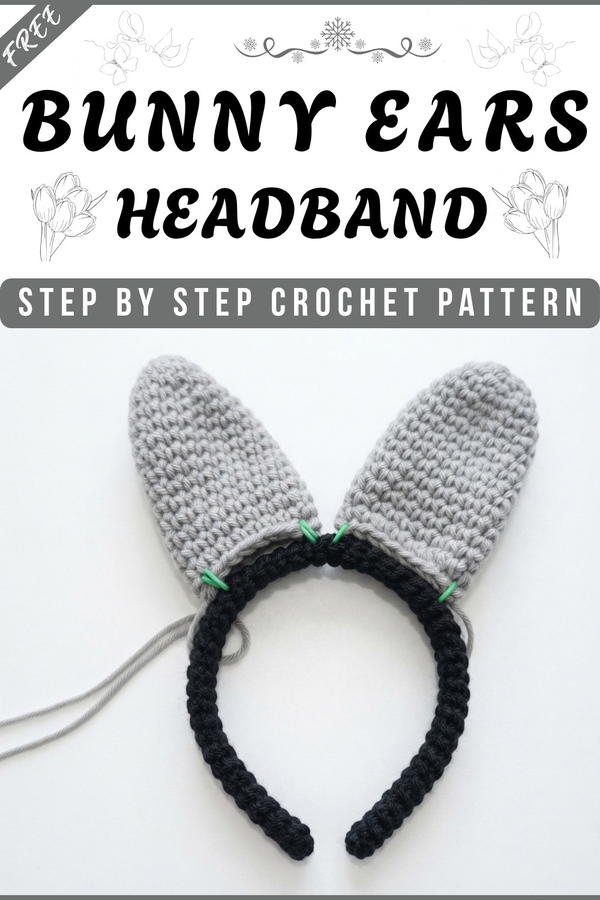
Crochet Bunny Ears Headband Pattern
A handmade crochet bunny ears headband is a delightful project, blending playful design with a practical accessory. This easy pattern transforms basic materials into a cheerful statement piece, suitable for costume events, playtime, or simply adding a whimsical touch to any outfit. The construction process covers the headband base in soft crochet, then adds sturdy bunny ears formed using doubled yarn for extra structure. No advanced techniques are required, making this a suitable and enjoyable choice for crocheters with introductory experience in crochet.
Pattern Basic Points
Essential Features:
- Headband is neatly covered in crochet for comfort and aesthetics.
- Bunny ears created with doubled yarn for stability and visual appeal.
- All parts worked in the round; seamless finish for both cover and ears.
- Simple, easily adjustable sizing to fit standard or custom headbands.
- Few materials required; quick to complete using basic stitches.
- Ears are securely sewn on, ensuring durability even with frequent wear.
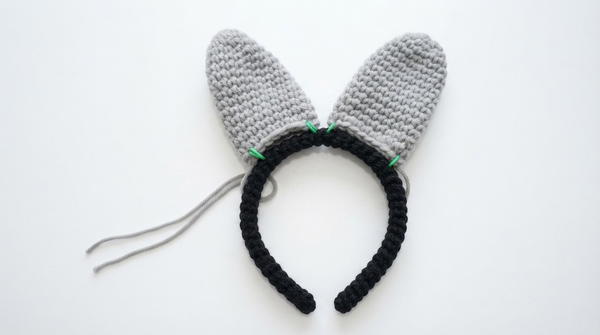
Special Notes
- Double yarn for ears: Use two strands of your chosen yarn for the bunny ears to make them thick and help them stand upright.
- Standard plastic or metal headbands work: Choose any store-bought headband as your base; width of 1–2 cm fits best.
- Magic ring start recommended: This yields neater, firmer rounds for both headband cover and ears, but chaining and joining to form a round ring is an alternative for beginners.
- Secure sewing is key: For the longevity of the accessory, fasten and weave ends securely, especially where ears join the headband.
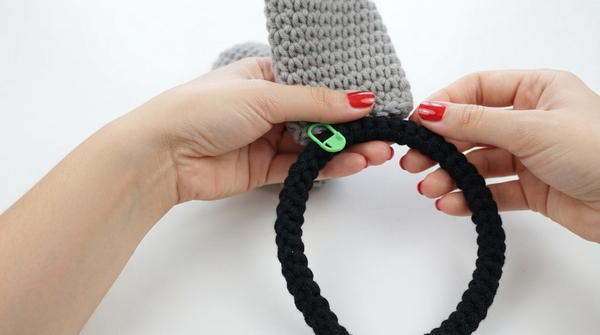
- Stitch marker/adaptable sizing: Placing ears evenly is important—use a stitch marker or safety pin for symmetry in positioning.
Skill Level
Beginner
This pattern is specifically designed for those new to crochet. It features only the single crochet (SC) stitch, with all shaping and increases fully explained. No prior experience in shaping or complex construction is required.
Materials
- Black acrylic yarn: For the headband cover (DK, worsted, or aran weight recommended)
- Gray acrylic yarn: For the bunny ears (or another color of choice)
- 7 mm crochet hook: Used for the bunny ears (to work doubled yarn for thickness)
- 5 mm crochet hook: Used for the headband cover
- Tapestry needle: For weaving ends and attaching parts
- Stitch marker or safety pin: For marking ear positions on the headband
- Headband base: Any plain plastic or metal headband, 1–2 cm wide
Measurements / Sizing
- Finished headband cover: Will be sized to precisely enclose your selected headband base.
- Bunny ears: Each ear measures approximately 3.5–4 inches (9–10 cm) tall and 1.5 inches (4 cm) wide. To adjust height, simply add or subtract rounds in the ear body.
Gauge and Stitch Pattern
- Gauge is not crucial for this project. For reference, 6 single crochets in a round yields a dense, flexible tube perfect for slide-on covers and upright ears.
- Stitch: Single crochet (US) exclusively is used for both forms.
Stitch Abbreviations (US Terms)
- ch: chain
- sc: single crochet
- st(s): stitch(es)
- sl st: slip stitch
- MR: magic ring
Special Stitches
- Magic Ring (MR): Form a loop; work stitches into the loop before pulling tight to close.
- Increase (inc): Work 2 sc stitches into the same stitch.
Detailed Pattern Instructions
Phase 1: Headband Cover
- Magic Ring:
- Using the 5 mm crochet hook and black yarn, make a magic ring (MR).
- Ch 1 to secure.
- Work 6 sc into the MR.
- Pull tail to tighten; join with sl st (optional for starting the tube).
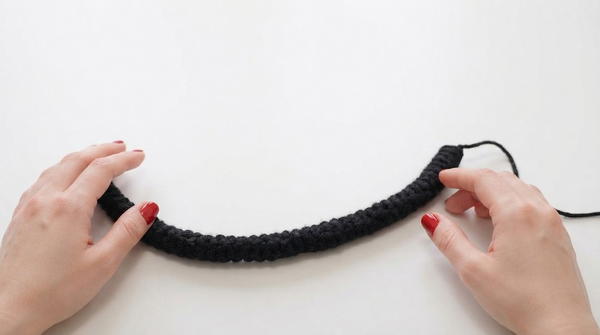
- Body of Cover:
- Continue working 1 sc in each stitch around, forming a tight spiral (do not join each round).
- Work in continuous rounds, placing a stitch marker in the first stitch if needed to keep track.
- Continue until the tube is as long as your headband base.
- To check length, slide the tube onto the headband as you work – it should fit snugly with no gaps.
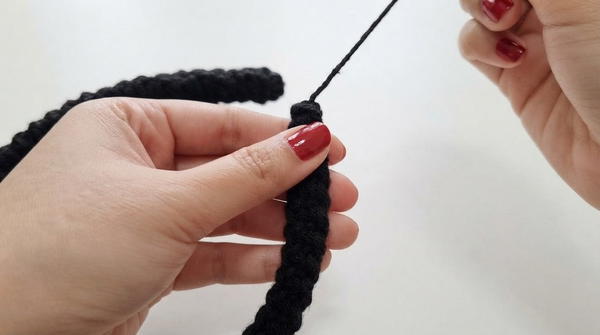
- To check length, slide the tube onto the headband as you work – it should fit snugly with no gaps.
- Finishing the Cover:
- When the tube fits the length of the headband, fasten off, cut the yarn, and leave a long tail for sewing.
- Slide the tube over the plastic or metal base, ensuring it’s centered and stretched evenly.
- Use a tapestry needle and the yarn tail to neatly sew both ends closed, trapping the headband inside and creating a seamless cover.
Phase 2: Bunny Ears (Make 2)
- Preparation:
- Hold two strands of pink yarn together for each ear.
- Use the 7 mm hook for a thick, sturdy fabric.
- Magic Ring Start:
- Create a MR.
- Ch 1 to secure.
- Work 6 sc into the MR.
- Pull the tail to close the ring tightly.
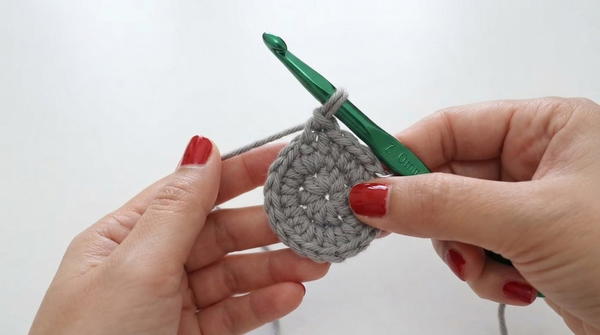
- Round 2:
- Work 2 sc in each stitch around (inc in every st)
- Total: 12 sc
- Work 2 sc in each stitch around (inc in every st)
- Round 3:
- 1 sc in each st around
- Total: 12 sc
- 1 sc in each st around
- Round 4:
- [3 sc, inc] repeat for entire round
- Sc in next 3 sts, then 2 sc in following st; repeat pattern.
- Total: 15 sc
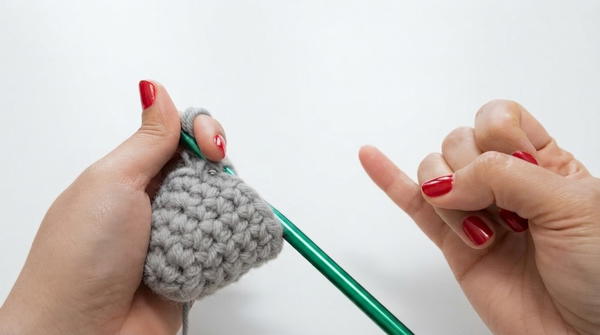
- [3 sc, inc] repeat for entire round
- Round 5:
- 1 sc in each st around
- Total: 15 sc
- 1 sc in each st around
- Round 6:
- [4 sc, inc] repeat around
- Sc in next 4 sts, then 2 sc in next st; repeat pattern.
- Total: 18 sc
- [4 sc, inc] repeat around
- Rounds 7–16:
- 1 sc in each st around.
- Work 10 rounds of plain sc to form the length of the ear.
- Total: 18 sc per round
- Adjust the length by adding or subtracting rounds as desired.
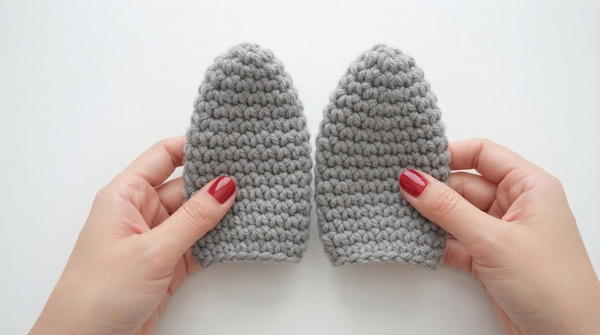
- 1 sc in each st around.
- Finishing Each Ear:
- Finish off leaving a long tail for sewing.
- Flatten the ear tube slightly.
- Weave any extra tail inside or knot securely if needed.
Assembly
- Place completed headband cover (with the headband base now encased) on a flat surface.
- Mark even ear placements using a stitch marker or safety pin, spaced symmetrically on each side of the headband's center.
- With a tapestry needle and yarn tail from each ear, securely stitch the open bottom edge of the ear onto the crochet-covered headband.
- Sew through several stitches for firmness; pass the needle under and over the headband for best hold.
- Repeat for opposite ear, ensuring both stand evenly and face forward.
- Weave in all yarn ends carefully, hiding them within the headband cover.
Conclusion
The minimalist tube construction for the cover and sturdy, upright ears highlights crochet’s versatility for accessories and costumes. Each element is easy to adapt—change colors for a new look, make ears taller or shorter, or embellish further with bows or felt. Gifting, costuming, or playtime: this pattern equips you to confidently create a fun, functional statement piece with only basic skills and supplies.