Make your own cute fall decorations using the Free Crochet Mini Pumpkin Pattern a fun and easy way to welcome cozy vibes and holiday spirit.
As the crisp air of autumn settles in, there's nothing quite like bringing the warmth and charm of the season indoors with delightful decorations that spark joy. This project captures that cozy spirit perfectly by creating a charming little piece that’s bursting with personality and fall vibes. Ideal for gifting, festive decorating, or adding to your collection of handcrafted seasonal accents, these petite creations make any space feel instantly welcoming.
Free Crochet Mini Pumpkin Pattern – Perfect for Holiday
Special thanks to Treble Cat Crochet for this delightful crochet lesson. The channel shares creative holiday decoration ideas with helpful instructions that are easy to follow and fun to try.
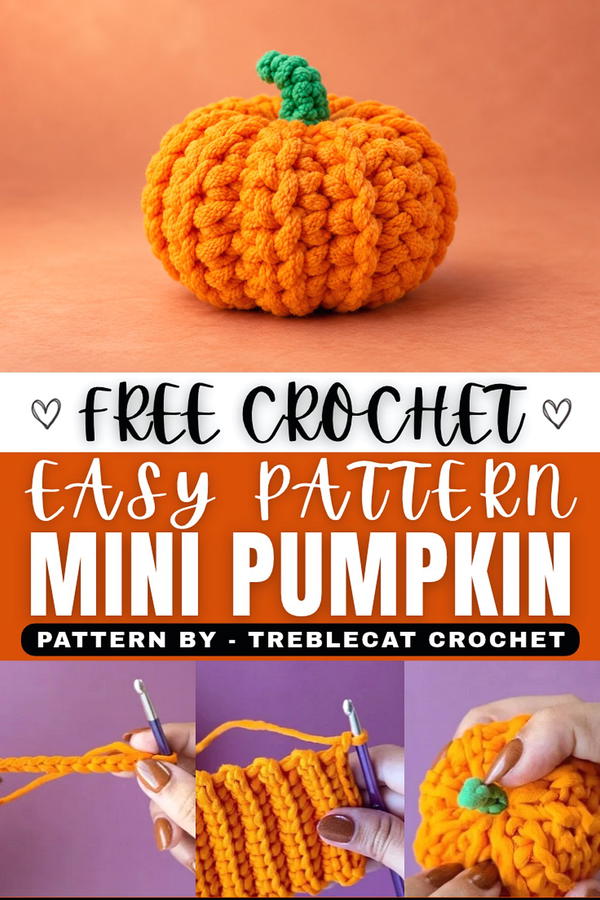
The free crochet mini pumpkin pattern available through this tutorial is designed with beginners in mind, making it accessible to those just starting their crochet journey while still engaging enough for those with a bit more experience. Working primarily with single crochet stitches and an easy foundation chain, this project teaches useful techniques like crocheting in rows and working into the back loops, offering a gentle challenge that builds confidence.
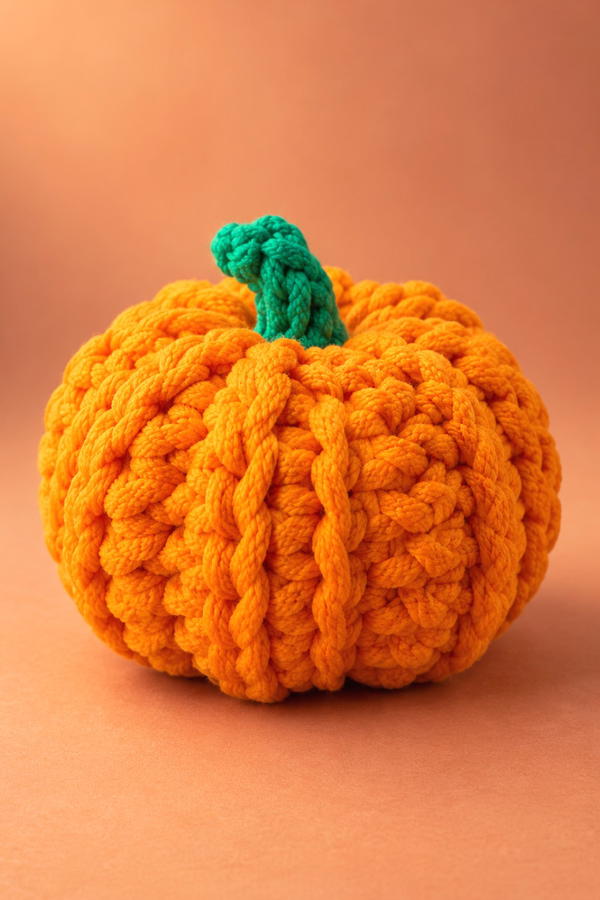
Using a 4.5 mm crochet hook paired with soft, beginner-friendly yarn in traditional pumpkin colors, the finished piece is compact yet full-bodied, capturing the classic round shape with subtle ridges that mimic the natural grooves of a real pumpkin. Stuffed with eco-friendly filling options like raw cotton or recycled yarn scraps, these mini pumpkins maintain a plump, squishy texture that feels as good as they look.
With their simple construction and inviting texture, these are perfect for creating a cozy pumpkin patch centerpiece or charming gift toppers that add a handmade touch. Dive into the full free crochet mini pumpkin pattern through the linked tutorial and watch your fall décor come alive with warmth and whimsy this season!
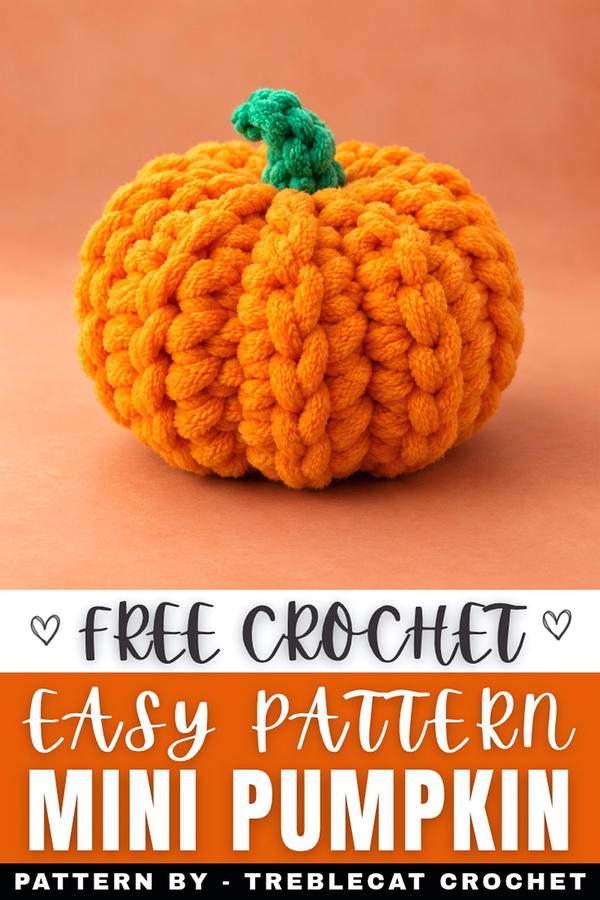
Mini Crochet Pumpkin Pattern
This mini crochet pumpkin is the perfect decorative piece for fall or Halloween. It is worked flat in rows to form the body, joined to create the pumpkin's shape, and completed with a simple stem. This pattern is quick and easy, making it beginner-friendly and a great project for learning basic crochet techniques. The pumpkin can be customized in size or color to match your seasonal decor.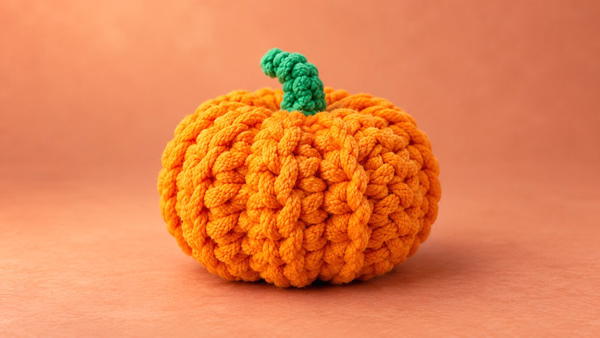
Skill Level
Beginner
This pattern is ideal for beginners who are familiar with the single crochet stitch and working in rows. Minimal shaping and simple assembly techniques make this project approachable and enjoyable for those new to crochet.
Materials
- Yarn:
- Orange: For the pumpkin body.
- Green: For the pumpkin stem.
- Hook Size: 4.5 mm crochet hook.
- Tapestry Needle: For seaming and weaving in ends.
- Scissors: For cutting yarn.
- Stuffing Material: Raw cotton, yarn scraps, beans, or soft filling of choice.
Special Stitches
- Single Crochet (sc): A basic crochet stitch that creates a dense, firm fabric.
- Back Loop Only (BLO): Crocheting into only the back loop of each stitch instead of both top loops, giving the fabric a ribbed texture.
- Foundation Cord: A simple method for creating a sturdy stem with chains and slip stitches.
Stitch Abbreviations
| Abbreviation | Meaning |
|---|---|
| ch | Chain |
| sc | Single Crochet |
| BLO | Back Loop Only |
| sl st | Slip Stitch |
Useful Tips
- Ensure your tension is consistent throughout the rows for a uniform pumpkin body.
- Stuffing material can vary depending on your preference, but ensure it fills the pumpkin evenly without overstretching the stitches.
- When closing the top and bottom of the pumpkin, pull the yarn tightly to create a rounded, compact shape.
- Customize the size of your pumpkin by increasing or decreasing the number of starting chains and rows worked.
Pattern Instructions
1. The Pumpkin Body (Worked in Flat Rows)
Starting Chain:
- Make a slip knot on your hook.
- Chain 11. Ensure the chain is not too tight to allow ease in the following rows.
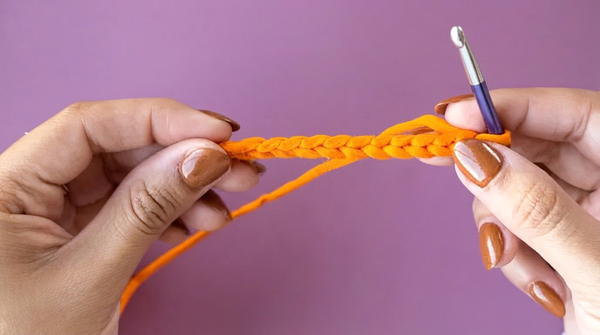
Row 1:
- Skip the last chain (this does not count as a stitch).
- Work 1 single crochet (sc) into each of the next 10 chains. You should have 10 stitches by the end of this row.
Rows 2–16:
- Chain 1, turn your work.
- Single crochet into the back loop only (BLO) of each stitch across. The ribbed texture created by the BLO will emulate the natural ridges of a pumpkin.
- Repeat this process for 16 rows in total.
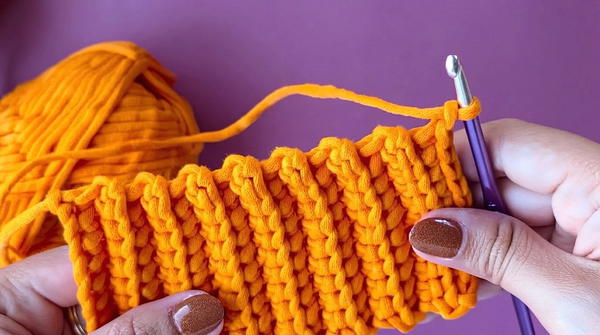
The finished rectangular piece will form the main body of the pumpkin.
2. Joining and Shaping the Pumpkin
Seaming:
- After completing Row 16, chain 1 and do not fasten off.
- Fold the rectangle so the short ends meet each other, aligning them to create a tube shape.
- Slip stitch through both layers (going through the front and back stitches) across the edges to join them together.
- Leave about a 6-inch yarn tail after joining for cinching the bottom.
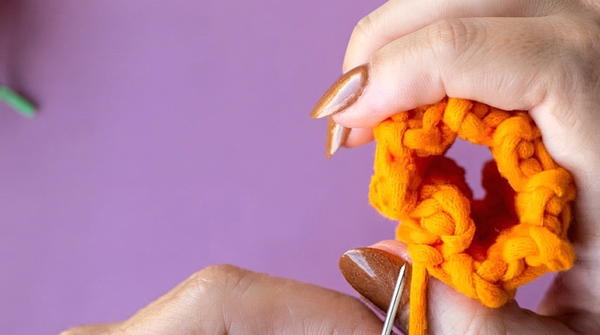
Cinching the Bottom:
- With your tapestry needle, thread the yarn tail.
- Weave the needle through the vertical edge stitches along the bottom side of the tube, going around the circle completely.
- Pull the yarn tightly to close the bottom of the tube, creating the base of the pumpkin. Secure with a knot but leave the yarn tail as you will stuff the piece before closing the top.
Stuffing:
- Turn the pumpkin right side out so the seam is on the inside.
- Fill the pumpkin with stuffing material. Add enough to give it a firm and plump shape, but avoid overfilling to prevent gaps between stitches.
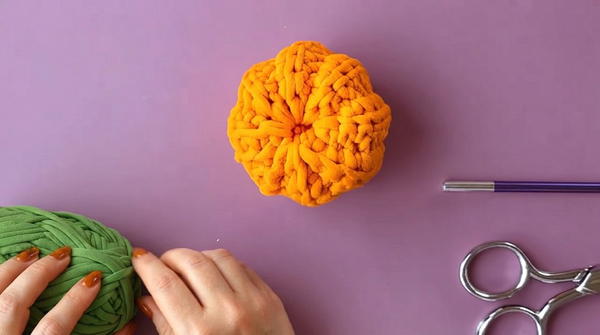
Cinching the Top:
- Thread the yarn tail from the top with the tapestry needle.
- Weave through the top vertical edge stitches, going around the circle completely.
- Pull the yarn tightly to close the top, forming the rounded pumpkin shape.
- Secure with a knot and weave in any remaining yarn tail inside the pumpkin to hide it.
3. The Pumpkin Stem
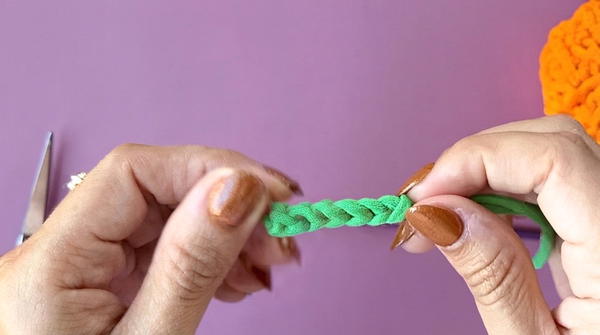
Creating the Foundation Cord:
- Using green yarn, make a slip knot on your hook. Leave a 2-3 inch tail at the start for securing the stem later.
- Chain 4 or 5 to create the desired stem height.
- Pull the yarn tail over your hook from front to back, yarn over with the working yarn, and pull through both loops. Repeat this for a slightly thicker stem.
Attaching the Stem:
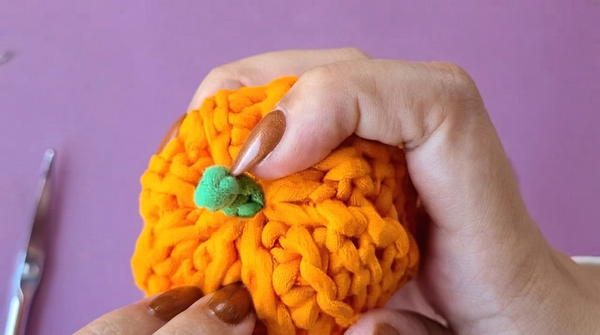
- Thread the yarn tail from the stem with your tapestry needle.
- Insert the needle through the center top of the pumpkin to attach the stem securely.
- Pull both yarn tails from the stem down through the center of the pumpkin and knot securely at the base.
- Weave in the yarn tails to hide them inside the pumpkin.
Conclusion
This mini crochet pumpkin is a versatile seasonal decoration that is easy to make and fun to customize. Working the body in flat rows creates a simple way to form the pumpkin’s structure and allows for clean ribbing details. Adding the stem and properly stuffing the pumpkin rounds off the design with a polished finish. This project is perfect for beginners looking to expand their skills while creating a charming decorative item for autumn or Halloween displays.