Create your own enchanting crochet cauldron using this free pattern and bring a whimsical vibe to your handmade decorations or party themes.
When the leaves begin to turn and a chill fills the air, there’s a special kind of excitement in welcoming autumn’s cozy charm. This delightful project perfectly captures that seasonal whimsy, inviting you to add a touch of spooky fun to your fall décor. The free crochet cauldron pattern featured in this engaging pattern offers a playful yet stylish accessory for Halloween festivities or any witchy-themed gatherings.
Free Crochet Cauldron Pattern – Fun Project for Witch Fans
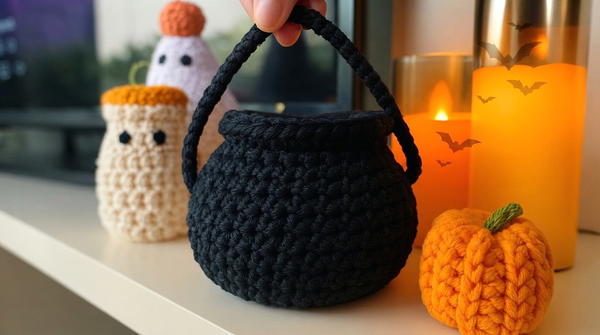
This enchanting piece radiates character and charm, making it ideal for Halloween parties, themed gift bags, or as a quirky decorative element on your mantel or tabletop. Its compact size and captivating design blend seamlessly with seasonal accents like pumpkins, candles, and autumn leaves, enhancing the atmosphere with a cozy, mystical vibe.
All credit for this lovely tutorial goes to Treble Cat Crochet. Their videos offer beautiful seasonal ideas and useful guidance for anyone interested in decorating their home with crochet.
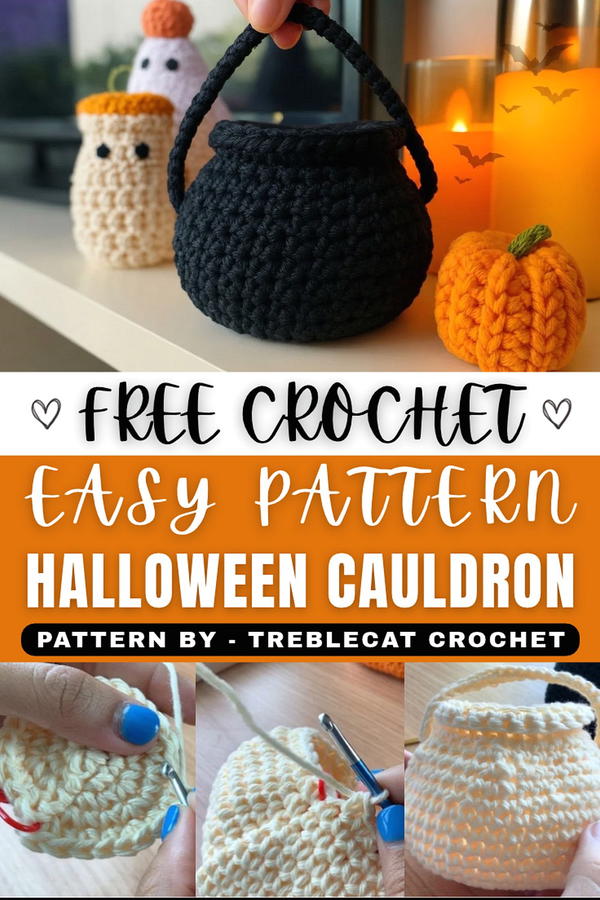
Texturally, this cauldron stands out with its sturdy yet inviting feel. The stitches create a firm structure that maintains shape while still having a softness that’s pleasing to the touch. The clever use of stitch variations adds depth and dimension, giving the cauldron a rounded, voluminous appearance reminiscent of bubbling potions.
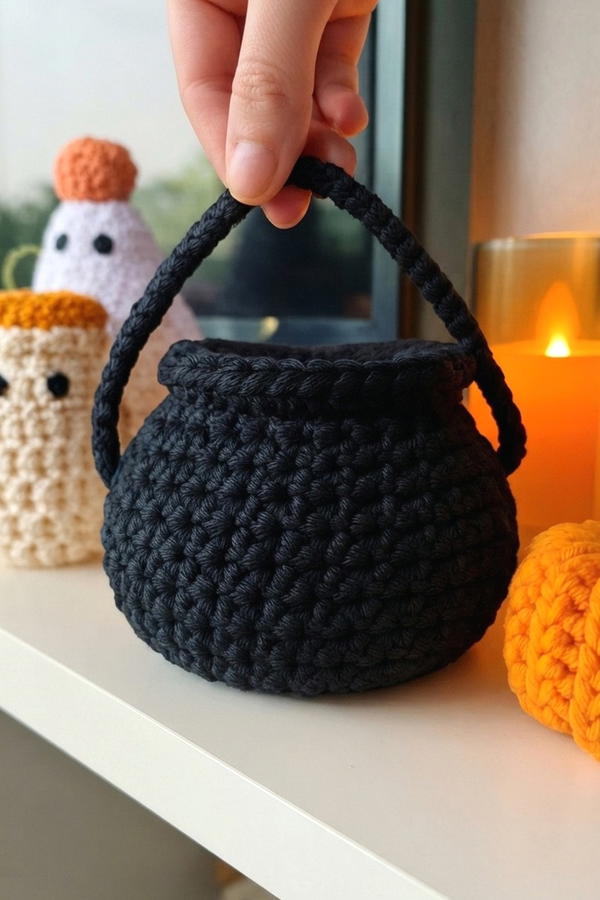
Distinctive design elements like the raised handles and the puffed base bring this little cauldron to life, making it more than just a decorative piece—it’s a whimsical statement. Perfect for anyone wanting to embrace the magic of the season, this project is an enjoyable way to celebrate and bring a bit of enchantment to your home.
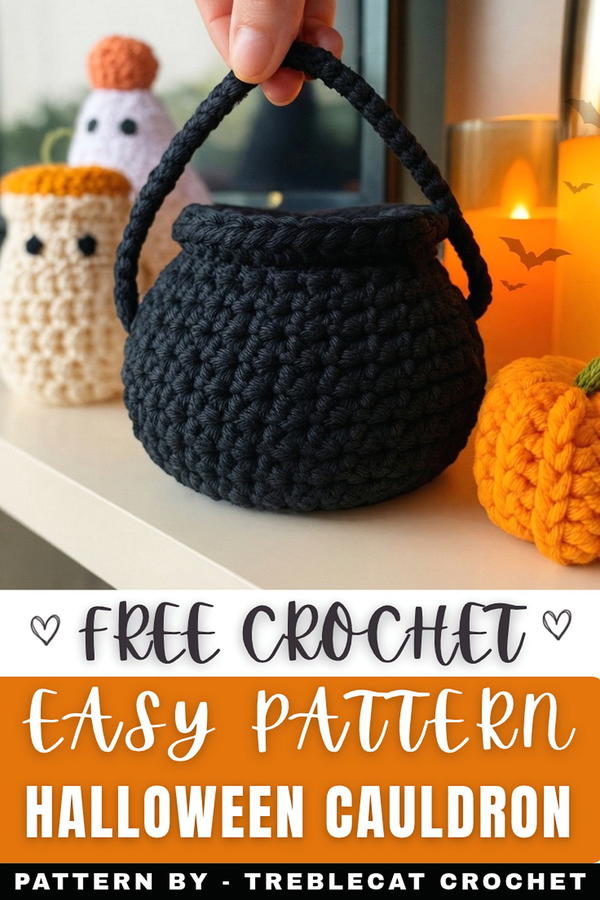
Crochet Cauldron Pattern
This crochet cauldron pattern is a creative and versatile project that serves as an ideal seasonal decor piece, trick-or-treat bucket, or small storage solution. Made with durable cotton yarn and a simple combination of stitches, this playful cauldron is quick to complete and customizable in size and color. The included handle adds functionality and an authentic touch to the design, making it both fun and practical.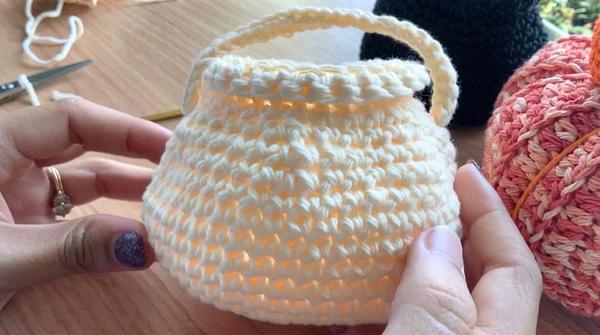
Skill Level
Beginner to Intermediate
This pattern is well-suited for beginners with basic knowledge of single crochet stitches and working in the round. Intermediate crocheters will appreciate its simplicity and the opportunity to practice increasing, decreasing, and creating functional handles.
Materials
- Yarn: Cotton yarn in any color of your choice (black or green for a classic cauldron look).
- Hook: Crochet hook compatible with your yarn weight (e.g., 4.0 mm or 5.0 mm).
- Stitch Marker: To mark the beginning of your rounds.
- Scissors: For cutting yarn when finishing sections.
- Glue (Optional): For securing the handle after attachment.
Special Stitches
- Magic Circle (MC): A technique to start crocheting in the round with a fully adjustable center.
- Increase: Working two single crochet stitches in the same stitch to expand the round.
- Decrease: Combining two stitches into one to shape the cauldron.
- Front Loop Only (FLO): Crocheting into only the front loop of the stitch to create texture or define a rim.
- Foundation Cord: An optional method used to create a sturdy handle.
Stitch Abbreviations
| Abbreviation | Meaning |
|---|---|
| ch | Chain |
| sc | Single crochet |
| hdc | Half double crochet |
| sl st | Slip stitch |
| inc | Increase (two stitches in one) |
| dec | Decrease (combine two stitches) |
| FLO | Front loop only |
Useful Tips
- Always use a stitch marker at the beginning of each round to keep track of your progress.
- For a more rounded and sturdy cauldron, keep your tension tight throughout the project.
- Use a foundation cord technique for a strong, durable handle that holds its shape. If needed, reinforce the handle with craft glue for extra security.
- Customize the cauldron’s size by stopping the increasing rounds sooner or working more rounds to enlarge the base.
- When working the rim of the cauldron, ensure stitches in the FLO are even to maintain a clean edge.
Pattern Instructions
Round 1: Magic Circle and Foundation
- Start with a magic circle.
- Chain 1 (this does not count as a stitch).
- Make 6 single crochet (sc) stitches into the magic circle.
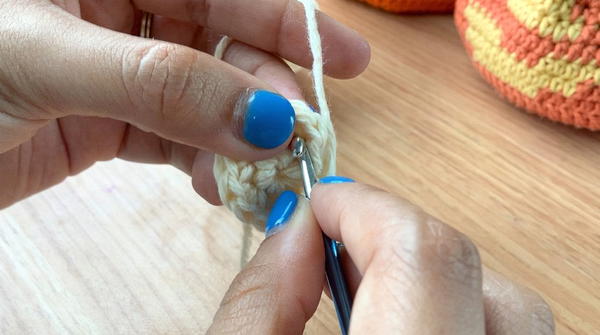
- Join with a slip stitch (sl st) into the first single crochet to close the round.
Round 2: Increasing the Circle
- Chain 1.
- Single crochet in the same stitch.
- Work 2 single crochet stitches (inc) into each stitch around. You should have 12 stitches at the end of this round.
- Join with a slip stitch to the first single crochet.
Round 3: Building on the Circle
- Chain 1.
- Single crochet into the first stitch, then increase (2 sc in the next stitch). Repeat this pattern around.
- This round will end with 18 stitches.
- Join with a slip stitch to complete the round.
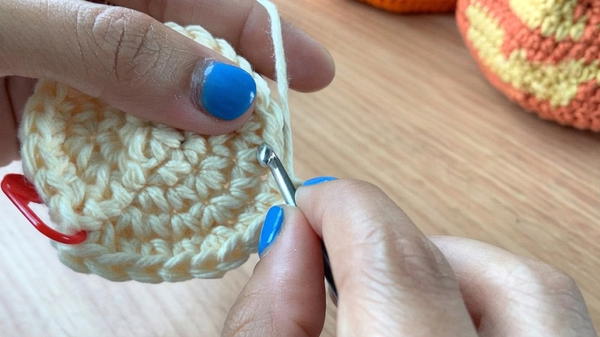
Round 4: Widening the Base
- Chain 1.
- Work 1 single crochet in each of the next 2 stitches, then increase. Repeat this pattern around.
- At the end of this round, you will have 24 stitches.
- Join with a slip stitch to the first single crochet.
Subsequent Rounds: Expanding the Base
- Continue increasing in each round by adding one more single crochet stitch between your increases.
- Example: In the next round, make 3 single crochet, increase; then 4 single crochet, increase in the one that follows. Continue until you have 6 single crochets between increases in the final round of expansion.
- After reaching 6 single crochets between increases, stop increasing.
- Slip stitch to join the last round and move to the non-increasing rows.
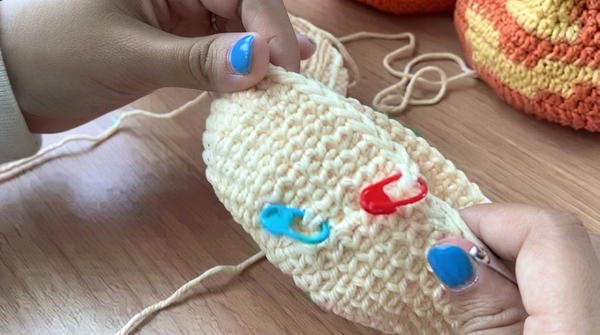
Creating Depth: Non-Increasing Rounds
- Chain 1.
- Work 1 single crochet in each stitch around without increasing or decreasing.
- Continue this for a total of 6 rounds to build the vertical walls of the cauldron.
- Join with a slip stitch at the end of the sixth round.
Shaping the Cauldron: Decreasing Rounds
Row 1:
- Chain 1.
- Work a decrease (dec), then single crochet in each of the next 6 stitches. Repeat this pattern around.
- Join with a slip stitch to complete the round.
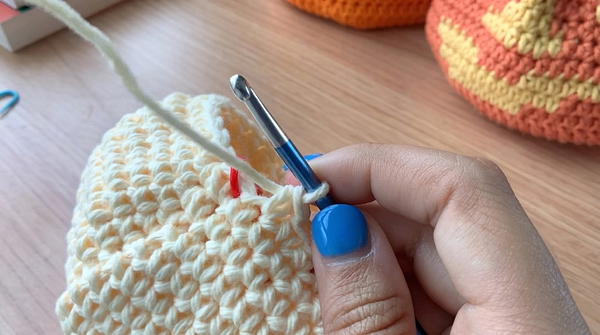
Row 2:
- Chain 1.
- Work a decrease, then single crochet in each of the next 5 stitches. Repeat this pattern around.
- Join with a slip stitch to complete the round.
Row 3:
- Chain 1.
- Work a decrease, then single crochet in each of the next 4 stitches. Repeat this pattern around.
- Join with a slip stitch to finish the round.
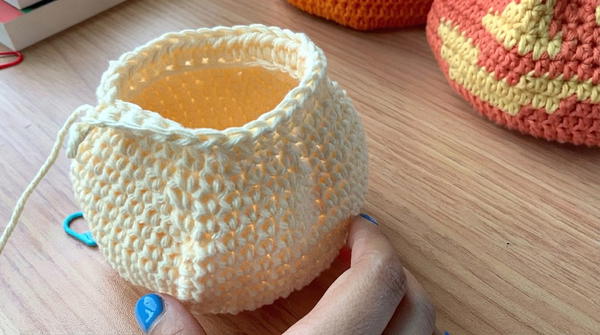
Adding the Rim of the Cauldron
Round 1:
- Work 1 single crochet in every stitch around.
Round 2:
- Work 1 half double crochet (hdc) in the front loop only (FLO) of each stitch around.
Round 3:
- Work 1 single crochet in the front loop only (FLO) of each stitch around.
- Join with a slip stitch, and fasten off.
Adding the Handle
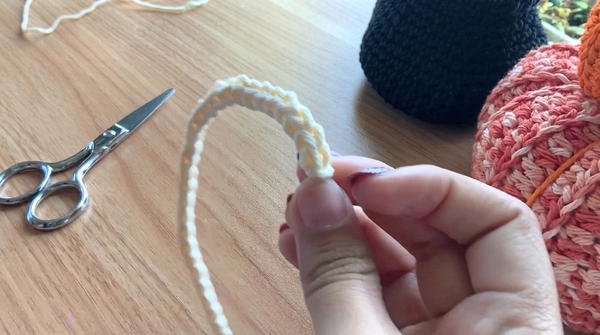
- Create a foundation cord for the handle:
- Begin with a slip knot, leaving a long tail for depth and durability.
- Wrap the tail over the hook from front to back.
- Yarn over with the working yarn and pull through both loops on the hook.
- Continue until the cord reaches your desired handle length.
- Attach the handle to the cauldron:
- Use stitch markers to plan even placement of the handle on the rim of the cauldron.
- Securely stitch the ends of the handle to the selected points.
- Optionally, use glue to reinforce the handle’s attachment for added durability.
Conclusion
This crochet cauldron pattern is a delightful way to combine practical crafting skills with whimsical creativity. The design’s simplicity makes it beginner-accessible, while its charming shape allows for endless customization. Whether used for festive displays, Halloween decorations, or small storage, the cauldron is a versatile and functional project that’s as enjoyable to make as it is to use.