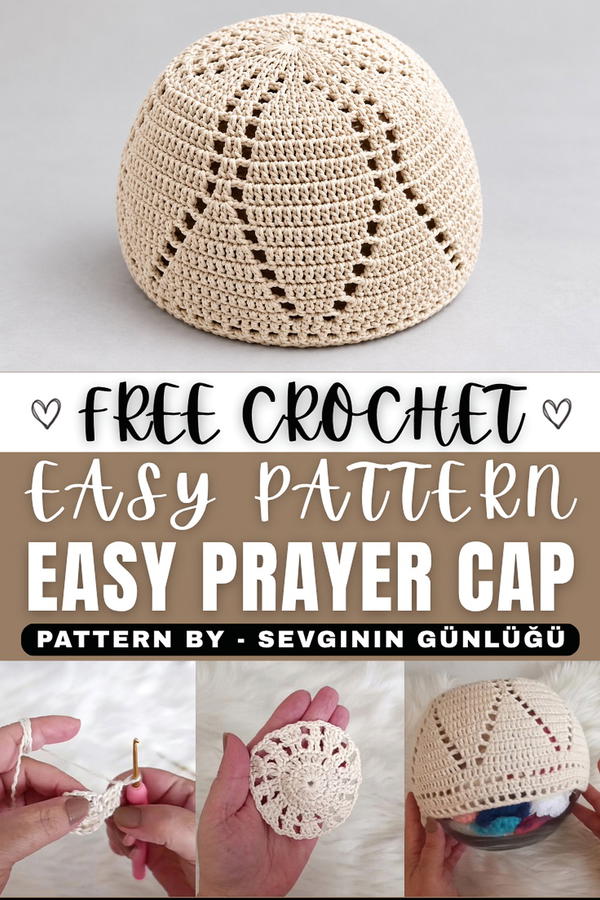
Find peace in every stitch with a free crochet prayer cap pattern perfect for personal use or thoughtful gifts that honor faith and craftsmanship.
Wearing a comfortable and thoughtfully designed head covering can provide both warmth and a sense of tradition. The Free crochet Prayer Cap Pattern offers a simple yet elegant way to create a cozy accessory that fits snugly and adds a personal touch to your daily wear. This pattern, presented with clear guidance from TrebleCat Crochet, is accessible to many who want to add a handmade item to their collection.
Easy and Free Crochet Prayer Cap Pattern + Tutorial
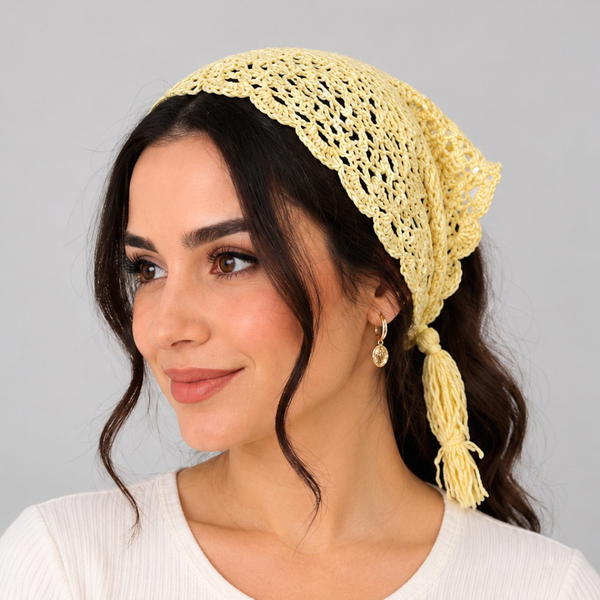
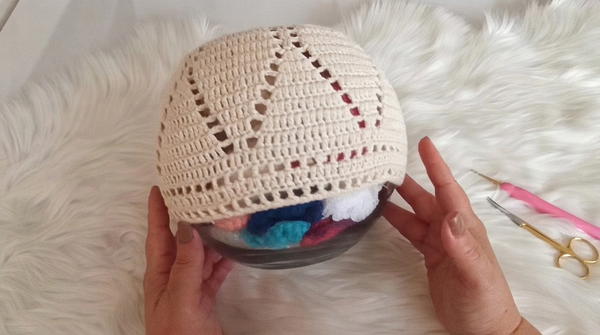
This prayer cap features a delicate, airy texture made with light stitches that ensure breathability while keeping its shape. The design displays a smooth, rounded silhouette that comfortably sits on the head, with subtle decorative patterns woven into the fabric, giving it an understated charm. The balance between simplicity and detailed stitch work allows the cap to be both functional and visually appealing.
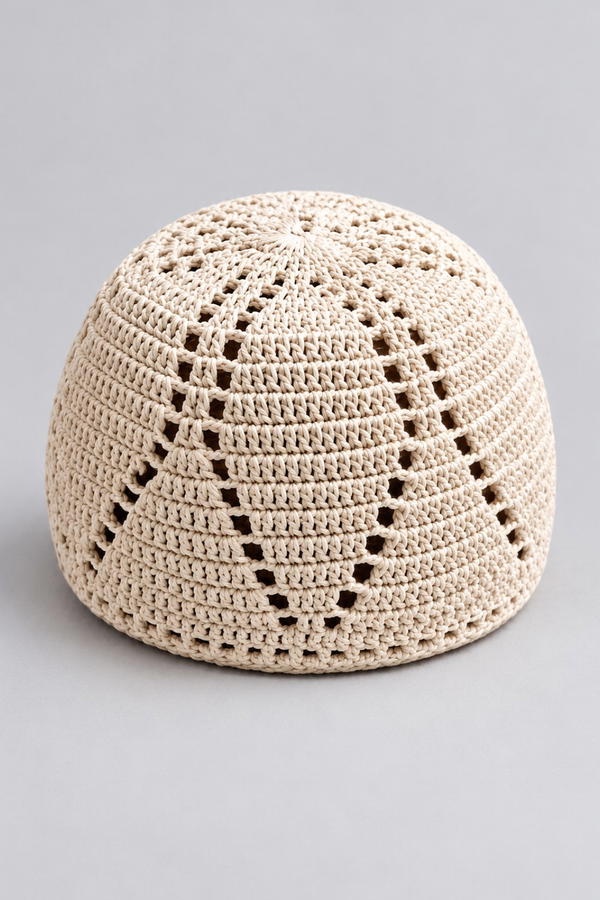
Ideal as a thoughtful gift, this project brings warmth and meaning to anyone who receives it. It works wonderfully for personal use during prayer time or could also serve as a stylish, modest accessory for everyday wear. The softness and elasticity of the yarn make it comfortable throughout the day, while the pattern's neat finish adds a refined look.
Overall, the Free crochet Prayer Cap Pattern provides a blend of comfort, style, and meaningful tradition. With easy instructions and a classic design, this project creates a beautiful and practical piece that is sure to be treasured.
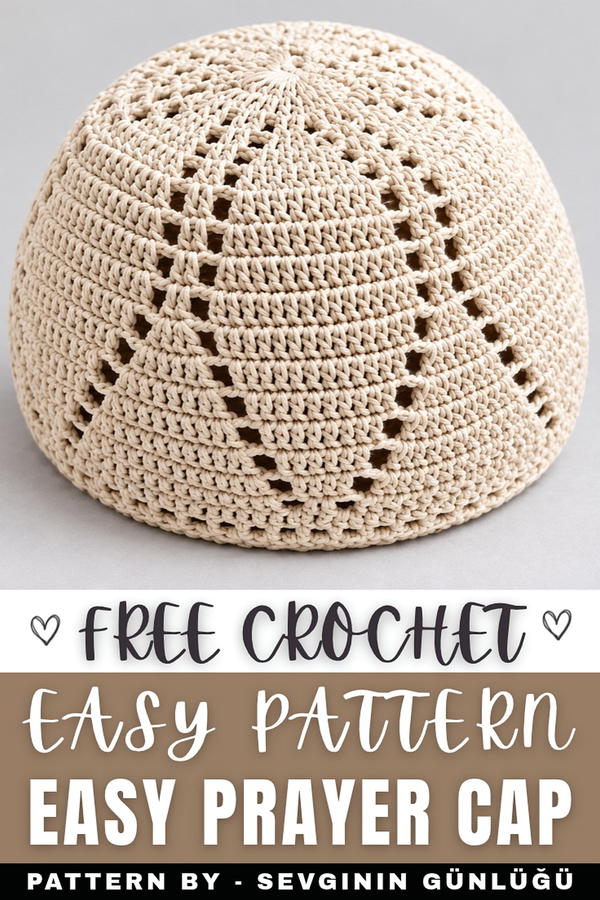
Crochet Prayer Cap Pattern (Namaz Takkesi)
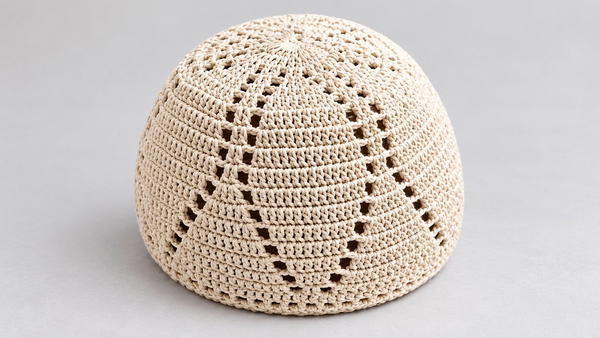
Create a lightweight and versatile crochet prayer cap with this intricate yet approachable pattern. Designed for comfort and style, this cap features diamond segments worked in a mesh-like pattern and fine edge finishing.
Skill Level
This project is ideal for intermediate crocheters who are comfortable working in rounds, alternating stitches, increasing, and decreasing.
Materials
- Yarn: Thin cotton yarn for a breathable and lightweight texture.
- Hook: 2.0 mm crochet hook for precise stitch definition.
Special Stitches
- Magic Ring: A method used to start crocheting in the round without leaving a hole in the center.
- Double Crochet (DC): Yarn over, insert hook into stitch, yarn over, pull through (3 loops on the hook), yarn over, pull through the first 2 loops, yarn over, pull through the last 2 loops.
- Slip Stitch (SL ST): Insert the hook into the stitch, yarn over, and pull through both loops on the hook.
- Single Crochet (SC): Insert hook into stitch, yarn over, pull through (2 loops on the hook), yarn over, and pull through both loops.
Stitch Abbreviations
- CH: Chain Stitch
- DC: Double Crochet
- SL ST: Slip Stitch
- SC: Single Crochet
Useful Tips
- Use a stitch marker or scrap yarn to track the beginning of each round to maintain even joins.
- Keep a consistent stitch tension to ensure the cap maintains its shape and size.
- Measure the diameter after completing Phase 2 (Rows 4–10) to confirm it reaches 19 cm before moving to Phase 3.
- To create a seamless appearance during color changes, fasten off the old color after finishing a row and join the new yarn.
Pattern Instructions
Phase 1: The Foundation
Round 1:
- Start with CH 6 and join with a SL ST to form a ring. Alternatively, use a Magic Ring for a tighter center loop
- CH 3 (counts as first DC), then work 14 DC into the ring. Join with a SL ST to the top of the initial CH 3. (14 stitches total)
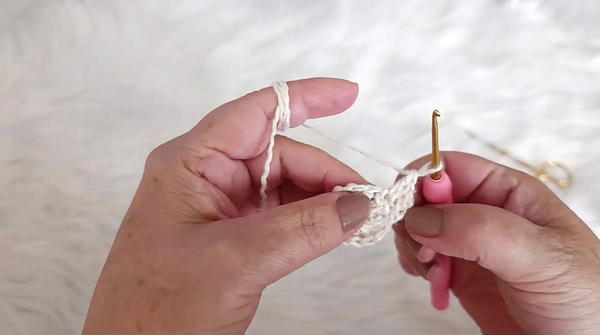
Round 2:
- CH 3, then increase in every stitch by working 2 DC into each of the 14 DC stitches from the previous round. (28 stitches total)
Phase 2: Pattern Establishment
Round 3:
- CH 3, then create a mesh-like base by alternating 2 DC stitches and CH 2 spaces around. Join with a SL ST to complete the round
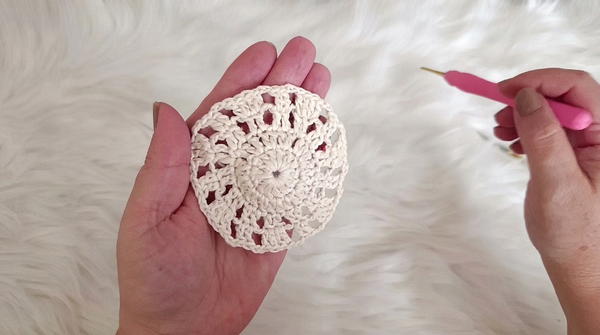
Rounds 4–10:
- Begin building the diamond-shaped sections:
- Increase the number of DC stitches in each section by working into the corners of the previous rounds' mesh.
- Maintain CH 2 spacing between sections.
- Continue increasing at both the beginning and end of each diamond section until reaching 16 DC stitches per diamond section
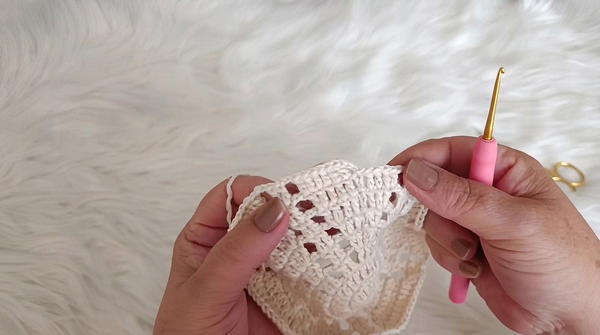
- Pause periodically to measure the diameter—ensure it reaches 19 cm at this point.
Phase 3: Shaping and Closing
Decreasing:
- Reverse the previous increase logic to taper the diamond sections:
- Begin skipping the first and last stitches of each diamond section to decrease the total DC count.
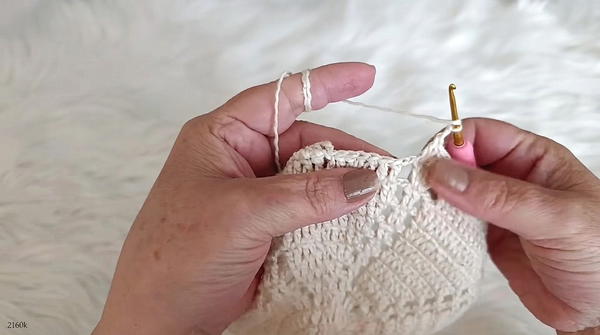
- Continue decreasing until only 2 DC stitches remain per diamond section.
- Begin skipping the first and last stitches of each diamond section to decrease the total DC count.
Edge Finishing:
- At the end of shaping, work a final round of DC around the edges, ensuring even stitches into each gap and space.
- Add a mesh border row by working CH 3 and skipping stitches, creating uniform gaps.
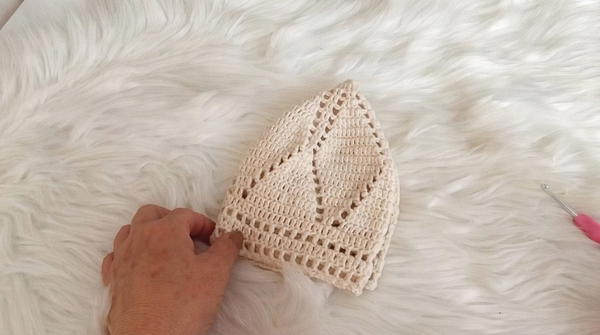
- Follow up with another round of DC across the mesh border for stability.
- For the final edge trim, work 1 SC and CH 1 in each stitch and space to complete the polished border.
Conclusion
This prayer cap elegantly combines functionality and visual appeal with its defined diamond patterns and subtle textures. Its lightweight cotton material ensures breathability, making it ideal for extended use. Experiment with colors or regional variations to personalize the design further.