Beat the heat in style by making a free crochet summer blouse that offers cool comfort paired with unique stitch patterns and vibrant charm.
Light and breezy clothing is perfect for warmer days, offering both comfort and style. The Free crochet Summer Blouse Pattern presents an easy-to-make garment that features a horizontal knit design with stretchy qualities. Presented with helpful guidance from TrebleCat Crochet, this pattern is accessible for many who want a wearable, stylish piece.
Free Crochet Summer Blouse Pattern – Easy and Breezy
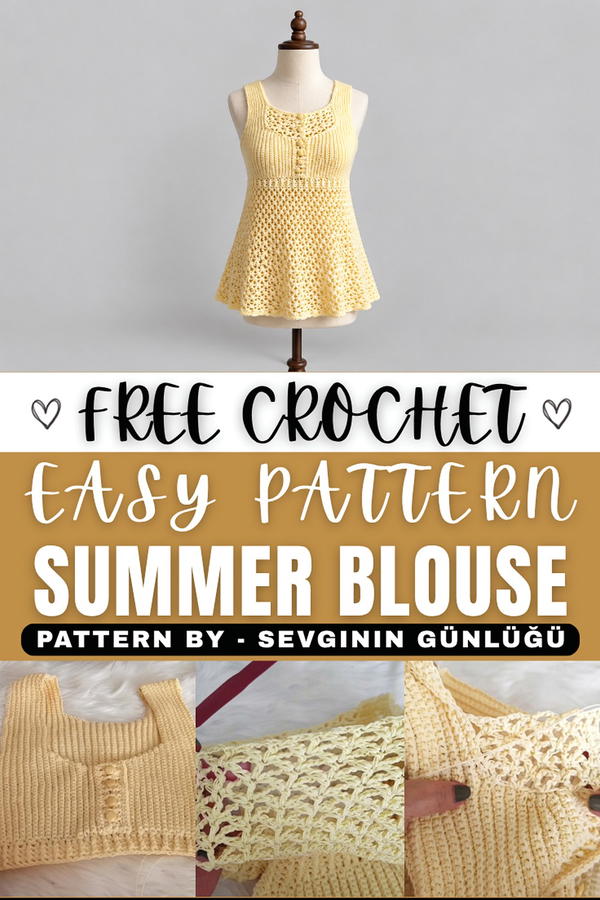
This blouse boasts a fine texture made with detailed single crochet and mesh patterns that create breathability and elegance. The shape is flattering, with straps and a slightly fitted bust area that molds gently to the body. Unique details like ribbed sections under the bust and delicate button closures add functionality and charm, making the blouse convenient to wear and stylish to look at.
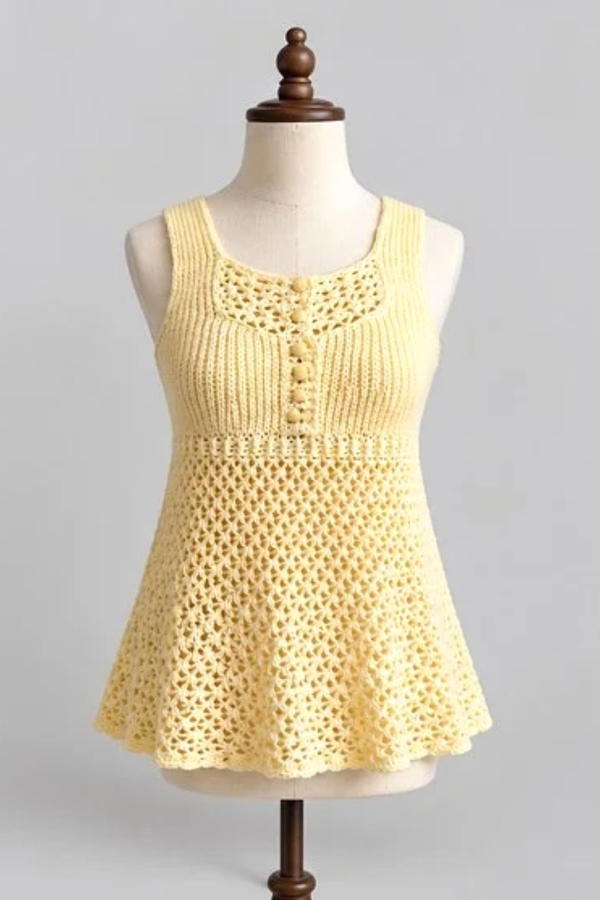
Perfect as a thoughtful gift, this blouse suits anyone who appreciates lightweight, breathable clothing for summer. Its stretchiness allows it to fit a range of sizes comfortably, enhancing ease of wear. The design can be personalized further by adding fabric underneath or adjusting the mesh pattern, giving it a lovely decorative touch.
The Free crochet Summer Blouse Pattern combines beauty, comfort, and versatility in a simple yet striking style. With clear instructions and clever design, this project creates a stunning item that brightens wardrobes and summer days alike.
Crochet Summer Blouse Pattern
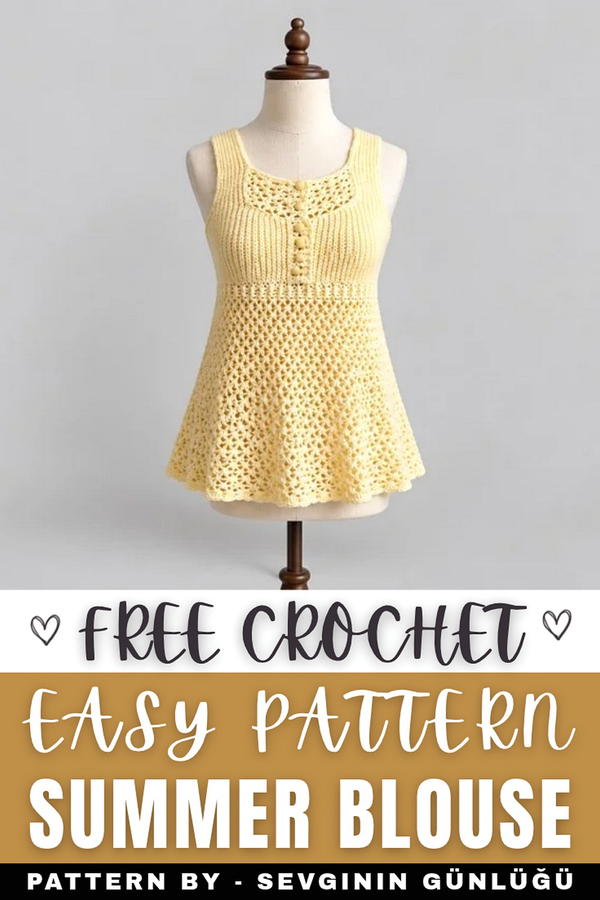
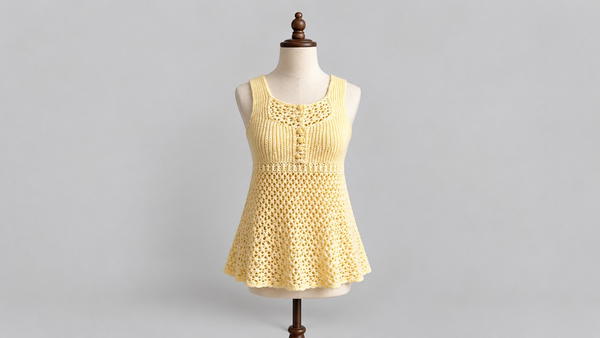
This crochet summer blouse is designed with a classic, breathable mesh-like lower section and a stylish ribbed edging. It is worked in a simple technique that makes it lightweight and perfect for warmer weather. The blouse combines textured stitches for elasticity and structural integrity, making it suitable for casual wear or as a beach cover-up.
Skill Level
This pattern is suited for intermediate crocheters, as it involves ribbing techniques, V-stitch patterns, increasing and decreasing for shaping, and additional decorative edging.
Materials
- Yarn:
- Thin summer cotton yarn for breathability and comfort.
- Use two strands held together for thin yarn, or one strand of medium-weight yarn for a sturdier structure.
- Crochet Hook: 3mm crochet hook, or a size suitable for your yarn selection.
- Scissors: To neatly trim yarn ends during your work.
Special Stitches
- V-Stitch (V): Work: 1 double crochet (DC), chain 3 (CH 3), and 1 DC into the same stitch or space for an open, lacy V-shape.
- Single Crochet (SC): Insert the hook into the target stitch, yarn over, pull through, yarn over again, and pull through both loops on the hook.
- Double Crochet (DC): Yarn over, insert the hook into the target stitch, yarn over and pull up a loop (3 loops on hook). Yarn over and pull through the first 2 loops, yarn over again and pull through the last 2 loops.
- Slip Stitch (SL ST): Insert the hook into the stitch or space, yarn over, and pull through both loops on the hook.
Stitch Abbreviations
- CH: Chain Stitch
- SC: Single Crochet
- DC: Double Crochet
- SL ST: Slip Stitch
Useful Tips
- Tension Control: Pay attention to yarn tension to ensure even stitches and consistent sizing throughout the garment.
- Practice the V-Stitch: It is a repetitive and simple stitch but may take practice to perfect.
- Uniformity: Make sure your chains and stitches are evenly spaced to keep the edges straight and create proper structure for joining.
- Blocking: For best results, block the blouse to even out stitches and create smooth edges after completing the project.
Pattern Instructions
This pattern consists of two main sections: the lower file mesh section and finishing details for the neckline and armholes.
1. Starting the Lower Ribbing Section
Foundation Chain
- Begin by creating a foundation chain of your desired length (equivalent to the width of the blouse's bottom hemline).
Elastic Ribbing
- Row 1: CH 6, turn your work.
- Work 1 DC into the base of the CH.
- Skip 1 stitch, then in the next stitch: Work 1 DC, CH 3, and 1 DC into the same stitch, forming a V-stitch.
- Skip 1 stitch again and repeat the V-stitch pattern across the row.
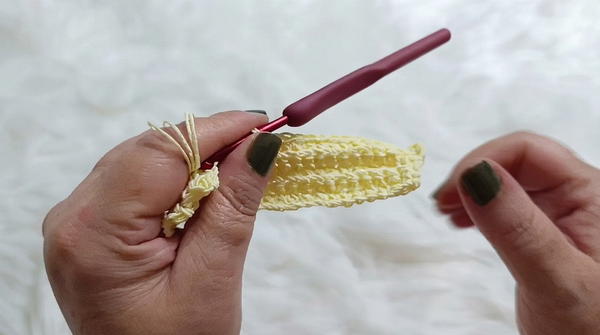
- At the end of the row, join with a SL ST into the 3rd chain of the starting chain
2. File Mesh Pattern
Building the Mesh Structure
Subsequent Rows:
- Begin each row with CH 5, which counts as a DC and CH 2.
- Work a V-stitch into the center of the “V” created in the previous row (directly into the CH-3 space of the V).
- Continue working V-stitches (DC, CH 3, DC) into each CH-3 space across the row. Skip other chain spaces entirely.
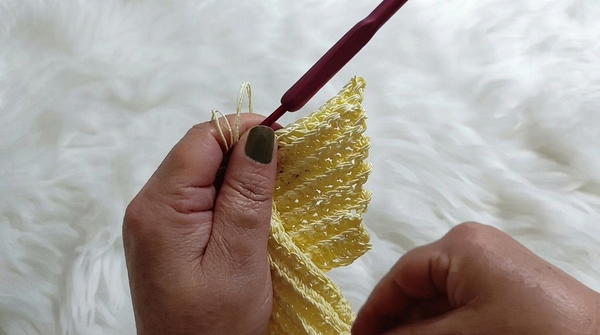
- At the end of each row, join with a SL ST into the 3rd starting chain.
Continue the same pattern as above until the lower section stretches to your desired length. Remember to measure periodically for proper fitting.
3. Shaping and Edging
Shaping the Armholes
- Work along the armhole edges using single crochet (SC) stitches to create a clean finish for the armholes.
- Begin SC along one armhole edge, ensuring even spacing (1 SC into every stitch or loop). Proceed around the entire armhole (15:07 - 17:43).
- Repeat this edging process for the second armhole.
Neck Edging
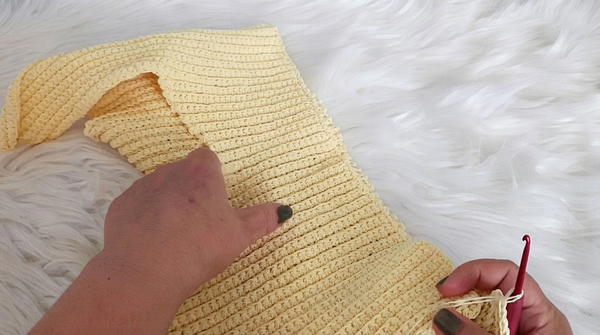
- Work around the neckline, adding SC stitches evenly spaced along the entire edge.
- Focus on ensuring that the stitches align cleanly with the neckline structure for a polished appearance.
4. Neckline Decorative Detail
Decorative Neckline
After completing the base of SC stitches, add a lacy trim:
- Attach yarn to the neckline edge. CH 3.
- Into the next stitch, work a V-Stitch: 1 DC, CH 3, 1 DC into the same stitch.
- Skip 2 stitches, and work another V-Stitch into the next stitch.
- Continue this pattern around the neckline, ensuring the spacing between each V-Stitch remains consistent.
- Repeat this decorative V-Stitch row until the desired neckline trim height is achieved. Typically, 2-3 rows create sufficient depth.
Final Neckline Row:
- Work a row of SC into every CH-3 space and the top of each DC stitch around the neckline. This secures the decorative edge and prevents stretching.
5. Finishing Touches
Adding the Bottom Band
- Work evenly spaced DC stitches across the bottom edge of the blouse's mesh section. This creates a foundation for the elastic band.
- Work subsequent rows using an alternating ribbing pattern:
- Alternate one front post double crochet (FPDC) and one back post double crochet (BPDC) to create a stretchy band resembling “one front, one back” ribbing.
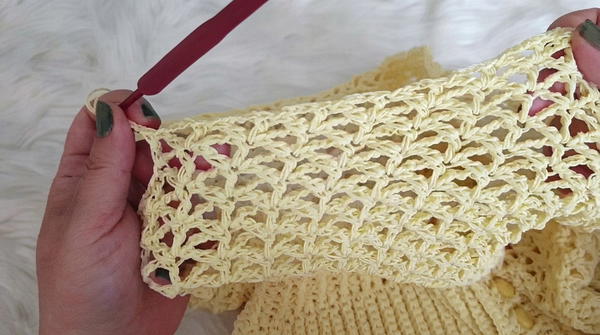
- Alternate one front post double crochet (FPDC) and one back post double crochet (BPDC) to create a stretchy band resembling “one front, one back” ribbing.
- Continue this ribbing pattern until the band matches your desired thickness.
Final Assembly and Finishing:
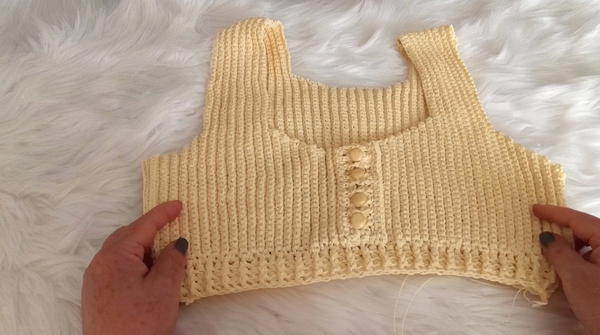
- If creating a button-style blouse, add buttonholes evenly spaced on one button band (for inspiration, see 4 buttonholes over the span of the front panel as demonstrated). Work SC stitches or chains into aligned stitches to create button loops.
- Attach buttons to the opposite side, ensuring proper alignment with the buttonholes.
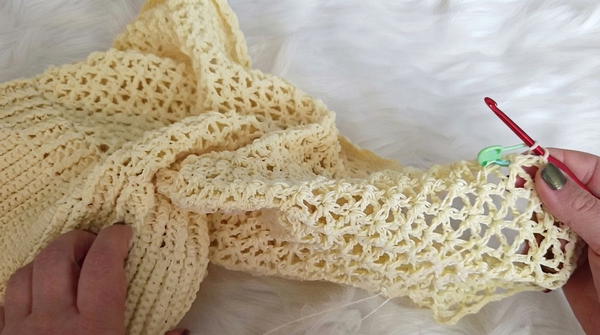
- Weave in all loose ends using a tapestry needle. Block the blouse for even texture and a smoother finish.
Conclusion
This summer blouse combines simplicity and elegance in its construction. The mesh design and ribbed accents make it a versatile option for summer wear. Adjust the blouse’s sizing, colors, or details to suit your preferences and style. The lightweight cotton material ensures comfort, while the ribbing adds structure, stretch, and durability. By following these instructions and techniques, create a functional and attractive piece ideal for warm-weather adventures.