Upgrade your wardrobe with this Free Crochet Weave Stitch Vest Pattern that provides timeless style and comfort, perfect for any season.
A vest can be a stylish and comfortable addition to your wardrobe, giving you an extra layer without feeling bulky. The free crochet weave stitch vest pattern is a wonderful design that combines beauty and practicality with an interesting texture resembling woven fabric. This stitch makes the vest look neat and a little bit like a basket, giving it a unique and eye-catching appearance.
Free Crochet Weave Stitch Vest Pattern for Boho Style
The vest made from this pattern feels soft but has a sturdy texture, so it holds its shape nicely. Its design is simple yet elegant, with a shape that fits comfortably over your clothes, making it perfect for cooler days or adding a fashionable touch in warmer seasons. The weave stitch creates small squares that add depth and character to the vest, making it stand out from ordinary knitted garments.
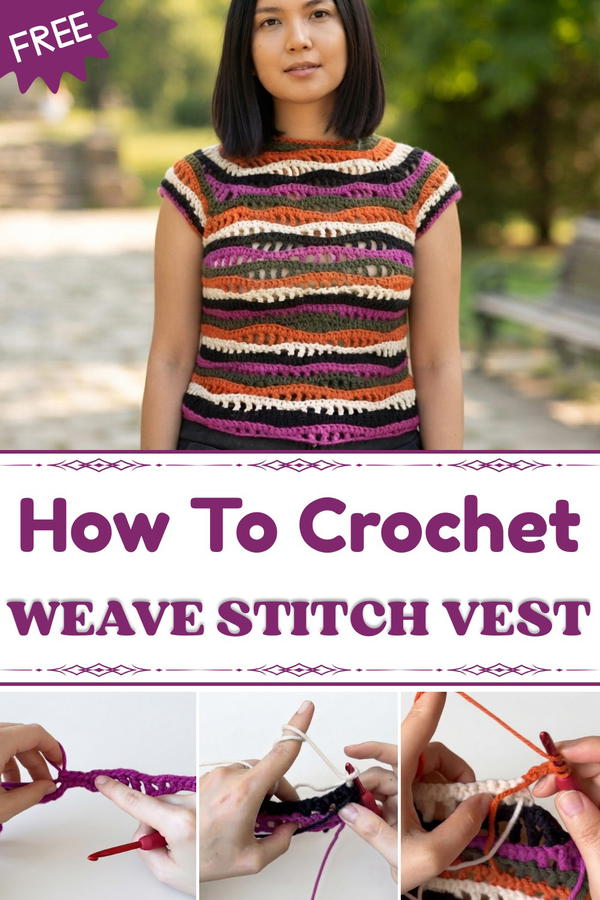
You can wear this vest in many places—at work, casual hangouts, or even during light outdoor activities. It pairs well with shirts, t-shirts, or dresses, adding warmth and style. Plus, you can make it in different colors to match your style, whether you prefer soft pastels, bright shades, or classic neutrals.
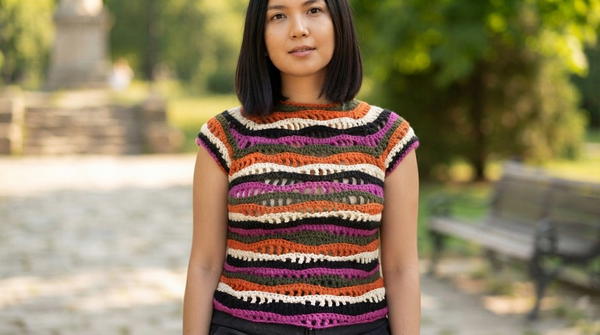
Because this pattern is accessible, it is great for beginners who want to try something new as well as for experienced crocheters looking for a quick and lovely project. It’s perfect for anyone who enjoys making wearable art, especially those who like cozy but attractive clothing items.
With this pattern, you can make a warm, stylish vest, cardigan, or even a light jacket that shows off your crochet skills while giving your outfit a fresh and handmade look. It’s a fun and useful project that adds charm and personality to your wardrobe.
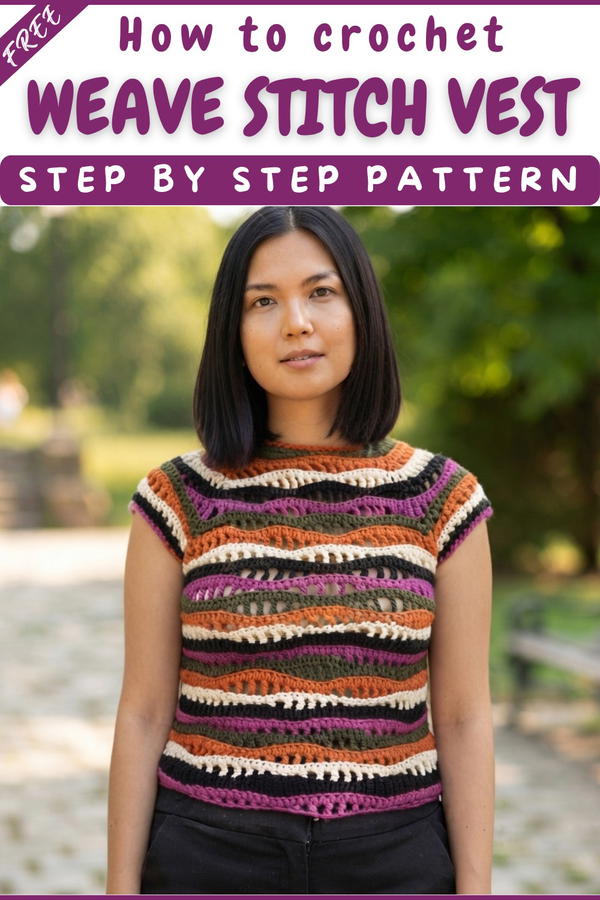
Wavy Spooky Vest – Step-by-Step Crochet Pattern
The vest pattern utilizes different stitch heights to create a signature wavy effect and is ideal for using scrap yarns. The finished vest can be personalized for any festival or season by changing the colors. You’ll be guided through the process of making one front panel, one back panel, shaping the neck and armholes, and sewing it all together for a unique, eye-catching wearable.
Quick Overview Of Pattern
- Constructed using two panels (front and back).
- Panels are worked in rows, alternating stitch heights for texture.
- Works perfectly with scrap yarns for color variety.
- Instructions include color changes, shaping armholes and neckline, and sewing panels together.
- Easy to adjust for different lengths and sizes.
- Suitable for various festivals or seasons with color changes.
Notes
- Follow instructions carefully for color changes and stitch placement.
- Every row alternates between basic stitches and taller ones (single crochet, half-double crochet, double crochet, treble crochet).
- Use the "back loop only" technique in many rows for additional texture.
- Keep tails long when changing colors for easier weaving and sewing.
- Always check the YouTube description for specific measurements and gauge for your vest.
Skill Level
Easy / Intermediate
The pattern uses basic crochet stitches, color changes, and panel construction. Experience with stitch variations and sewing panels is helpful.
Materials
- Crochet hook: 2.2 mm (or size to achieve gauge)
- 25 grams of yarn per color (or scrap yarns in multiple colors)
- Stitch markers
- Scissors
- Needle for sewing panels and weaving ends
Measurements / Sizing
- US Women's Medium (see YouTube description for exact measurements; adjust as needed)
- Foundation chain: 66 stitches
- Length and width can be increased or decreased for custom sizing
Gauge
Check YouTube video description for exact gauge.
Gauge is crucial for sizing, so always crochet a small swatch and adjust your hook or tension to match the provided gauge.
Stitch Abbreviations
- ch = chain
- sc = single crochet
- hdc = half-double crochet
- dc = double crochet
- tr = treble crochet
- sl st = slip stitch
- BLO = back loop only
Special Stitches
Treble Crochet (tr):
Yarn over twice, insert hook, yarn over and pull through, yarn over and pull through two loops three times.
Back Loop Only (BLO):
For designated rows, work only in the back loop of the stitch to create a ridge effect.
The Crochet Pattern
Front and Back Panels
- Foundation Row
- Make a slip knot with your first color yarn.
- Chain 66 for your foundation chain.
- Turn chain to the back to find “back bumps.”
- Insert hook into the second back bump and make a single crochet (sc); repeat in next back bump for two sc in total.
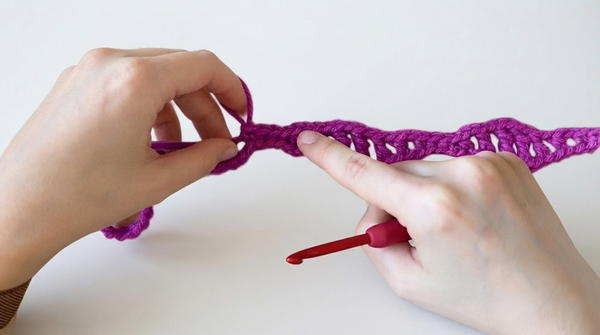
- Row 1 (Wavy Pattern Row)
- After two sc, ch 1, skip 1 ch, hdc in next ch, ch 1, skip 1, dc in next ch, ch 1, skip 1, tr in next ch, ch 1, skip 1, tr in next ch, ch 1, skip 1, dc in next ch, ch 1, skip 1, hdc in next ch, ch 1, skip 1, sc in next three ch.
- Repeat above sequence until you reach last stitches; finish with two sc in last two chains.
- Row 2 (Solid Row)
- Ch 1, turn.
- Work 1 sc in each stitch across, including sc in chain spaces.
- Row 3 (Wavy Pattern Row with Color Change & BLO)
- Before final sc, join new color (pull through two loops).
- Ch 1 to secure, then ch 3 more (total ch 4 – counts as tr).
- Turn. Cut previous color, leave a tail.
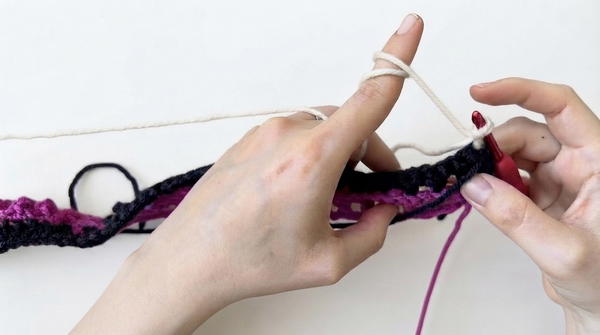
- tr (BLO) in next stitch, ch 1, skip 1, dc (BLO) in next, ch 1, skip 1, hdc (BLO), ch 1, skip 1, sc (BLO) in next three stitches.
- Repeat sequence as before, working all stitches BLO. Finish with two tr (BLO) in last two stitches.
- Row 4 (Solid Row)
- Ch 1, turn.
- Work 1 sc in each stitch across, including chain spaces.
- Change color before last stitch as previously described.
- Row 5 (Repeat Wavy Pattern Row in BLO)
- Ch 1, turn.
- Work two sc (BLO), then proceed with pattern sequence (as in Row 1 but all stitches BLO and in new color).
- Repeat sequence and end with two sc (BLO).
- Row 6 (Solid Row)
- Ch 1, turn.
- Work 1 sc in each stitch across, including chain spaces.
- Change color before last stitch.
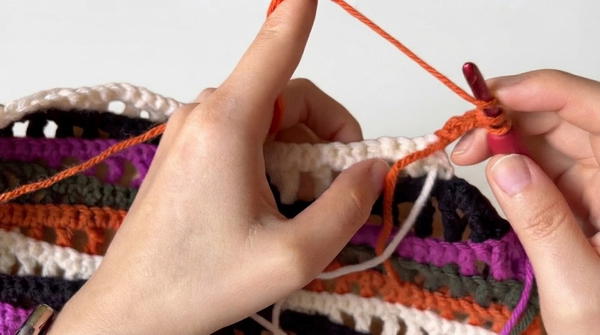
Repeat Rows 3–6 until you have 34 rows for the back panel.
For the front panel, repeat until you have 16 rows after shaping the armholes.
Shaping Armholes
- Place stitch markers on the 9th chain from each side.
- Turn to right side (side with ridges).
- Join new color yarn at the marked stitch.
- Ch 1, sc (BLO) in marked stitch, sc (BLO) in next.
- Proceed in wavy sequence, omitting one pattern repeat on each side (work pattern between markers).
- Finish armhole rows using same pattern sequence and solid rows, changing color every two rows as before.
- Repeat until armhole is shaped (24 additional rows for back panel).
Shaping Neckline (Front Panel)
- After 16 rows post-armhole:
- At the final stitch, join new color, ch 1 to secure, turn.
- Work one repeat of wavy pattern BLO and then two more rows in this section; fasten off, leaving a long sewing tail.
- Join new color yarn at the corresponding stitch on the opposite side (use stitch marker to mark 17th stitch).
- Work matching wavy pattern section and three rows, leaving a long sewing tail.
- Both neck edges should now be shaped.
Assembly & Finished Size
Seaming Panels:
- Sew Shoulder Seams
- Use long tails to sew panels together at the shorter edges (shoulder seam).
- Fold pieces right sides together so the back is facing you.
- Sew using preferred method: whip stitch, mattress stitch, or another neat, sturdy seam. Always work through the inside of the stitches (not between them) for a strong, invisible finish.
- Weave in the ends.
- Sew Side Seams
- Keep right sides together.
- Cut a length of yarn 3-4 times the side.
- Using needle, sew the sides together using the same technique.
Shaping Armholes and Neckline
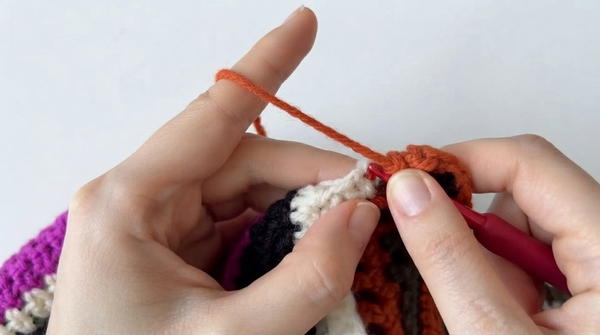
- Armhole Edging
- Join yarn at the sewing seam.
- Ch 1, work 1 sc in each stitch around armhole.
- At corners, place 2 sc in each corner.
- In chain-4 rows, work 4 sc; in sc rows, work 2 sc.
- Continue around, sl st to first sc, cut yarn, leave tail for weaving.
- Repeat for second armhole.
- Neckline Edging (Optional)
- If neckline looks uneven, repeat armhole edging for neckline.
- Join yarn at neckline corner, ch 1, 2 sc in corner.
- For chain-4 rows, work 4 sc; for sc rows, work 2 sc.
- At corners and across shoulders, add sc as needed for a consistent edge.
- Sl st to first sc, cut yarn, weave in ends.
Finished Size
- Finished vest fits US women's medium, but can be customized by adjusting foundation chain and row count.
- For other sizes, adjust according to desired width and length (refer to gauge).
Conclusion
Congratulations on completing your Wavy Spooky Vest! This versatile and festive vest showcases colorful stripes and unique wavy texture, making it ideal for personal expression and seasonal adaptation. With careful stitch variation and finishing techniques, your vest will stand out as both stylish and comfortable.