Mint Design Blog


Turn your crochet passion into a masterpiece with this free star stitch bag pattern that’s perfect for making a sturdy and stylish everyday accessory.
U R Unik is a special channel that brings creative and easy-to-follow crochet projects to life for everyone who loves making . In one of their inspiring tutorials, they show how to turn simple macrame yarn into a stylish bag full of character. This project uses a beautiful stitch pattern that looks like little stars, making the bag not only strong but also eye-catching. It’s perfect for anyone wanting to make a handmade accessory that stands out.
Modern Crochet Star Stitch Handbag Free Pattern Tutorial
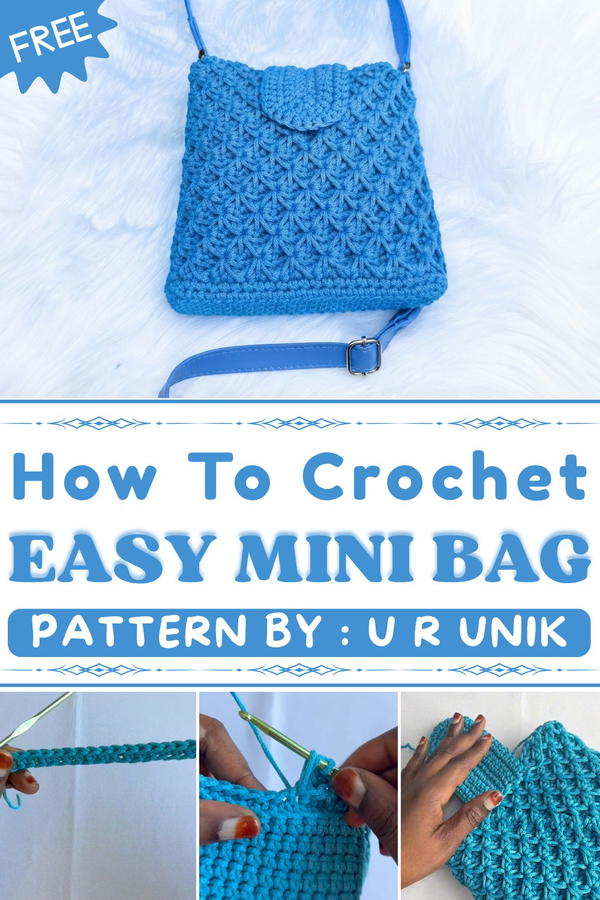
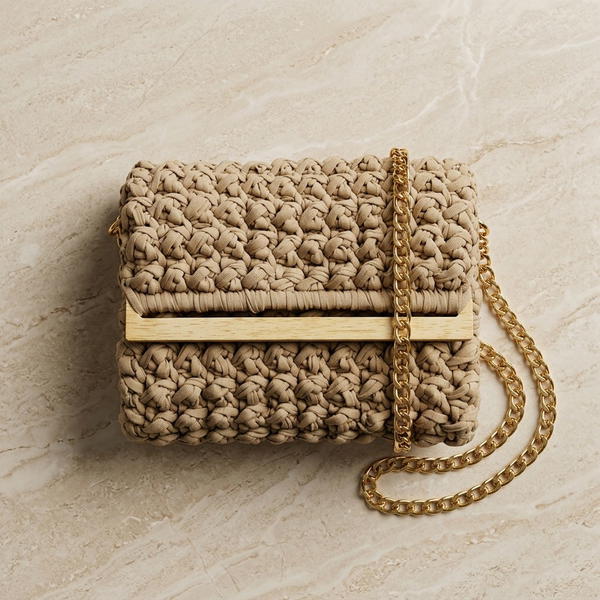
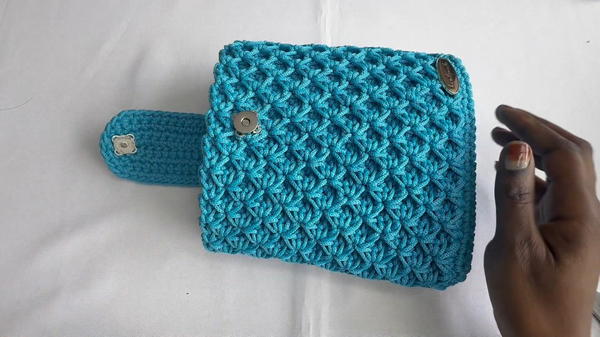
The bag’s shape is rectangular with a firm base, giving it a solid feel that holds its form well. Working mostly in single crochet and unique star stitches, the pattern creates a lovely texture that looks intricate but is surprisingly simple once you get the hang of it. The charm of this design lies in its star stitch pattern, where you crochet clusters that come together to form tiny star shapes all over the bag’s body. This gives the bag a delicate and handcrafted look that feels both modern and timeless.
Making this bag involves starting with a foundation chain and carefully working rows that combine single crochet and star stitches while working around the loops of the stitches to create depth. The project is done in rounds, shaping the base first and then building up the body. Finishing touches like a magnetic clasp, a neat cover flap, and an optional strap complete the style, making it a practical yet elegant accessory. Whether for everyday use or as a gift, this bag blends beauty and function gracefully.
Star Stitch Crochet Bag Pattern
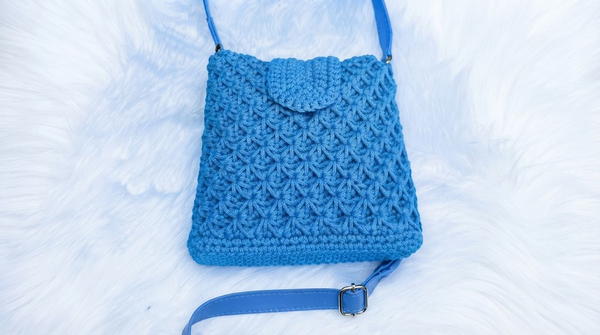
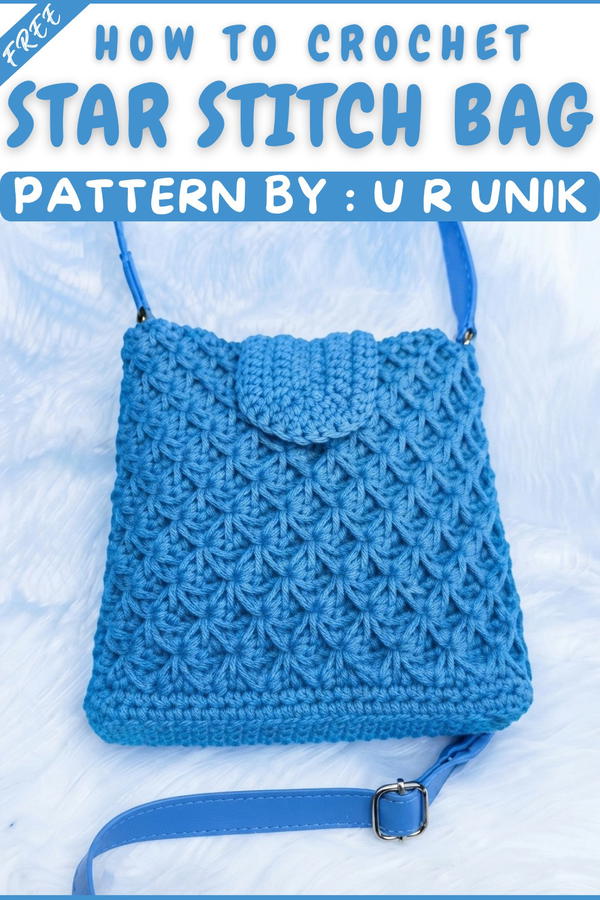
A sophisticated everyday crochet accessory, this bag features a beautifully textured star stitch body atop a firm rectangular base. The sturdy Macrame XL yarn ensures perfect structure while the slip-on flap cover adds practical elegance. The technique focuses on clean single crochet for the base and a mesmerizing star pattern for the main body, perfectly finished with hardware details.
Pattern Important Tips
Maintain Consistent Tension
- Macrame XL yarn is thick and has little stretch; avoid overly tight tension, especially when forming star stitches, for easier manipulation and an even surface.
Counting is Key
- The base and star stitch rounds depend on precise stitch multiples for proper formation—always verify your counts after each section.
Star Stitch Pointers
- Gently draw up loops during star stitch construction for uniform stars.
- In subsequent rounds, work into the “eye” and “junctions” of the star stitch for the best texture.
Clean Finishing
- Use invisible or whipstitch techniques when sewing the cover for seamless assembly.
- Block the base and finished bag before attaching the final hardware for a crisp silhouette.
Skill Level
Intermediate: Requires slip stitch joins, star stitch formation, increases for curves, and precise finishing.
Materials
- Approximately 100 meters of Macrame XL yarn (or other chunky cotton blend)
- 4.5mm crochet hook
- Sharp scissors
- Yarn needle
- Bag strap (detachable or fixed)
- Magnetic clasp
Gauge and Stitch Pattern
Gauge: 10 cm = 14 sc (single crochet) × 10 rows
Stitch Patterns:
- Base: Single crochet rows
- Body: Star stitch in the round
Stitch Abbreviations
- ch: chain
- st: stitch
- sc: single crochet
- dc: double crochet
- slst: slip stitch
Special Stitches
- Star Stitch:
- Pull up a loop in each of the next 5 stitches (6 loops on hook).
- Yarn over, pull through all, ch 1 (forms “eye” of star).
- Pull up a loop in “eye”, the last loop made, st at base of star, next two sts (total 6 loops), pull through all, ch 1.
- Single Crochet Increase (for cover corners):
Work 3 sc into one stitch for outermost corners; 2 sc in marked corners as you work the cover rows.
Notes for Starting the Pattern
- Work base in back-and-forth rows; the body is worked in joined rounds.
- Maintain an accurate foundation stitch count: base must be a multiple of 3 + 1 (25 sts here) for smooth star stitch transitions.
Pattern Instructions
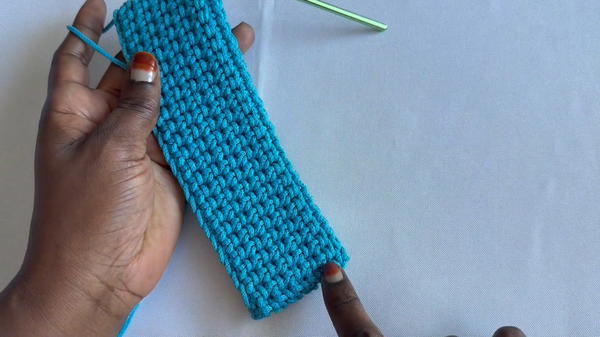
1. Base Construction
Foundation:
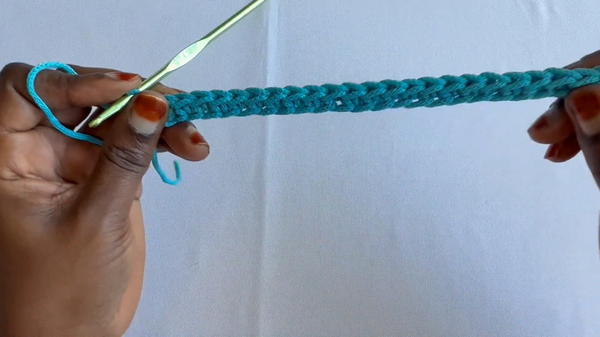
- Ch 25 (multiple of 3 + 1 for the star pattern).
Rows 1-11:
- Row 1: Sc in 2nd ch from hook and across (24 sc).
- Rows 2-11: Ch 1, turn. Sc in each st across (24 sc).
- Work total of 11 rows. Fasten off if desired for neatness.
2. Foundation for Body
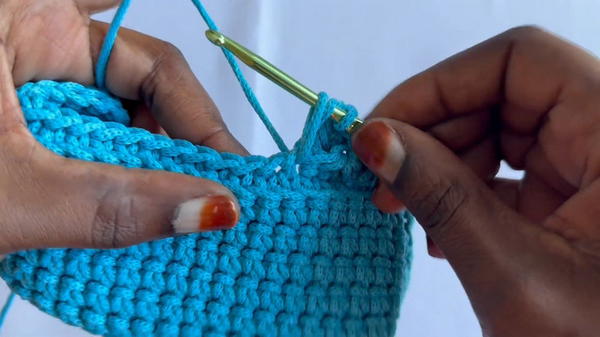
- Without breaking yarn, rotate the base to work around all four edges.
- Work 1 round of sc around the full perimeter:
- Sc along each row end and across base edges, placing 3 sc in each corner for smooth curves.
- Join to first sc with a slst.
- You should have an even stitch count all around, maintaining multiples of 3 for smooth star stitch rounds.
3. Star Stitch Body
Round 1 (Setup for Star Pattern):
- Ch 3, skip 2 sts.
- Form first star:
- Insert hook in next st, pull up a loop; repeat 4 more times in adjacent sts (6 loops on hook), yarn over, pull through all, ch 1 to close star (star center or “eye”).
- Work 2 dc into each of the skipped stitches.
- Repeat star stitch creation all the way around, always skipping needed stitches, forming stars.
- Continue working in this manner to complete the round.
- Close with a slst into the top of the first star.
Subsequent Rounds:
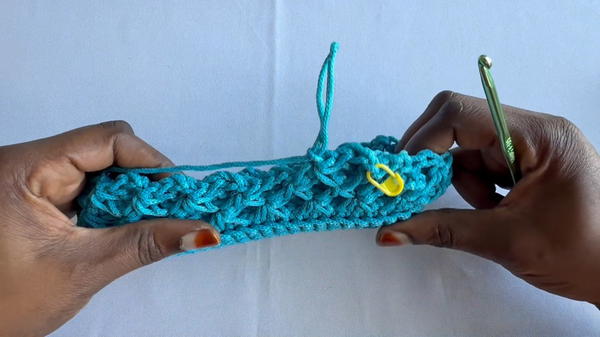
- Continue with star stitch:
- Begin each round by pulling up loops into the “eye” (ch-1 space) of previous round’s stars and the next surrounding stitches (as described above).
- Stars will be stacked above each other. Work all stars into “junctions” where previous rounds meet.
- Continue repeating star stitch rounds until the body reaches 21 cm (approx. 6 inches) in height from base edge.
4. Bag Cover (Flap)
Foundation:
- Ch 15.
Rows (with Specific Increases):
- Row 1: Sc in 2nd ch from hook and across (14 sc).
- End of Row: Into the last st, work 3 sc (corner increase).
- Continue working sc along the underside of the foundation chain.
- Mark two corners (the ones that will sit at the curve's edge). In following rows, always work 2 sc into each marked corner to gently expand the flap.
- Work further rows evenly, maintaining increases at all corners, until the cover panel fits over the bag’s opening snugly and with a slight overlap.
- Fasten off, leave a long tail for sewing.
5. Finishing and Assembly
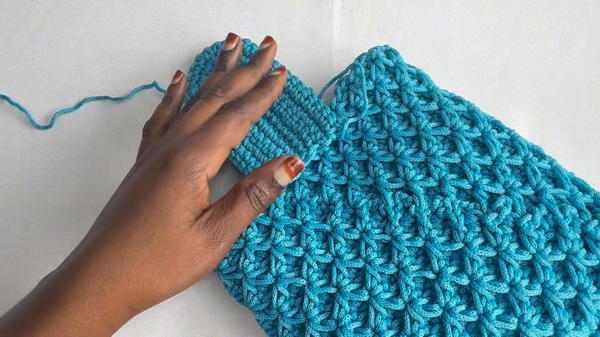
- Sew Flap: Position the cover/ flap on the open top of the bag and sew along one edge using neat, invisible stitches so it flips over the body comfortably.
- Attach Clasp: Mark the flap and bag body center. Sew each part of the magnetic clasp in place on the inside, ensuring a secure closure.
- Add Strap: Fasten bag strap to the top corners of the bag body (through stitches or securely around flap base for support).
- Weave in all ends and trim excess yarn.
- Block the bag gently to square it and set the stitch definition.
Assembly And Sizing
- Base: approx. 25 stitches (multiple of 3 + 1) wide, after 11 rows.
- Bag body height: 21 cm (approx. 6 inches) from base to top.
- Flap: 15 stitches wide, extended via corner increases to fit opening; length as preferred for practical closure.
Final Words
A well-structured, star stitch crochet bag with elevated texture and lasting shape, this project makes use of both traditional and decorative methods for a piece that is practical yet eye-catching. Crisp stitches and careful shaping deliver results suitable for both everyday function and special occasions. Adjust yarn colors, add embellishments, or modify sizing for a tailored version that highlights personal style.