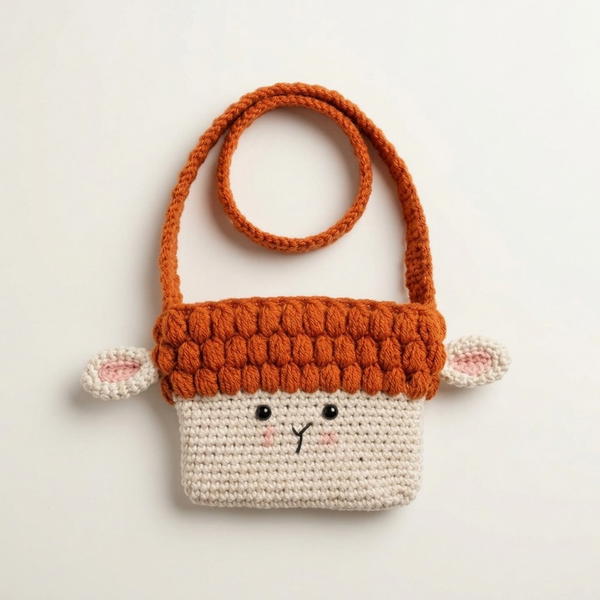
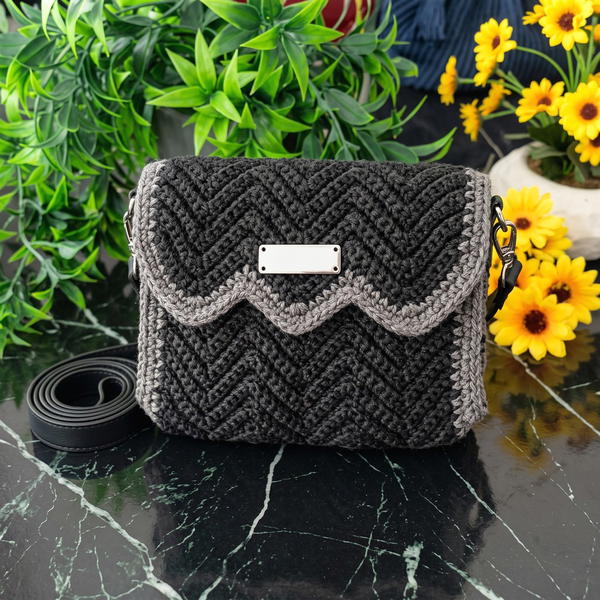
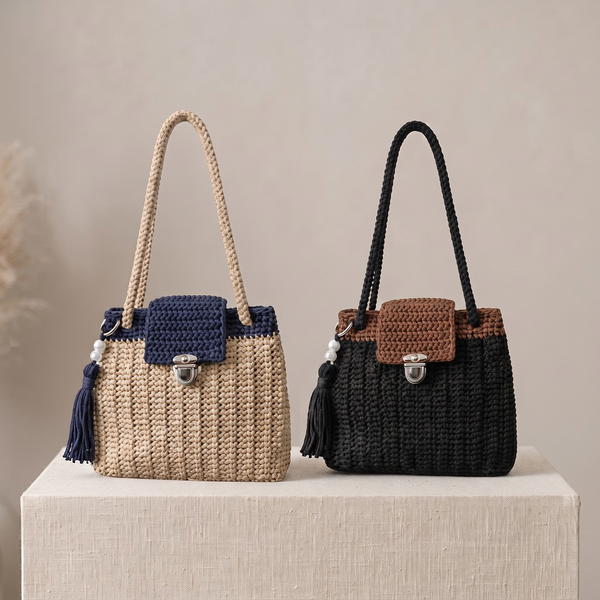
Start your next creative journey with the Free Crochet Polyester Yarn Bag Pattern and design a versatile bag that blends charm with long-lasting quality.
Creating handmade bags can be a fun and rewarding hobby that adds a personal touch to your style. The Free crochet Polyester Yarn Bag Pattern is an exciting project that transforms soft, durable polyester yarn into a beautiful and practical tote. This design, thoughtfully shared by Gepradocroche, offers an easy guide for anyone eager to crochet a sturdy bag with a unique twist.
Easy Free Crochet Polyester Yarn Bag Pattern Tutorial
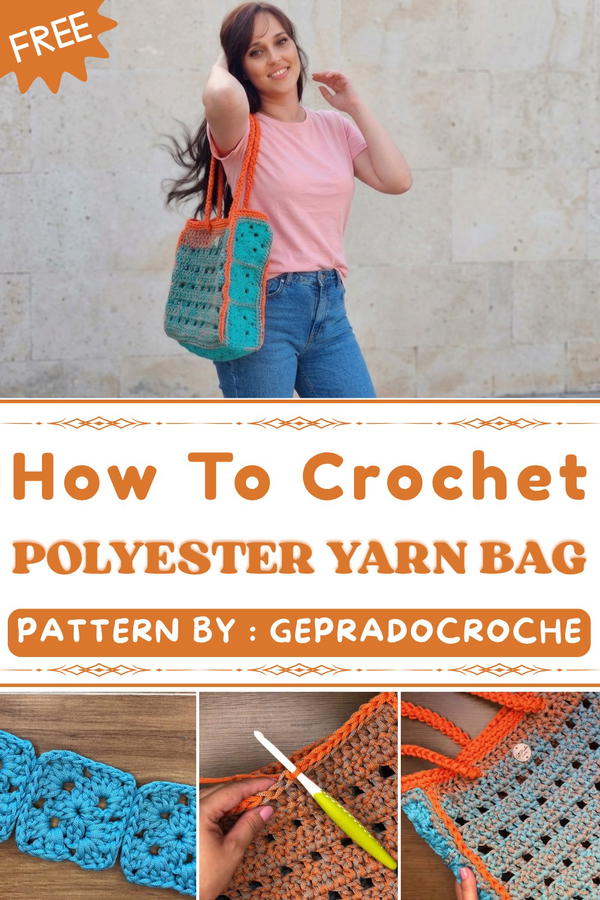
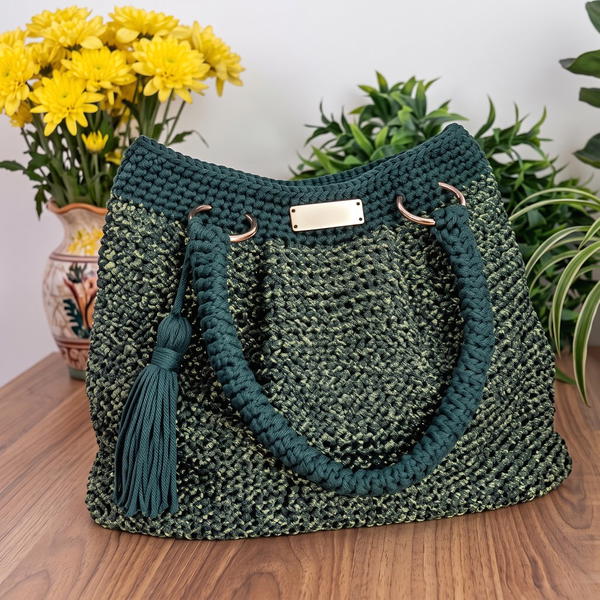
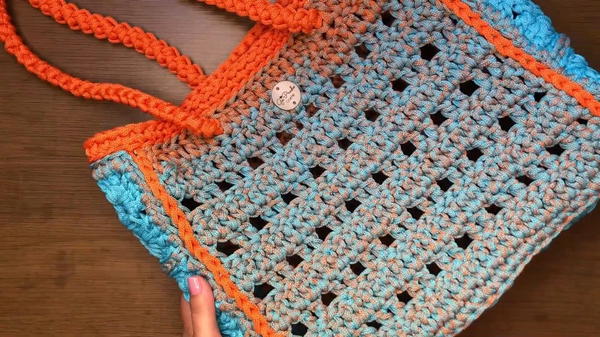
This bag boasts a smooth yet textured surface thanks to the polyester yarn, giving it a light sheen that catches the eye. Its shape is compact and slightly rounded at the sides, making it perfect for carrying essentials while keeping a sleek silhouette. The crochet stitches create a balanced pattern that blends solidity with subtle openness, allowing the bag to hold shape well but also stay flexible.
One standout feature is the cleverly made handles that integrate seamlessly into the body of the bag. This approach not only adds strength but also enhances the overall look with clean lines and an elegant finish. Soft color tones or vibrant hues can be used, making each bag a unique statement piece whether for casual daily use or as a decorative element in your home.
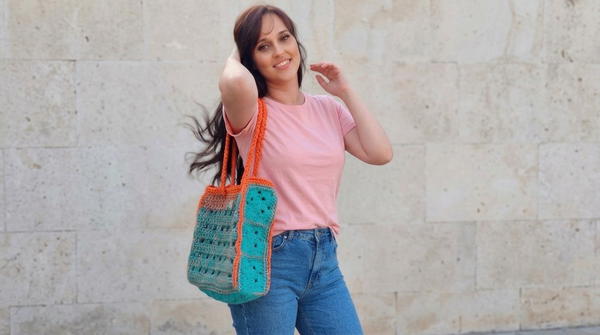
This project makes a wonderful gift for those who appreciate handmade crochets and eco-friendly accessories. Lightweight and versatile, the bag suits various occasions and demonstrates how simple materials and clever design can come together to create something both charming and useful.
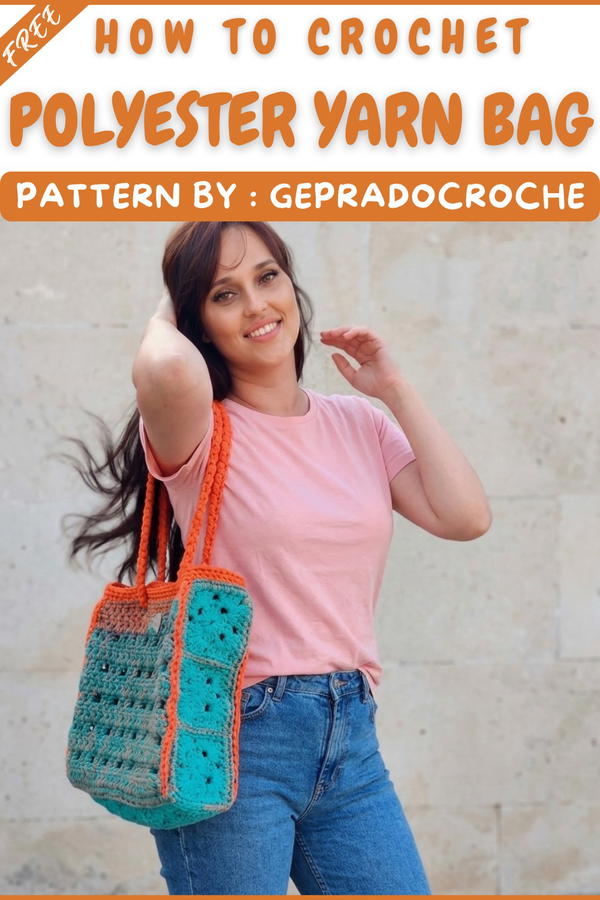
Bolsa Verana Crochet Pattern
The Bolsa Verana stands out with its elegant modular construction, bold square motifs, and a playful yet refined color palette. The use of Fischer Fios Policromia yarn ensures a lightweight accessory, while a strong stitch pattern makes the bag durable for daily use. Composed of nine squares, clean seams, and a balanced double-crochet body, this bag combines beginner-friendly techniques with a contemporary and stylish finish.
Pattern Important Tips
- Accuracy in Motif Size: Ensure each square motif measures approximately 9cm before joining for a uniform and symmetrical bag.
- Back Loop Joining: When seaming squares, use slip stitches in the back loops for beautifully raised seams and flexible structure.
- Seam Placement: Carefully mark the stitch count when joining and attaching the strap; this ensures the bag maintains symmetry and balance.
- Magic Ring Mastery: Form a tight magic ring foundation to avoid a hole in the center of the squares.
- Finishing Touch: Use a lighter gently to seal synthetic yarn ends, preventing future fraying.
- Decreases for Gusset: Remember to skip one stitch at the midpoint of the side seam for subtle gusset shaping and a boxier bag base.
Skill Level
Beginner to Intermediate: The modular square construction and join techniques are friendly to newcomers, though precision in measurements and neat seaming is a plus for best results.
Materials
- 1 skein Fischer Fios Policromia (approx. 400m, color Verano 913)
- 6mm crochet hook
- Scissors
- Lighter (for melting and finishing synthetic yarn ends)
- Measuring tape
- Stitch markers (optional but helpful for seam placement and joining)
Gauge and Stitch Pattern
- Gauge: Each motif square should measure approximately 9cm x 9cm when completed.
- Stitch Pattern: Motifs are worked in high double crochet (likely a treble or extended double crochet) with ch-separated spaces. The body alternates solid double crochet rows and rows of paired doubles separated by chains.
Stitch Abbreviations
- ch: chain
- sc: single crochet
- dc: double crochet
- hdc: half double crochet
- sl st: slip stitch
- tr: treble crochet (high double crochet)
- st(s): stitch(es)
- rep: repeat
- MR: magic ring
Special Stitches
- High Double Crochet (Tr or Extended DC): Yarn over twice, insert hook in next stitch, yarn over and pull up loop, (yarn over, draw through 2 loops) three times.
- Magic Ring (MR): Begin with a loop, work initial stitches into the ring, and pull tail tight to close.
- Back Loop Slip Stitch Join: Seam motifs together by slip stitching through back loops only of corresponding stitches on both motifs for a raised, flexible seam.
Notes for Starting the Pattern
- Familiarize yourself with the magic ring and confirm your high double crochet produces squares of the desired size.
- Keep a measuring tape and stitch markers handy for accurate motif construction and joining.
- Lay out all nine squares before joining to determine square orientation for color pooling if desired.
Pattern Instructions
1. Squares (Make 9)
- For each square:
- Create a magic ring (MR).
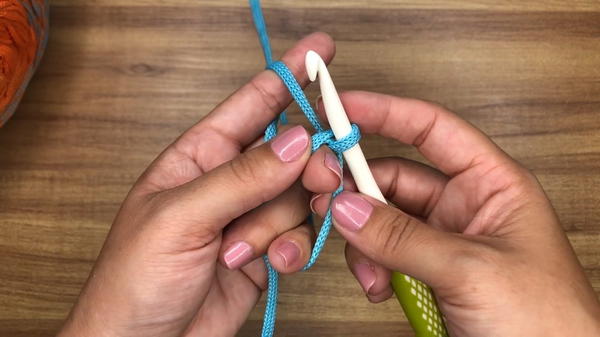
- Round 1: Ch 3 (counts as first dc), work high double crochets into MR, with ch-1 spacing as specified (typically 4 tr per side, ch 2 at corners).
- Subsequent Rounds: Continue with high double crochet stitches, increasing at corners (usually ch-2 at corners), until the square measures 9cm on each side.
- Fasten off and weave in ends.
- Repeat for a total of 9 squares.
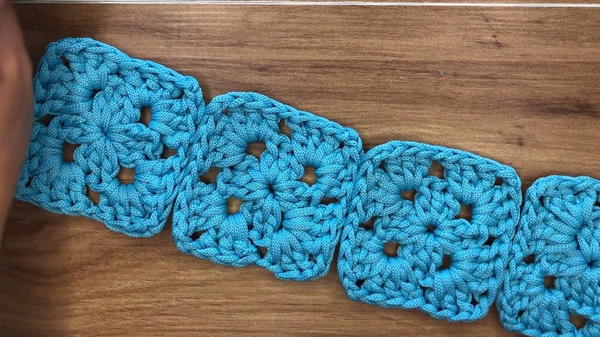
- Create a magic ring (MR).
2. Joining the Squares
- Arrange squares in a 3-by-3 grid.
- Use slip stitch in the back loops only to join squares vertically and then horizontally, ensuring 10 stitches align and are left marked at each junction for a neatly proportioned seam.
- Continue until all nine squares are joined into a larger square panel.
3. Contour
- With right side facing:
- Work a full round of single crochet (using a low, tight sc) evenly around the entire perimeter of the seamed squares.
- Place one sc in each stitch, with two or three sc at each corner to help the piece lay flat.
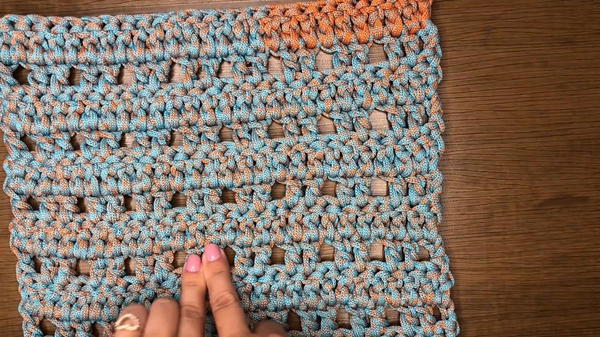
4. Main Body
- Begin working back and forth in rows from one side of the contour.
- Row 1: Work a solid row of 27 dc (double crochets) across (adjust if your square counts vary, use seam markers as guidelines).
- Row 2: Ch 3 (counts as dc), dc in next st, ch 1, skip 1 st, dc in next 2 sts, rep across (ending with a dc); total 18 double crochets separated by ch-1 spaces.
- Repeat alternating Row 1 (solid 27 dc) and Row 2 for 11-12 rows as preferred for desired bag depth.
5. Side Seams
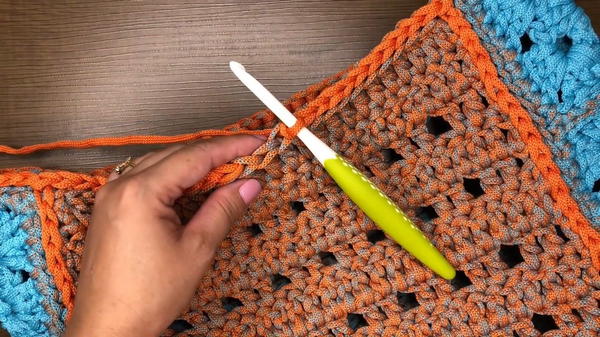
- Fold the body, matching up the squares and the newly made body edge.
- Use slip stitch seams (sl st through both layers) to join the sides.
- At the midpoint of each side, skip one stitch as you slip stitch to create a gusset, giving the bag a more 3-dimensional shape and a firmer base.
- Repeat for both sides.
6. Edge and Finish
- Work a border around the entire top opening:
- One round of slip stitch, followed by one round of single crochet for a neat, durable edge.
- Keep stitches loose and even for comfort and anti-curling.
7. Strap
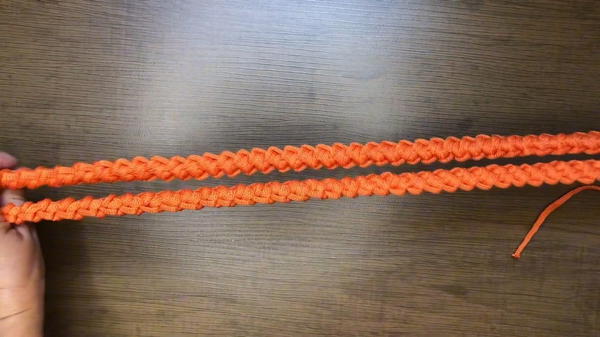
- Foundation: Work a length of chains to your desired strap length.
- Body: Work back and forth in a sturdy pattern (e.g., slip stitch, sc, or hdc) for a strap wide enough for comfort.
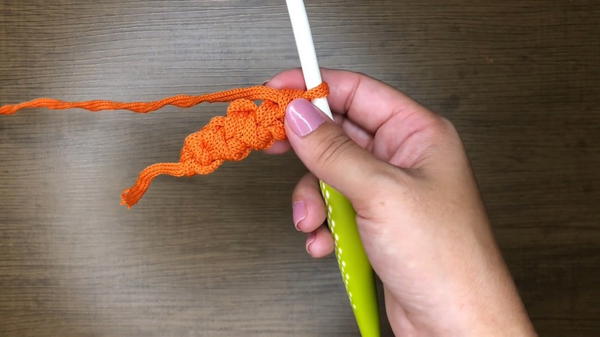
- Attachment: Sew or crochet the strap securely to the bag, counting 7 stitches in from each side of the bag opening for symmetry and balanced wear.
8. Final Touches
- With a lighter, carefully melt and seal all yarn ends (suitable for synthetic yarn).
- Check all seams and joins for tautness and adjust if necessary.
Assembly and Sizing
- Each square: 9cm x 9cm
- Bag panel (3x3 squares): approx. 27cm x 27cm
- Body depth after adding rows: final height/depth can be adjusted with extra rows for desired capacity.
- Strap placement: attached 7 stitches in from bag sides for centering; length customizable.
Final Words
Bolsa Verana offers both structure and versatility through a modular crochet approach and subtle shaping. The pattern is accessible for newer crocheters yet yields a chic and functional result through attention to joining methods, neat borders, and solid construction. The vibrancy of Policromia yarn and the modular design support creative variations in color and layout, allowing this bag to become a unique expression for every maker.