Mint Design Blog


Give your wardrobe a cheerful twist with the Free Crochet T-shirt Yarn Bag Pattern as you crochet a colorful and sturdy tote perfect for outings and errands.
Making your own bag can be a lot of fun and super rewarding. The Free crochet T-shirt Yarn Bag Pattern is just the kind of project that turns simple yarn into something stylish and practical. Thanks to Gepradocroche, who walks you through every step, you get to create a bag that’s not only great to look at but also tough enough for everyday use.
Stylish Free Crochet T-Shirt Yarn Bag Pattern Tutorial
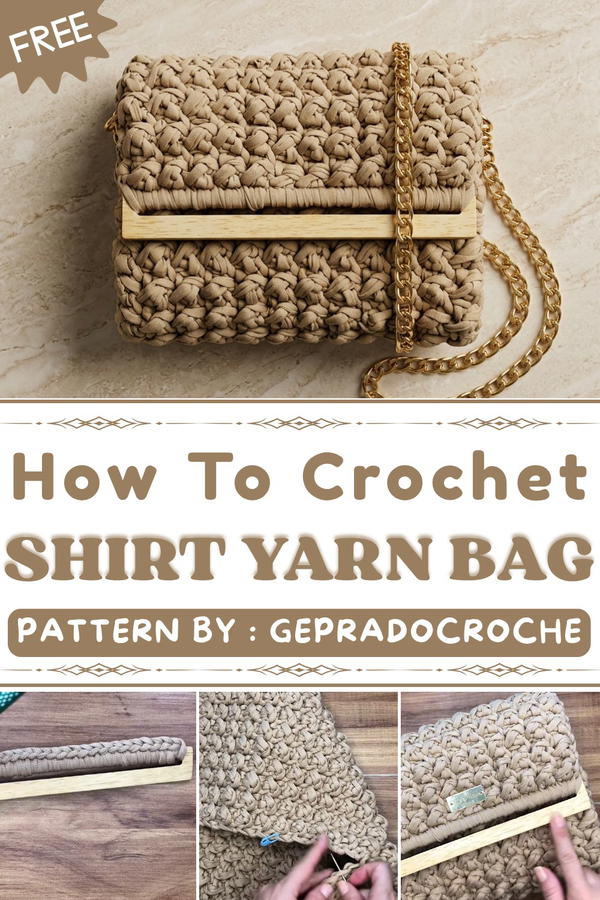
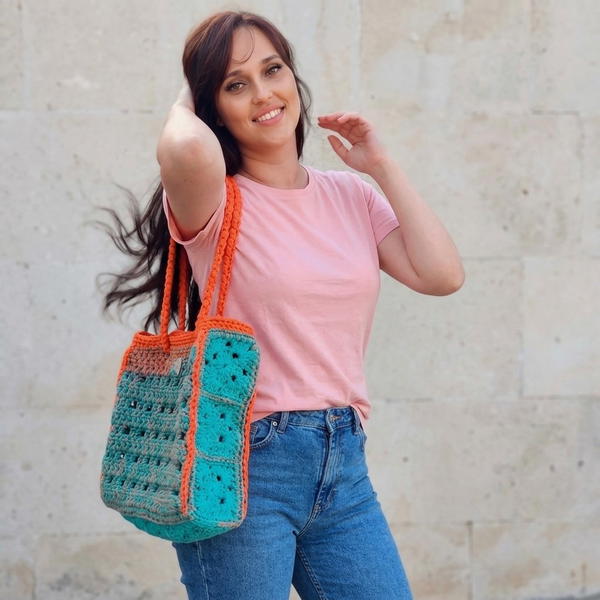
This bag feels soft and squishy thanks to the thick T-shirt yarn, but don’t let that fool you, it’s strong and ready to carry your favorite things. Its shape is a nice roomy rectangle with a solid base, perfect for holding books, snacks, or a little shopping haul. The stitches create a cool, cozy texture that makes the bag look unique and fresh at the same time.
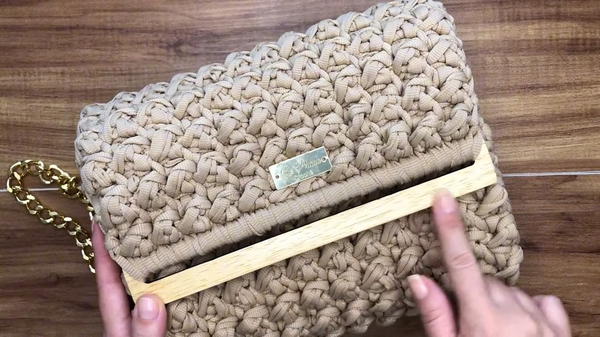
One of the most fun parts of this pattern is the handle, which blends right into the body of the bag. It keeps everything looking neat and stylish, great for a casual day out. Plus, the colors you can choose make the bag a pretty decoration to have hanging at home when you’re not using it.
This bag is an awesome gift idea too, especially for friends who love handmade goodies. It’s useful, charming, and easy to make, the perfect mix for a crochet project you’ll actually want to carry around.
Bag Crochet Pattern
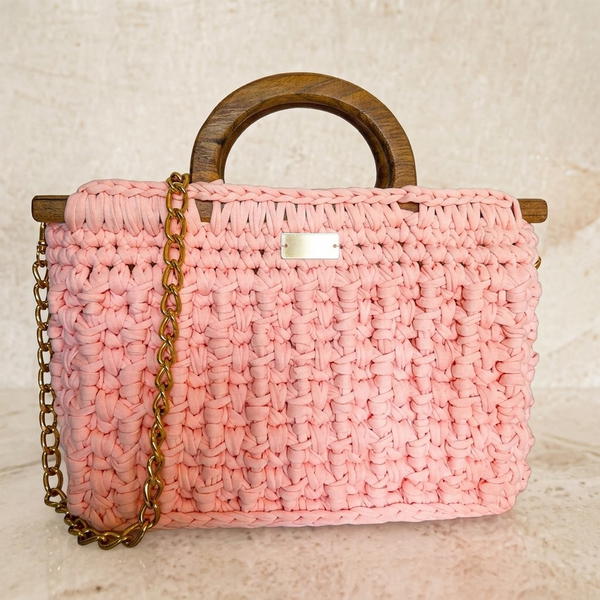
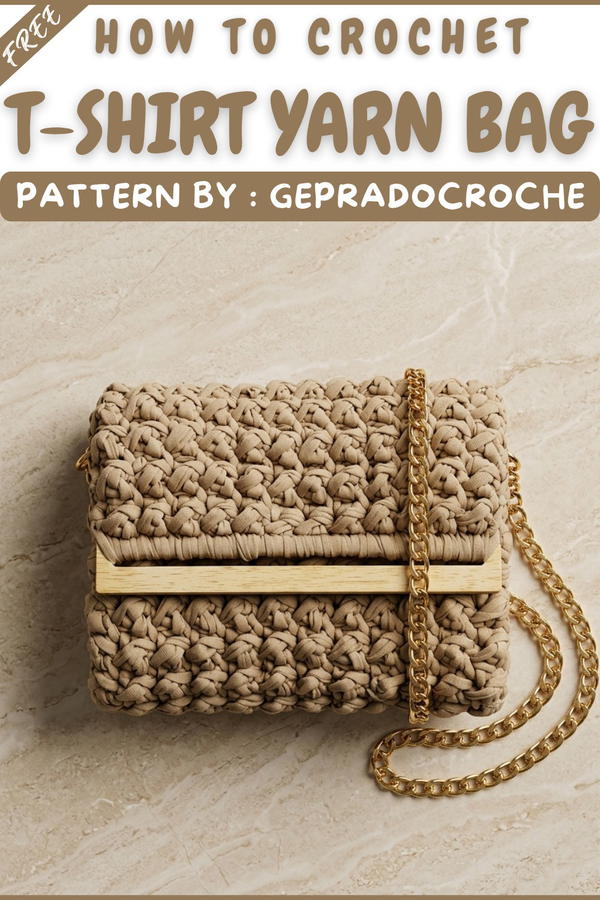
The Bag blends contemporary chunky crochet with elegant wooden accessories and thoughtful details. Featuring a textured stitch pattern and sturdy side panels, this piece brings together fashion and function in a structured accessory, perfect for elevating your everyday look. Precise joining and careful shaping are crucial to the professional result.
Pattern Important Tips
- Consistent Stitch Height: Work your single crochet stitches into the wooden panels at an even height for a straight, uniform edge when attaching to the bag body.
- Watch Tension with Chunky Yarn: 25mm Fisher yarn is hefty; work with relaxed tension to avoid unnecessary bulk or stiffness, especially when alternating slip stitches and double crochets.
- Turn at End of Each Row: For flat, squared fabric, always turn your work after every row.
- Seam Alignment: When sewing side panels, line up body rows and panel stitches for perfect corners and a seamless finish.
- Use the Proper Hook: Use the larger hook for the main fabric and a smaller hook for side panels and details to make insertion into tight wooden holes easier and neater.
Skill Level
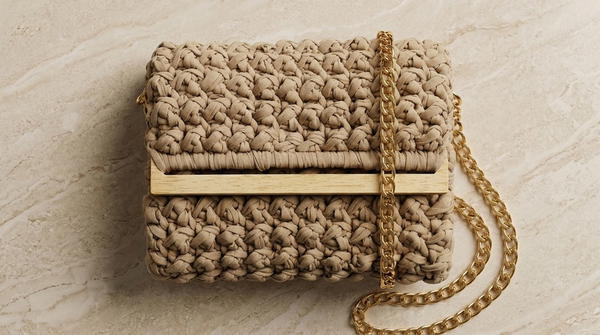
Intermediate. The pattern requires comfort with working into accessory pieces, alternating stitches, shaping through decreases, and precise assembly.
Materials
- 2 skeins 25mm Fisher yarn (approx. 525g)
- Wooden kit from Cordel Colorido (includes flap and side pieces)
- 7mm crochet hook (main body)
- Smaller crochet hook for side panels
- Magnetic clasp
- Chain strap
- Tapestry needle
- Brand label (optional, e.g., Fio a Fio Store)
Gauge and Stitch Pattern
- Gauge: Not strongly critical with chunky yarn, but expect about 24cm width x 20cm height for 50 rows as written.
- Stitch Pattern: Rows of alternating slip stitch and double crochet create a dense but flexible fabric.
Stitch Abbreviations
- sc: single crochet
- sl st: slip stitch
- dc: double crochet
- dec: decrease (as instructed)
- ch: chain
Special Stitches
- Alternating Row Pattern: In every row, alternate slip stitch and double crochet (starting with the required stitch according to the row setup).
- Decrease Stitch (dec): Either use a slip stitch decrease or a double crochet decrease, as called for by the pattern, by working two stitches together.
Notes for Starting the Pattern
- Prepare all materials and open up wooden accessories before beginning.
- Attach yarn cleanly to wooden pieces, securing with an even tension.
- Keep a tapestry needle and smaller hook at hand when transitioning from main body to sidework and for seaming.
Pattern Instructions
1. Working the Flap/Accessory
- Using your 7mm hook, join yarn to the wooden flap accessory.
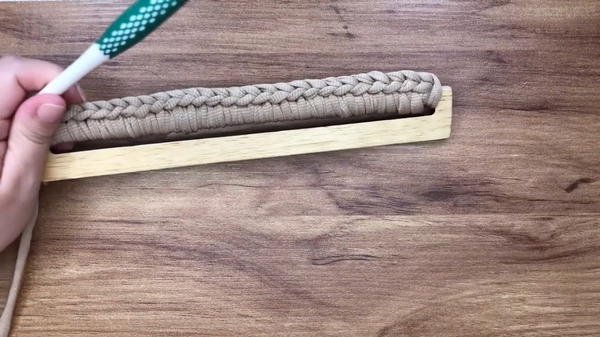 Work 25 single crochet (sc) stitches evenly spaced into the wooden flap holes.
- Do not count the initial joining stitch.
- Pay close attention to keeping stitch height consistent across the row.
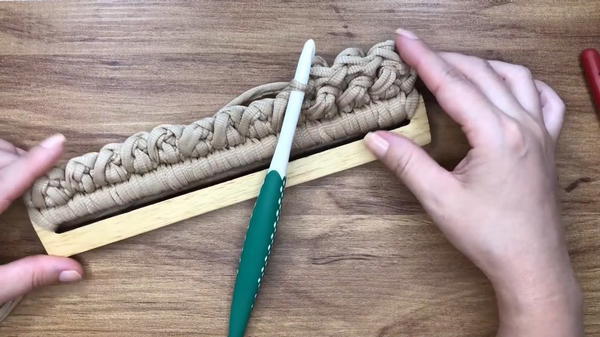
2. The Body
Main Body Rows:
- Row 1: Turn work. Begin row with either sl st or dc as needed (pattern is flexible on which to start). Alternate between sl st, then dc in the next stitch, repeating this sequence across all stitches (total: 25 stitches). End row, turn work.
- Rows 2-50: Turn at the end of each row. Continue the alternating slip stitch and double crochet pattern across all stitches. The fabric forms with texture and squish due to the two-stitch types.
- If beginning a row with a sl st, continue alternation; if ending with a dc, begin next row with sl st.
- Complete a total of 50 rows in this alternating pattern.
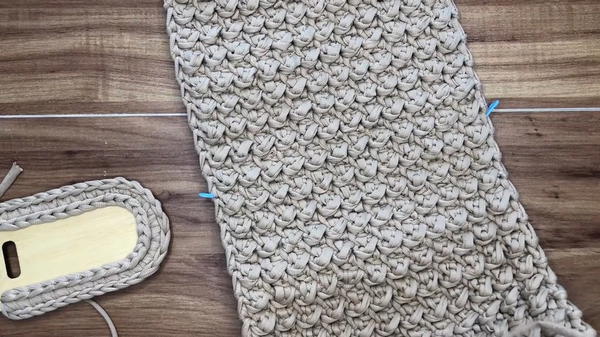
3. Shaping and Decreases
- At the end of the final (50th) row, begin a decreasing sequence as follows:
- Dec at each end of the next few rows (number based on shaping preference or as inferred from construction) by either double crocheting or slip stitching two stitches together.
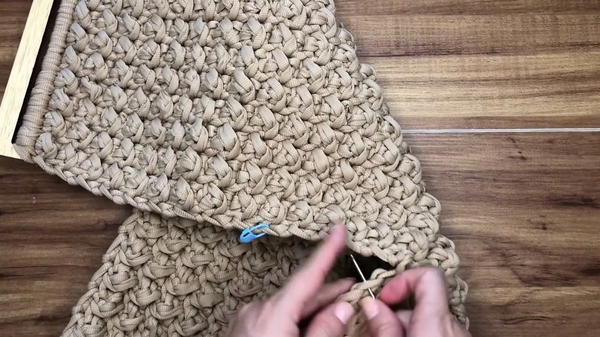
- This tapers the sides of the main fabric to fit snugly with the wooden side panels.
- Dec at each end of the next few rows (number based on shaping preference or as inferred from construction) by either double crocheting or slip stitching two stitches together.
4. Side Panels
- With the smaller crochet hook:
- Join yarn to the wooden side piece.
- Work 29 sc stitches into the matches holes on the side wood panel (repeat for both panels).
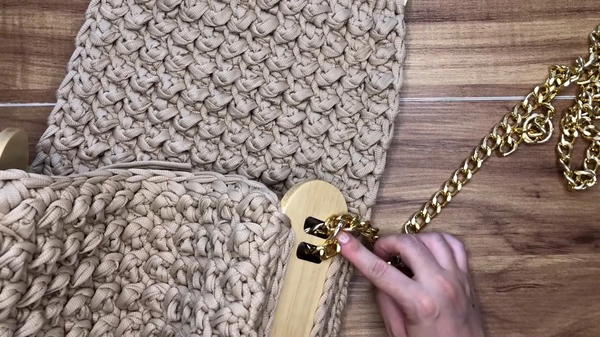
- Work a return row along the edge by slip stitching (sl st) into each sc, forming a crisp border.
5. Assembly and Finishing
- Sew Side Panels:
- Using a tapestry needle and the main yarn, align body rows with the sc and sl st border on each wooden side panel.
- Sew panels to the sides of the main body, making sure the row ends sit flush with the panel and all corners are square.
- Shape the Bag:
- Fold side panels inward to create the bag’s 3D structure. The bulk of the Fisher yarn will fill out the shape naturally.
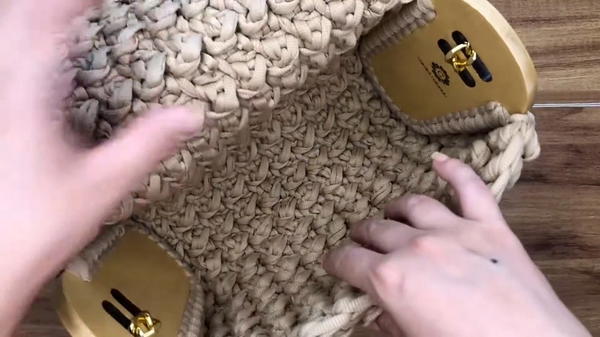
- Fold side panels inward to create the bag’s 3D structure. The bulk of the Fisher yarn will fill out the shape naturally.
- Attach Hardware:
- Install magnetic clasp at the bag opening center for easy closure.
- Attach chain strap using the side panel holes or predrilled hardware holes.
- If desired, sew the brand label onto a visible spot at the front or side.
Assembly and Sizing
- Finished dimensions: Approx. 24 cm (width) x 20 cm (height) x 12 cm (depth).
- Proportions are dictated by yarn bulk and handle placement; the wood’s rigidity ensures crisp lines while the fabric stretches naturally into a structured silhouette.
Final Words
The Lívia Bag beautifully marries crochet and woodworking, using bold Fisher yarn and precision wooden accessories for a look that’s both contemporary and timeless. The alternating slip stitch and double crochet rows produce a distinctive texture, while careful attention to seaming and shaping gives the bag structure and durability. Thoughtful finishing touches, like the magnetic clasp and branded detailing, create a professional ready-to-wear accessory—easily personalized in color or hardware for your own signature look.