Design a charming and practical accessory with this simple crochet bag pattern for a purse, wallets and handbag that seamlessly blends functionality and beauty.
Creating a handmade bag can be a rewarding and fun experience, especially when following a clear and detailed guide. The creative team behind U R Unik has crafted a wonderful tutorial that makes this project accessible to crocheters of all levels. Using simple materials like T-shirt yarn, wooden handles, and a size 6 hook, this project comes together beautifully with just a few tools.
Easy Free Crochet Bag Pattern for Everyday Use
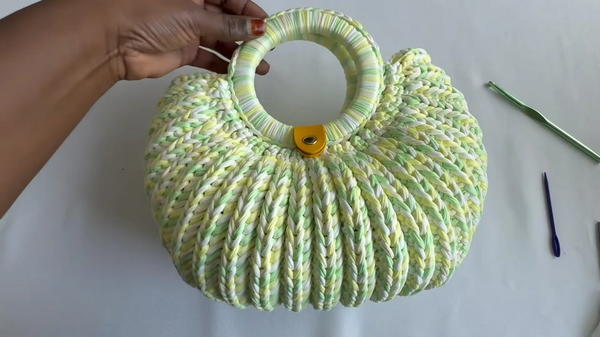
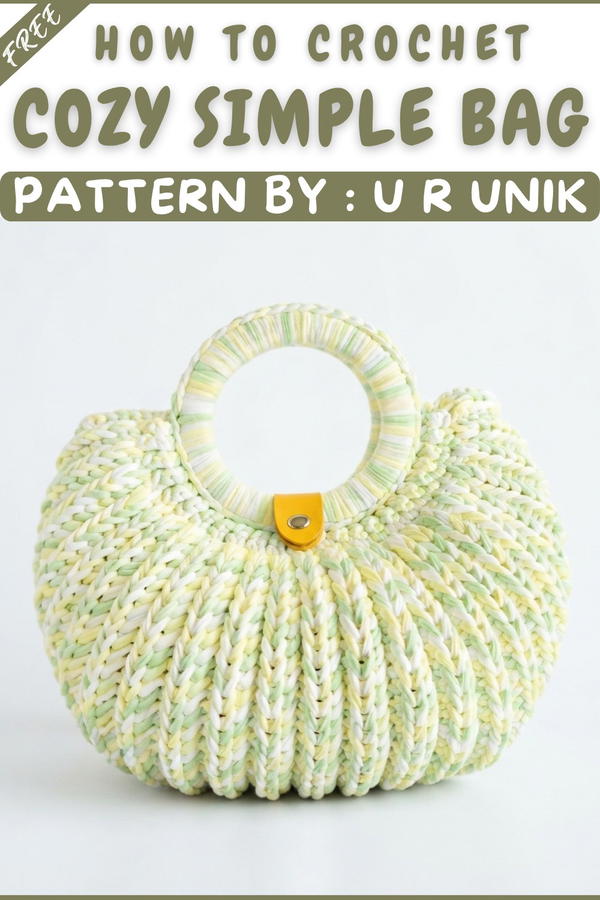
This bag showcases a unique rounded shape, formed by carefully increasing and then decreasing stitches to create a smooth, curved silhouette. The design uses tightly worked single crochet stitches on the back loops only, giving the bag a sturdy structure without losing flexibility. The pattern’s standout feature is the triple increase and decrease stitches, which shape the bag's soft arch and help it fit perfectly between the two wooden handles.
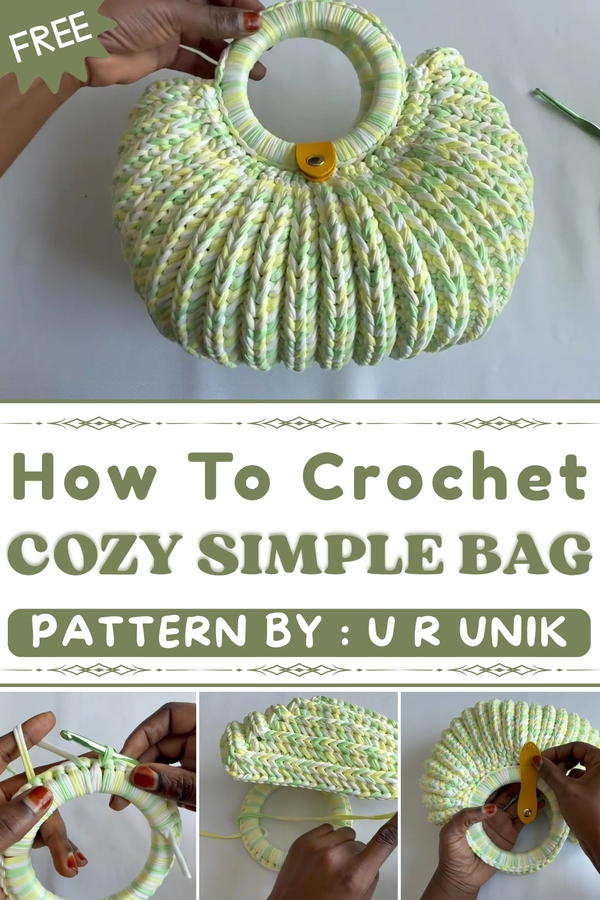
Not only is this bag visually appealing with its neat rows and clean lines, but it is also very functional. It’s perfect for everyday use, whether for carrying essentials or as a charming gift made with love. The handles add a rustic touch, balancing style and comfort.
The step-by-step pattern breaks down all parts of the bag, making complex shaping easy to follow. This project supports creativity while building crochet skills in shaping and finishing. Overall, this free crochet bag pattern offers a blend of durability, elegance, and handmade charm that everyone can appreciate.
Modern T-Shirt Yarn Handle Bag Pattern
This bag pattern brings together striking structure and soft texture, perfect for showcasing the bold look of T-shirt yarn. The bag features a sculptural silhouette enhanced by strategic increases and decreases, and sturdy wooden handles for a true designer-worthy finish. A perfect project for intermediate crocheters, this pattern yields a charming, functional accessory that's equally suited for everyday wear or special occasions.
Pattern Important Tips
Handle Attachment and Consistency
- Always ensure evenly spaced single crochets around the handles to avoid puckering or bunching at the top edge.
- Maintain consistent tension, especially when crocheting with T-shirt yarn, as even small changes in tension can lead to noticeable differences in stitch size.
Increase and Decrease Placement
- Place all treble increases (TR INC) and treble decreases (TR DEC) as indicated for smooth shaping.
- Begin and end each row with two slip stitches (SLST) to keep the bag edges firm and in shape.
Back Loop Only Technique (BLO)
- Working in the back loop only gives this bag a defined ribbed look, adding both visual interest and structural integrity.
Skill Level
Intermediate. Crocheters should be comfortable with basic stitches, increases, decreases, and handling thicker yarn and hardware.
Materials
- 5 rolls of 32m T-shirt yarn (approx. 160 meters in total)
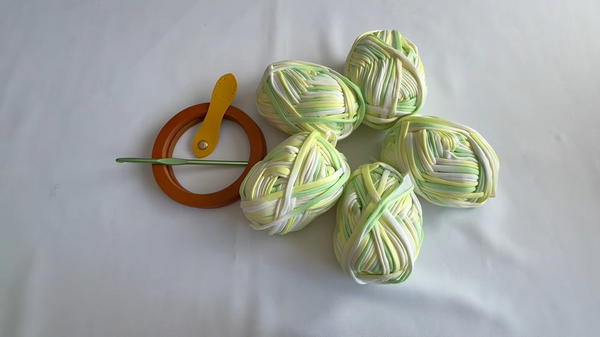
- 2 wooden handles, each approx. 10cm (4 inches) in diameter
- Tag for decoration or branding
- 6mm crochet hook
- Yarn needle (for finishing)
- Scissors
Gauge (and Stitch Pattern)
Gauge is not critical, as the sturdy nature of T-shirt yarn provides shape. For the reference:
- 10 sc × 10 rows in BLO with 6mm hook measures about 10 cm × 10 cm (4" × 4")
The body is created using single crochet (sc) in the back loop only (BLO), with pronounced shaping from treble increases and decreases.
Stitch Abbreviations
- SC: single crochet
- SLST: slip stitch
- BLO: back loop only
- Ch: chain
- TR INC: treble increase (3 SC in one stitch)
- TR DEC: treble decrease (single crochet three stitches together)
Special Stitches
Treble Increase (TR INC):
- Work 3 single crochets into the same stitch. This creates a significant widening at the bag’s midpoint for a strong central expansion.
Treble Decrease (TR DEC):
- Single crochet three stitches together: Insert hook in next stitch, yarn over, pull up loop (2 loops). Repeat this process in each of the next two stitches (total 4 loops on hook). Yarn over and pull through all four loops.
Notes for Starting the Pattern
- Begin by attaching yarn to the wooden handles with slip knot for security.
- Always count stitches, increases, and decreases to ensure the bag’s sides remain symmetrical.
- Remember to work all stitches in the back loop only (unless specified).
- The bag body is constructed in one long strip, with shaping created by increases and decreases, then folded and seamed.
Detailed Pattern
Handles/Foundation
- Attach yarn to first wooden handle.
- Work 48 SC evenly around the first handle.
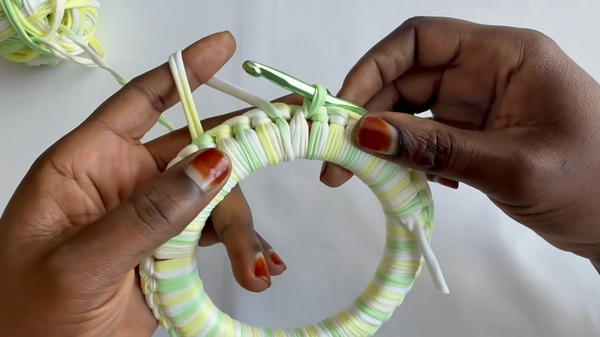
- Ch 17 (this forms the section between the two handles).
- Work 48 SC around the second handle.
- Join ends securely—you now have a continuous loop with two handles joined by a chain bridge.
Body Shaping
Increasing Rows
Each row: Start with 2 SLST, end with 2 SLST. All stitches are in BLO.
- R1: 2 SLST, 13 SC, 2 SLST
- R2: 2 SLST, 6 SC, 1 TR INC, 6 SC, 2 SLST
- R3: 2 SLST, 7 SC, 1 TR INC, 7 SC, 2 SLST
- R4: 2 SLST, 8 SC, 1 TR INC, 8 SC, 2 SLST
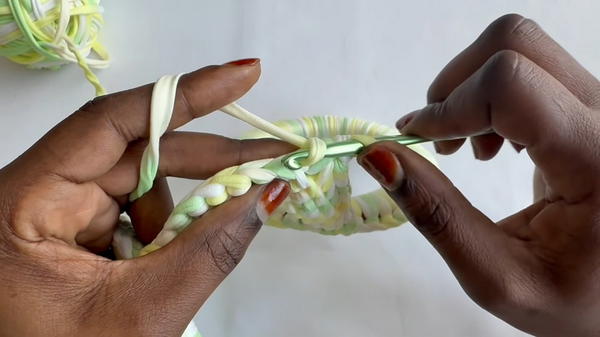
- R5: 2 SLST, 9 SC, 1 TR INC, 9 SC, 2 SLST
- R6: 2 SLST, 10 SC, 1 TR INC, 10 SC, 2 SLST
- R7: 2 SLST, 11 SC, 1 TR INC, 11 SC, 2 SLST
- R8: 2 SLST, 12 SC, 1 TR INC, 12 SC, 2 SLST
- R9: 2 SLST, 13 SC, 1 TR INC, 13 SC, 2 SLST
- R10: 2 SLST, 14 SC, 1 TR INC, 14 SC, 2 SLST
- R11: 2 SLST, 15 SC, 1 TR INC, 15 SC, 2 SLST
- R12: 2 SLST, 16 SC, 1 TR INC, 16 SC, 2 SLST
- R13: 2 SLST, 17 SC, 1 TR INC, 17 SC, 2 SLST
- R14: 2 SLST, 18 SC, 1 TR INC, 18 SC, 2 SLST
- R15: 2 SLST, 19 SC, 1 TR INC, 19 SC, 2 SLST
- R16: 2 SLST, 20 SC, 1 TR INC, 20 SC, 2 SLST
Middle Section (No Increase/Decrease)
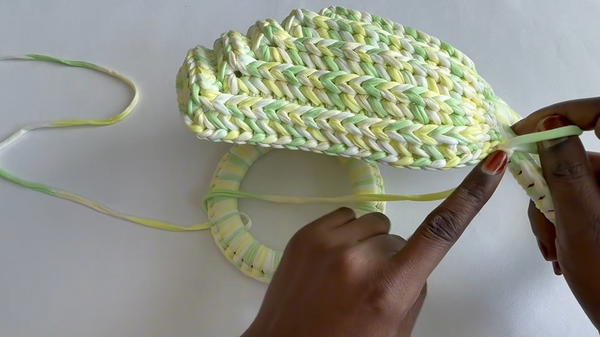
- R17 – R36: 2 SLST, 43 SC, 2 SLST
Decreasing Rows
For decreases, work 1 TR DEC at the middle point of each row.
- R37: 2 SLST, 20 SC, 1 TR DEC, 20 SC, 2 SLST
- R38: 2 SLST, 19 SC, 1 TR DEC, 19 SC, 2 SLST
- R39: 2 SLST, 18 SC, 1 TR DEC, 18 SC, 2 SLST
- R40: 2 SLST, 17 SC, 1 TR DEC, 17 SC, 2 SLST
- R41: 2 SLST, 16 SC, 1 TR DEC, 16 SC, 2 SLST
- R42: 2 SLST, 15 SC, 1 TR DEC, 15 SC, 2 SLST
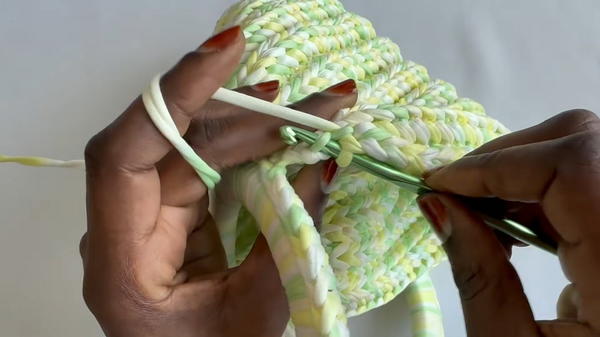
- R43: 2 SLST, 14 SC, 1 TR DEC, 14 SC, 2 SLST
- R44: 2 SLST, 13 SC, 1 TR DEC, 13 SC, 2 SLST
- R45: 2 SLST, 12 SC, 1 TR DEC, 12 SC, 2 SLST
- R46: 2 SLST, 11 SC, 1 TR DEC, 11 SC, 2 SLST
- R47: 2 SLST, 10 SC, 1 TR DEC, 10 SC, 2 SLST
- R48: 2 SLST, 9 SC, 1 TR DEC, 9 SC, 2 SLST
- R49: 2 SLST, 8 SC, 1 TR DEC, 8 SC, 2 SLST
- R50: 2 SLST, 7 SC, 1 TR DEC, 7 SC, 2 SLST
- R51: 2 SLST, 6 SC, 1 TR DEC, 6 SC, 2 SLST
Assembly and Sizing
- Fold the strip to bring both handles together, forming the actual body compartment.
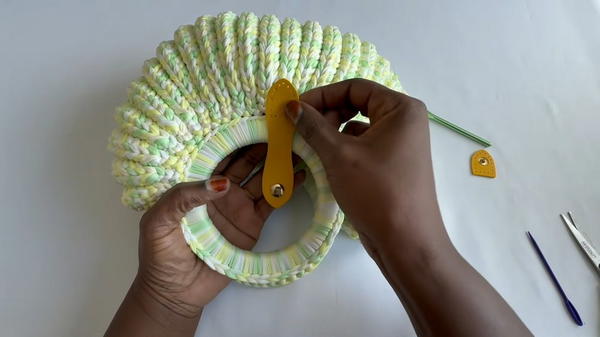
- Position the tag at your preferred spot and sew it securely with a yarn needle.
- Use a tapestry/yarn needle to seam the bag’s edges (side seams), matching up rows for a neat, mirrored look.
- Use any remaining yarn ends to reinforce join points or strengthen the middle section.
- Finished dimensions are approximately 30–34cm (12–13.5") wide and 25cm (10") tall, depending on yarn stretch and tension.
Final Thoughts
A sculpted base, controlled increases, and structured decreases ensure that this handbag stands out in craftsmanship and durability. The ribbed textural effect and architectural shape create a modern, fashionable result, complemented by sturdy handles. Knitters may easily adjust length or width by increasing or decreasing repetition of central rows, making this an ideal bag for personalization. This project offers a blend of practical skill and creative expression, yielding a finished accessory ready to elevate everyday outfits.