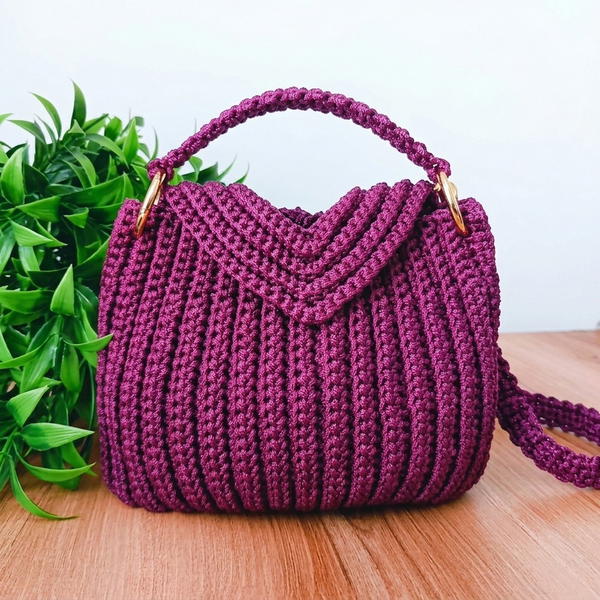
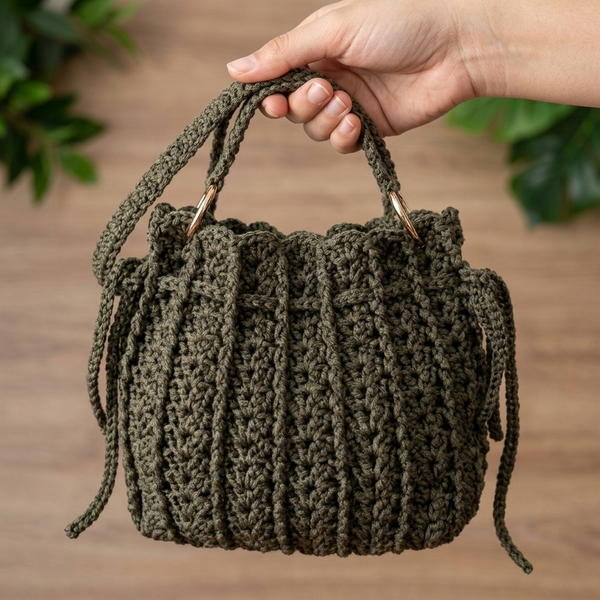
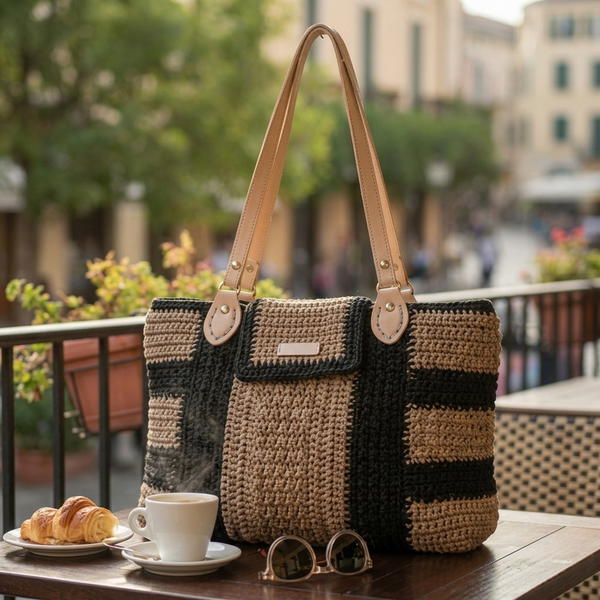
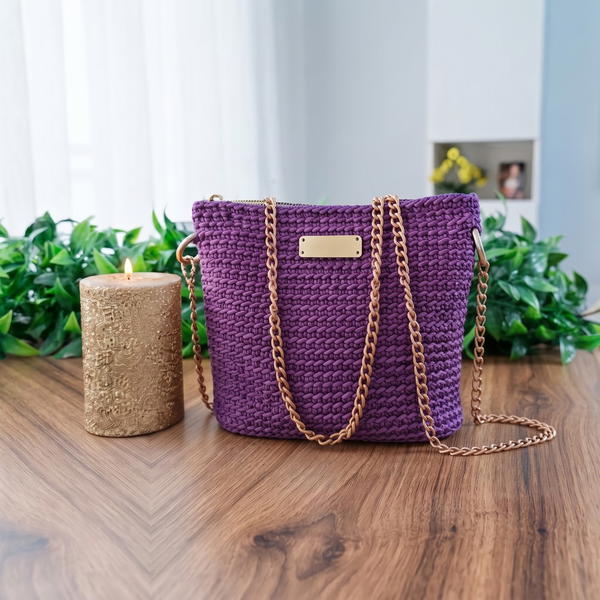
Add a touch of charm to your makes with this free crochet half moon bag pattern and shape a soft curved bag that you will love to carry every day.
Creating a bag that combines style and practicality becomes a true pleasure with the Free crochet Half Moon Bag Pattern. This charming project, skillfully demonstrated by U R Unik, guides you to create a unique accessory that is as beautiful as it is functional. Designed with thoughtful details, this half moon-shaped bag brings an artistic, handmade touch to everyday fashion.
Boho Crochet Half Moon Bag – Free Pattern and Instructions
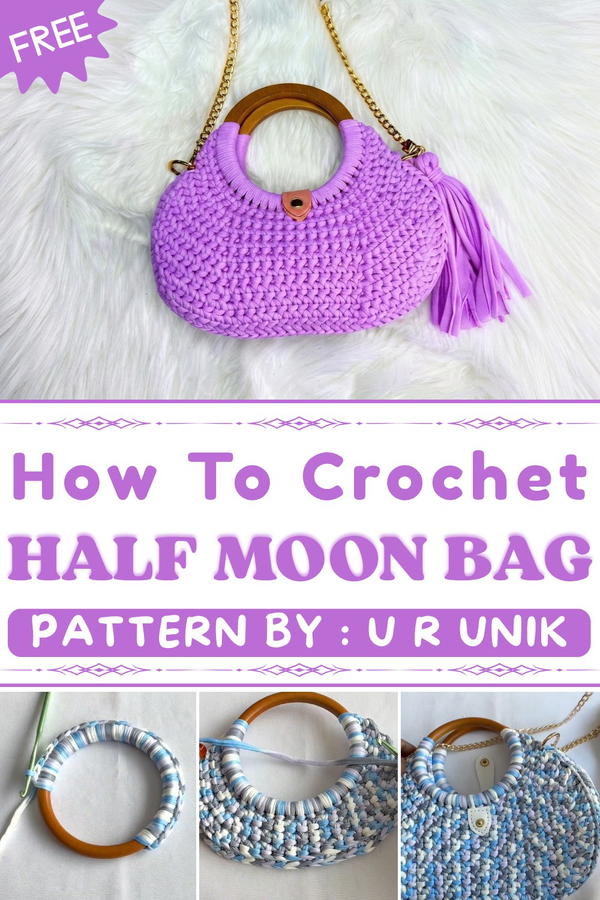
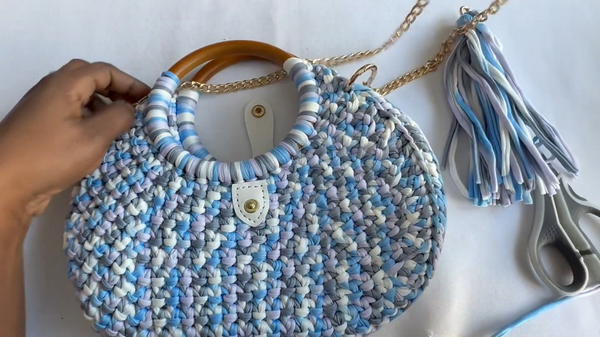
The bag boasts a smooth, curved silhouette reminiscent of a half moon, giving it a modern yet soft shape. Using T-shirt yarn, the texture is sturdy but flexible, offering durability without sacrificing comfort. The crochet stitches, worked carefully on both the base and the curvy sides, create an eye-catching pattern enriched by a mix of single crochet, half double crochet, and double crochet stitches. This results in a subtle play of raised textures and smooth areas that enhance the bag’s visual appeal.
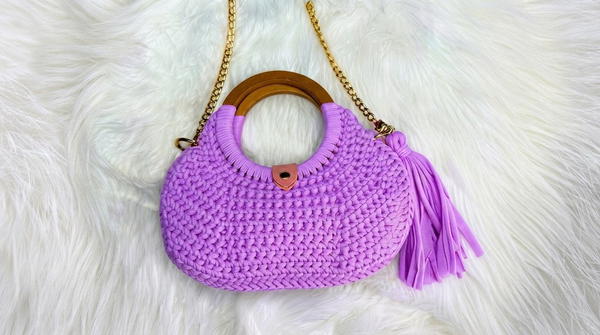
Functionally, the bag comes with wooden handles and optional charming chains and tassels, adding to its decorative charm. Its size is perfect for carrying essentials like phone, keys, and wallet, making it a great companion for casual outings. The handmade nature of the bag makes it a thoughtful gift that carries the warmth of personal effort and creativity.
This project provides simple yet clear steps to master shaping increases and decreases, making it suitable for those eager to grow their crochet skills while producing something stylish. The Free crochet Half Moon Bag Pattern stands out as a delightful blend of craftsmanship and style that you’ll love carrying or gifting.
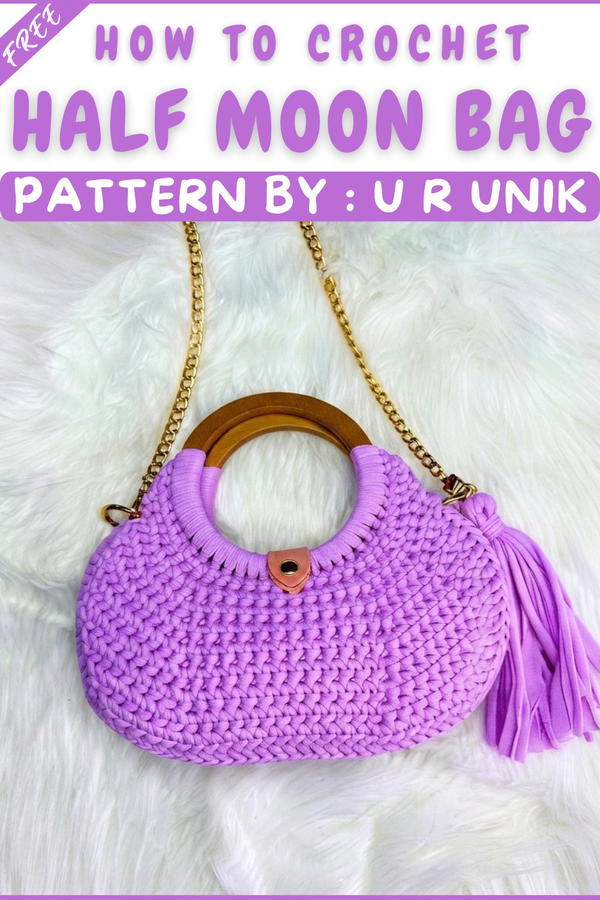
Half Moon T-Shirt Yarn Bag Crochet Pattern
Inspired by the curves and structure of classic half moon purses, this crochet bag features precise shaping, robust hardware, and a unique curved side. Worked in t-shirt yarn, it boasts impressive texture and durability, making it ideal for both functional everyday use and stylish accessorizing.
Pattern Important Tips
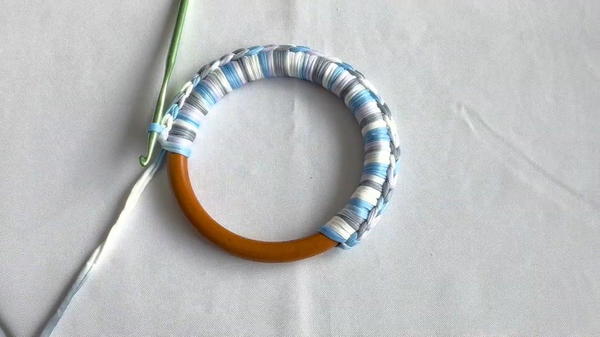
- Handle Foundation: Begin working directly onto a wooden handle for excellent rigidity and clean edges.
- Decreases and Increases: Each row’s shaping relies on strategic increases and decreases. Always count stitches carefully, particularly at row beginnings and ends.
- Chain and Turn: Every row starts with a chain 1 and turn. The first two stitches are skipped, this technique creates an intentional decrease and helps shape the half moon curve.
- Curved Sides: Use a combination of single crochet, half double crochet, and double crochet for side panels, blending smooth curves with strong structure.
- Assembly: For attaching hardware, position chains and rings thoughtfully for aesthetics and structural security.
Skill Level
Intermediate. This pattern is ideal for crocheters comfortable with increases/decreases and working directly onto hardware, as well as introducing compound stitches for smooth shaping.
Materials
- Yarn: Approx. 100 meters of t-shirt yarn
- Crochet hook: Size #6 (6mm)
- Wooden handles: 2, approx. 4 inches diameter each
- Chain hardware: 1 chain, 2 large open rings, 1 small open ring
- Extras: Sewing thread, needle, scissors, decorative tag
Gauge and Stitch Pattern
- Gauge is not critical. The finished panel size for a typical half moon shape is approx. 14–17 cm tall and 25–30 cm wide.
- Main stitches: single crochet (sc), half double crochet (hdc), double crochet (dc). Alternating rows of shaping create the curved form.
Stitch Abbreviations
- ch: chain
- sc: single crochet
- hdc: half double crochet
- dc: double crochet
- dec: decrease (single crochet two together)
- inc: increase (two single crochets in one stitch)
- st(s): stitch(es)
Special Stitches
- DEC (Decrease): Single crochet two stitches together to reduce stitch count.
- INC (Increase): Work two single crochets into the same stitch to add volume.
- Working onto handle: Crochet directly onto wooden handle for base foundation (details below).
Notes for Starting the Pattern
- Set up all hardware ahead of starting—ensure rings and chain sizes match the handle diameter and attachment points.
- Attach the yarn firmly to the handle before beginning row 0; tension is critical for initial structure.
- Each row begins with ch 1 and a turn, followed by skipping the first two stitches; count these as a decrease.
Detailed Pattern
Base Setup (Row 0)
- Using the #6 hook and t-shirt yarn, work 31 sc directly onto the wooden handle. This forms a solid foundation for the half moon shaping.
Main Body (Row-by-Row)
Tip: Each row starts with ch 1, turn, and skip the first two stitches (counts as a decrease). Work increases and decreases exactly where indicated to keep the curve.
- Row 1:
- 1 dec, 6 sc, 1 inc, 1 sc, 1 inc, 11 sc, 1 inc, 1 sc, 1 inc, 5 sc, 1 dec
- Row 2:
- 1 dec, 30 sc, 1 dec
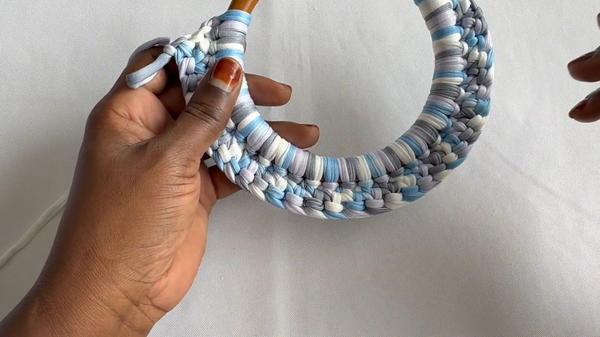
- 1 dec, 30 sc, 1 dec
- Row 3:
- 1 dec, 5 sc, 1 inc, 2 sc, 1 inc, 11 sc, 1 inc, 2 sc, 1 inc, 4 sc, 1 dec
- Row 4:
- 1 dec, 30 sc, 1 dec
- Row 5:
- 1 dec, 4 sc, 1 inc, 3 sc, 1 inc, 11 sc, 1 inc, 3 sc, 1 inc, 3 sc, 1 dec
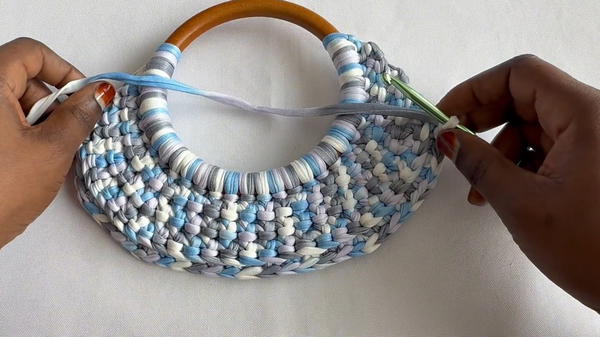
- 1 dec, 4 sc, 1 inc, 3 sc, 1 inc, 11 sc, 1 inc, 3 sc, 1 inc, 3 sc, 1 dec
- Row 6:
- 1 dec, 30 sc, 1 dec
- Row 7:
- 1 dec, 3 sc, 1 inc, 4 sc, 1 inc, 11 sc, 1 inc, 4 sc, 1 inc, 2 sc, 1 dec
- Row 8:
- 1 dec, 30 sc, 1 dec
- Row 9:
- 1 dec, 2 sc, 1 inc, 5 sc, 1 inc, 11 sc, 1 inc, 5 sc, 1 inc, 1 sc, 1 dec
- Row 10:
- 1 dec, 30 sc, 1 dec
- Row 11:
- 1 dec, 1 sc, 1 inc, 6 sc, 1 inc, 11 sc, 1 inc, 6 sc, 1 inc, 1 dec
- Row 12:
- 1 dec, 30 sc, 1 dec
- Row 13:
- 1 dec, 8 sc, 1 inc, 11 sc, 1 inc, 7 sc, 1 dec
- Row 14:
- 1 dec, 28 sc, 1 dec
- Row 15:
- 1 dec, 7 sc, 1 inc, 11 sc, 1 inc, 6 sc, 1 dec
- Row 16:
- 1 dec, 26 sc, 1 dec
- Row 17:
- 1 dec, 6 sc, 1 inc, 11 sc, 1 inc, 5 sc, 1 dec
- Row 18:
- 1 dec, 26 sc, 1 dec
The Sides (Curvy Panel)
After completing main body, proceed to form the curved sides:
- Starting from the 5th stitch on the side:
- 3 sc, 1 hdc, 15 dc
- Corner Increase:
- 2 dc in the same stitch
- Along the base:
- 24 dc
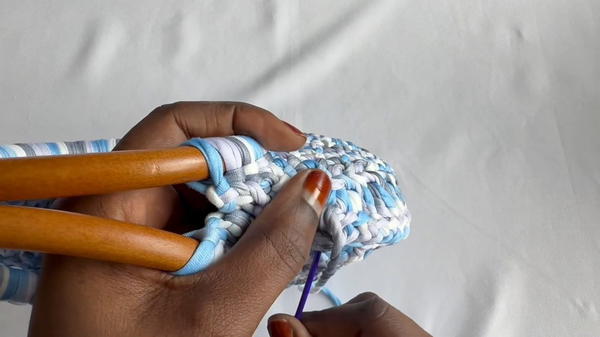
- Second corner increase:
- 2 dc in the same stitch
- Other side:
- 15 dc, 1 hdc, 3 sc
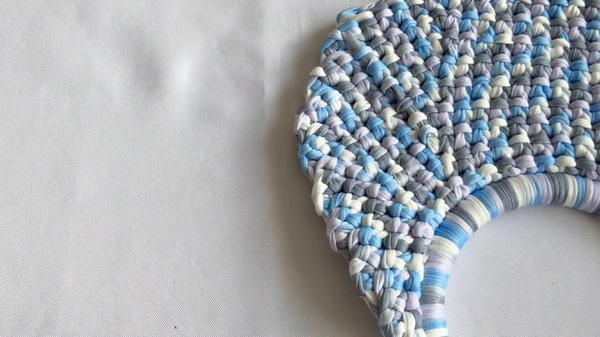
- 15 dc, 1 hdc, 3 sc
Repeat this curved panel for both sides of the half moon (mirrored for symmetry).
Assembly and Sizing
- Attach second wooden handle to upper edge symmetrically.
- Attach the chain using the two large open rings—one at each side of the bag, linked securely to handles or bag sides.
- Use the small open ring for extra reinforcement at the bag’s mid-point, or as needed for hardware attachment.
- Sew decorative tag with needle and sewing thread in desired position.
- Finished bag dimensions: Approx. 25cm wide, 17cm tall (depending on tension and yarn thickness).
Final Thoughts
Precision shaping and compound stitchwork combine for a classic half moon silhouette. Directly crocheting onto wooden handles provides exceptional stability, while strategic increases and decreases create the curved outline. The pattern’s hardware and side detailing bring artisanal finesse to the overall bag, making it suitable for occasions where both structure and style are desired. Adjust the yarn color and hardware to your taste for customization, ensuring the bag remains both practical and elegant.