Keep your baby warm and adorable with this free crochet star onesie pattern bringing you step-by-step instructions for a lovely handmade outfit.
Creating a cozy and adorable baby outfit has never been easier with this Free Crochet STAR BABY ONESIE Pattern. This sweet onesie is a delightful baby garment designed to provide both comfort and a touch of charm. You can find the detailed tutorial on the YouTube channel Gülşah Özcan Filiz, where you’ll be guided step by step to complete this heartwarming project. Whether for a newborn gift, a baby shower, or a keepsake, this onesie is a thoughtful and meaningful choice.
Free Crochet Star Baby Onesie Pattern for Your Little Star
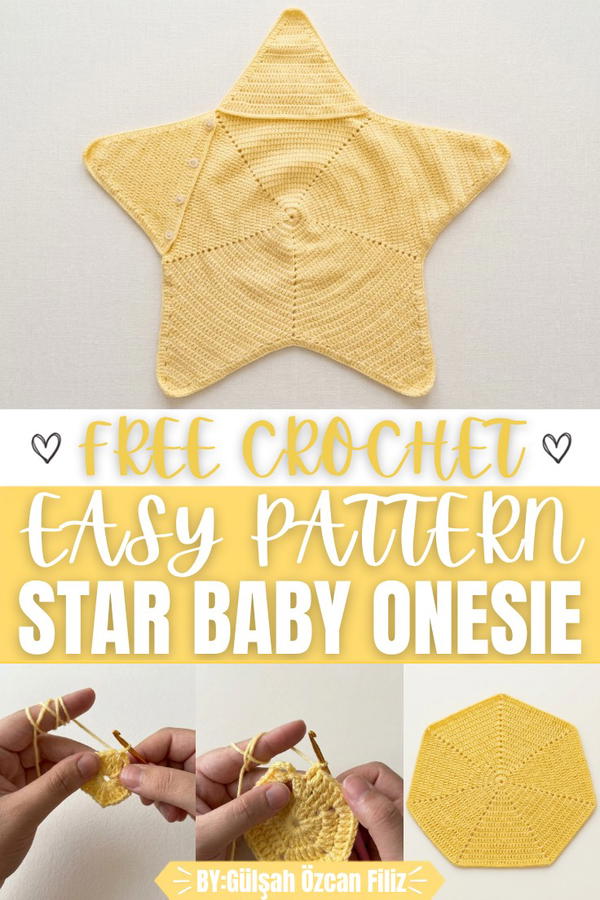
This baby onesie combines functionality with a striking star-shaped design that makes it truly unique. Its soft, textured fabric keeps little ones snug and cozy, while the star motif adds a playful and stylish twist. The onesie is practical yet beautifully elegant, featuring a button closure to make it easy for parents to use. The seamless blend of comfort and eye-catching aesthetics ensures it stands out among everyday baby clothing.
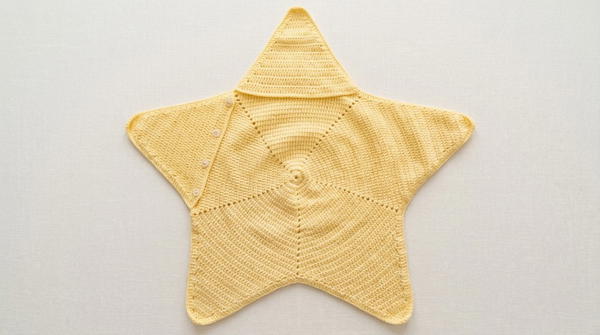
Ideal and versatile, it can serve as a memorable gift for expecting parents or as a standout piece in a baby’s wardrobe. The timeless design also makes it a charming keepsake to cherish as the baby grows. The tutorial offers clear and simple steps, perfect for all levels, to help you bring this beautiful star-inspired baby onesie to life. It is more than an outfit—it is a piece that carries warmth, care, and love in every stitch.
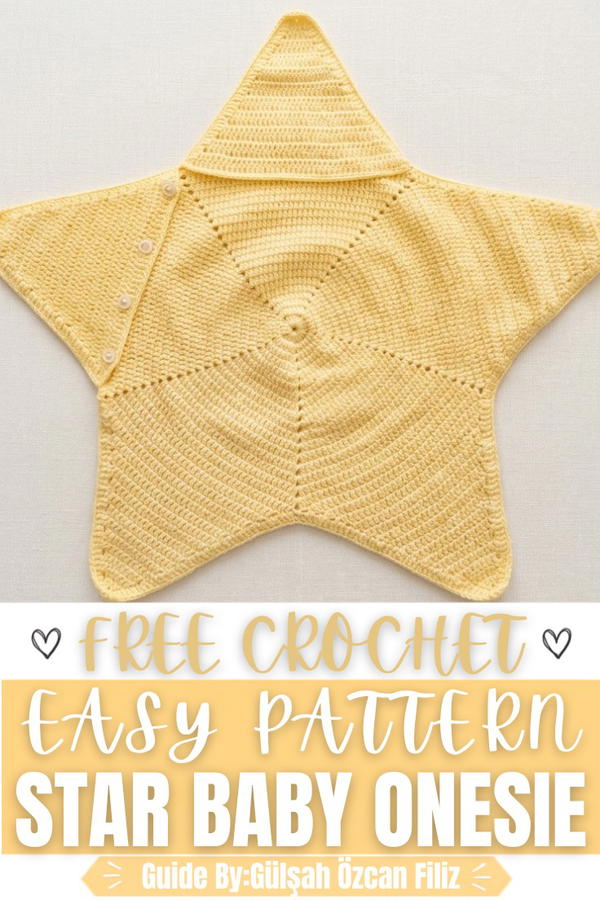
Star-Shaped Salt Garland Crochet Pattern
This star-shaped salt garland is a beautifully crafted crochet design that combines aesthetics and functionality. It is customizable to suit different ages and sizes, making it ideal for a range of uses, such as baby rompers or decorative garlands. The pattern consists of detailed instructions for creating its unique pentagon shape, triangular segments, and rounded edges. The design uses straightforward crochet techniques and features button closures for practicality. This project is suitable for anyone looking to create purposeful and visually appealing crochet work.
Skill Level
Intermediate: This pattern includes basic stitches, increases, decreases, shaping, and assembly. Some familiarity with crochet techniques is recommended.
Materials
To create this star-shaped salt garland, you will need:
- Yarn: Baby yarn, approximately 4 balls of 100g each (or any yarn of your choice).
- Crochet Hook: 3.5mm crochet hook for neat and uniform stitches.
- Buttons: Small buttons for closures (4 buttons recommended).
- Yarn Needle: For sewing and weaving loose ends.
- Scissors: For cutting yarn ends neatly.
- Measuring Tape (optional): To confirm dimensions.
Special Stitches
- Magic Ring (MR): A technique to start crocheting in the round with a tightly closed center.
- Single Crochet (SC): Insert the hook, yarn over, pull up a loop, yarn over again, and pull through two loops.
- Double Crochet (DC): Yarn over, insert the hook, yarn over and pull through the stitch (3 loops on the hook), yarn over and pull through two loops, yarn over and pull through the last two loops.
- Half Double Crochet (HDC): Yarn over, insert the hook, yarn over again and pull up a loop (3 loops on the hook), yarn over and pull through all three loops at once.
- Slip Stitch (Slst): Insert the hook into the stitch, yarn over, and pull through both loops on the hook.
Stitch Abbreviations
- MR: Magic Ring
- SC: Single Crochet
- DC: Double Crochet
- HDC: Half Double Crochet
- Slst: Slip Stitch
- Ch: Chain
Useful Tips
- Counting Stitches: Using a stitch marker or keeping track of stitches throughout the process can help prevent errors.
- Proper Tension: Maintain even tension throughout your work; adjust the size of the crochet hook if your stitches are too tight or loose.
- Customization: Adjust the pentagon size by increasing or decreasing the number of rows. This pattern offers flexibility to adapt for different sizes, whether for newborns or older children.
- Seaming: Join segments with single crochet stitches for a clean and neat appearance.
- Blocking: Consider blocking the triangular sections to ensure a smooth finish and uniformity.
Detailed Pattern
Pentagon Base (Main Body)
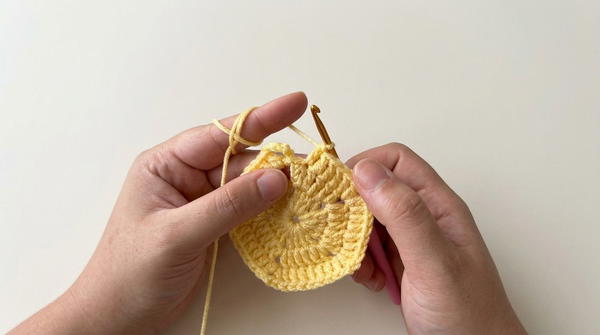
- Rnd 1: Start with 5 or 6 chains. Join the base with a slip stitch to form a ring. (5 or 6 chains)
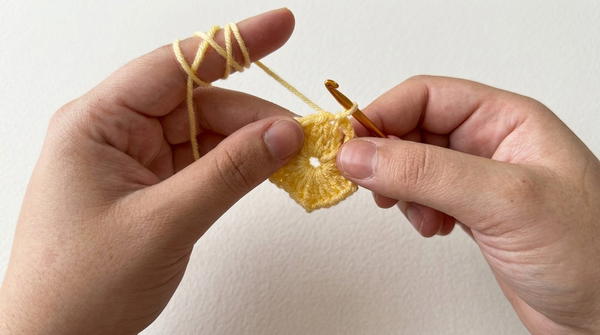
- Rnd 2: Begin with 3 Ch, yarn over, insert the hook into the circle, and work 4 DC into the space. (5 sts overall)
- 2 Ch: Make 4 more DCs into the space. Repeat until you have 5 groups of 4 DC. (5 clusters of 4 DC)
- Close the round with a slip stitch into the top of the starting chain.
Increasing Rows
- Row 3: Slip stitch into the next space, then slip into the gap. Begin with 6 Ch and work 2 DC into the space.
- For each cluster, place 1 DC into the top of each previous st. (Total DCs increase per row)
- To increase corners: Insert into gap with 1 DC, 2 Ch, and 1 DC.
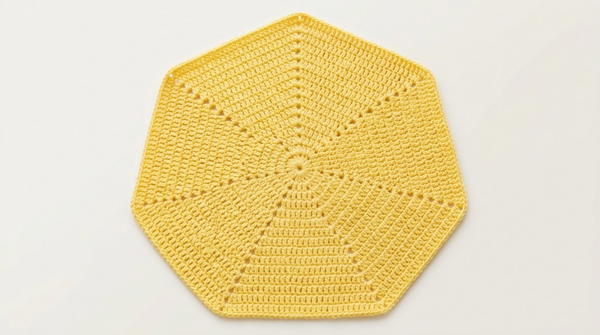
- Continue this pattern incrementally until you work 21 rows and your desired pentagon size is reached.
Triangular Edges of Pentagon Corners
- Start of Edge Triangle (Corner):
- Pull a loop. In the gap between stitches, make 3 Ch, then 3 DC back into the gap. (Start of the triangle)
- Continue by decreasing 1 DC at the beginning and end of each row to create a single triangular section. (Triangle forms as the stitches decrease)
- When the triangle finally narrows to 1 stitch, fasten off and leave a tail for sewing later.
- Repeat Process:
- This triangular process should be applied to all 5 corners of the pentagon base.
Edge Rows Around the Pentagon
- Edge Row: Start at any midpoint gap. Insert the hook and pull yarn through to form your loop. Work 2 DC into each gap around.
- In corner gaps, work 3 DC instead of 2 to allow for smoother turns.
If desired, repeat this edge row for additional rows to secure the whole piece and give it a polished finish.
Front Section of the Star
Create the front body section using the same stitch and number sequence as the pentagon base described above. Skip the edges for the arms and head. Ensure the pentagon is large enough to fit the body comfortably (adjust row counts for different sizes).
Work additional edge rows for the perimeter of the front piece similar to the back piece. The edges will be seamed to the triangular segments for the arm and head openings later.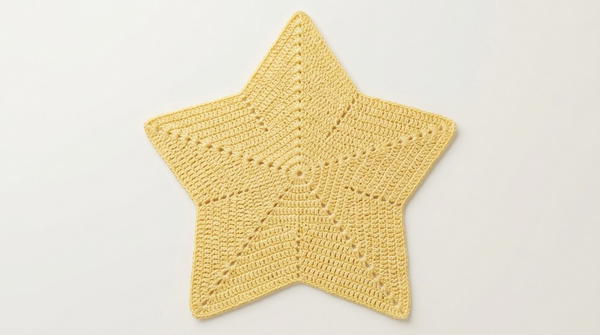
Triangular Pieces for Arms and Head
- Arm Segment:
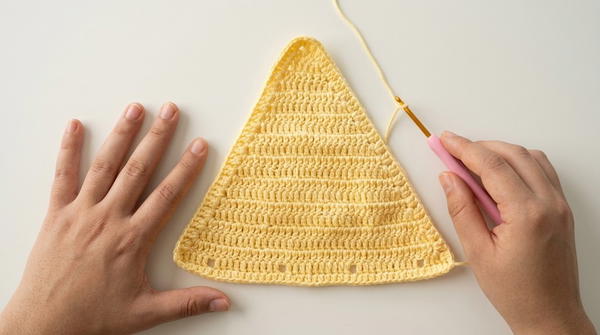
- Begin with 5 Ch into the first gap and work 3 DC into the gap. (3 DCs total for the first row)
- For each following row, increase 2 DCs into the space at the end of the row, chaining 3 stitches upward to turn.
- Repeat rows until the triangular section measures 20 rows long.
- Buttonholes for Arms (Optional):
- Begin with 3 Ch; make 4 DCs before working 2 Ch for the buttonhole gap. Continue with 10 DCs into the next section. (Multiple buttonholes for closures)
- Head Segment:
- Follow the same stitch pattern as the arm segment. Skip the buttonhole setup for the front section.
- Follow the same stitch pattern as the arm segment. Skip the buttonhole setup for the front section.
Assembly and Sizing
- Joining Segments:
- Begin attaching triangular pieces for the arm and head sections to front and back pentagon edges. Use single crochet stitches for neat and strong seams. Match stitches along both edges to prevent misalignment.
- After seaming all pieces, ensure the arm section fits snugly around the shoulder.
- Buttons:
- Attach buttons to the arm section in alignment with the buttonholes created for closure. Sew securely with yarn or thread.
- Adjustments:
- Ensure all parts are appropriately lined up and clean up any loose ends. Snip remaining yarn and weave or hide it within the piece.
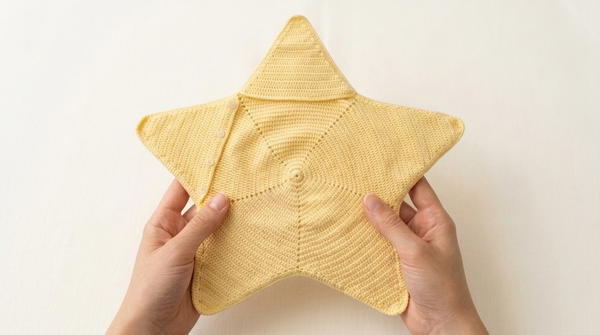
- Ensure all parts are appropriately lined up and clean up any loose ends. Snip remaining yarn and weave or hide it within the piece.
Conclusion
This star-shaped salt garland combines functionality and aesthetics in a crochet project, offering flexibility for customization and practical use. This design is particularly suited for baby rompers or accessories, but it can be modified for other creative projects as well. The clear structure and clean lines make this project an ideal medium for highlighting your crochet skills and creating personalized designs.