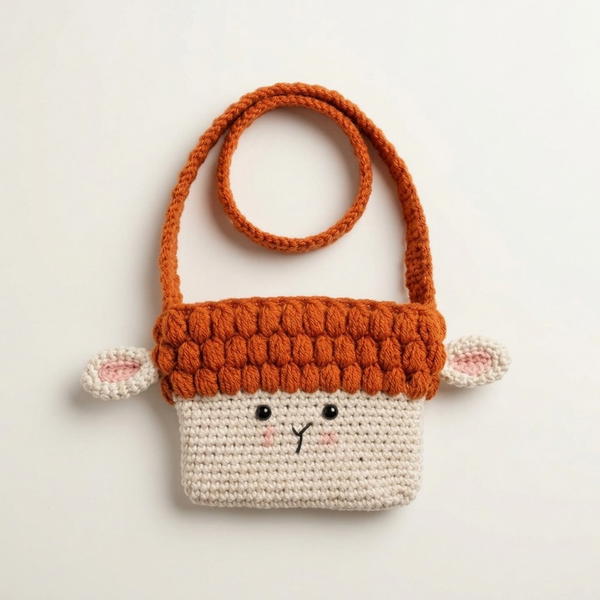
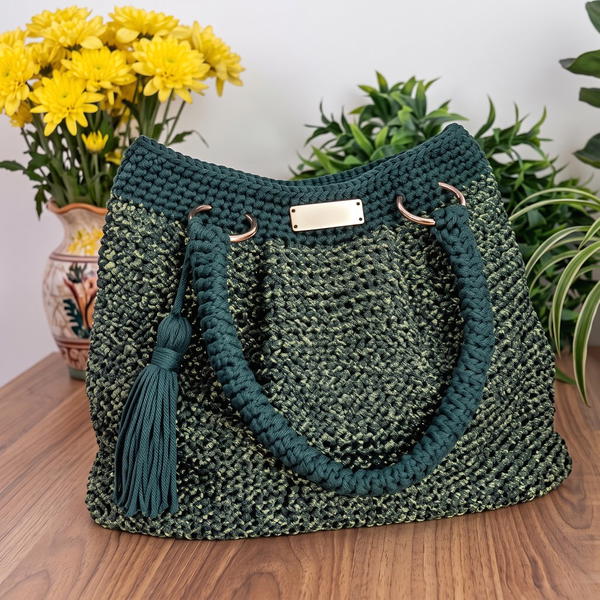
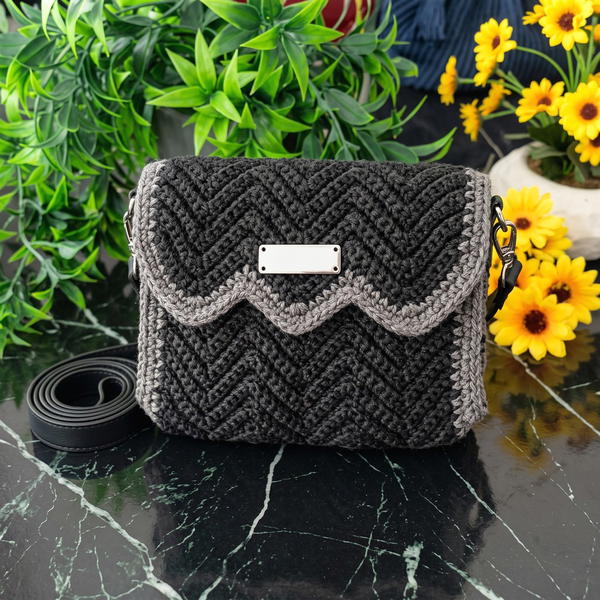
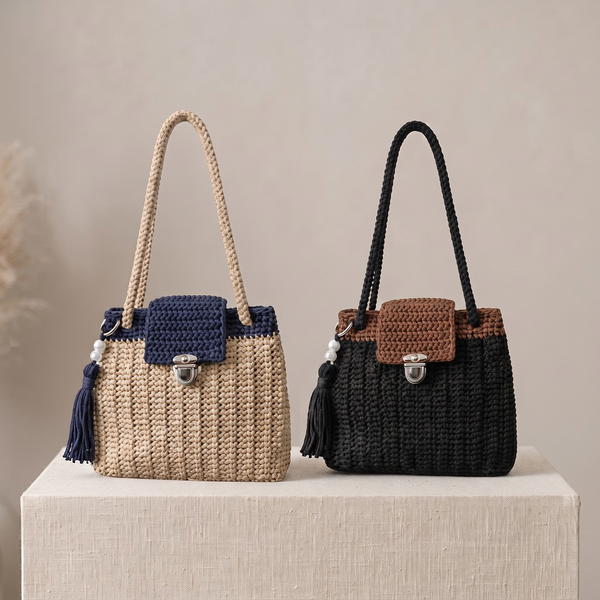
Carry charm and fun with this free crochet doll bag pattern offering simple steps to design a delightful accessory that adds creativity to playtime.
Add a charming accessory to your child’s doll collection with a handmade mini handbag that combines style and practicality. This free crochet doll bag pattern offers a cute and functional piece perfect for doll lovers of all ages. Ideal for everyday play or special occasions, this doll bag brings a fun and fashionable touch to any doll’s outfit.
Free Crochet Doll Bag Pattern– Cute & Quick Project
With bright, cheerful colors, this doll bag pairs well with various doll dresses, whether casual or dressy. Its small size and secure fit make it easy for dolls to carry, making it a delightful addition during playtime at home or with friends.
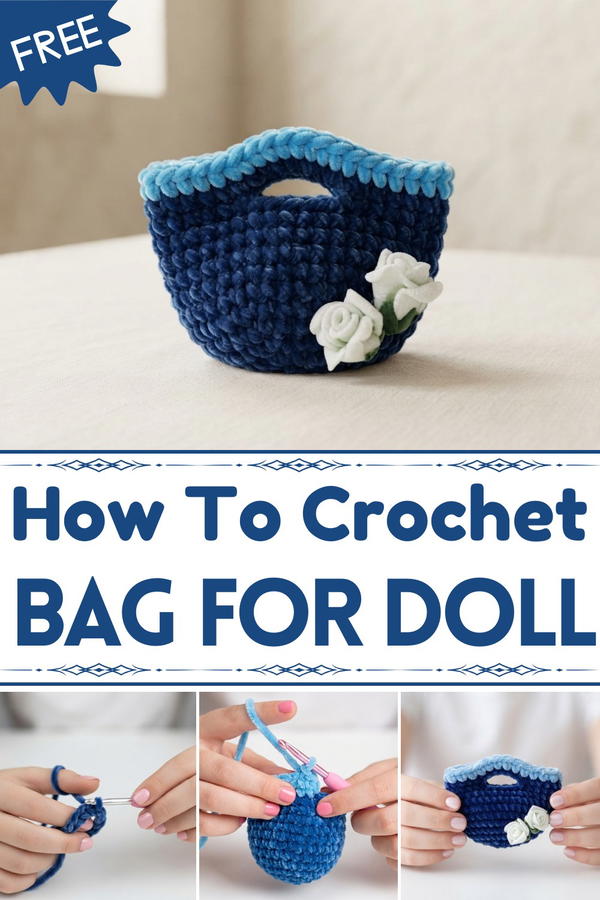
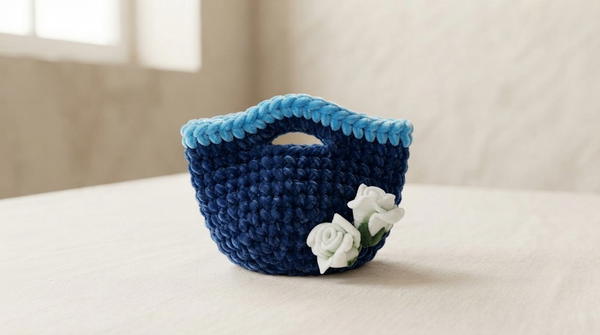
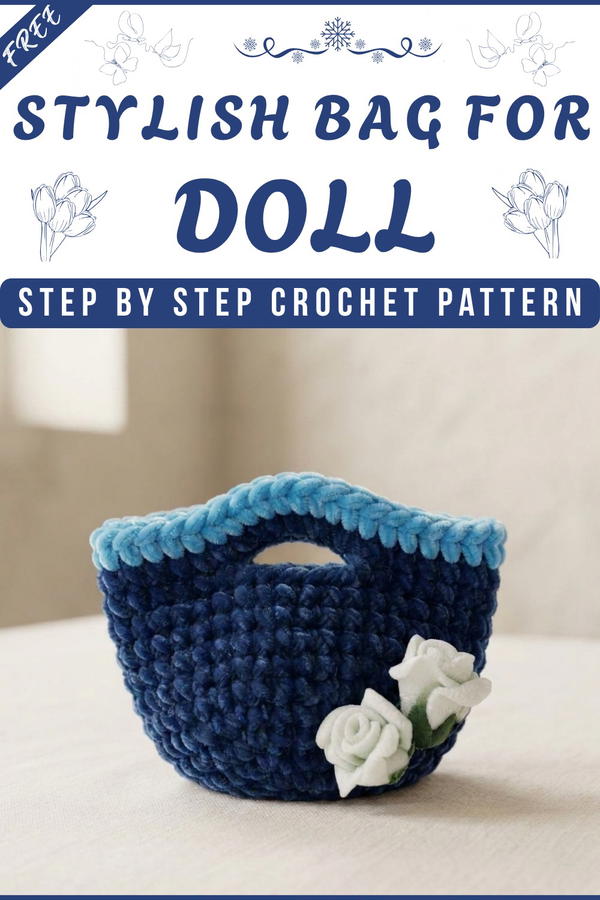
The bag features a firm yet flexible texture created by single crochet stitches worked in continuous rounds. Its sturdy construction includes a neat handle made for easy holding, along with subtle detailing around the opening that adds character without overwhelming the simple look. The careful shaping and consistent stitch pattern ensure the bag holds its form nicely.
Using soft cotton yarn and a small crochet hook, this project is approachable for beginners and quick to complete. Follow the step-by-step instructions in the full tutorial to make your own delightful crochet doll bag that’s sure to become a favorite accessory in any doll’s wardrobe.
Measurements / Sizing (Approximate)
- Body width: ~5–7 cm (2–2.75 in)
- Body height (not including handles): ~4–5 cm (1.5–2 in)
- Handle inner width: ~1 cm (0.4 in)
- Sized for standard dolls or amigurumi (adjust as needed for your doll).
Crochet Doll Handbag Pattern
Welcome to today's pattern, where we’ll create a charming mini crochet handbag perfect for dolls! Using bright cotton yarn and simple stitches, you’ll learn how to make this adorable accessory, step by step, including adding sturdy handles.
Quick Overview Of Pattern
- Work the base of the bag in a seamless spiral using single crochet (sc) in rounds, increasing for a flat, even base.
- Continue in rounds to form the sides of the bag with no further increases.
- Crochet two sturdy built-in handles directly into the top of the bag body by using chain spaces and skipping stitches.
- Work a reinforcing round around the top, including the handles.
- Optionally, switch yarn color for decorative finishing.
Notes
- This pattern is worked in continuous rounds for a seamless look; slip stitches join each round.
- “Chain 1” at the start of a round does not count as a stitch.
- You may customize this pattern by changing colors, adding embellishments, or adjusting the size by changing hook size or yarn thickness.
- The pattern is designed as a doll accessory and is perfectly sized for small figures and amigurumi.
Skill Level
Beginner to Confident Beginner
Basic crochet skills required: working in rounds, single crochet, increases, chain spaces, slip stitch joins.
Materials
- Yarn: Cotton yarn in two colors (e.g., dark and light blue), scraps or small amounts. (Labels have been removed, but use similar thicknesses for best result.)
- Crochet hook: 3 mm
- Scissors
- Tapestry needle for weaving in ends (optional, but helpful)
- (Optional) Buttons or crocheted flowers for embellishment
Gauge
Gauge is not critical for this small project, but as a reference:
- 5 sc x 5 rows = 2.5 cm x 2.5 cm (1 in x 1 in) in single crochet with 3 mm hook and cotton yarn.
Stitch Abbreviations
- MR – Magic Ring (adjustable ring)
- ch – chain
- sc – single crochet
- inc – increase (2 sc in same stitch)
- st(s) – stitch(es)
- sl st – slip stitch
Special Stitches
Magic Ring (MR):
Form a loop, crochet the specified sc into the loop, then tighten to close.
Increase (inc):
Work 2 single crochets in the same stitch.
The Crochet Pattern
Bag Base and Body
Round 1
- Make a magic ring (MR) with dark blue yarn.
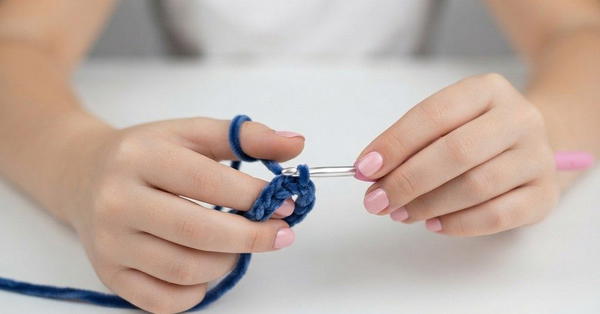
- Chain 1 (ch 1)—this does not count as a stitch.
- Work 6 single crochet (sc) into the ring.
- Pull the tail tight to close the ring.
- Join with a slip stitch (sl st) to the first sc.
- You should have 6 single crochet at the end of this round.
Round 2
- Chain 1 (not counted as a stitch).
- Work 2 sc in each stitch around (increase in every stitch).
- Join with a sl st to the first sc.
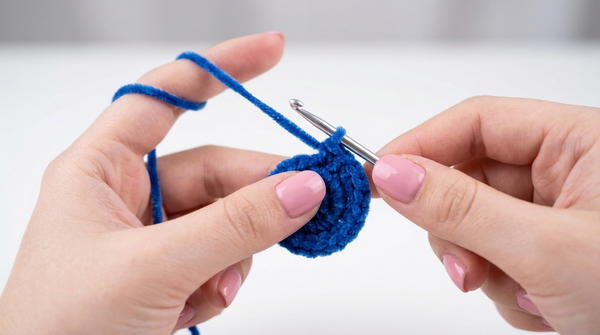
- You should have 12 single crochet at the end of this round.
Round 3
- Chain 1 (not counted).
- Pattern: 1 sc in first stitch, 2 sc in next stitch (increase); repeat around (1 sc, inc) x 6.
- Join with a sl st to the first sc.
- You should have 18 single crochet at the end of this round.
Round 4
- Chain 1 (not counted).
- Pattern: 1 sc in each of the next 2 stitches, 2 sc in next stitch (increase); repeat around (sc, sc, inc) x 6.
- Join with a sl st to the first sc.
- You should have 24 single crochet at the end of this round.
Round 5
- Chain 1 (not counted).
- Sc in each stitch around (no increases).
- Join with a sl st to the first sc.
- You should have 24 single crochet at the end of this round.
Round 6
- Chain 1 (not counted).
- Sc in each stitch around.
- Join with a sl st to the first sc.
- You should have 24 single crochet at the end of this round.
Round 7
- Chain 1 (not counted).
- Pattern: 1 sc in each of the next 3 stitches, 2 sc in the next (increase); repeat around (sc, sc, sc, inc) x 6.
- Join with a sl st to the first sc.
- You should have 30 single crochet at the end of this round.
Round 8
- Chain 1 (not counted).
- Sc in each stitch around (no increases).
- Join with a sl st to the first sc.
- You should have 30 single crochet at the end of this round.
Round 9
- Chain 1 (not counted).
- Sc in each stitch around.
- Join with a sl st to the first sc.
- You should have 30 single crochet at the end of this round.
Round 10
- Chain 1 (not counted).
- Sc in each stitch around.
- Join with a sl st to the first sc.
- You should have 30 single crochet at the end of this round.
Handles Creation
Round 11 (Creates Handles)
Attach light blue yarn
- Chain 1 (not counted).
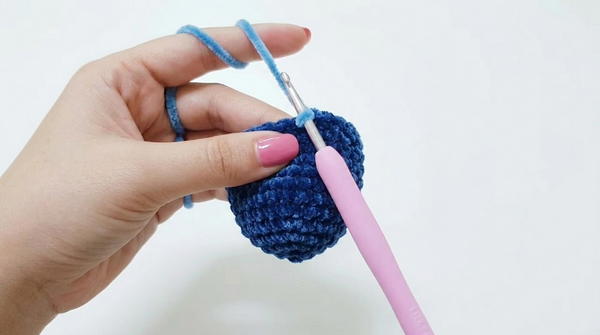
- Sc in the same stitch as join and in next 4 stitches (5 sc).
- Chain 5 (forming handle), skip 5 stitches, sc in 6th stitch.
- Sc in next 4 stitches (5 sc).
- Sc in next 5 stitches (5 sc).
- Chain 5 (second handle), skip 5 stitches, sc in 6th stitch.
- Sc in next 4 stitches (4 sc to end).
- Join with a sl st to the first sc.
Handle Edging and Finishing
Round 12 (Edging, Optional Color Change)
- (Optional) Attach light blue yarn (or any contrasting color) with a sl st to where last round ended.
- Chain 1 (not counted).
- Sc in each stitch around including 5 sc into each handle chain-space.
- So: sc in each st along bag edge, when you reach handle chain, do 5 sc into chain space.
- Join with a sl st to the first sc.
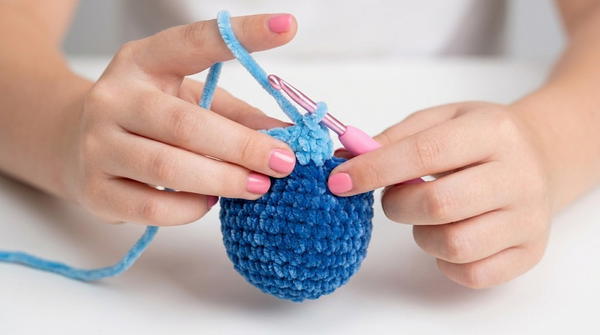
- Fasten off and weave in ends.
Final Touches
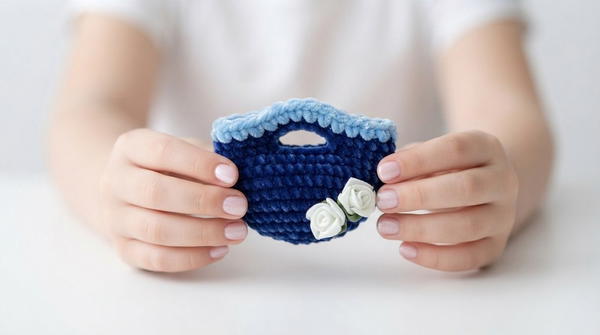
- You can now add any decorations like flowers, buttons, or beads if you like!
Assembly & Finished Size
- No assembly required; the bag is worked seamlessly in one piece.
- Weave in all yarn tails with a tapestry needle to finish.
- If desired, sew or glue on embellishments like crocheted flowers or small buttons.
- Finished size: ~7 cm wide x ~5 cm high (excluding handles), perfect for most standard dolls.
Conclusion and Ending Words
Congratulations on making a cute and stylish crochet handbag for dolls! This mini project is not only quick and fun but also an ideal way to use up yarn scraps and practice working in the round and making handles. You can customize your bag with different color combinations, add crocheted flowers, or even beads for personalization.