Begin a fun new project using this Free Crochet Bag Pattern and design a versatile tote that shows off your unique handmade style wherever you go.
Looking for a fun yet practical crochet project? The Free crochet Bag Pattern offers a perfect blend of style and usefulness that anyone can enjoy making. Thanks to the detailed guidance from Gepradocroche, this bag becomes a charming accessory to carry around or gift to someone special.
Detailed Free Crochet Bag Pattern Instructions for Beginners
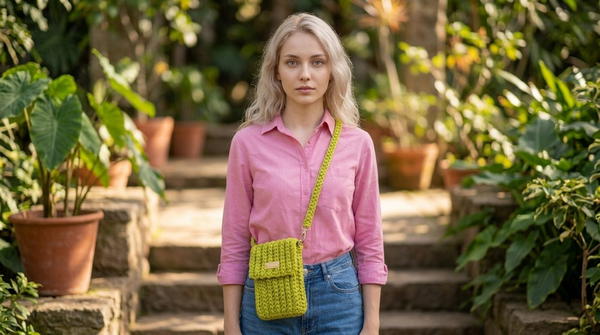
This bag is a versatile item, ideal for daily outings or casual shopping trips. Its design features a simple rectangular shape with a sturdy base, ensuring it holds its form while providing ample space inside. The texture is soft but firm, created by neat, tight crochet stitches that give it durability without losing a handmade feel.
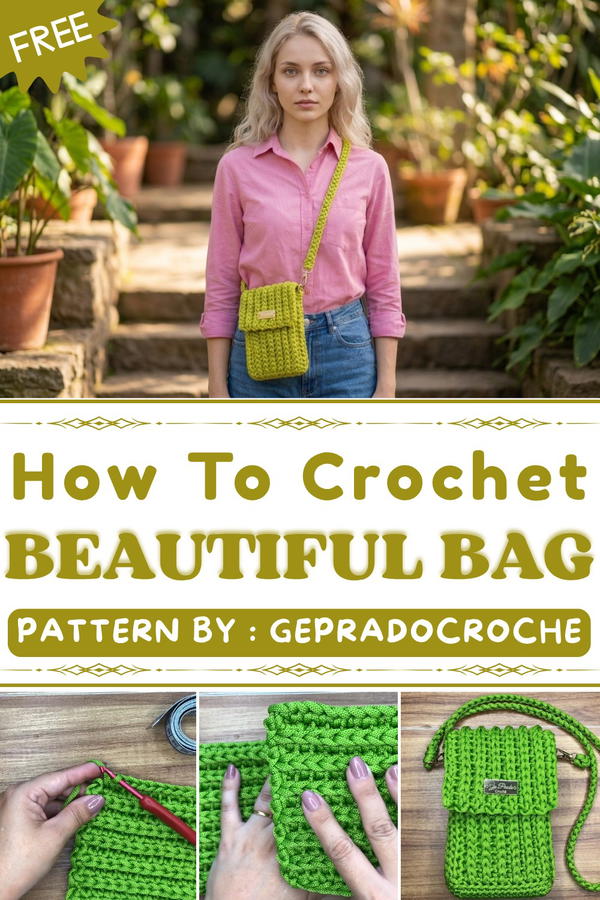
The bag’s style leans toward casual and modern, with clean lines and an easy-to-handle strap. This makes it easy to match with various outfits and occasions. One of the standout features is the subtle stitch pattern that adds just enough detail to catch the eye without being overwhelming.
A beautiful handmade bag like this not only serves a functional need but also adds a decorative touch to your everyday life. Its neutral tones and classic shape make it a stylish companion for errands, while also standing out as a thoughtful gift for friends or family who appreciate crafty, eco-friendly creations. Create one and enjoy a combination of beauty, utility, and personal satisfaction.
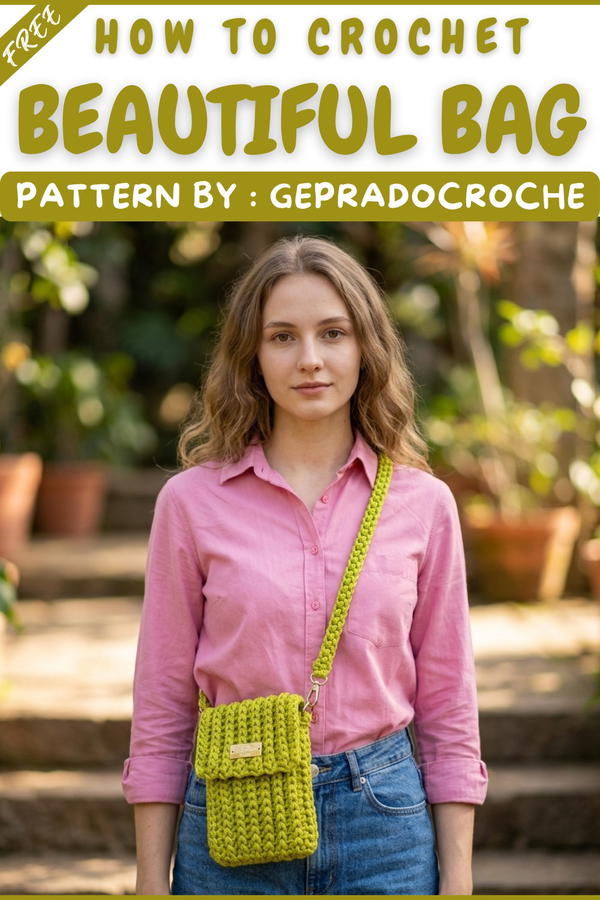
Free Bag Crochet Pattern
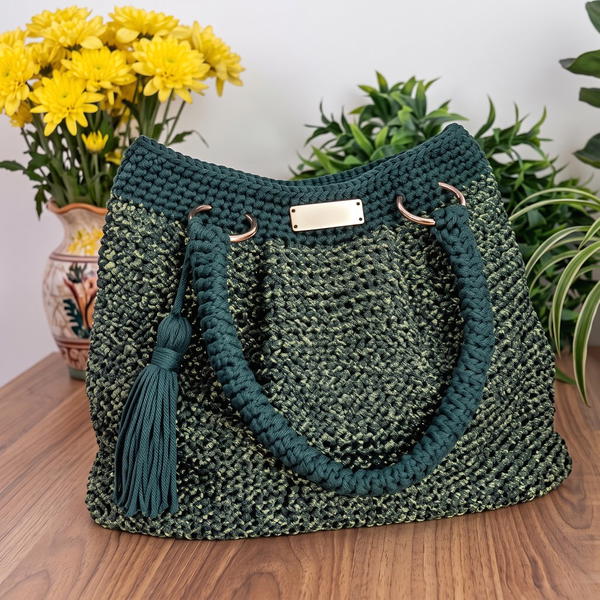
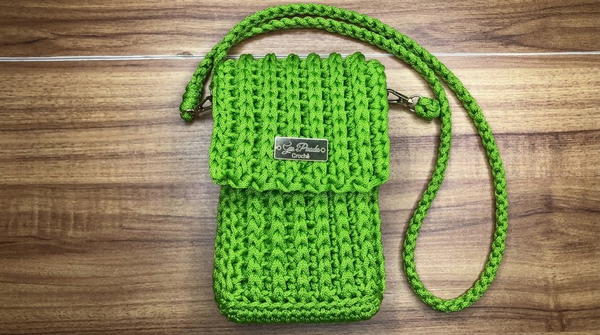
Bag is the essence of structured modern crochet, combining the durable texture of nautical thread with clean architectural lines. The design features a distinctive ribbed surface, crisp side panels, and a long, functional handle joined seamlessly to articulated rings. Every component—from the magnetic clasp to the branded label—contributes to a professional and sturdy accessory suitable for everyday use.
Pattern Important Tips
- Work Into Back Loops/Knots: For both the main body and side panels, always crochet into the back “knots” (the third loop) to achieve the signature ridged texture. Skip the first knot at the beginning of each row for straight edges.
- Stitch Count Accuracy: Use markers to keep track of row and stitch counts, especially at assembly. Consistent counting guarantees perfect sizing and ease in joining panels.
- Avoid Overtightening: Nautical thread can be stiff—crochet with steady tension to maintain fabric flexibility and avoid puckering.
- Clean Joins: When slip stitching panels together, always grab the outer loop of the side and the inner loop of the body to maintain a sleek seam.
- Handle Construction: Check handle length with a measuring tape as you crochet; adjust tension if needed to reach approx. 105cm for comfortable wear.
Skill Level
Intermediate: Requires working into the third loop, precise slip stitch joining, creating separate panels, and assembling with hardware.
Materials
- 350g of 4mm (5/1) Nautical Thread, Geotex
- 4.5mm crochet hook
- 2 articulated rings (for handle attachment)
- 1 magnetic clasp
- 1 label
- Scissors/lighter (for finishing thread ends)
- Markers
- Measuring tape
- Invisible thread
- Sewing needle
Gauge and Stitch Pattern
- Gauge: Main body: 55 sc over 15 rows = approx. bag width/height as written.
- Stitch Pattern: All rows worked in single crochet into the third loop (“back knot”) for a ribbed effect.
Stitch Abbreviations
- ch: chain
- sc: single crochet
- sl st: slip stitch
- rep: repeat
- st(s): stitch(es)
Special Stitches
- Single Crochet in Third Loop: Insert hook into the “back knot” or third loop of each stitch (rather than standard front/back loops) to produce raised ridges.
- Slip Stitch Panel Join: Insert hook into side panel’s outer loop and the body’s inner loop, yarn over, pull through both and loop on hook—creates a flat seam.
- Invisible Thread Sewing: For hardware, use a fine, transparent thread and a sewing needle for secure, nearly invisible stitches.
Notes for Starting the Pattern
- Begin all pieces with a soft, loose chain to prevent curling.
- Use stitch markers to mark corners and row starts for easy assembly.
- Prepare hardware and accessories before beginning final assembly for efficient finishing.
Pattern Instructions
1. Base/Body
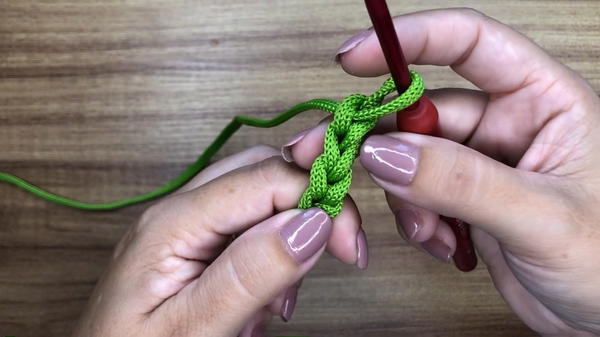
- Ch 56 for the foundation.
- Row 1:
- Work sc into back bumps of each chain (not standard top loops) for 55 stitches total.
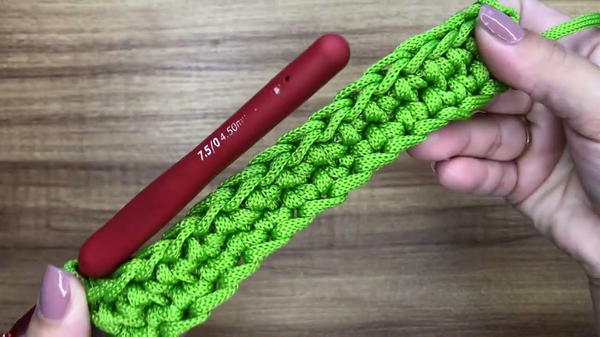
- Work sc into back bumps of each chain (not standard top loops) for 55 stitches total.
- Rows 2-15:
- Ch 1, turn.
- Skip the first knot, start in the second (prevents slanting).
- Work sc into the back knot (third loop) of each stitch across (maintain 55 sts).
- Rep for a total of 15 rows to reach full height.
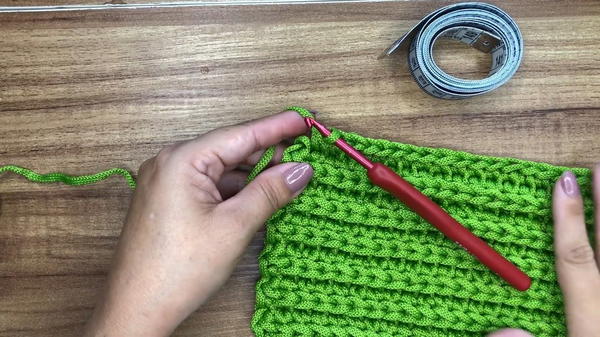
2. Side Panels
- Side Panel (Make 2):
- Ch 18.
- Row 1: Sc in back bumps of chain, total 17 sts.
- Rows 2-5:
- Ch 1, turn.
- Skip first knot; sc into the back knot of each stitch across.
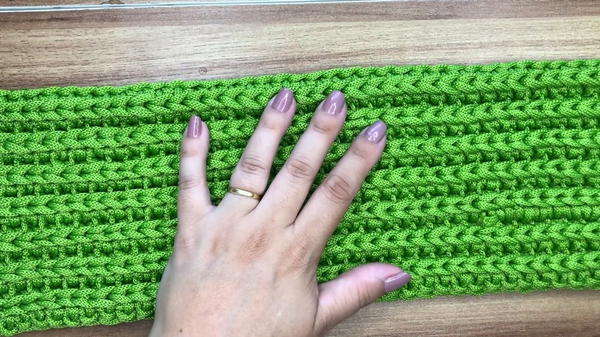
- Rep for total of 5 rows, maintaining 17 sts throughout.
- Repeat for second panel.
3. Assembly
- Use markers to align side panels and main body. Pin corners and sides for consistent joining.
- Begin at one corner, holding the side panel and main body together:
- Using sl st, insert hook into the outer loop of side panel and inner loop of main body.
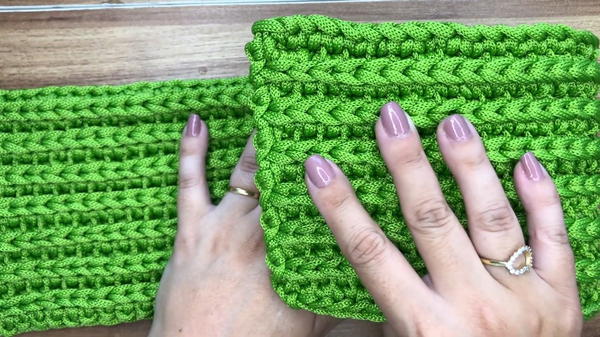
- Yarn over, pull through both loops and the loop on hook (repeat along all joined edges).
- Using sl st, insert hook into the outer loop of side panel and inner loop of main body.
- Rep for both sides, working evenly to avoid bunching.
4. Closing & Handle
- Clasp Attachment:
- Using invisible thread and sewing needle, stitch the magnetic clasp securely at the bag opening (centered for optimal function).
- Handle Construction:
- Attach yarn to the articulated ring.
- Ch 2 to begin.
- Work sc into side loops of the bag, following the upper edge.
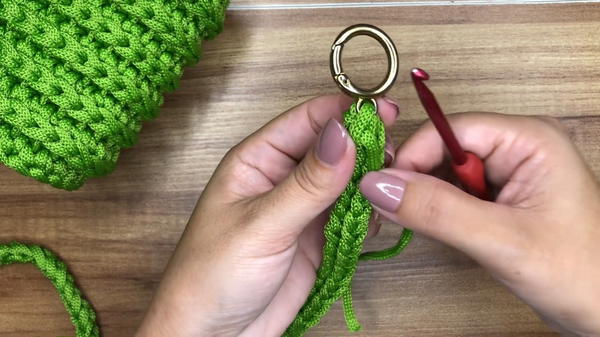
- Continue crocheting sc, joining back and forth to the rings and edge, until handle measures approx. 105cm. Use measuring tape throughout to confirm length.
- Finish handle, secure firmly at both rings.
- Use scissors and lighter to trim and neaten thread ends, melting raw edges slightly (if using synthetic nautical thread) to prevent fraying.
Assembly and Sizing
- Bag Body: Approx. 55 stitches wide; 15 rows high (dimensions depend on tension and yarn).
- Side Panels: Two, each 17 stitches wide and 5 rows high, blending seamlessly with main body.
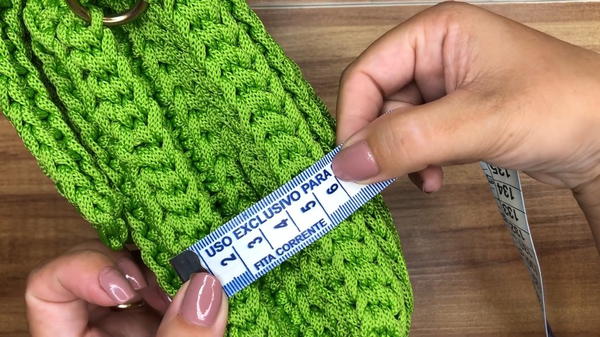
- Handle: Crocheted to 105cm, attached via articulated rings for elegant movement and stability.
- Finished Dimensions: Expect a robust, structured bag silhouette, perfect for daily use or elevated accessorizing.
Final Words
Bag distills the technical best of modern crochet with its ribbed texture and precision panel joining. The robust nautical thread ensures lasting form and resilience, while details like the articulated rings, magnetic clasp, and label add sophistication. Working into back knots provides beautiful surface detail, and slip-stitch joining delivers clean, crisp seams without bulk. With components carefully assembled and hardware securely attached, Bag is both eye-catching and practical—ideal for anyone seeking a project that balances creativity and craftsmanship.