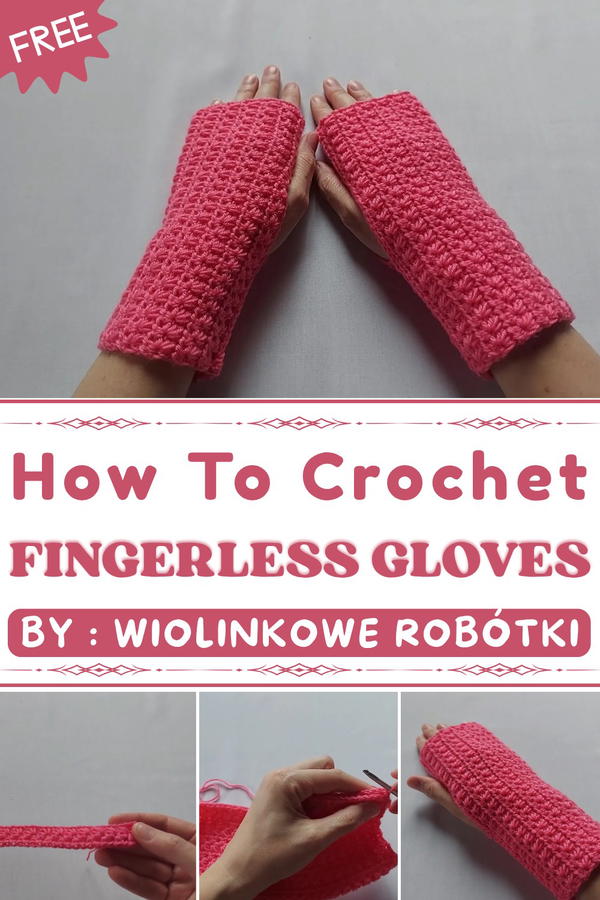
Keep your hands warm and stylish with this free crochet stars fingerless gloves pattern, a fun and easy project for star-inspired winter fashion.
On a cool day, having warm hands while still being able to use your fingers freely is something many people appreciate. This special pair of gloves fits that need perfectly. They keep your palms and wrists warm but leave your fingers free to type, write, or use your phone. The design stands out because of the beautiful star-shaped patterns that decorate the gloves, adding a charming, eye-catching touch to your outfit.
Easy Free Crochet Stars Fingerless Gloves Fun Pattern to Try
Thanks To Channel
Wiolinkowe Robótki is a creative and inspiring channel that guides you through making these gloves step by step. Their videos are friendly and easy to follow, with clear instructions that make the process enjoyable even if you are new to crocheting. With patience and their helpful tips, you can create a unique and lovely accessory that combines style and comfort in one.
The gloves are made with soft and comfortable yarn, and their texture feels cozy without being bulky. They have a snug fit around the hand and wrist, thanks to parts worked in rounds with tight stitches, which helps keep warmth in. The fingerless style makes them very practical for indoor and outdoor use, especially when you want warmth without losing mobility.
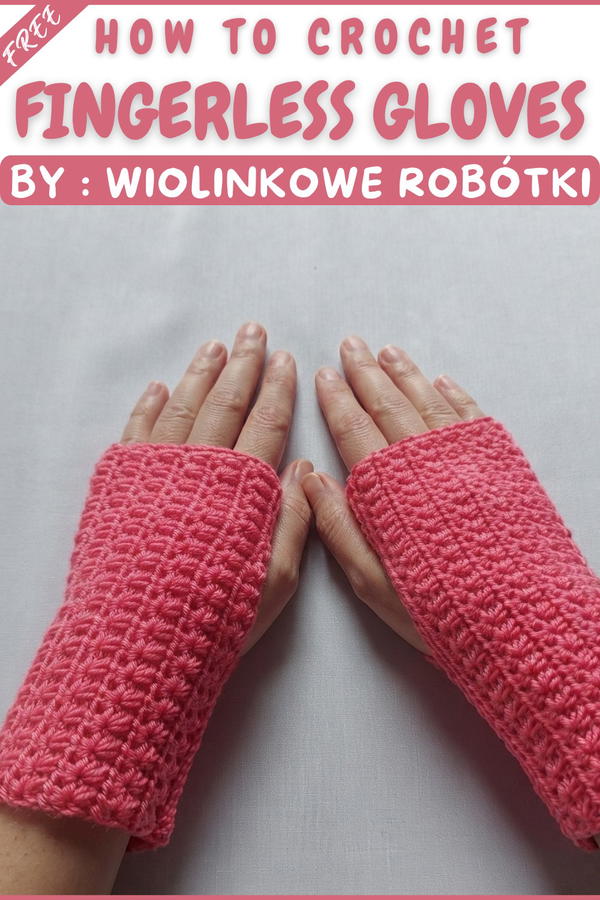
You can wear these gloves while working at your desk, walking outdoors, or even during casual outings. Their attractive star motifs provide a hand-crocheted, artistic look which makes them more than just functional, they are also fashion pieces.
Star Stitch Fingerless Gloves (Mitenki) Crochet Pattern
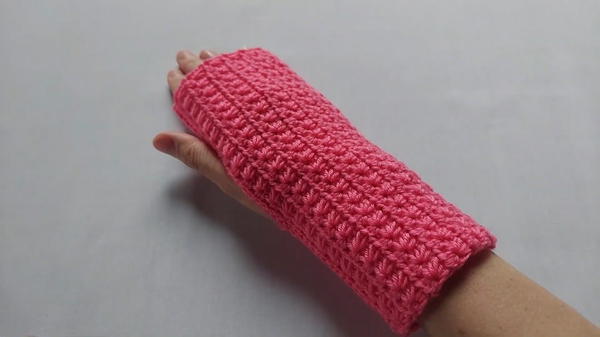
The star stitch fingerless gloves, also known as mitenki, are an elegant accessory designed to provide warmth and style without covering the fingers fully—perfect for cool days, working at a keyboard, or as a thoughtful handmade gift. The distinctive star stitch creates a textured, eye-catching fabric, while the straightforward construction allows for flexibility in sizing and color selection. These gloves offer a seamless look with the thumb opening formed simply by leaving a gap during assembly. The pattern is approachable for beginners seeking to practice special stitches and for experienced crocheters desiring a quick, enjoyable project.
Pattern Basic Points
Key Elements:
- Constructed as a flat rectangle that is folded and seamed for a quick finish
- Star stitch creates decorative texture; half-double crochet rows “close” the stars
- No increases or decreases; easily adjustable in length and circumference
- Thumb opening made simply by skipping the seam for several centimeters
- Minimal finishing—no ribbing, no edging
- Work is easily made larger or smaller by changing the foundation chain or adding rows
Special Notes
- The project is worked flat and seamed for a classic tube shape.
- If making gloves for larger or smaller hands, adjust the initial chain in multiples of 2 for the pattern to remain consistent.
- Use a soft yarn with good stitch definition to showcase the star stitch texture.
- Maintain an even, moderate tension for best results. Blocking is optional but helps even the stitch pattern.
- Always check hand fit before seaming fully, especially on the first glove.
Skill Level
Beginner to Confident Beginner
This project is suitable for beginners ready to learn a new stitch. The star stitch may seem complex at first but becomes intuitive after the initial rows.
Materials
- Yarn: Medium weight yarn (color of your choice; approx. 50 g per pair)
- Crochet hook: 4 mm (G/6)
- Notions: Row counter (optional), measuring tape
- Tools: Large-eye (tapestry) needle for seaming, scissors
Measurements / Sizing
- Width (flat rectangle): Approx. 16 cm wide (unstretched; fits hand circumference 15–20 cm / 6–8 inches)
- Length: Approx. 20 cm (or as adjusted by bead counts—24 rows)
- Thumb opening: 6 cm left open in the seam
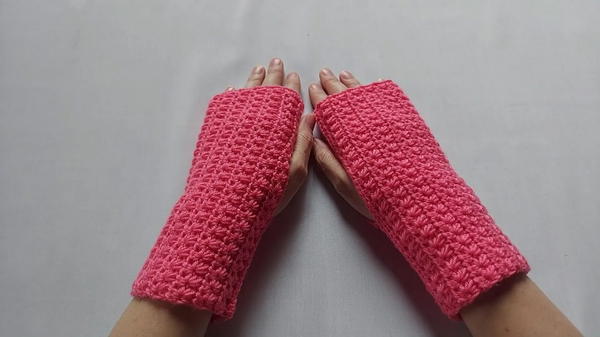
Finished glove comfortably fits most women’s hands; stretch of the stitch adds flexibility. Adjust by changing chain or number of rows for custom fit.
Gauge
- Star Stitch Gauge: 6 star stitches = 10 cm (4 in) wide, 7 rows = 7.5 cm (3 in)
- Gauge is not critical due to stretchy fit, but check for desired width.
Stitch Abbreviations
- ch: chain
- st(s): stitch(es)
- sl st: slip stitch
- hdc: half double crochet
- yo: yarn over
Special Stitches
Star Stitch:
- Insert hook in 2nd ch from hook, yo, pull up a loop (2 loops on hook)
- Insert in next ch, yo, pull up a loop (3 loops)
- Repeat in next 3 ch (total 6 loops on hook)
- Yo, pull through all 6 loops, ch 1 to close the star
- To begin subsequent star stitches, always insert the hook into the eye of the previous star, then into the last loop of the previous star, then next chs as above
Step-by-Step Pattern
Foundation:
- Ch 50 (or multiple of 2 for custom width)
Row 1: Star Stitch Foundation Row
- Starting from the 2nd chain from the hook:
- Insert hook into 2nd ch, yo, pull up a loop (2 loops on hook)
- Insert into next ch, yo, pull up a loop—repeat this step in the next 3 ch (you now have 6 loops on hook)
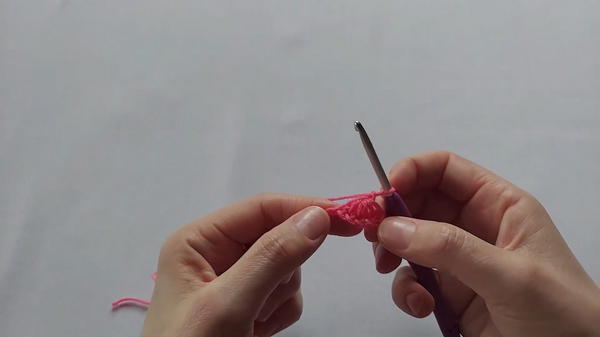
- Yo, pull through all 6 loops
- Ch 1 to close the star (creates the eye of the star)
- For next stars: Insert hook into the closing ch (the eye) just made, then under the last loop of the previous star, then into the next 3 foundation chs (6 loops), yo, pull through all, ch 1 to close.
- Repeat this sequence across the row.
- At end, you will finish with one remaining chain; work 1 hdc into this last stitch.
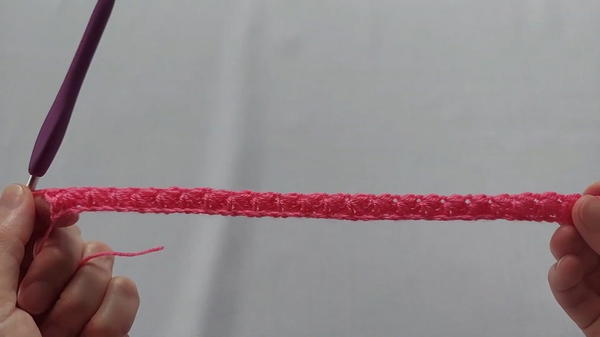
Row 2: Closing the Stars (Half-Double Crochet Row)
- Do not add a turning chain; turn work.
- For each eye (space) formed by the chain-1 at the center of each star, work 2 hdc into the space.
- Continue 2 hdc in each star eye all the way across.
- Place 1 hdc into the top of the turning chain at the very end of row.
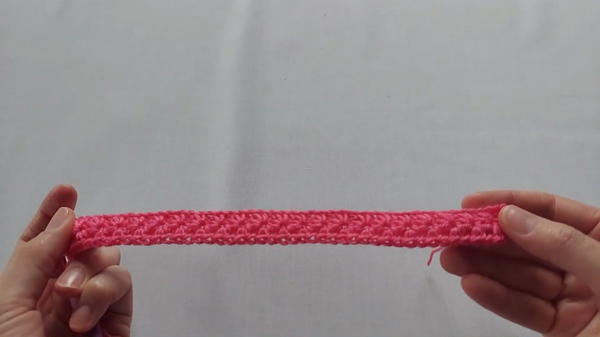
Row 3: Star Stitch Row
- Ch 3, turn work (these first 3 ch count as the first star)
- Turn, pull up loops in: 2nd chain from hook, 3rd ch, first hdc of previous row, and next 2 hdc—until 6 loops on hook.
- Yo, pull through all 6 loops, ch 1.
- For each subsequent star stitch: Insert hook into eye of previous star, under last loop, into next 3 hdc—pull up a loop each time (6 on hook), yo, pull through all, ch 1.
- Repeat across. End with 1 hdc in last st.
Row 4: Closing Stars with Half-Double Crochet
- Turn without adding a chain.
- Work 2 hdc into each star eye across.
- 1 hdc in the top of the turning chain at the end.
Rows 5–24: Building the Glove
- Repeat Rows 3 (star stitch) and 4 (2 hdc row) alternately until you have a total of 24 rows, always starting star stitch rows with ch 3 and closing each one with 1 hdc at the end.
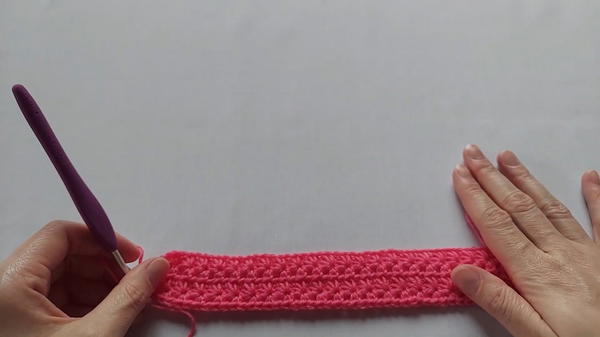
For a longer/shorter glove, increase or decrease the total rows as desired, maintaining even row count.
Assembly
Seaming:
- Fold your crocheted rectangle in half lengthwise (right side inside).
- Using the tapestry needle and a length of yarn (or your hook and sl st for a crochet seam), sew or slip stitch the two long sides together:
- Seam the first 6 cm from the bottom edge.
- Leave the next 6 cm unstitched—this is the thumb hole.
- After the thumb opening, resume sewing/slip-stitching the sides together to the top edge.
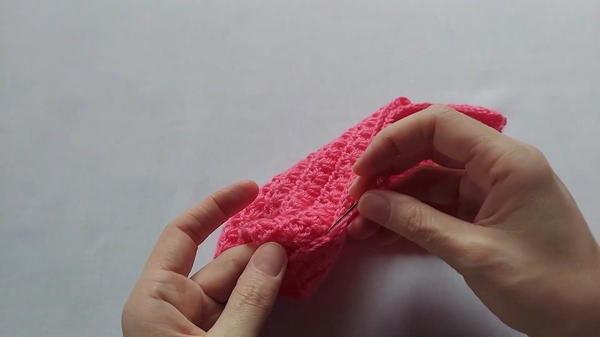
- Fasten securely; weave in all ends neatly for comfort.
Finishing:
- Turn the glove right side out.
- Lightly block if desired for even stitches.
- Repeat all steps for the second glove.
Conclusion
This fingerless glove pattern offers an engaging way to master the star stitch while crafting a highly functional accessory. The alternating rows create beautiful texture and elasticity, ensuring a good fit on a variety of hand sizes. The straightforward, flat construction means you only need to know basic seaming to complete the project, with the thumb opening formed seamlessly within your final seam. Adjust the base chain or total rows for a unique fit, or experiment with color blocking to create personalized gifts. The flexibility and simplicity of these gloves make them a favorite for first-time glove makers or anyone seeking a stylish, handmade solution to chilly days.