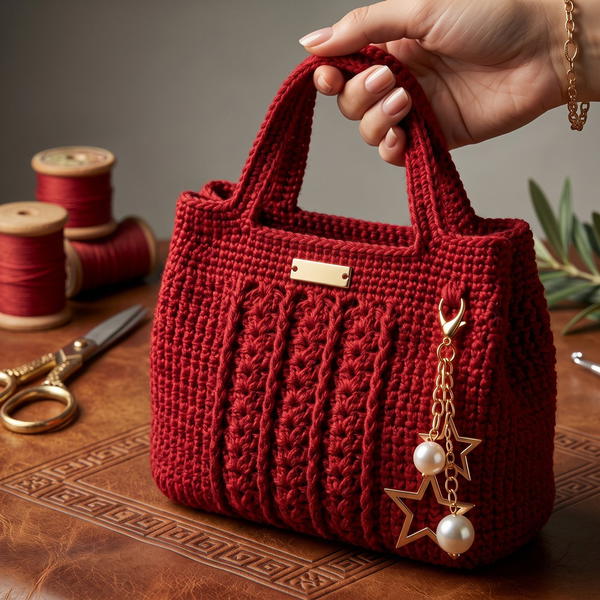
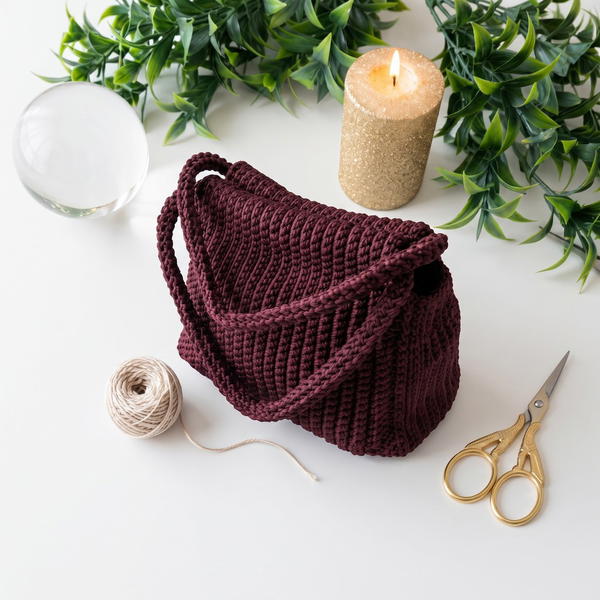
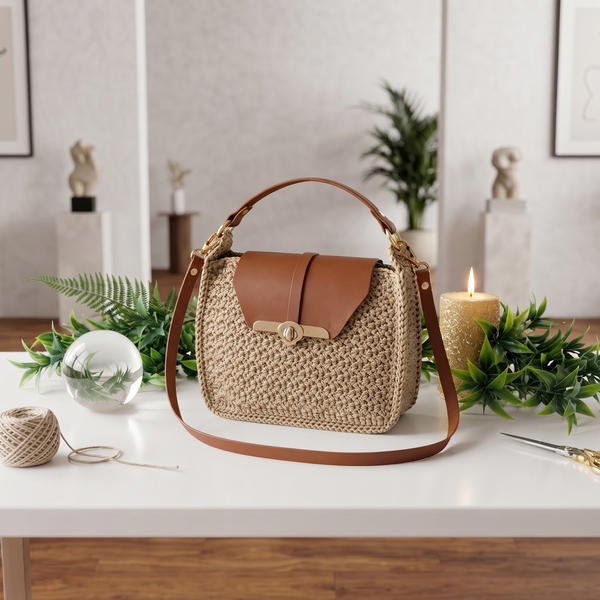
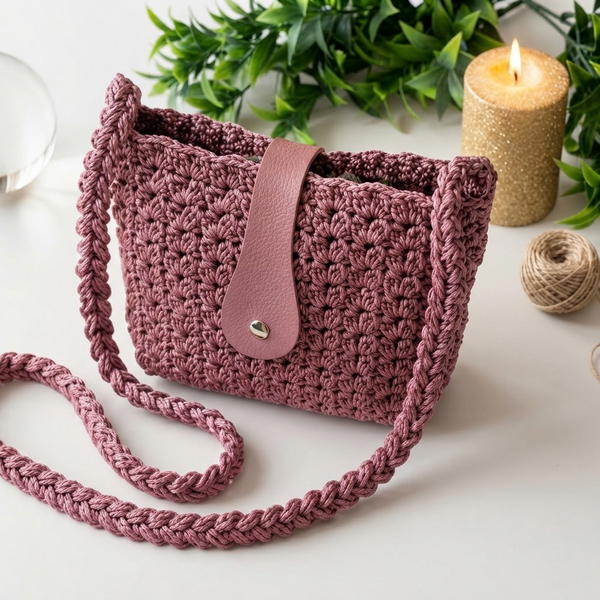
Build a strong foundation for stylish bags with this Free Crochet Bag BASE Pattern offering clear steps to start your project with confidence and ease.
Creating a sturdy base for a bag that is both stylish and practical, giving your design the perfect shape and foundation it deserves. Crocheting such an essential part may seem challenging, but with the right guidance, anyone can do it. Örgü ütopyası is a well-loved designer who shares step-by-step tutorials, making even detailed crocheting accessible and enjoyable. Her clear and patient teaching style helps crocheters of all levels follow along with ease, ensuring success at every stage of the project.
Easy Free Crochet Bag Base Pattern To Build Your Own Bag
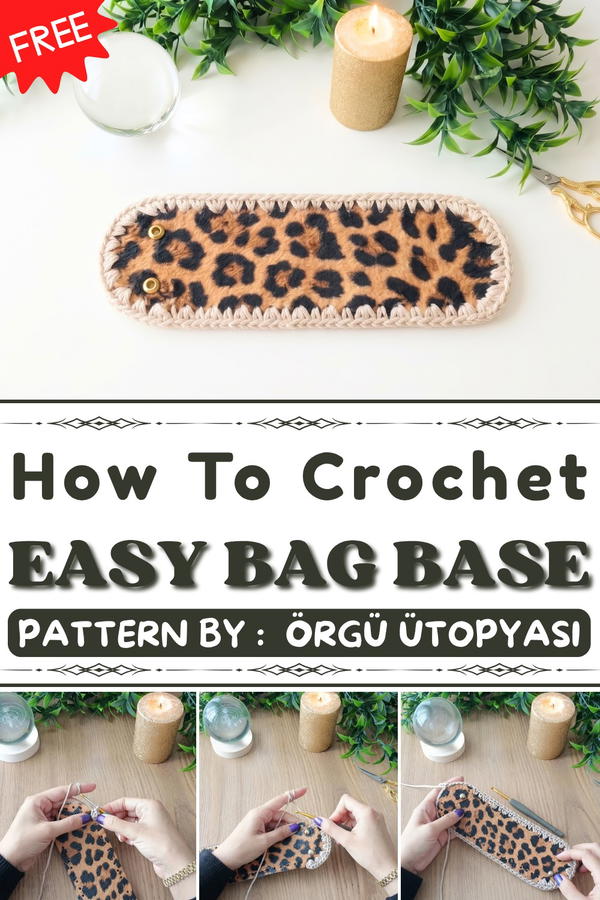
The base pattern she showcases in this tutorial stands out because of its strength and symmetry. Designed with precision, it ensures your bag maintains its form and durability over time. The rectangular shape is particularly impressive, creating a clean and polished look that is versatile for many bag designs, whether it’s a tote, a shoulder bag, or a casual carryall. The simple yet effective stitch pattern used in the base provides stability while keeping the overall design seamless and neat.
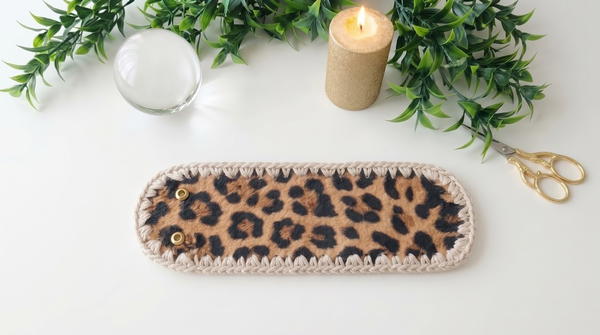
This base is perfect for bags you can use every day, from shopping trips to carrying books or personal items. It’s not just functional; it lays the foundation for a bag that can be stylishly customized to suit your taste. This pattern is an ideal choice for anyone looking to master crochet bag bases and create designs that truly stand out. With her guidance, you can turn a simple idea into a durable and beautiful masterpiece.
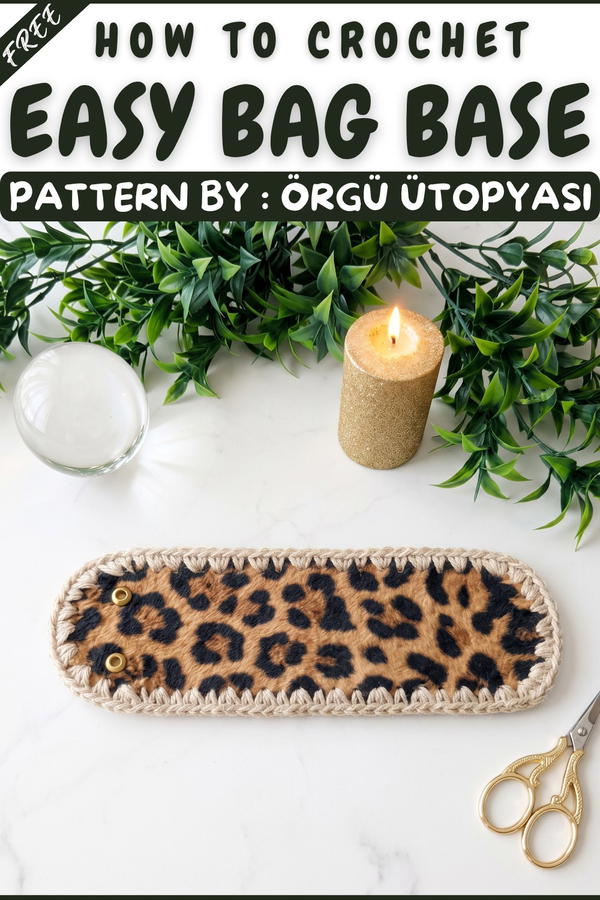
Crochet Base Edging Pattern
This crochet base edging creates a neat and professional look for oval-shaped bases. By alternating single and pair stitches in a structured pattern, you can create a sturdy edge for your project. This technique is versatile and can be used with various yarn types and crochet projects, such as bags, baskets, or storage containers.
Skill Level
Beginner: This pattern uses basic repeatable steps, making it suitable even for those new to crochet.
Materials
- Yarn: Any yarn suitable for your project.
- Crochet Hook: Size compatible with your yarn (as per the example, use a 3 mm hook).
- Scissors.
- Stitch Marker: Optional but helpful for marking the starting point of your row.
Special Stitches
- Single Crochet (sc): Insert hook, yarn over, pull up a loop, yarn over, and pull through both loops on the hook.
Stitch Abbreviations
- ch: Chain
- sc: Single Crochet
- sl st: Slip Stitch
- sts: Stitches
Useful Tips
- Adjust the number of stitches depending on the size of your base.
- Keep your tension consistent to avoid uneven edges.
- Use a stitch marker to keep track of the starting point for each round.
Pattern Instructions
Base Edging
Preparation
- Identify the starting point of the base. If using a specific pattern for the oval base, locate the designated starting point. This is typically near the most central position of the oval.
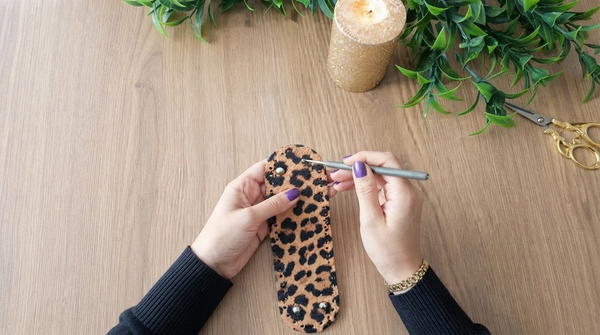
Round 1: Create Foundation Edging
- Identify the oval section along the base that will form the long edge. Count and mark approximately 9 evenly spaced points along the edge.
- Insert the hook into the first marked point of the oval section and pull the yarn through to attach it. Secure with 1 ch.
- Begin crocheting around the base with the following pattern:
- Work 3 sc into the first point.
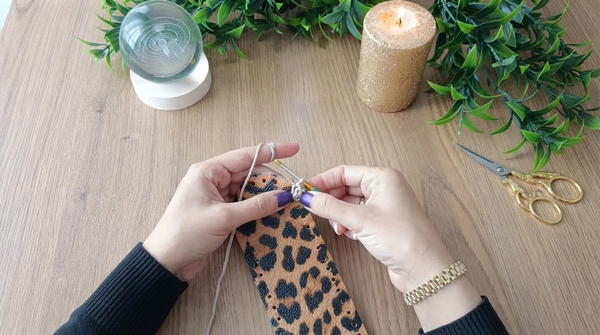
- Work 2 sc into the next point.
- Work 3 sc into the following point.
- Alternate between 3 sc and 2 sc across the marked points of the oval section. Repeat this pattern (3, 2, 3, 2…) until you reach the end of the marked section.
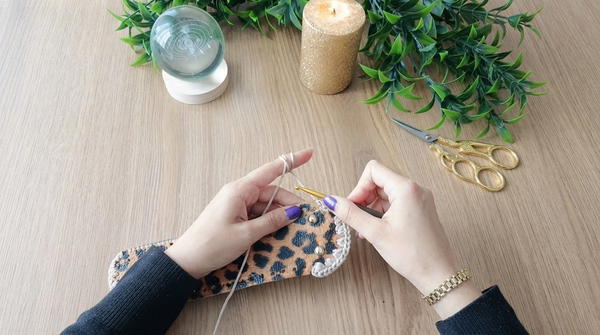
- Work 3 sc into the first point.
Round 2: Transition to Alternating Single and Double Stitches
- After completing the first section of 3-2 repeats, switch to the next section of the oval. Begin this section using a 2 sc into the first stitch.
- Work the following alternating pattern:
- Work 2 sc into the first stitch.
- Work 1 sc into the next stitch.
- Alternate between 2 sc and 1 sc across the section.
- Complete the entire side until you reach the other end of the oval.
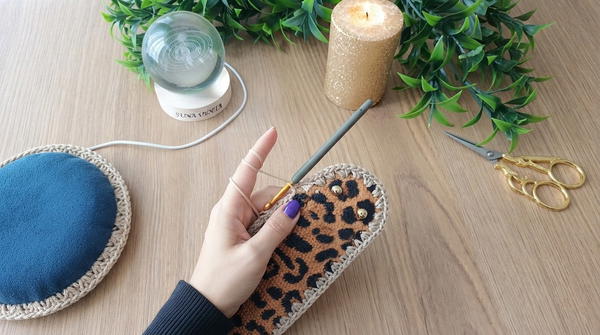
Repeat for Other Side of the Oval
- Continue across the opposite side of the oval base, using the same patterns:
- Work 3 sc into the first stitch, followed by 2 sc into the next stitch, and alternate (3, 2, 3, 2…) across the oval section.
Remaining Flat Sections
- For the straight edges between the oval sections, use alternating single crochet patterns:
- Work 2 sc into the first stitch, followed by 1 sc into the next stitch.
- Repeat this pattern (2, 1, 2, 1…) until you reach the next oval section.
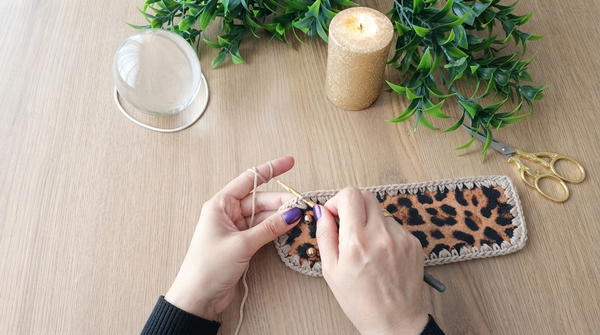
Round Joining
- After completing the entire border, close the round by inserting the hook into the first sc of the round.
- Sl st to join, then ch 1 to secure.
Assembly and Sizing
- Measure the Edging:
Confirm that the edge lies evenly along the base and that it maintains the appropriate structure. If a part of the edging is too tight or too loose, adjust stitch placement accordingly. - Tidy Up the Edging:
After joining the round, pull the yarn to a sufficient length before cutting. Fasten off the yarn securely and weave in the ends using a yarn needle. - Optional Adjustments:
Depending on your project, you may add additional rounds of edging or additional embellishments for a more intricate design. Ensure the base retains its shape as you continue with further crochet work, such as bag handles or walls.
Conclusion
This structured edging technique is an ideal way to finish and reinforce the edges of crochet bases. Its pattern creates consistency while allowing for easy adaptation to various project sizes and shapes. By organizing the stitches into repeated sets, you can achieve a neat and polished look that provides both aesthetic appeal and functional durability. Expertly completing the edging will lay the foundation for a high-quality crochet project.