Mint Design Blog


Brighten up your outfit with handmade charm by following this Free Crochet Bag Pattern designed to help you create unique and fashionable bags quickly.
Walking into a store carrying a bag that you made yourself—stylish, durable, and one-of-a-kind. The Free Crochet Bag Pattern makes this dream a reality by guiding you step-by-step to create a beautiful and practical accessory. This thoughtful pattern is shared by the talented Örgü ütopyası, whose calm, easy-to-follow instructions ensure that even beginners can crochet a professional-looking bag. Her method focuses on simple stitches like single crochet and double crochet, making the design enjoyable and stress-free from start to finish.
Crochet Tote Bag Free Pattern with Step-by-Step Guide
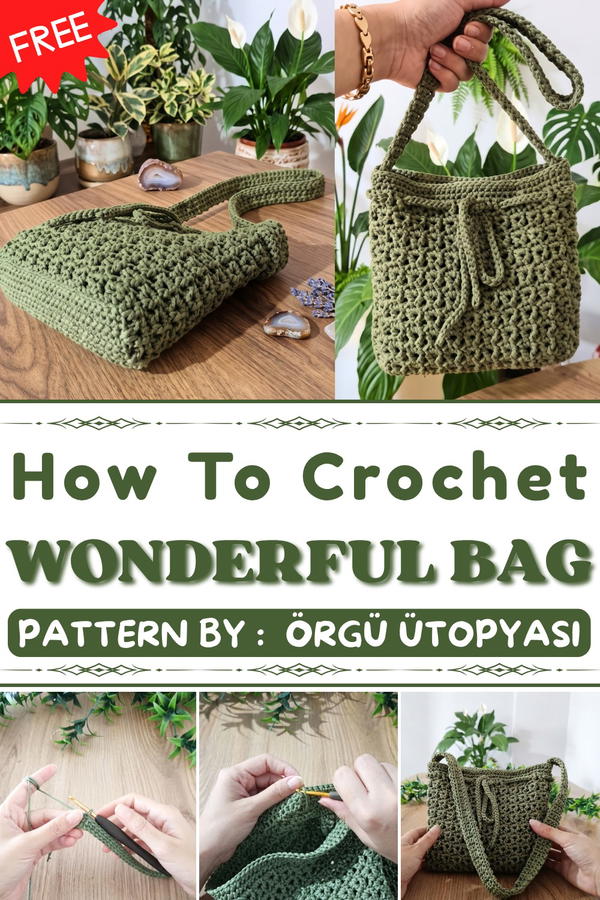
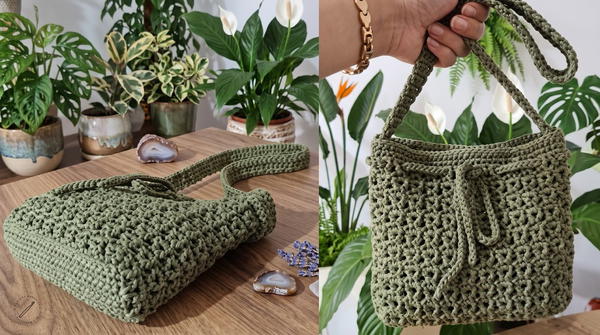
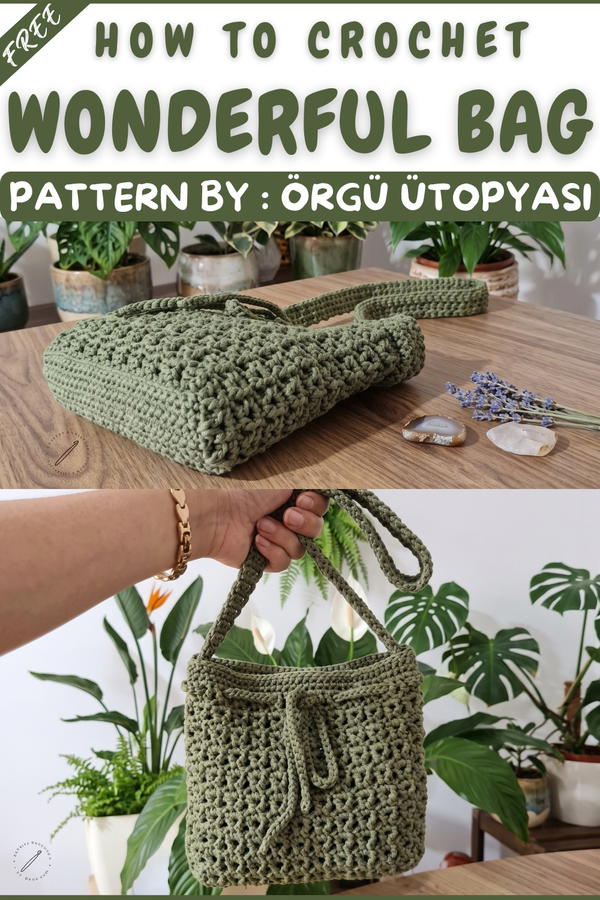
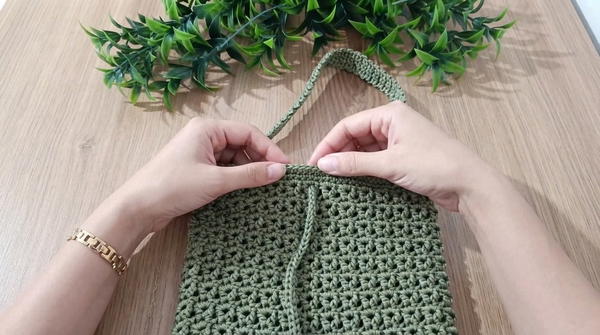
The standout feature of this bag is its unique "E" shape, which looks modern and sophisticated. Its base is sturdy enough to maintain the structure, especially when reinforced with felt or canvas. The body of the bag showcases a V-stitch pattern that creates a full, textured design, adding a rich detail to the overall look. The handle is kept simple, letting the intricate body of the bag take center stage. For extra flair and functionality, you can add a magnetic button and a decorative tie at the front, giving the bag a polished and secure finish.
Whether made with polyester macrame, raffia, or paper yarn, this bag is perfect for shopping, casual outings, or even as a personalized gift. The Free Crochet Bag Pattern is not just a guide; it’s an invitation to create something both beautiful and useful, making it a must-try for every crochet enthusiast.
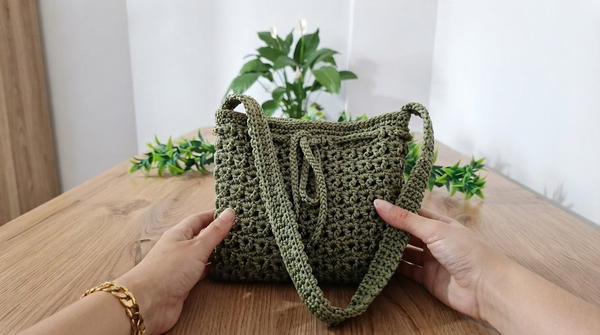
E-Shaped Bag Crochet Pattern
This E-shaped crochet bag pattern is simple, elegant, and perfect for beginners. It incorporates basic stitches such as single crochet and double crochet, making it accessible even for those who are new to crochet. The finished bag is versatile and can be customized to suit your preferences in size, style, and material.
Skill Level
Beginner: This project is designed for those with basic crochet knowledge and skills. It's straightforward to make and doesn't require complex techniques.
Materials
- Yarn: Polyester macrame yarn (Size 4) or any yarn of your choice (e.g., paper yarn, raffia, or supra).
- Crochet Hook: 3.5 mm hook.
- Magnetic Button (for closure).
- Sewing Thread: To match the color of your bag.
- Scissors.
- Lighter: For securing yarn ends.
- Needle: For sewing the handle and magnetic button.
- Optional Materials for Bag Base: Felt, interfacing, or plastic canvas.
Special Stitches
- V-Stitch: (dc, ch 1, dc) in the same stitch or space.
- Single Crochet (sc): Insert the hook into the stitch, yarn over, pull up a loop, yarn over, and draw through both loops on the hook.
Stitch Abbreviations
- ch: Chain
- sc: Single Crochet
- dc: Double Crochet
- sl st: Slip Stitch
- st(s): Stitch(es)
- yo: Yarn Over
Useful Tips
- Keep your tension consistent for a neat finish.
- Count your stitches to ensure there’s no unintentional increase or decrease in the stitch count.
- For added sturdiness, consider reinforcing the base using felt, interfacing, or plastic canvas.
- For the handle length, measure it on your shoulder and adjust as needed.
Pattern Instructions
Bag Base
- Foundation Chain:
- Ch 33.
- Use one chain as the turning chain.
- Round 1:
- Starting from the second chain from the hook, sc across the entire row (32 sts).
- Ch 1, and turn.
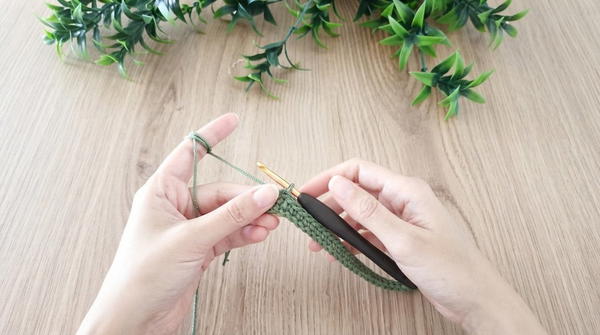
- Rounds 2–8:
- Sc across each row (32 sts).
- Do not sc into the turning chain. Always start from the first sc of the previous row.
- After completing 8 rows, the base should measure approximately 19 cm in width and 5 cm in height.
Bag Body
- Foundation Round:
- Ch 3 (acts as the first dc).
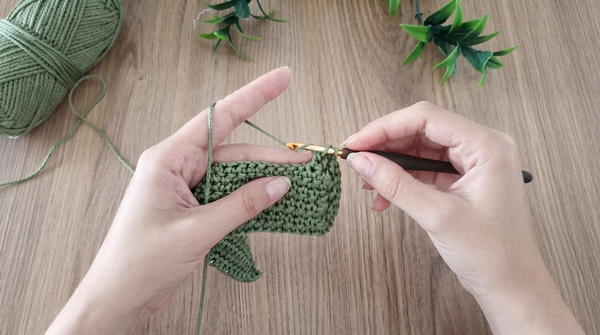
- Sk 2 sts from the edge and make the first V-stitch (dc, ch 1, dc) in the 3rd st.
- Sk 2 sts and repeat the V-stitch in the next st.
- Continue across the row.
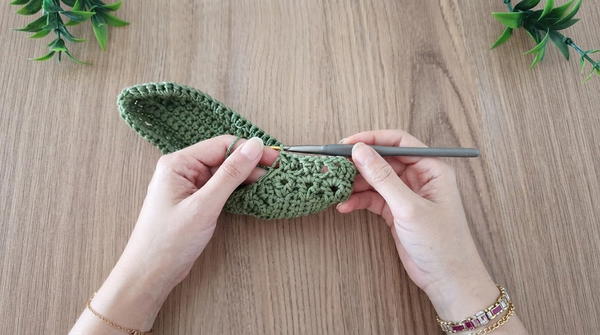
- Ch 3 (acts as the first dc).
- Joining the Round:
- Sl st into the 3rd ch of the starting ch 3.
- Ch 1 to secure.
- Round 2:
- Sc in the middle space of each V-stitch (3 sc in each V).
- Continue this process across the row.
- Sl st into the first sc to join the round.
- Round 3:
- Ch 3 (acts as the first dc).
- Make another V-stitch into the middle sc of each group of 3 sc.
- Continue this process for the whole row, ensuring V-stitches are always aligned directly above each other.
- Join the round with a sl st into the starting ch.
- Repeat Rounds 2 and 3 consecutively for a total of 10 rounds. Adjust the number of rounds as per the desired height.
Top Border
- Final Rows:
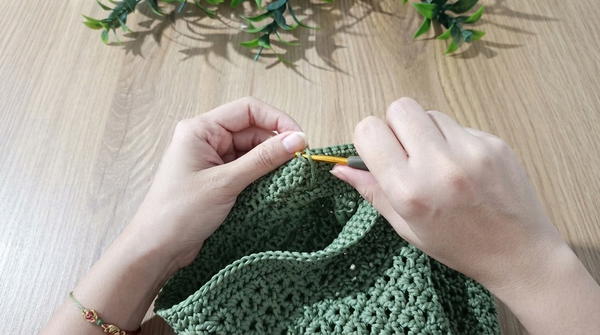
- After completing the V-stitch pattern, crochet 2 rounds of sc around the top edge of the bag.
- Sc into each st, ensuring the stitch count remains consistent across both rounds.
- Sl st into the first sc of each round to join.
- At the end of the 2nd round, fasten off and weave in yarn ends.
Bag Handle
- Foundation Chain:
- Ch 5.
- Row 1:
- Starting in the 2nd chain from the hook, sc across the row (4 sts).
- Ch 1, turn.
- Rows 2–Desired Length:
- Sc across each row (4 sts), turning after each row.
- Continue crocheting until the handle measures approximately 60 cm (or your desired length).
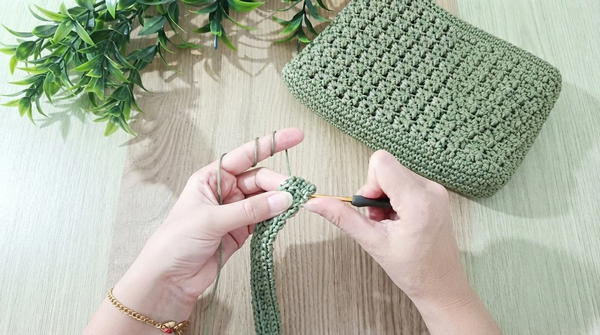
- Reinforcing the Handle:
- Once the desired length is reached, cut the yarn, leaving a long tail.
- Use the tail and sl st along the edges of the handle to make it firmer.
- Fasten off and weave in ends.
Assembly and Sizing
- Attaching the Handle:
- Place the handle ends evenly on the sides of the bag.
- Use matching sewing thread to carefully sew the ends of the handle securely to the top edges of the bag.
- Reinforce the stitches several times to ensure durability.
- Adding the Magnetic Button:
- Determine the center of the bag's opening.
- Attach the magnetic button halves to the inside edges, aligning them so they close securely.
- Use sewing thread and a small needle to sew them in place.
- Optional Decorative Tie:
- To create a decorative tie, take the same yarn as the bag and fold it into two halves.
- Pull out a loop to start a single chain. Continue chaining until the length reaches about 90 cm.
- Tie secure knots at both ends, and weave the tie through the V-stitch openings around the top of the bag for added detail.
Conclusion
This crochet E-shaped bag is a great project for beginners and a versatile piece that can be personalized with your preferred materials and finishing touches. It’s easy to make while allowing room for customization, and the final result is beautiful and functional for various occasions.