Add a personal touch to your style by using this Free Crochet Bag Pattern that leads you through creating eye-catching bags perfect for everyday use.
Carrying a bag that is not only beautiful but also something you created with your own hands. Crocheting your own bag is a wonderful experience, and with the right guidance, it can be easy and enjoyable. This is where Örgü ütopyası comes in, a designer who shares fantastic step-by-step tutorials for making stunning crochet bags. Her calm teaching style makes even complex designs feel simple. Beginners and experienced crocheters alike can follow her instructions and make bags that look professional.
Quick and Easy Free Crochet Bag Pattern With Handmade Purse
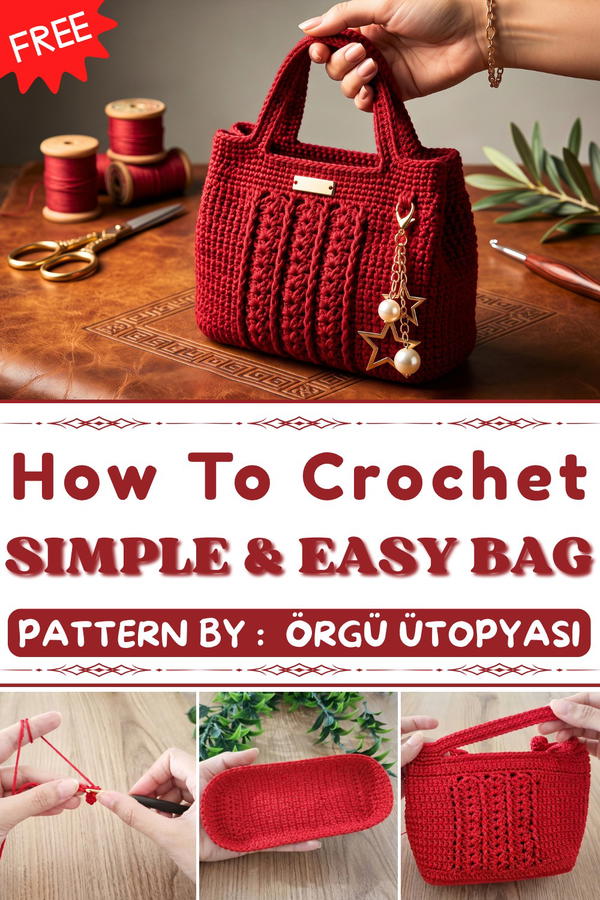
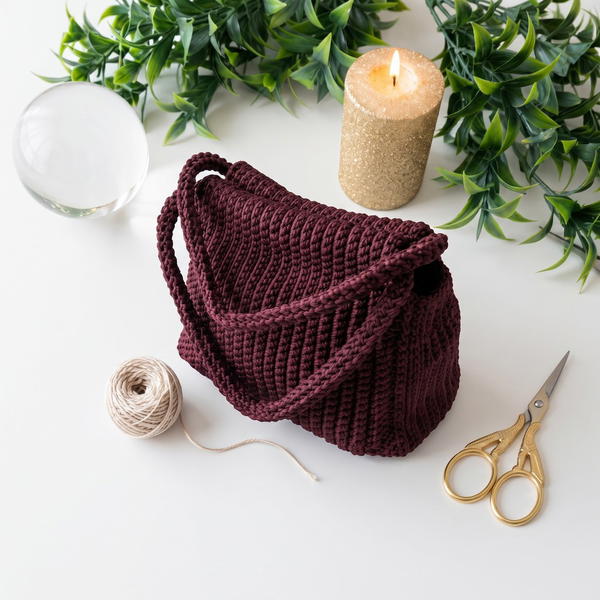
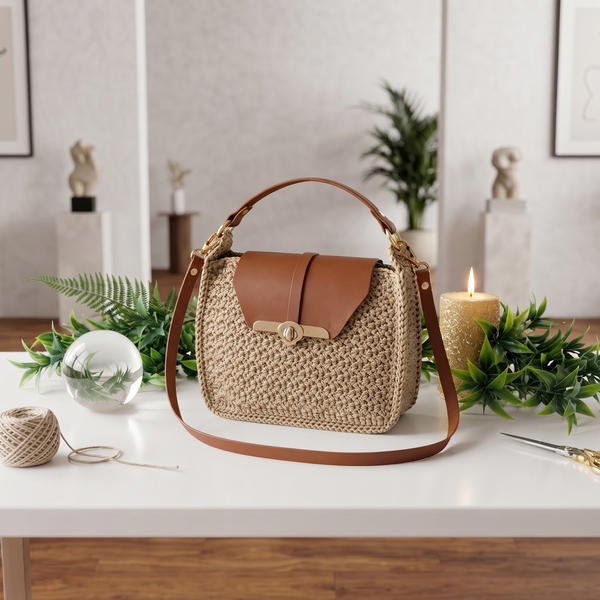
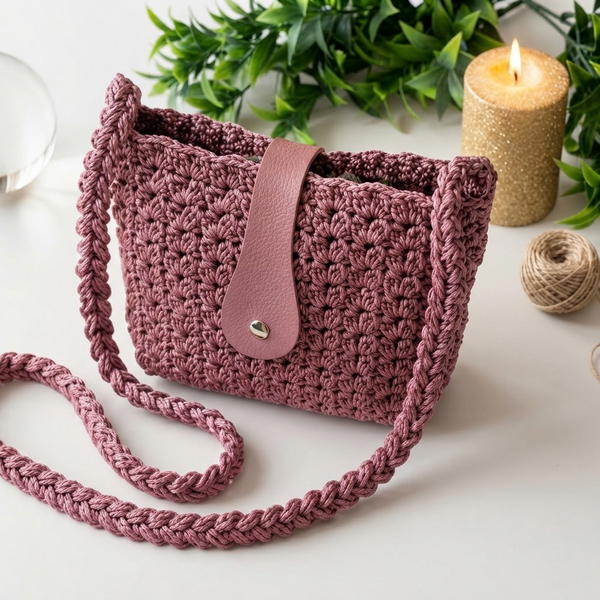
One of the most eye-catching designs she features is a round-shaped bag with a textured pattern that feels elegant yet casual. It is made using a neat and repetitive stitch that creates a strong, long-lasting structure, perfect for daily use. The handles are designed to balance beauty with comfort, letting you carry the bag with ease. You can even customize it with zips or buttons to suit your personal style.
This bag isn’t just pretty, it’s incredibly useful. You can use it for shopping, casual outings, or even as a thoughtful handmade gift for someone special. The fine attention to detail in this pattern makes it stand out from others.
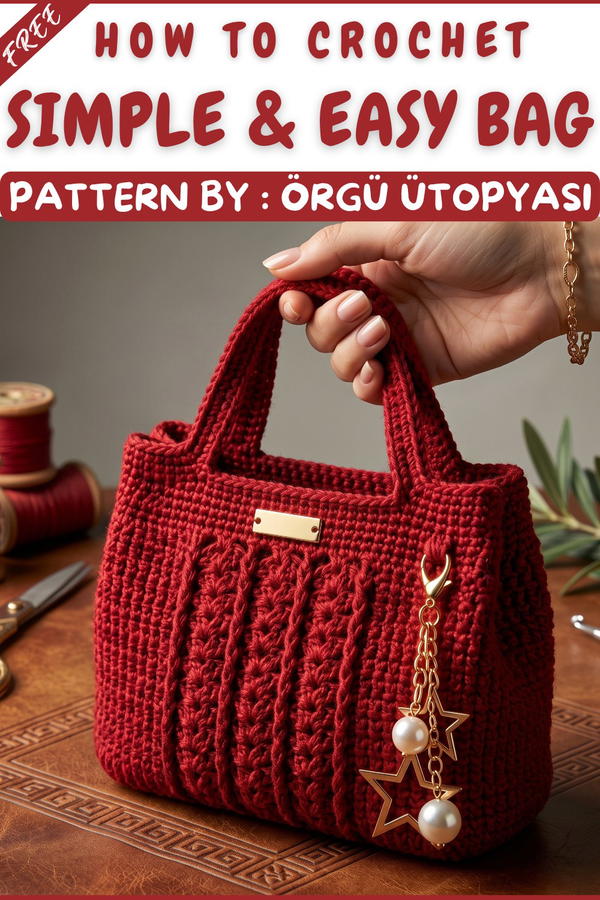
Crochet Bag Pattern
This crochet bag design is stylish and functional, perfect for adding a handmade touch to your accessory collection. The pattern is designed to allow for creative customization with labels, decorations, and optional linings or closures. It utilizes simple stitches, making it beginner-friendly but versatile enough for seasoned crocheters to enjoy.
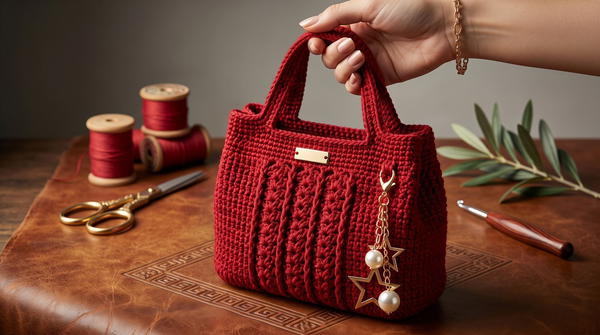
Skill Level
Beginner: The pattern is straightforward and uses basic stitches, making it suitable for those new to crochet.
Materials
- Yarn: 200g of yarn (polyester, acrylic, or cotton). A single ball of 200g should be sufficient.
- Crochet Hook: 3 mm hook (size 5).
- Magnetic Button: For bag closure (optional).
- Label or Decorative Accessories: For bag embellishment (optional).
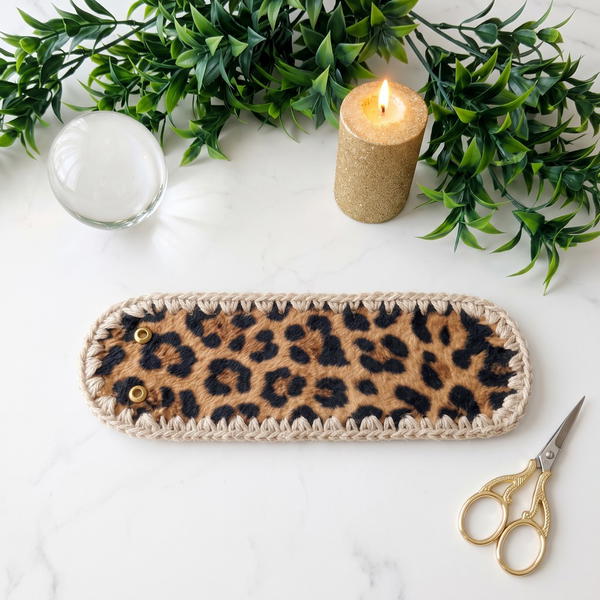
- Optional Base Reinforcement: Canvas, interfacing, or plastic canvas to keep the base flat.
- Needle and Matching Thread: For attaching labels or decorations.
- Scissors.
- Lighter: For securing yarn ends.
Special Stitches
- Single Crochet (sc): Insert hook, yarn over, pull up a loop, yarn over, and pull through both loops on the hook.
- Double Crochet (dc): Yarn over, insert hook, yarn over, pull up a loop, yarn over, pull through two loops, yarn over, pull through remaining two loops.
- Slip Stitch (sl st): Insert hook, yarn over, and pull through the stitch and the loop on the hook.
- Fan Stitch: Two double crochets, chain 2, two double crochets in the same space.
Stitch Abbreviations
- ch: Chain
- sc: Single Crochet
- dc: Double Crochet
- sl st: Slip Stitch
- yo: Yarn Over
- st(s): Stitch(es)
Useful Tips
- Maintain Consistent Tension: This ensures your bag has a neat and professional finish.
- Count Your Stitches: Double-check your stitch count at the end of each round to avoid unintentional increases or decreases.
- Secure Yarn Ends: Use a lighter to keep the yarn ends secure and prevent unraveling.
- Optional Reinforcements: For a sturdier base, consider adding interfacing, canvas, or plastic inside the bag's base or sides.
Pattern Instructions
Bag Base
- Foundation Chain:
- Ch 13.
- Use 1 chain for turning (12 functional stitches).
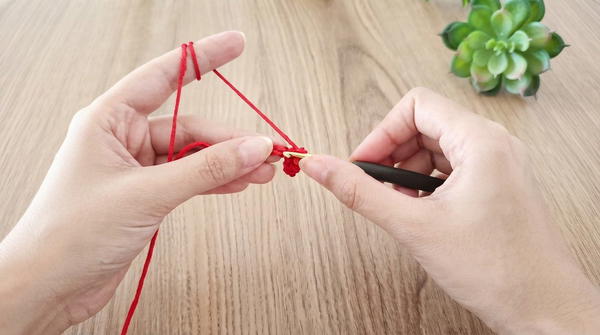
- Round 1:
- Starting from the 2nd ch from the hook, sc across (12 sts).
- Turn, ch 1.
- Rounds 2–32:
- Sc into each st (12 sts per row).
- Turn, ch 1 after every row.
- Tip: Always count your stitches; there should be 12 in each row.
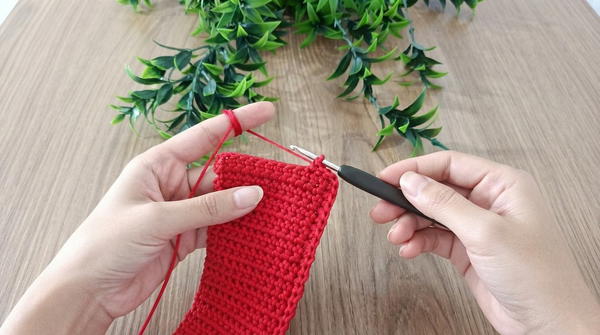
- After completing 32 rows, the base measures 18 cm width and 8 cm height.
- Edging Round:
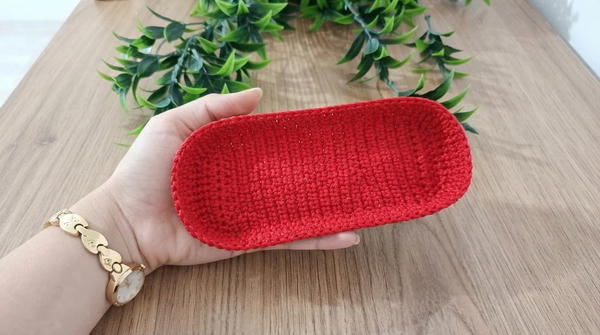
- Sc around the entire base rectangle to create a clean edge.
- Place 1 sc into each st along the long side (33 sts). For the short side, place 12 sc and 2 additional sc in the first and last corner sts (14 sts total for each short side).
- Join with sl st to the first sc of the round.
Bag Body
- Slip Stitch Edging:
- Sl st around the row of single crochets to create a clean, defined edge.
- Insert hook into each st, pull up a loop, and sl st across.
- Complete the round and join with a sl st.
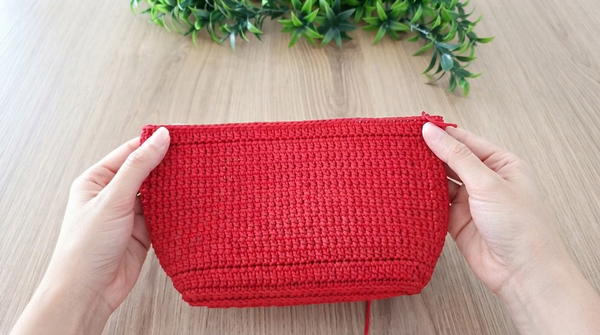
- Foundation Row:
- Ch 2, work a round of dc across, placing 1 dc in each sc from the previous row.
- Join with sl st to the beginning of the row.
- Round 1 (Pattern Starts):
- Ch 2. Work 6 dc into the first 6 dc, then start the fan stitch pattern:
- Skip 3 dc. In the 4th st, make (2 dc, ch 2, 2 dc) (fan stitch).
- Skip 3 dc, and repeat the fan pattern in the next st. Continue until 6 dc remain. Work 6 dc and join with sl st.
- Ch 2. Work 6 dc into the first 6 dc, then start the fan stitch pattern:
- Round 2:
- Ch 1. Sc in each st, making sure to place 2 sc into each chain space of the fan stitches and 1 sc into each dc from the previous round.
- To achieve a neat alignment, maintain consistent tension.
- Join the round with sl st to the first sc.
- Round 3:
- Ch 2. Work dc to the center of the fan stitch. Create new fan stitches by crocheting (2 dc, ch 2, 2 dc) into the chain space within the fans from Round 1.
- Continue this alternation of dc rounds and fan stitch rounds until the bag reaches 11 fan rows or your preferred size.
- Top Edge Finishing:
- After completing the desired number of fan stitch rows, crochet 2 rounds of sc along the top edge for a clean finish.
- Fasten off and weave in ends.
Bag Handle
- Foundation Chain:
- Ch 50 for the handle (or adjust based on your preferred length).
- Rows of Single Crochet:
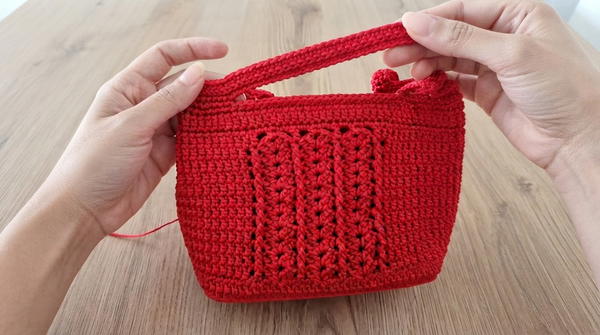
- Start by attaching the chains to the top edge of the bag with sc, and sc across the next 8 sts.
- Continue across the chains, skipping 1 chain from the edge connection for a cleaner transition.
- Work 2 rows of sc for the handle.
- Slip Stitch for Stability:
- After completing the handle’s second row, sl st along its edges for added reinforcement.
- When you’ve reached the end, fasten off and weave in all ends.
Assembly and Sizing
- Fold and Shape:
- Lay your bag flat and fold the sides inward, ensuring the edges align evenly.
- Use a placeholder (string or stitch markers) to secure the folded sections.
- Add a Handle:
- Sew the handle securely to the folded sections of the bag, aligning it symmetrically.
- Optional Decorations:
- Attach optional labels, charms, or other decorative items for a unique touch.
- Optional Base and Closure:
- To reinforce the base, add a canvas, interfacing, or plastic canvas liner. Sew it into place securely if desired.
- Sew a magnetic button inside the bag's opening as a clasp.
Conclusion
This crochet bag pattern provides a versatile base for customization. By combining practical functionality with beautiful decorative touches, you can create a unique accessory that reflects your personal style. It is perfect for beginners looking for a simple but rewarding project, and the optional embellishments allow you to elevate the design further. Enjoy the process of crafting this lovely bag!