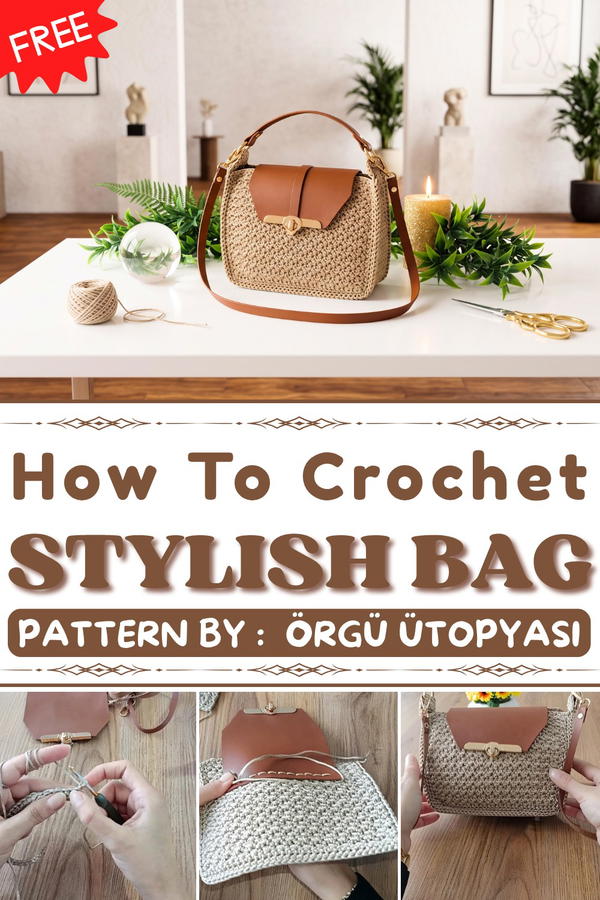
Make a statement with handmade charm using this Free Crochet Bag Pattern that lets you make unique bags with step-by-step instructions anyone can follow.
It’s amazing how something as simple as yarn can be turned into a beautiful accessory that’s both stylish and useful. Imagine creating a crochet bag that not only stands out but also comfortably fits into your everyday life. With thoughtful design and careful techniques, this project becomes much more than just a bag, it becomes a reflection of your creativity. Whether you’re new to crocheting or have experience, this pattern offers a fantastic opportunity to crochet something special.
Free Crochet Tote Bag Pattern | Make a Stylish Accessory
Good Words For Channel!
Örgü ütopyası, a gifted designer known for her easy-to-follow tutorials, has made this bag pattern simple and enjoyable to learn. She explains each step with patience, guiding crafters through every detail so nothing feels confusing or overwhelming. Her ability to simplify even intricate designs makes her videos approachable for everyone, regardless of skill level. By following her methods, you can turn yarn into a functional yet stylish piece that captures attention wherever you go.
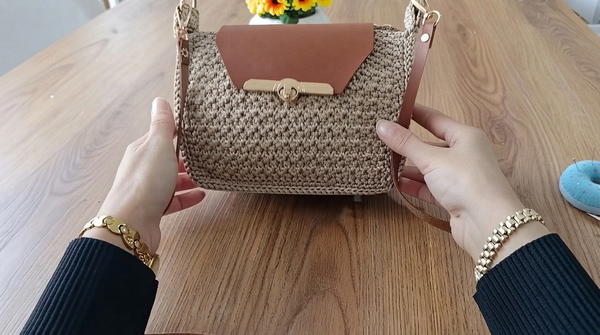
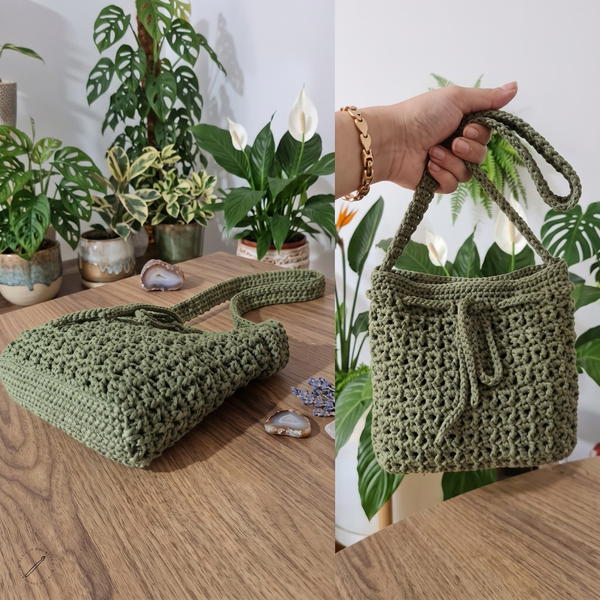
The standout feature of this crochet bag is its compact yet roomy design. Its neat structure paired with soft, durable yarn makes it ideal for everyday use, whether you’re heading out for errands, meeting friends, or traveling. The pattern allows room for creativity, letting you choose colors and textures that match your personal style.
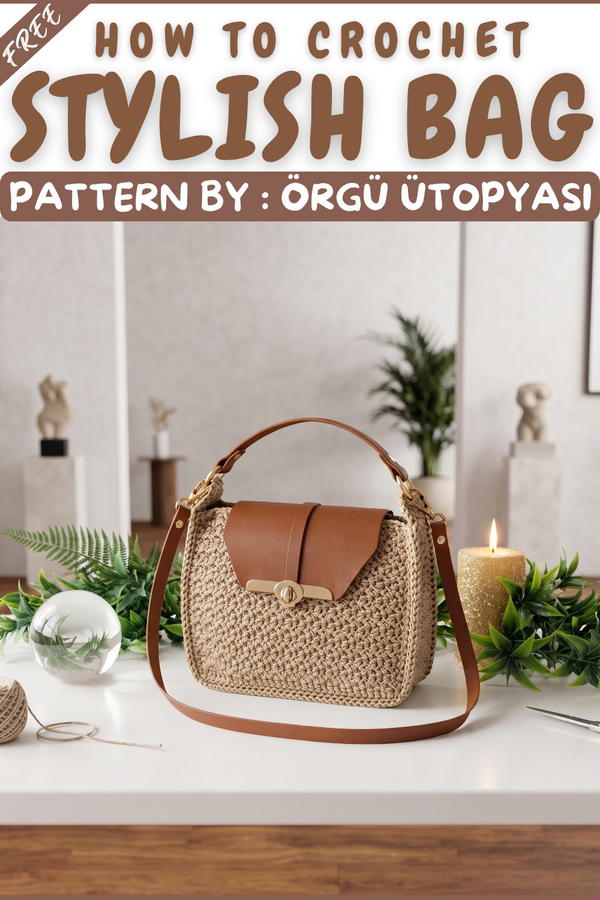
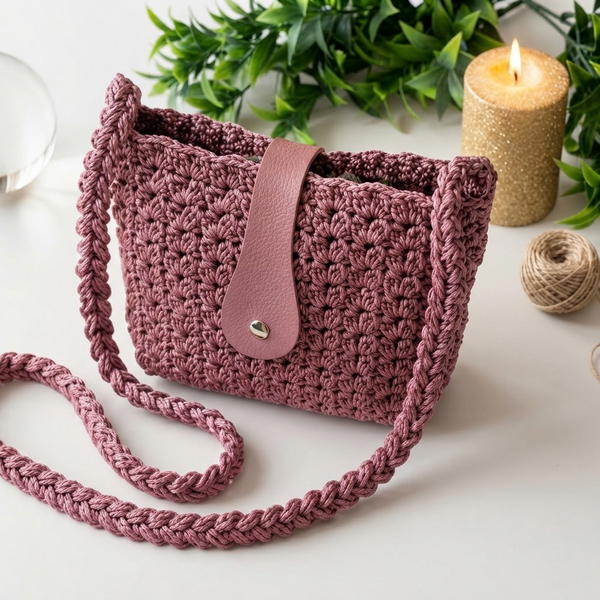
Crocheted Bag with Leather Clasps Pattern
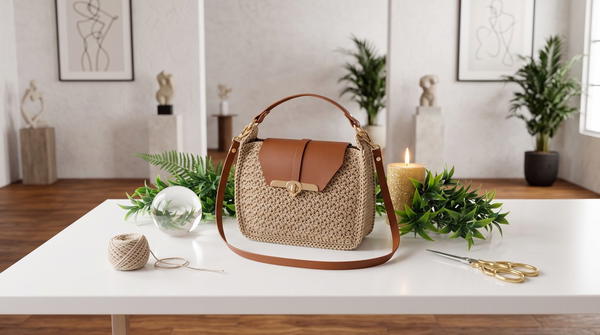
This elegant crocheted bag design features a neat texture complemented by leather clasps for added sophistication. The bag utilizes only basic single crochet stitches, making it perfect for beginners to create a functional yet stylish accessory. The symmetrical design ensures a seamless aesthetic, and the optional strap enhances versatility.
Skill Level
Beginner to Intermediate: The pattern uses basic single crochet stitches but incorporates careful assembly steps, requiring attention to detail during the finishing process.
Materials
- Yarn: Polyester macrame yarn, size 3 (approximately 200 g).
- Crochet Hook: 3.5 mm.
- Leather Clasps: A pair of flap and handle clasps, available at haberdashery or craft stores.
- Interfacing: Self-adhesive or regular for added structure.
- Needle: For sewing parts together.
- Scissors: For cutting yarn and thread.
- Silicone Glue Gun: To attach interfacing securely.
- Rings: 2.5 cm for attaching the strap.
- Optional Strap: A fabric, leather, or chain strap for carrying the bag.
- Lighter: For securing and sealing polyester yarn ends.
Special Stitches
- Single Crochet (sc): Insert the hook, yarn over, pull up a loop, yarn over, and pull through both loops on the hook.
- Slip Stitch (sl st): Insert hook, yarn over, pull through the stitch and loop on the hook.
- Single Crochet + Chain Repeat: Work one single crochet, add one chain, and work another single crochet into the same space for a textured effect.
Stitch Abbreviations
- ch: Chain
- sc: Single Crochet
- sl st: Slip Stitch
Useful Tips
- Count Stitches: Ensuring an accurate count in each row is crucial for maintaining symmetry and alignment.
- Secure Ends: Use a lighter to seal the ends of polyester yarn to prevent fraying.
- Attach Leather Clasps Carefully: Align the clasps symmetrically to maintain a balanced aesthetic.
- Use Stitch Markers: Place markers at critical points, including corners and edges, to avoid alignment errors during assembly.
Pattern Instructions
Main Panels
- Foundation Chain:
- Ch 33 for the width. This length can be adjusted depending on your phone or desired bag size.
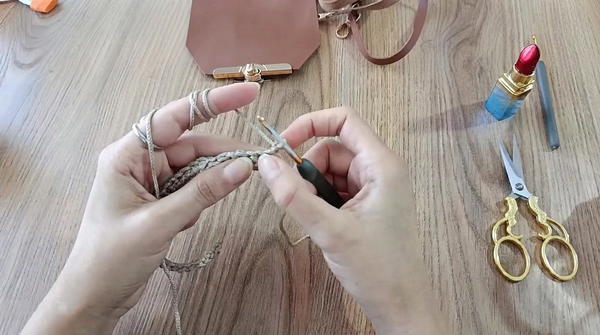
- Ch 33 for the width. This length can be adjusted depending on your phone or desired bag size.
- Row 1:
- Starting from the second ch from the hook, work sc across (32 sc).
- Ch 1 and turn your work.
- Row 2:
- Skip the first sc. Work one sc into the second sc. Chain 1, then work one sc into the same stitch.
- Skip the next sc, work sc + ch + sc in the following sc.
- Repeat the pattern until the end of the row.
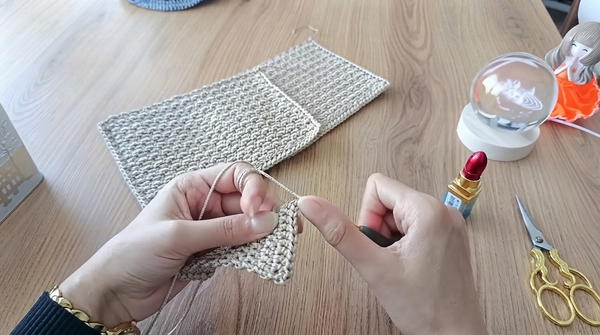
- Subsequent Rows:
- Turn the work after each row with ch 1.
- Insert the hook into the chain space from the previous row, work sc + ch + sc into each chain space.
- Repeat Until Desired Height:
- Continue the pattern until the panel reaches 24 rows, approximately 15 cm high.
- Edge Row:
- Work one row of sc along each edge of the panel. Crochet 1 sc into each row end along the sides, increasing by 2 sc at each corner to create a neat border.
Bellows (Side Panel)
- Foundation Chain for Bellows:
- Ch 6, including one additional chain for turning.
- Rows for Bellows:
- Work sc across the length of the chain (5 sc).
- Ch 1 and turn your work.
- Repeat for 12 Rows:
- Work 12 rows of sc (5 sc per row).
- Handle Section:
- Mark 8 rows for the handle placement. Skip the first 8 rows and continue with the remaining bellows length.
- Begin increases:
- Work 2 sc in the first stitch, sc across, and 2 sc in the last stitch (7 sc total).
- Work 3 rows with 7 sc, then increase again:
- Work 2 sc in the first stitch, sc across, and 2 sc in the last stitch (9 sc total).
- Work 3 rows with 9 sc, then increase to 11 sc in the same manner.
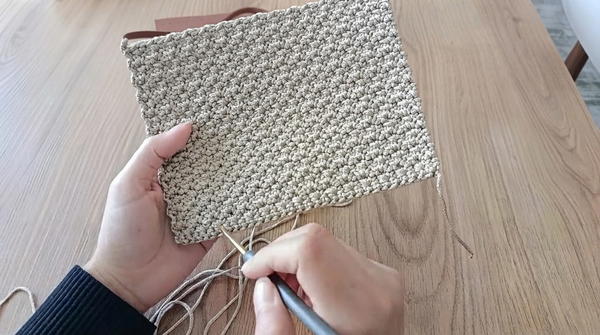
- Continue with 60 rows of 11 sc for the bellows body.
- Decreasing Rows:
- Begin decreasing at the start and end of the row:
- Skip one sc at the start and end, reducing the stitch count by 2 (e.g., decrease from 11 to 9, 9 to 7, etc.).
- Continue until only 5 sc remain.
- Work 12 rows of 5 sc to complete.
- Begin decreasing at the start and end of the row:
- Edge Row:
- Work one row of sc around the bellows edges, increasing by 2 sc at each corner.
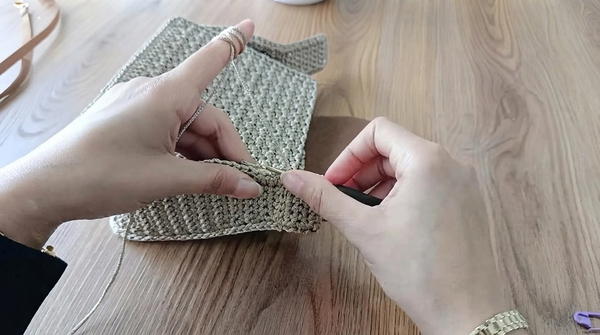
- Work one row of sc around the bellows edges, increasing by 2 sc at each corner.
Assembly
- Attach Interfacing:
- Cut the interfacing to fit the main panels and glue them in place using a silicone glue gun. Avoid bubbles and uneven placement.
- Join Panels and Bellows:
- Align the wrong sides of the panels and bellows together.
- Use sl st to join the back loops of the respective sections.
- Start from one corner, work around the edges, ensuring the bellows are symmetric.
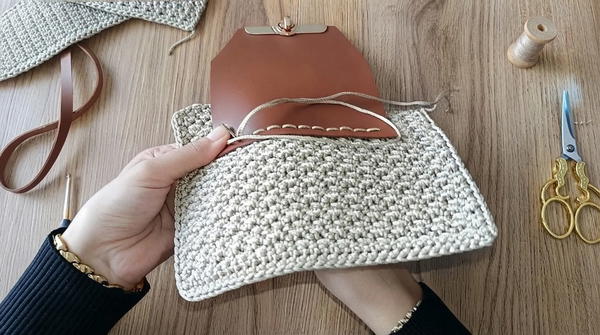
- Add Clasps:
- Attach the leather flap clasp to the front panel using a needle and thread.
- Ensure the clasp is centered and securely fastened.
- Handle and Rings:
- Attach 2.5 cm rings to the sides of the bag where the handle will be attached. Use slip stitch or sewing for secure placement.
- Add the strap to the rings. Adjust as necessary to ensure durability.
Bag Dimensions
- Width: Approximately 20 cm.
- Height: Approximately 15 cm.
- Bellows Width: Approximately 8 cm.
- Strap Length: Adjustable depending on your preference.
Conclusion
This crocheted bag with leather clasps showcases elegant simplicity, blending texture and sophistication into a practical design. The detailed assembly, including the bellows and interfacing, ensures a sturdy and durable bag perfect for everyday use. Customize with additional embellishments such as a strap, decorative rings, or fabric lining to make this bag uniquely yours.